

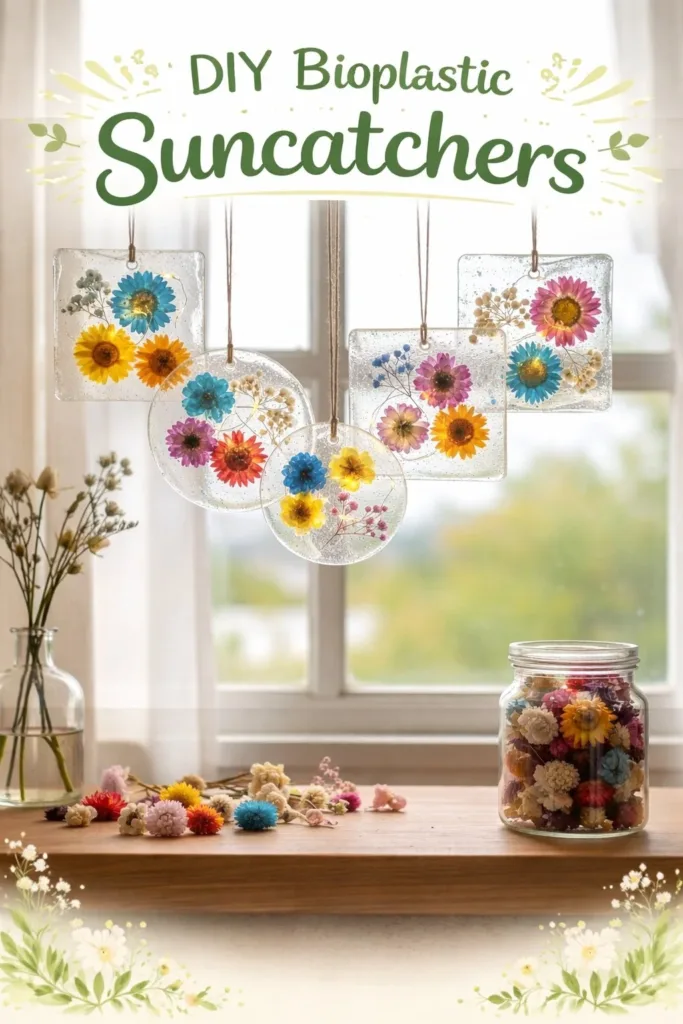
A thin, warm sheet of clear plastic rests on my palm. It still carries the faint scent of cooked gelatin, soft and slightly sweet. Sunlight slips through a scattering of pressed petals laid inside, and the edges curl with a gentle, tactile memory of being handled. I breathe slowly, feeling the small weight and cool of the suncatcher, and the room seems to stretch a little longer around this quiet, sensory moment.
The Quiet Joy of Making DIY Bioplastic Suncatchers
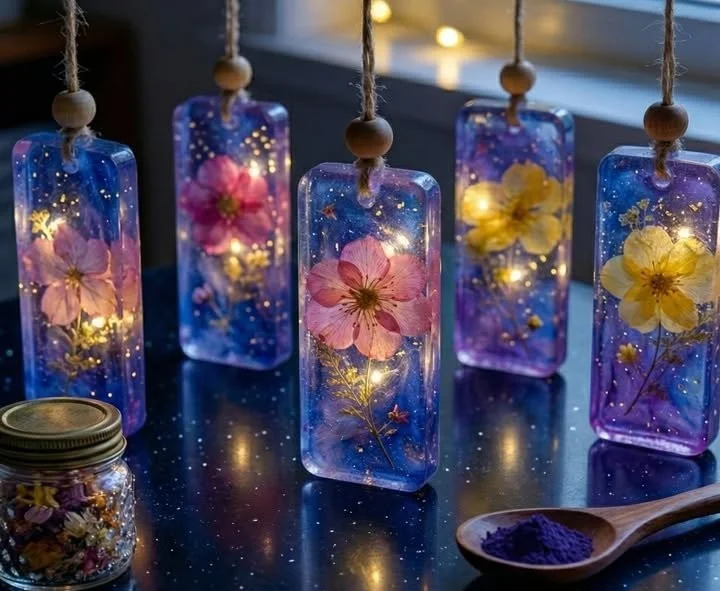
This project invites you to slow down with small, deliberate movements and a quietly satisfying rhythm. Making DIY Bioplastic Suncatchers asks for gentle stirring, mindful pouring, and the patience to let sheets dry in sunlight or near a warm window. The process rewards calm hands and soft attention: a bubbling pot that hums in the background, the smell of warm gelatin, the smooth slide of liquid into a shallow tray, and the way plant bits press into place like a remembered touch.
I often return to this craft when I want a quiet, tactile reset. It offers low fuss and high sensory comfort. The thin, translucent sheets catch light and color in a way that feels both delicate and durable. They let you notice small details a veining in a leaf, the translucence of a petal, the uneven edge of a hand-cut shape. If you want a more vibrant, colorful take, I have a playful colorful bioplastic suncatchers recipe that explores dyes and layered textures.
Why this slows me down is simple. The steps move at the pace of heat and drying. You cannot rush setting or evaporation. This steadiness encourages present-moment focus and makes the whole process feel cozy and deliberate.
A Gentle Look at the Process
The process unfolds like a small ritual. You heat and dissolve, you stir with a wood spoon and listen to the liquid smooth into clarity, you pour with a steady hand, and you watch as tiny bubbles rise and vanish. Each motion has a soft sound and a tactile note: the warmth against your forearm as you hold a jar, the gentle weight of a silicone mat when you lift it, the cooling firmness when the film begins to set.
You will press in dried flowers, leaves, or bits of tissue paper. Those additions shift how the light plays through the sheet and change the way the piece feels between your fingers. Drying can take a day or two depending on humidity. You will learn the small cue that signals readiness: when the film peels easily from the tray and sounds faintly crisp when you bend it.
This overview keeps the mood slow and sensory. You do not need perfect craft skills. You need patience, curiosity, and an eye for small natural items. If you want variations and other approaches I tried, you can read about a simple variation I tried that uses pressed botanicals and layered colors.
Materials You’ll Need
- Gelatin powder, plain (easy to find at grocery stores)
- Glycerin (adds flexibility, optional but recommended)
- Distilled water or filtered water (cleaner clarity)
- A small saucepan (heat gently)
- Wooden spoon or silicone spatula (won’t scratch)
- Shallow tray or silicone mat for pouring (silicone works best for easy release)
- Measuring spoons and cups
- Pipette or small spoon for precise pouring (optional)
- Dried flowers, thin leaves, small petals, or tissue paper (press dry and flat)
- Cookie cutters or a craft knife for shaping (optional)
- Fishing line, thin ribbon, or small jump rings for hanging
- Parchment paper or nonstick baking sheet if not using silicone
- A bowl of cool water for quick tests (to check flexibility)
- Tweezers for placing botanicals (optional)
- A kitchen thermometer if you prefer exact heat control (optional)
Notes on materials:
- Gelatin forms a film when it cools and dries. It gives you clear, slightly springy sheets.
- Glycerin prevents brittleness. A small amount keeps the suncatcher flexible and less prone to cracking.
- Use thin, fully dried plant material. Fresh leaves hold moisture that can cause cloudiness or mold later.
- Silicone mats make releasing the film feel smooth. If you use a tray, oiling lightly can help.
For different material options and substitutions I experimented with, see my notes about different material options and alternatives.
Step-by-Step Directions
Measure and mix the base. Warm 1 cup of water in a small saucepan until it is hot but not boiling. Sprinkle 2 tablespoons of gelatin over the surface and let it bloom for a minute so the granules soften and swell.
Stir and dissolve gently. Stir the mix slowly until the gelatin fully dissolves and the liquid runs smooth. Add 1 teaspoon of glycerin and stir until it blends. The glycerin helps the sheet stay supple as it dries.
Heat to meld the ingredients. Warm the mixture over low heat, stirring steadily. Keep the temperature below a simmer so it does not bubble vigorously. You want a clear, glossy liquid that pours easily and feels warm to the wrist.
Prepare your tray and botanicals. Line a shallow tray with a silicone mat or parchment. Arrange pressed petals and leaves nearby. Use tweezers to position smaller pieces. Have cookie cutters ready if you want shaped edges.
Pour with steady hands. Pour the warm gelatin mixture into the tray in a thin, even layer. Aim for 1 to 2 millimeters thickness for a flexible suncatcher. Listen to the soft pool settling and watch for tiny bubbles.
Place botanicals with care. Gently press petals or leaves into the liquid using tweezers. Work slowly so you do not trap air pockets. The plant bits will float a moment then settle. Smooth edges with a small spoon if needed.
Let it set until tacky. Allow the tray to rest undisturbed until the surface reaches a tacky, leathery feel. You will notice the glossy shine dull slightly. This usually takes an hour or more depending on room warmth and humidity.
Air dry until fully firm. Move the tray to a warm, dry spot out of direct, harsh sun. Let the film dry for 24 to 48 hours. The film should feel firm and slightly springy when ready. If it still feels moist, give it more time.
Peel and trim gently. Carefully peel the film from the silicone mat. If you see delicate seams, use scissors or a craft knife to trim them. If you want shapes, press cookie cutters through the firm film and remove the extra.
Add hanging hardware. Poke a small hole near the top and thread fishing line or ribbon. If you prefer metal, attach a small jump ring. Hang in a window where gentle sun will catch the textures and color.
Each step asks for calm, steady hands. Sensing the temperature, watching the surface, feeling the set are all part of the craft. These simple, deliberate motions help the making feel like a small meditation.
Enjoying the Finished Piece
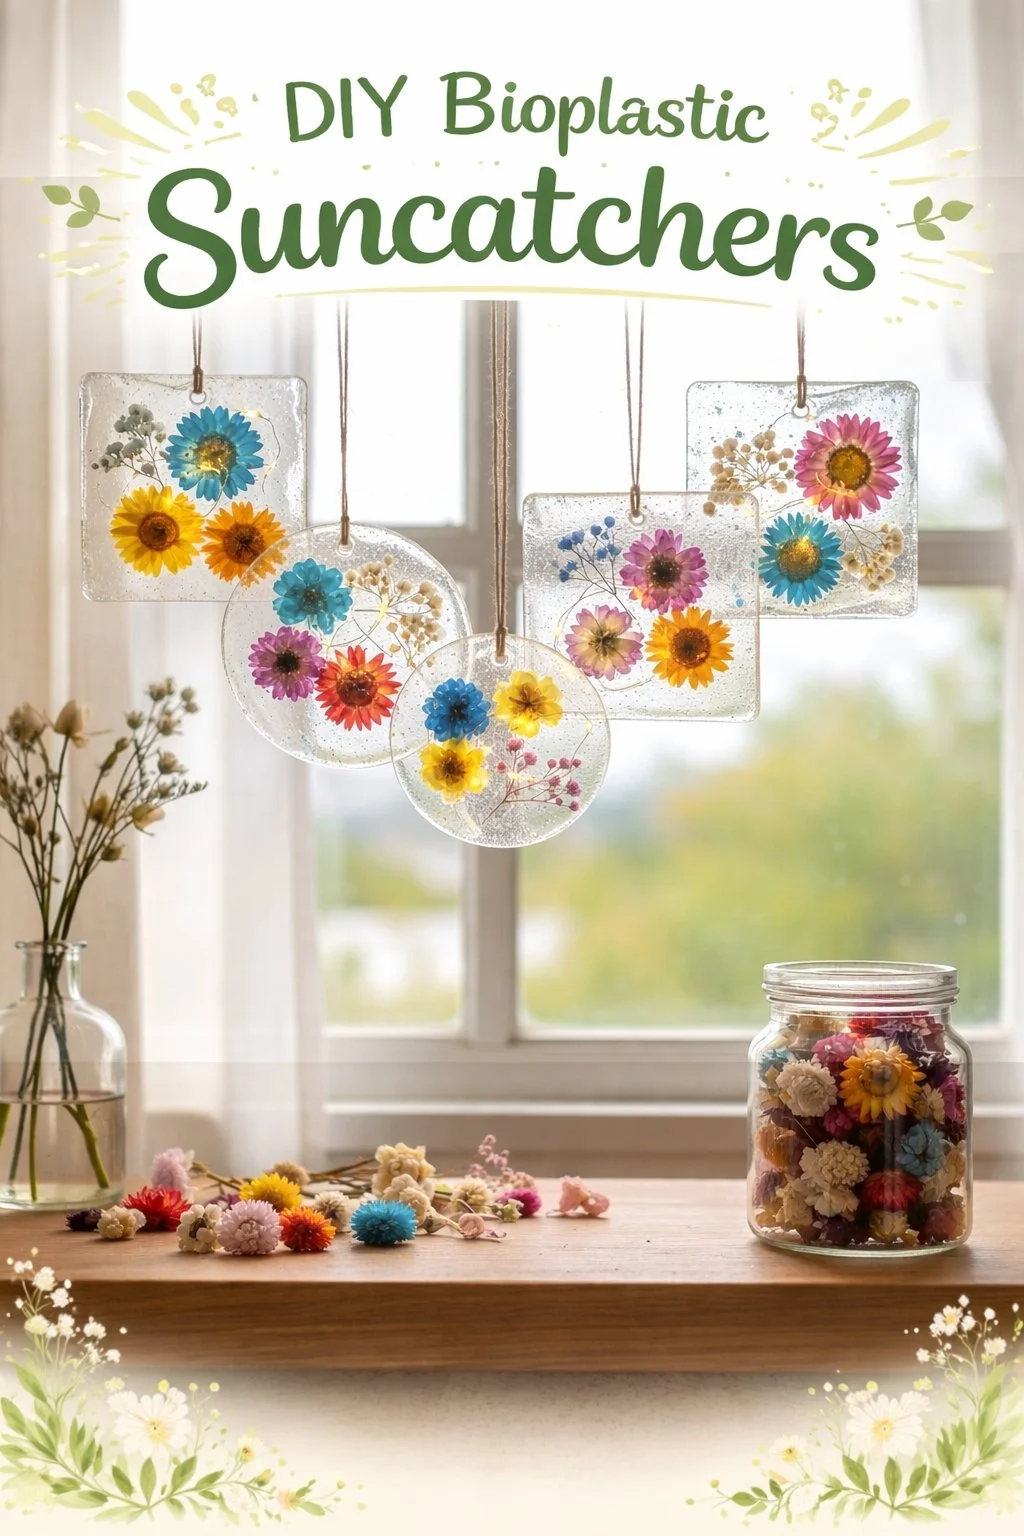
Place your suncatcher where it catches morning or late afternoon light. The thin film scatters light in a soft way, turning small internal shapes into warm, glowing marks on the wall. A petal may appear luminous at its center and hold a darker edge where the pigment sits thicker. You can hang a string of several pieces to make a gentle mobile, or cluster them at a single window to create a small chorus of color.
I like to change them with the seasons. In early spring I choose pale buds and translucent grasses. In autumn I pick deep reds and tiny seed heads that make warm, russet shadows. The suncatchers feel especially cozy on rainy days when the light turns soft and even. They also work as small handmade gifts. Wrapping one in tissue and tying it with a thin ribbon makes a humble present that carries the warmth of the making.
For thoughts about sustainability and how these pieces fit into an eco-minded practice, see my reflections on ecofriendliness considerations and small ways to reduce waste.
Keeping It for Later
Store finished suncatchers flat between sheets of acid-free tissue paper or in a shallow box. Avoid stacking too many pieces directly on top of each other; the surfaces may stick slightly if humidity is high. Keeping them in a cool, dry place helps them maintain flexibility.
If a piece bends or warps over time, you can gently lay it flat on a warm surface for a short time to encourage it to relax. Avoid heat sources that are too hot, such as direct oven heat or an active radiator. Over time, the material may become more rigid if it loses moisture. A light misting of a 50/50 water and glycerin solution can restore some suppleness, but test it on a spare scrap first.
If you expect long-term display in direct sunlight, rotate the pieces occasionally. Continuous, strong sun can slowly fade delicate pigments in plant materials. For heirloom care, keep a few spare sheets tucked away so you can replace a favorite when its edges show wear.
Gentle Tips & Variations
- Invite texture: Try placing bits of thin paper between two layers of film to trap a soft pattern. The paper softens as it embeds and gives a layered, whispery texture.
- Play with translucence: For more opaque color, mix a tiny amount of biodegradable pigment or watercolor into the liquid before pouring. Start with the smallest pinch and build slowly.
- Make shapes by layering: Pour a base layer and let it set slightly. Add small shapes or snippets, then pour a thinner top layer. The layered effect creates gentle depth.
- Preserve delicate petals: For fragile blooms, dust them with a tiny amount of cornstarch to remove surface moisture before embedding. This reduces cloudiness during drying.
- Build a garland: Make many small discs and tie them with space between each. The movement adds a lulling, kinetic quality on a slightly breezy day.
Think of these suggestions as invitations. Test one at a time. Let curiosity guide the variations and allow happy accidents to become part of your cozy collection.
FAQs About DIY Bioplastic Suncatchers
Are these suncatchers safe to touch and hang in a child’s room?
Yes, when made with household gelatin and glycerin they feel benign. Keep them out of reach of very young children who might chew on them. Glycerin and gelatin are food-grade, but these pieces will not hold up to repeated handling or to being put in mouths. Always supervise little ones around craft projects.
How long do they last?
With gentle care they can last months to a year or more. Life depends on humidity, sunlight exposure, and how often you handle them. Storing them flat in a cool, dry place extends their life.
Can I use fresh flowers?
Fresh plant material contains moisture. I recommend pressing and fully drying flowers and leaves for at least a week. Dry botanicals embed more clearly and reduce the risk of cloudiness or mold.
What can I use if I do not have glycerin?
Glycerin makes the film flexible. Some makers omit it and accept a slightly stiffer sheet. If you like a softer feel, try to find small bottles at craft stores or pharmacies. Always test small batches if you substitute materials.
Will humidity ruin my suncatcher?
High humidity slows drying and can make sheets tacky. If you live in a humid climate, dry them near a gentle heat source like a sunny windowsill or a warm, dry room. Avoid high oven heat. Patience helps.
A Quiet Closing Thought
Take your time with each cup of warm liquid and each pressed petal you nestle in place. This project asks little but gives much: a moment of mindful focus, a small object that holds light, and a practice for soft attention. The act of making a bioplastic suncatcher becomes a gentle pause in the day, a way to connect with texture and daylight. Let the finished pieces hang where you can notice them in small, restorative moments.
Conclusion
If you want a step-by-step tutorial from another perspective, the clear directions in How To Make A Bioplastic Suncatcher – Chemistry for Kids explain the basic chemistry and give a child-friendly view of the same ideas.
For inspiration that focuses on botanical embedding and color play, the guide at Botanical Bioplastic Sun Catchers – Wineberry Woods offers gentle photos and thoughtful variations.
PrintDIY Bioplastic Suncatchers

Create beautiful and delicate suncatchers using gelatin and dried botanicals. This project encourages mindful crafting and results in stunning light-catching pieces.
- Prep Time: 15 minutes
- Cook Time: 60 minutes
- Total Time: 75 minutes
- Yield: 1 suncatcher
- Category: Craft
- Method: Crafting
- Cuisine: N/A
- Diet: N/A
Ingredients
- 1 cup distilled water
- 2 tablespoons gelatin powder (plain)
- 1 teaspoon glycerin (optional)
- Dried flowers, thin leaves, or small petals
- Shallow tray or silicone mat
- Parchment paper (if not using silicone)
- Fishing line or ribbon (for hanging)
- Cookie cutters (optional for shaping)
- Wooden spoon or silicone spatula
Instructions
- Measure and mix the base.
- Warm the distilled water in a small saucepan until hot but not boiling.
- Sprinkle the gelatin over the surface and let it bloom for a minute.
- Stir the mix slowly until the gelatin fully dissolves.
- Add glycerin and stir until blended.
- Warm the mixture over low heat, stirring steadily.
- Prepare the shallow tray lined with a silicone mat or parchment.
- Pour the warm gelatin mixture into the tray in a thin, even layer.
- Press the dried botanicals into the liquid using tweezers.
- Let the mixture set until tacky, about an hour.
- Air dry for 24 to 48 hours until firm.
- Peel the film from the mat carefully.
- Add hanging hardware and display your suncatcher.
Notes
Use fully dried plant material to prevent cloudiness. Store finished suncatchers flat to maintain their shape. Rotate in sunlight to prevent fading.