

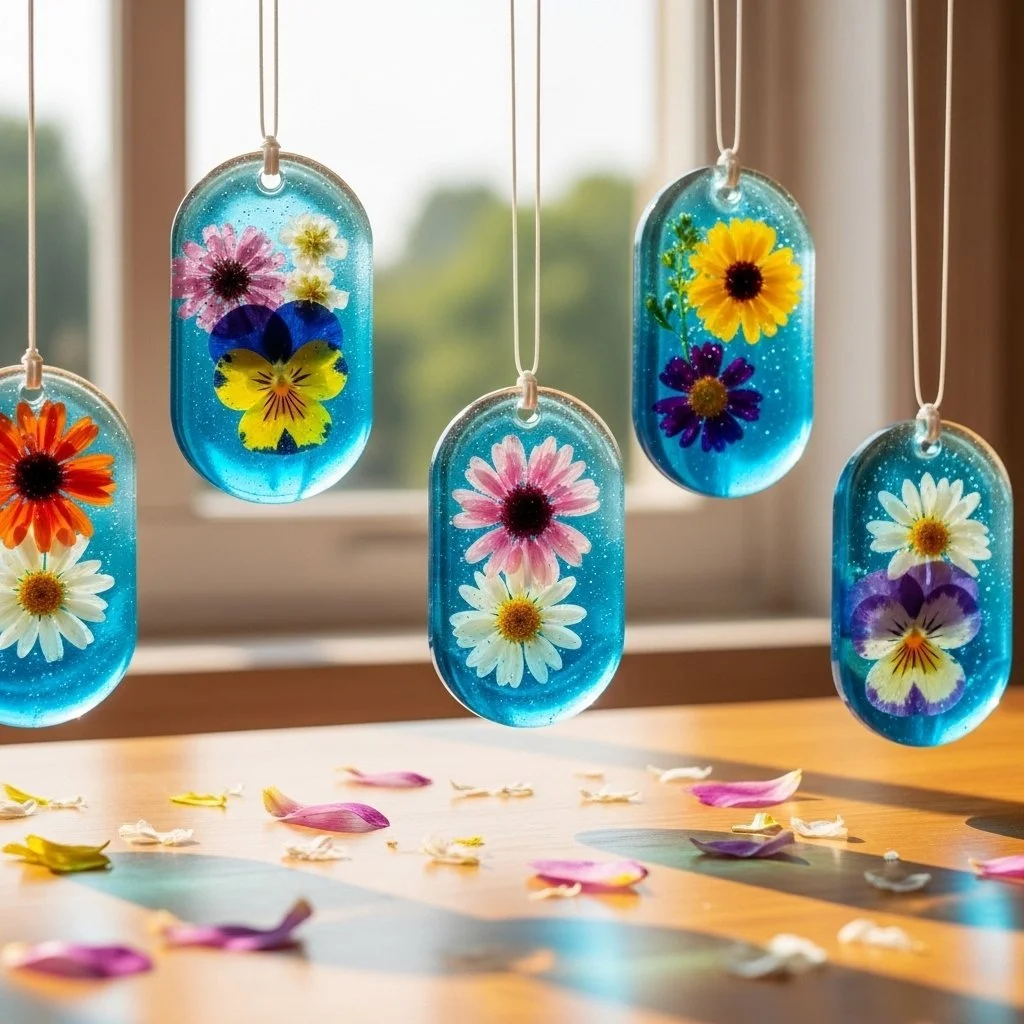
A warm pool of light sits on the windowsill. I cup a small, translucent disk in my hands and feel its smooth, slightly cool surface. When I tilt it, color moves like a slow tide. Making DIY Bioplastic Suncatchers asks for gentle attention and small, steady motions. It invites the hands to slow, the breath to lengthen, and the rest of the world to blur at the edges for a little while. If you like, explore a colorful recipe that inspired this project to see one way to build on these ideas: colorful bioplastic recipe.
The Heart Behind This DIY
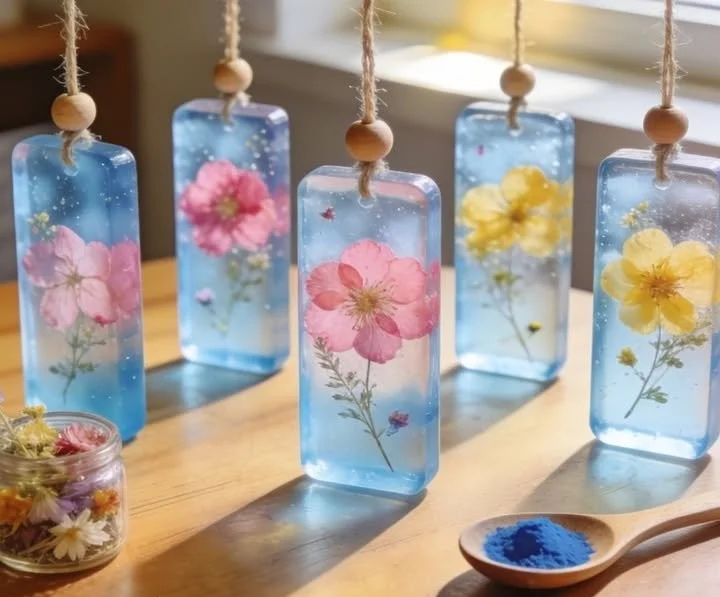
There is a quiet pleasure in turning simple kitchen ingredients into a sheet that catches light. DIY Bioplastic Suncatchers help you notice texture, temperature, and translucence. You work slowly enough to feel each stage. That pace soothes the busy mind.
These suncatchers fit places where you want to invite a soft pause. Hang one in a small window and watch the day move through it. Tuck one into a shadow box and let it catch stray beams. The result feels both fragile and steady, like a little captured moment of sunlight.
I find this project comforting because it requires no special tools. A wooden spoon, a small pan, and some gentle hands will do. That simplicity gives room for focus. You can make a batch during a quiet afternoon and the rhythm of stirring, pouring, and drying becomes a calm routine.
A Gentle Look at the Process
Before you begin, imagine the flow of this craft. You heat a mixture until it becomes a clear, viscous liquid. You stir and feel the warmth in the pot and the rhythm in your arm. You pour the warm mass onto a flat surface and spread it with a slow hand. You press in tiny leaves or bits of color, listening to the soft hiss as air escapes and the surface settles.
The work moves from warm and fluid to cool and firm. The parts that matter most are gentle handling and patience. The drying step asks for time rather than force. If you want more guidance on process notes, I keep a quiet set of step suggestions that may help when you are first learning: process notes and tips.
Materials You’ll Need
- Gelatin (unflavored), 1 tablespoon per small suncatcher (easy to find at grocery stores).
- Glycerin, a few drops (optional, keeps the bioplastic more flexible).
- Distilled water, 3 tablespoons for each 1 tablespoon gelatin (simple, clean).
- A small saucepan (nonstick or stainless works well).
- A silicone mat or parchment paper (flat, smooth surface for drying).
- Cookie cutters or small molds (optional; makes consistent shapes).
- Natural pigments, food coloring, pressed flowers, or tiny leaf bits (optional for decoration).
- A straw or skewer to poke a hanging hole while soft (easy and precise).
- Tweezers for placing small botanical bits (helps keep things tidy).
- Oven tray or flat board for moving suncatchers to a dry place (stable and flat).
- Soft cloth and clean water for wiping hands and spills (comfort and safety).
If you want more detailed supply notes or substitutions for sensitive skin and vegan options, there are additional suggestions available that explore those paths: more material tips and swaps.
Step-by-Step Directions
Gently combine gelatin and water in the saucepan. Heat slowly on low. Stir with a wooden spoon until the grains dissolve and the mix becomes clear and smooth. Notice the scent of warm gelatin and the tiny steam curls. Keep your motions steady and calm.
Add glycerin and any liquid color while still warm. Stir a few gentle times so color spreads evenly. The glycerin helps keep the finished piece somewhat flexible. If you prefer no glycerin, skip it for a stiffer, glass-like feel.
Remove the pan from heat and let the mixture cool for just a moment. It should feel warm but not hot on the back of your hand. This keeps it pourable and safer to work with. Take a breath. The pause here helps prevent splashes and gives you a moment of calm.
Pour a small puddle onto your silicone mat or parchment. Work in small batches so each suncatcher stays thin and dries evenly. Use the spoon to spread into a soft circle or press into cookie cutters. The surface will glisten while it is wet; that shine slowly fades as it sets.
Press delicate items like dried flowers or thin leaves onto the surface with tweezers. Place them gently to avoid trapping air. Use a skewer to nudge tiny pieces flat. If you want a hanging hole, poke it now while the material is still soft.
Let the pieces cool completely at room temperature. Cover them loosely with a clean cloth to keep dust off. Drying can take several hours to overnight depending on thickness and humidity. You will know they are ready when they feel firm and slightly springy to the touch.
Carefully peel each suncatcher from the mat when fully dry. Work from one edge and lift slowly. If a corner resists, wait a little longer. Trim rough edges with small scissors if needed. Handle with soft fingers; the finished surface is smooth but delicate.
Thread a thin ribbon, string, or fishing line through the hole and tie a small knot. Test the hang gently to make sure the knot holds without tearing. If the hole weakens, reinforce it with a dab of clear glue. Hang your suncatcher where light can move through it and enjoy the quiet glow.
Bringing DIY Bioplastic Suncatchers Into Your Space
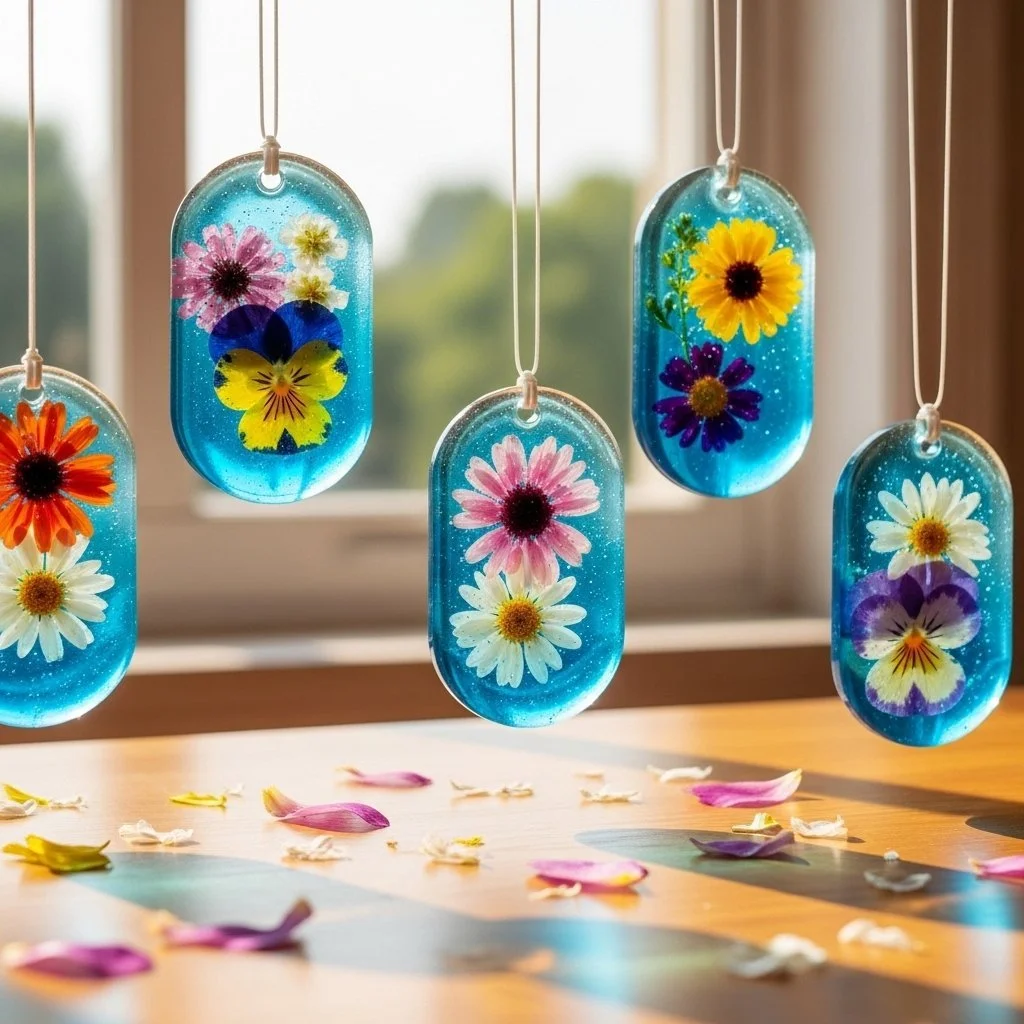
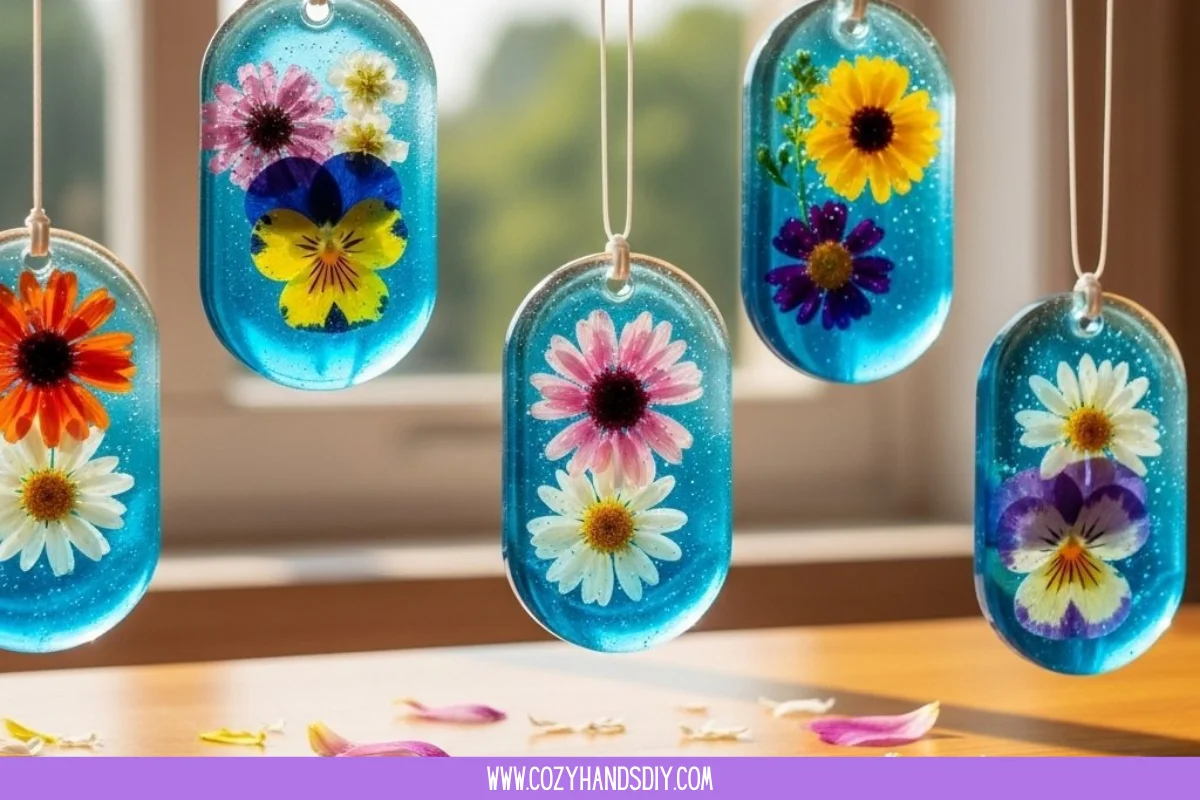
These small disks catch moments of sun and hold them where you can see them. Hang one in a kitchen window to lift the morning light. Tie a few at different heights in a small frame or mobile for a slow parade of color as the air shifts. You can nest several inside a shallow bowl near a lamp to create a soft glow on winter evenings.
I like to place them near a reading nook. When the sun moves, the color washes gently across the page and feels like a small, moving bookmark. In a child’s room they offer safe, handmade color that changes during the day and invites touch under supervision.
If you care about sustainability, you may want to explore how these pieces fit into a mindful practice of materials and reuse. For ideas about eco-friendly attitudes and storage, see this note on eco-friendly ideas: eco-friendly ideas for bioplastic suncatchers.
Caring for Your Finished DIY
Store your suncatchers flat and separate, especially if you made several at once. A shallow box with soft tissue between pieces keeps them from sticking or scratching.
Avoid prolonged exposure to direct heat or high humidity. Heat can soften the bioplastic, and excess moisture can change its shape. Keep them away from radiators, hot stoves, and very damp rooms.
If dust gathers, wipe each piece with a soft, slightly damp microfiber cloth. Do not soak them in water. If a hinge or thin area weakens, save the piece as an experiment for layering or use it for a smaller display rather than a weight-bearing hanging piece.
Gentle Tips & Variations
Try layering thin sheets. Make a first thin layer and let it set until tacky, then add a second colored layer. The result has depth but still dries light. This invites quiet experimentation with color mixing.
Use edible pigments like beet or spinach juice for a soft, muted palette. Natural pigments create a more organic look and feel. They also keep the process kitchen-safe and gentle.
Make tiny shapes for gifts. Small stars or hearts tucked into cards feel like a soft, handmade touch. Use smaller molds and thinner pours to dry faster.
Experiment with texture. Press a small bit of lace or a leaf skeleton lightly to make a faint imprint. The imprint remains subtle and pleasing when the piece dries.
Try a set of tones. Make several suncatchers using one pigment at different strengths. Arrange them in a row from pale to deeper color and enjoy the slow shift.
What I’ve Learned While Making This
I discovered that taking longer to cool the mixture helps avoid bubbles and odd textures. When I hurried, I trapped air and had to press it out with the back of a spoon. Slow stirring and a calm approach make the surface smoother.
I also learned that patience during drying preserves the delicate sheen. Rushing by turning up heat can warp the piece. I now let them rest in a low-traffic place and check only once or twice. If you are working with kids, set aside a time block so drying happens without interruption.
Safety note: keep hot mixtures away from little hands and consider using oven mitts. Use natural, non-toxic decorations when children will handle the finished objects. Honoring safety lets making stay relaxing and worry-free.
FAQs About DIY Bioplastic Suncatchers
Q: Will these suncatchers melt or warp in a hot car? A: They can soften if exposed to high heat for long periods. Avoid placing them where the temperature soars, like inside a closed car on a hot day. If you want something more stable for warm spaces, make them thinner and add a little glycerin for flexibility, or use them indoors where temperature is steady.
Q: Can I make these vegan? A: Traditional recipes use gelatin, which is animal-derived. You can explore plant-based alternatives like agar-agar, though the texture and drying time change. Agar can set faster and feel more brittle. Try a small test piece first and adjust ratios until you find a feel you like.
Q: How long do they last? A: With careful storage in a dry, cool place, suncatchers can stay beautiful for months to years. They are not as durable as glass, so treat them gently and avoid moisture. Periodic checks and soft cleaning will help them keep their glow.
Q: Are there ways to preserve very delicate botanical pieces inside the suncatcher? A: Use fully dried flowers or leaves. Moisture trapped inside can cause dark spots or mold. Press botanicals for a few days before embedding them. If a delicate piece seems at risk, place it on a nearly dry layer rather than on wet material, pressing it in gently so it stays flat.
Q: Can children help? A: Yes, with supervision. Children can stir cool mixtures, place pre-dried decorations, and poke holes after an adult does the hot steps. Set clear, calm boundaries about what is hot and what is not. Let the sensory parts be the focus rather than speed or perfection.
A Quiet Closing Thought
Sit a moment with the small pieces you made. Notice the way light slips through them and how your hands remember the motion of spreading and pressing. This project gives you a soft, steady ritual: mix, pour, wait, and watch. Each step asks you to slow and listen to the small cues your materials give. That attentiveness becomes part of the comfort.
Keep a tiny stack of finished suncatchers for the days when you need a small, handmade calm. Swap them out with the seasons, and let their shifting colors mean something simple and kind: a reminder that you made space for a slow, warm moment today.
Conclusion
If you would like a different angle on this method, this science-friendly walkthrough gives a clear recipe and explains the chemistry behind the change from liquid to solid: How To Make A Bioplastic Suncatcher – Chemistry for Kids.
For a botanical approach and inspiration on arranging plant matter within the sheets, this post shares lovely examples and gentle tips: Botanical Bioplastic Sun Catchers – Wineberry Woods.
Thank you for making with me today. Let the process be as small and kind as the finished piece.
PrintDIY Bioplastic Suncatchers
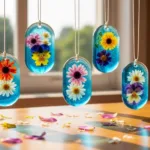
Create beautiful and delicate suncatchers using simple kitchen ingredients like gelatin and water. This project invites you to slow down and enjoy a calming craft experience.
- Prep Time: 15 minutes
- Cook Time: 30 minutes
- Total Time: 45 minutes
- Yield: 4 suncatchers
- Category: Craft
- Method: Crafting
- Cuisine: N/A
- Diet: Vegan (if using plant-based gelatin)
Ingredients
- Unflavored gelatin, 1 tablespoon per small suncatcher
- Distilled water, 3 tablespoons for each 1 tablespoon gelatin
- Glycerin, a few drops (optional)
- Natural pigments or food coloring (optional)
- Dried flowers or leaves (optional)
- A straw or skewer (for poking hanging holes)
- Tweezers (for placing decorations)
- Soft cloth (for cleanup)
Instructions
- Combine gelatin and water in a saucepan.
- Heat slowly on low. Stir until the mixture is clear and smooth.
- Add glycerin and any color while still warm.
- Remove from heat and let it cool slightly.
- Pour onto a silicone mat or parchment paper.
- Press in any decorative items with tweezers.
- Let it cool completely at room temperature.
- Peel the suncatcher from the mat when dry.
- Thread a ribbon through the hole and tie.
Notes
Allow suncatchers to dry completely and store them flat to avoid sticking. Keep away from direct heat and humidity.