

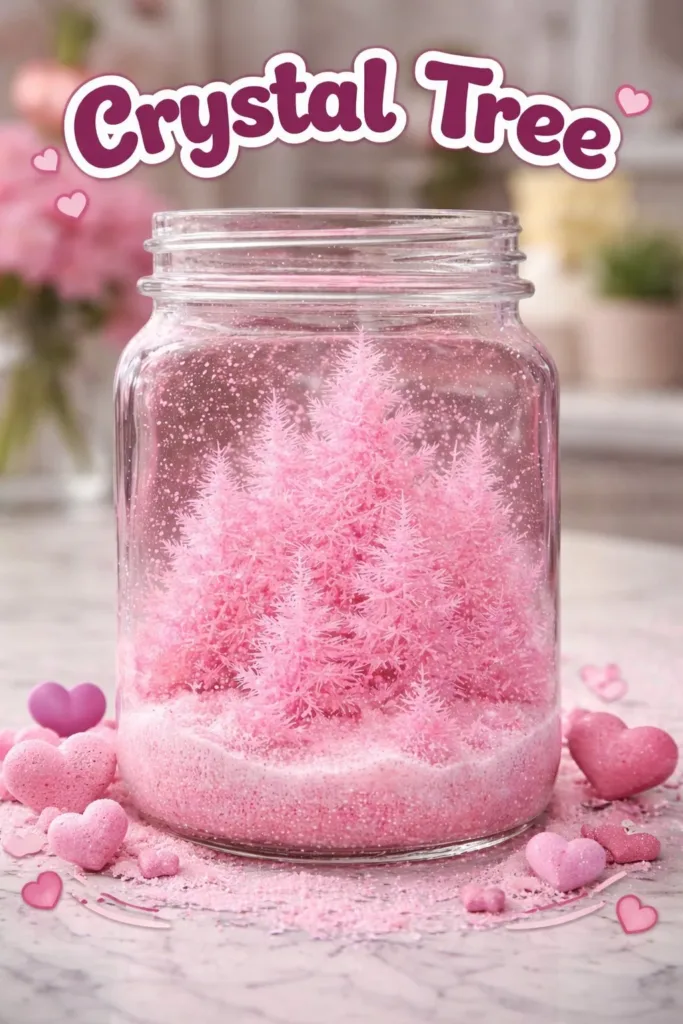
I sit by a small window as late light pools on a table, and I coax tiny crystals to gather on a wire armature that I call my Crystal Tree. The glass jars hum faintly with warm solution, and the first sparkles form like slow snow on twigs. Making this gentle piece helps me breathe slowly, notice the cool weight of the spoon, and feel the small, steady lift when a clear crystal blooms at a branch tip. For a cozy how-to that leans into calm, you might also enjoy a similar project with a slightly different recipe, such as this baking soda crystal growing tree that we made one soft afternoon.
Why Crystal Tree Feels Comforting to Create
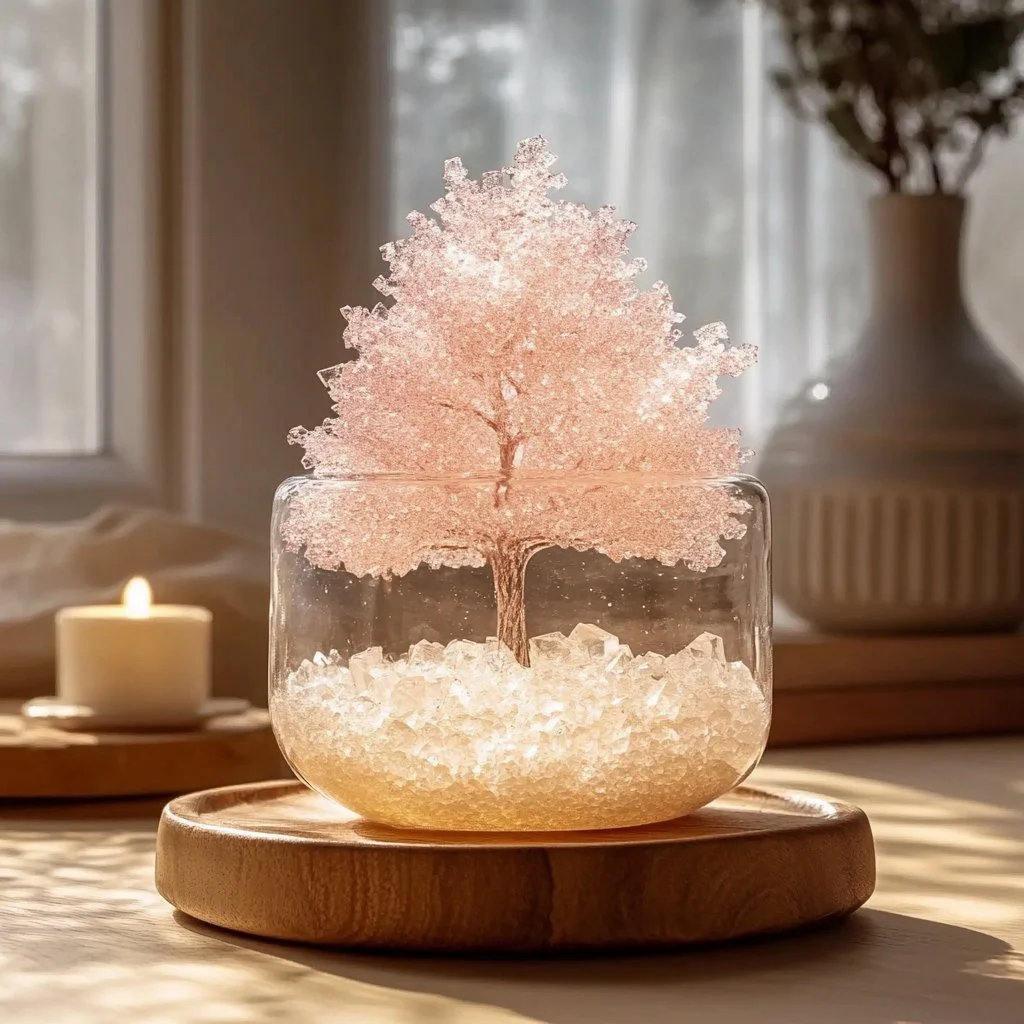
A Crystal Tree asks for stillness. It asks you to mix warm water, watch light through glass, and return with a quiet mind to notice tiny changes. This focus on small shifts brings a gentle rhythm. You stir slowly. The solution clears. A translucent bead of crystal appears. Each small event becomes a point to rest your attention.
The textures matter. Cool wire under your fingers contrasts with the soft powder of a crystal mix. The finished crystals catch and hold light like tiny lanterns, and they ask you to move slowly when you place them. The process asks for patience. That invitation to slow down feels like the whole point.
There is simplicity here, too. You use a handful of easy supplies and familiar motions. The calm that comes from limited materials and steady repetition helps the mind leave busy lists at the door. That quiet focus supports mindful making in a tactile, sensory way.
This craft connects making with observing. You learn how a little change in temperature or stirring changes crystal growth. That small, quiet learning feels warm and reassuring. It gives the hands a job and the eyes a gentle story to follow.
The Flow of Making Crystal Tree
Before you begin, imagine the steady beat of small steps. You will form a frame, prepare a clear solution, and give crystals a place to grow. The flow moves from shaping to waiting to the tender act of decoration. Each stage has its own pace.
You move your hands differently at each stage. Building the armature asks for bending and shaping, a firm but soft pressure. Mixing asks for a slow, circular stir. Waiting asks for patient checks, like glancing at a small plant as it grows. Decorating asks for fine motor attention, placing crystals on branch tips with care.
Listen for small sounds. A soft clink when wire touches glass. The whisper of powder falling. Your breath may slow as you watch clear beads form along a trembling twig. These sensory cues guide your tempo and help the project become a calm ritual.
This flow also lets you practice safety in a gentle way. You keep liquids contained. You let glue cool. You give hot water a moment to become warm before handling. These small, mindful precautions keep the process comfortable and confident.
Materials You’ll Need
- Thin craft wire, about 18-22 gauge, easy to bend and hold shape
- A small glass jar or bottle, clean and clear (easy to find)
- A heat-safe mixing cup or jar for warming water
- Hot water from a kettle, not boiling (use caution)
- Crystal-forming mix (baking soda or a simple crystal packet; substitute-friendly)
- Clear glue or white craft glue for anchoring, optional for added security
- Small pebbles or marbles to weight the base, optional
- Tweezers or chopsticks for placing crystals, helpful for small pieces
- A spoon or stir stick, smooth and simple
- A tray or shallow dish to catch spills, soft to the touch
- Paper towels and a small bowl for discarded water, safety and neatness
- A pair of needle-nose pliers for shaping wire, for steady control
- An old towel to protect your work surface, cozy and absorbent
I list both baking soda mixes and crystal packets because they each teach, in a hands-on way, how crystals like structure and a slow change in concentration. Baking soda is gentle and easy for families. Pre-mixed crystal packets often grow faster and offer clearer branches. Both work well with the same care and attention.
STEP-BY-STEP DIRECTIONS:
- Make the wire frame.
Bend the wire into a trunk with many small branch tips.
Twist the base so it fits snugly into your jar, holding it upright. - Prepare a calm work area.
Lay an old towel and set the jar in the center.
Have all supplies within reach so you move smoothly. - Warm the water gently.
Pour hot, not boiling, water into your mixing cup.
Let it cool two or three minutes until it is warm to your wrist. - Mix the crystal solution slowly.
Add your chosen crystal mix to the warm water a little at a time.
Stir in gentle circles until the powder dissolves and the liquid looks clear. - Pour the solution into the jar.
Set the wire frame into the jar so the base rests comfortably.
Make sure branches do not touch the jar sides too much. - Anchor the frame if needed.
Add a few pebbles or marbles around the base to steady the trunk.
This keeps the tree upright and steady as crystals form. - Find a quiet place to let it rest.
Move the jar to a spot with soft light, not direct sun.
Cover it lightly if pets or drafts might disturb it. - Watch the first crystals form.
Check after a few hours to notice tiny beads along branch tips.
Pay attention to where crystals like to start; often tips or rough spots. - Return slowly and mindfully.
Glance at your tree once or twice a day, not often more.
Each check becomes a small ritual of presence. - Add layers for a fuller look.
Once the first layer forms, you can mist lightly to encourage more growth.
Use tweezers to reposition fragile pieces if needed, with small, steady movements. - Finish with glue if you want permanence.
When the crystals look like you want, add tiny dots of clear glue at joins.
Let the glue dry fully before moving the tree. - Trim and refine.
Use pliers to snip excess wire and tidy the silhouette.
Gift with a small card that notes the date and the calm moment you made it.
These steps keep the project gentle and manageable. I find shorter, measured sessions serve the work better than trying to rush growth. The slow, steady watching becomes the rich part of the craft.
Enjoying the Finished Piece
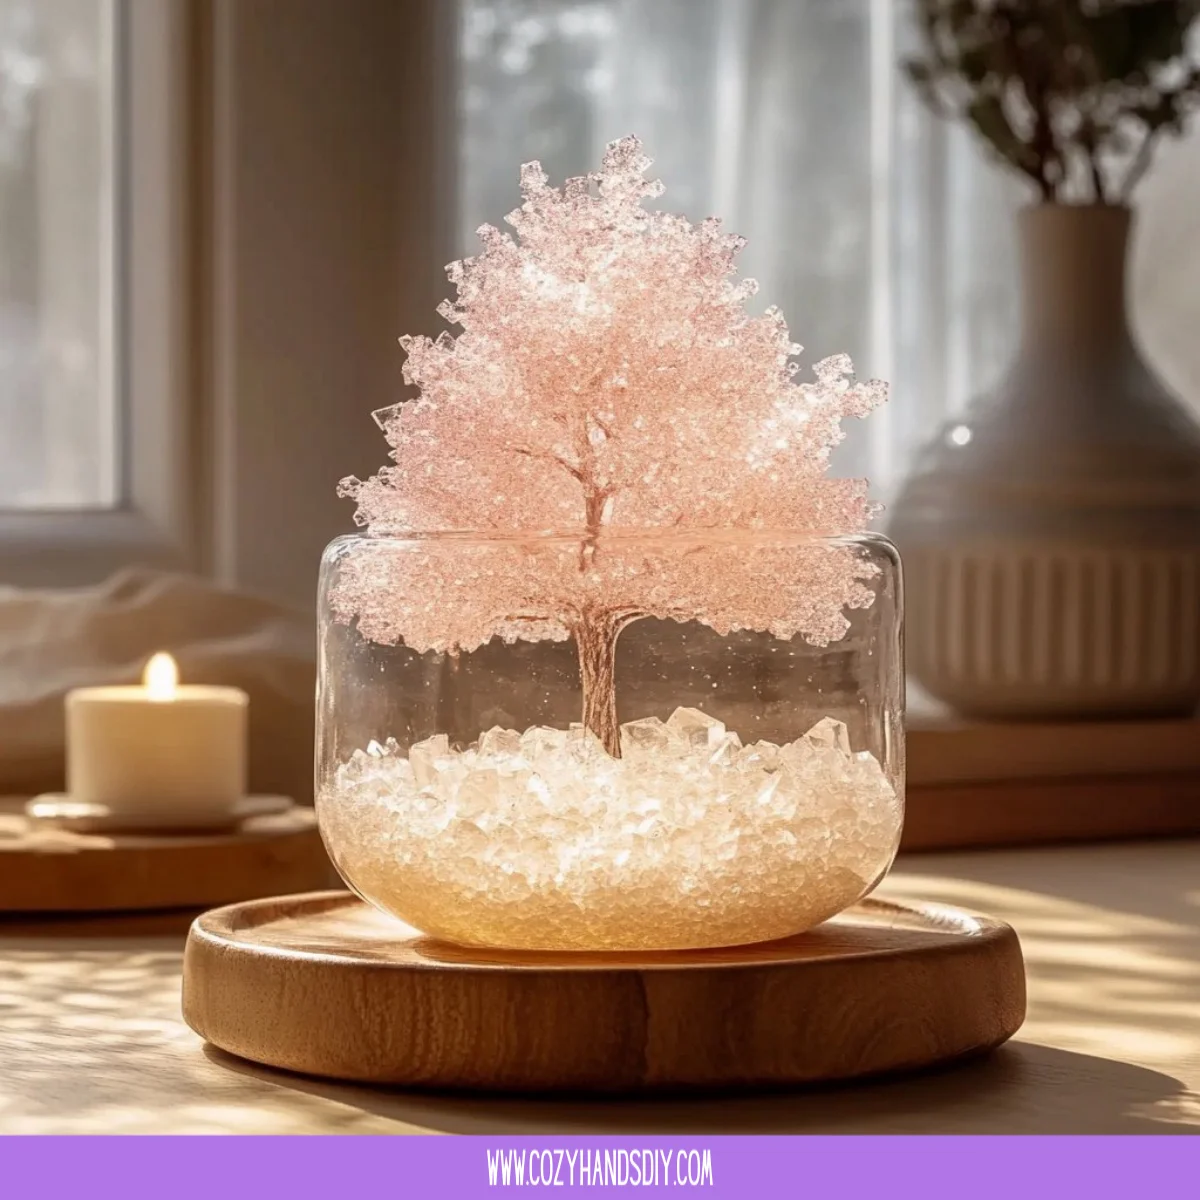
Place your Crystal Tree where light meets stillness. On a bedside table the crystals catch dawn light in a soft way. On a kitchen windowsill the piece glows in afternoon warmth like a tiny forest of frozen dew. Wherever you set it, allow a small zone of quiet to surround it.
Use the tree as a touchstone in a calm routine. Hold the jar for a moment when you need to slow your breath. Let the glass feel cool and the crystal edges feel pleasantly textured under a fingertip. The tree does not demand display perfection. It rewards gentle handling and moments of notice.
Consider pairing it with other slow objects. A small ceramic cup or a folded linen cloth extends the tactile theme. Keep a small notebook nearby to note the dates when growth appears. These records help you see the living rhythm of small crafts.
A Crystal Tree also makes a thoughtful gift. Share it with a friend who appreciates quiet objects. Include a note about the calm moments you enjoyed while making it. The shared story makes the piece feel warmer.
Keeping It for Later
Store your tree in a cool, stable spot if you do not display it daily. Crystals are delicate. Keep the jar covered with a light cloth or lid to reduce dust and drafts. Avoid direct heat or sunlight for long periods because that can make the solution evaporate unevenly and change the crystal structure.
If you want to reuse the jar or renew crystals, you can dissolve them again. Pour warm water into the jar and let it sit until crystals soften, then rinse carefully. This resetting gives the project a second life and offers another chance to slow down and watch growth.
For long-term display, a small dab of glue at strategic joins helps the structure hold. Glue keeps loose crystals from falling during gentle moves. If you plan to transport the piece, pack it in soft tissue and a snug box so the branches do not bend.
If you store the wire frame without crystals, coil it gently and loop it in tissue. The thin wire can kink if you stack heavy items on top. A small drawer with soft padding will keep it ready for another calm session later.
Gentle Tips & Variations
- Invite color with a mild dye.
Add a drop or two of food coloring to the solution for soft-toned crystals.
Work with subtle shades to keep the finished piece soothing rather than bright. - Try different armature materials.
Use small twigs from the yard for a natural look, but boil and dry them first to remove saps.
Metal wire gives you more control; twigs give warmth and an earthy scent. - Make a family ritual of checks.
Ask household members to perform a single gentle check each day.
This small shared habit becomes a slow, grounding family moment. - Build multiple small trees.
Smaller jars make intimate, pocket-sized crystal trees that sit like small lanterns.
These miniatures work well on shelves and in a cluster for a soft tableau. - Experiment with timing.
Let some trees grow slowly over days and others more quickly with warmer water.
Comparing their forms teaches you how speed and concentration affect crystal shapes.
These invitations encourage gentle change rather than firm rules. Each variation helps you find the way this craft best soothes your hands and eyes.
FAQs About Crystal Tree:
Is the process safe for children?
Yes, with supervision. Keep hot water and small tweezers out of reach of very young hands. Let older children stir and watch, and guide them on safe handling of glass and wire. I sit beside my niece when she tries this, and the calm focus becomes a shared moment.
What if crystals stop forming?
Slow changes in temperature and dust can slow growth. Try adding a tiny bit more dissolved mix or move the jar to a slightly warmer spot. Sometimes a small jostle helps crystals find a new point to begin. I often nudge my jars an inch toward the window and return later to find fresh growth.
How long do crystals take to form?
You will see initial beads in a few hours, but fuller growth takes days. The rhythm feels like watching paint dry in a good way slow and revealing. I like to check once in the morning and once at night and let the waiting be part of the calm.
Can I use other salts or materials?
Yes. Baking soda and common crystal packets work well and feel safe. Epsom salt and alum can also form crystals with different textures. Each material gives unique shapes because crystals form according to the molecular pattern of the salt. That is a gentle science lesson you learn by doing.
Can I display the tree outdoors?
Avoid prolonged exposure to rain or direct sun. Outdoor air brings dust and wind that can disturb delicate growth. A sheltered porch for brief periods works, but I prefer indoor spots where light is soft and conditions do not change quickly.
Conclusion
If you want to explore places named for this calming form, the local histories offer gentle reading about communities that take the name to heart, such as Crystal Tree Golf and Country Club which shares a name that evokes quiet spaces. For neighborhood-style history and a sense of place that pairs with slow crafts, you might also read about the residential site Crystal Tree – Fresno, CA. These links simply echo the quiet, grounded feeling we invite into our making.
PrintCrystal Tree
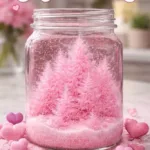
Create a serene Crystal Tree with simple materials, promoting calm and mindfulness as you watch crystals form.
- Prep Time: 15 minutes
- Cook Time: 30 minutes
- Total Time: 45 minutes
- Yield: 1 Crystal Tree
- Category: Craft
- Method: Mindful Crafting
- Cuisine: N/A
- Diet: N/A
Ingredients
- Thin craft wire (18-22 gauge)
- A small glass jar or bottle
- A heat-safe mixing cup or jar
- Hot water (not boiling)
- Crystal-forming mix (baking soda or a crystal packet)
- Clear glue or white craft glue (optional)
- Small pebbles or marbles (optional)
- Tweezers or chopsticks (helpful for small pieces)
- A spoon or stir stick
- A tray or shallow dish
- Paper towels and a small bowl (for safety and neatness)
- A pair of needle-nose pliers
- An old towel (to protect your work surface)
Instructions
- Make the wire frame: Bend the wire into a trunk with small branch tips and twist the base to fit snugly into your jar.
- Prepare a calm work area: Lay an old towel and set the jar in the center.
- Warm the water gently: Pour hot water into your mixing cup and let it cool slightly.
- Mix the crystal solution slowly: Add your chosen crystal mix to the warm water gradually and stir gently until dissolved.
- Pour the solution into the jar: Set the wire frame into the jar carefully.
- Anchor the frame if needed: Add pebbles around the base to steady the trunk.
- Find a quiet place to let it rest: Move the jar to a soft light area and cover it lightly.
- Watch the first crystals form: Check after a few hours for tiny beads along branch tips.
- Return slowly and mindfully: Glance at your tree once or twice a day.
- Add layers for a fuller look: Mist lightly once the first layer forms and reposition fragile pieces if needed.
- Finish with glue if you want permanence: Add tiny dots of glue at joins when satisfied with the look.
- Trim and refine: Use pliers to snip excess wire and tidy the silhouette.
Notes
Invite color with food coloring, experiment with different armature materials, and enjoy the gentle process with family.