

Creating Crystal Geode Eggs invites us into a delightful world of colors and textures, reminiscent of soft spring mornings when sunlight filters through the trees, dappling the ground with a gentle glow. In these moments, we breathe in the tranquility that comes with crafting something beautiful, something that mirrors the intricate beauty of nature. With each layer of geode forming within the cool, smooth surface of the eggs, we engage our senses fully and awaken our creativity in a soothing, inviting manner.
The Heart Behind This DIY

Making crystal geode eggs taps into our innate need for calmness and connection, both with ourselves and nature. As we engage with simple materials, we allow ourselves to slow down and savor each moment. The process is not just about the end result; it is about the experience of creation itself.
Focusing on the textures of the materials, we discover how the roughness of salt interacts with the smooth surface of the eggs. Watching the colors come to life invites us to be present in the moment, pulling our thoughts away from the rushing demands of the day. This sense of mindfulness fosters a peaceful environment, encouraging us to enjoy the quiet beauty of our surroundings as we make.
The tactile aspects of our project resonate deeply, as we mix and mold, allowing the materials to guide us. The gentle crumbling of the salt and the ease of spreading the glue create a rhythm that feels comforting and familiar. Each step offers an opportunity to connect with our creativity in a truly meaningful way.
A Gentle Look at the Process

As we embark on the journey of crafting crystal geode eggs, let us move at a leisurely pace, immersing ourselves in the soothing textures and colors around us. The soft rustle of materials, the smoothness of the egg, and the warm colors draping across the work surface all play a role in our calm experience.
The flow begins when we gather our materials, setting the scene for our creative adventure. Each step of the process unfolds gently, from preparing our egg forms to blending vibrant colors and sparkling crystals. When we focus on the act of making rather than the end product, we truly embrace the joy of crafting. The rhythmic application of glue, the careful sprinkling of salt, and the meditative waiting as the crystals form all invite a sense of peace into our workspace.
Materials You’ll Need
To create beautiful crystal geode eggs, gather the following materials:
- Empty egg shells (carefully cleaned)
- Epsom salt (easy to find at most stores)
- Glue (white school glue works well)
- Food coloring (to add vibrant hues)
- Small cups or bowls for mixing
- Plastic or craft knife (for easier handling)
- Wax paper or a non-stick surface for drying
Feel free to experiment with different colors and textures, letting your creativity shine while you make.
Step-by-Step Directions

- Begin by preparing your workspace. Spread out wax paper or a non-stick surface to protect your table.
- Carefully clean the empty egg shells, ensuring they are dry before use. This prevents any mess during the crafting process.
- In a bowl, mix glue with a small amount of water to thin it out slightly.
- If you wish to introduce color, add a few drops of food coloring to your glue mixture. Stir gently to combine.
- Take a clean egg shell and carefully dip it into the glue mixture, allowing it to coat the inside completely.
- Once coated, sprinkle Epsom salt over the inside of the egg, rotating it as you go to achieve an even layer of crystals.
- Repeat this process for each egg, using different colors for a vibrant display.
- For a more natural look, mix colors and layers of salt. There’s no need for perfection; every egg will turn out beautifully unique.
- Place the eggs shell-side down on your wax paper and allow them to dry completely. This usually takes a few hours, so take this time to enjoy a warm cup of tea.
- Once dry, gently shake off any excess salt and admire your beautiful geode eggs.
Enjoying the Finished Piece
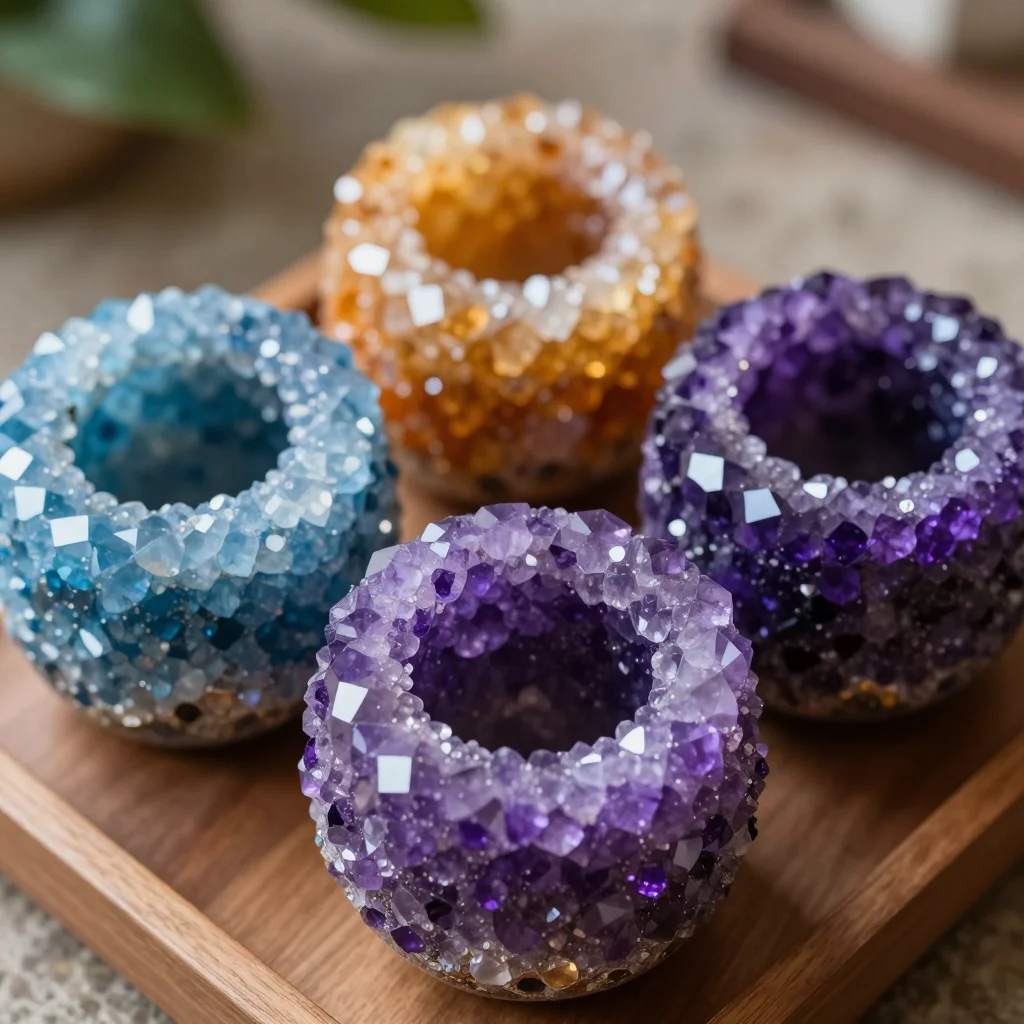
The delicate beauty of your crystal geode eggs can enrich your everyday life. These artistic creations can be displayed in decorative bowls, allowing their sparkling surfaces to catch the light and bring a touch of nature indoors.
When grouped together, they create a soft, colorful mosaic on a tabletop or bookshelf, instilling a sense of calm in any space. An egg or two can serve as thoughtful gifts or simple reminders of the care and tranquility you can cultivate.
Consider using them in seasonal decor for tablescapes or as part of an altar for mindfulness practices. Their gentle sparkle can uplift your mood and provide a soothing atmosphere in your space.
Caring for Your Finished DIY
There’s something reassuring about knowing how to care for your carefully crafted pieces. Store your crystal geode eggs in a cool, dry place to protect them from humidity, which could weaken the salt crystals.
If they accumulate dust over time, simply use a soft brush or cloth to wipe them gently. You can bring back a bit of their shine by carefully spritzing them with a fine mist of water, letting them dry before displaying them again. This simple care can extend the life of your beautiful handmade creations.
Gentle Tips & Variations
As you explore the crafting of crystal geode eggs, feel free to make the project your own. Here are a few gentle suggestions to inspire your creativity:
- Experiment with different types of salt, such as sea salt or rock salt, to achieve unique textures.
- Try layering different colors of Epsom salt or food coloring to create depth and intrigue within your eggs.
- Add small embellishments like beads or glitter for a more playful look, but keep it minimal to maintain the calming aesthetic.
- Use natural dyes from fruits or vegetables for an eco-friendly twist on coloring your eggs, which can enhance both the experience and look of your creations.
FAQs About Crystal Geode Eggs
What are the best techniques for cleaning egg shells before crafting?
Begin by carefully rinsing the shells with water. You can soak them for a short while to loosen any residues. Ensuring they are completely dry before use helps with adhesion and crystal formation.
How long does the drying process take?
Typically, allowing your eggs to dry for a few hours at room temperature works well. If you feel they need extra time, leaving them overnight can ensure they are fully set and ready to display.
Can I make these eggs with children?
Absolutely! This project provides a gentle, engaging way to create art and promote exploration. Just supervise younger ones during the use of sharp tools, and allow them to express their unique styles.
Conclusion
As you complete your journey of making crystal geode eggs, take a moment to appreciate the process of creation. Each step holds the potential for mindfulness, relaxation, and joy. Allow yourself to connect with the beauty of what you’ve created, celebrating both the craft and the presence it brings into your space.
For those curious to explore more techniques, you might find helpful insights in articles like How To Make Crystal Geode Eggs – Parents or delve into the details in How to Make Crystal Egg Geodes – Instructables. May your crafting continue to provide comfort and creativity in your life.
PrintCrystal Geode Eggs

A tranquil and mindful crafting experience creating beautiful crystal geode eggs using simple materials.
- Prep Time: 15 minutes
- Cook Time: 30 minutes
- Total Time: 45 minutes
- Yield: 6 eggs
- Category: DIY Craft
- Method: Crafting
- Cuisine: N/A
- Diet: N/A
Ingredients
- Empty egg shells (carefully cleaned)
- Epsom salt
- Glue (white school glue)
- Food coloring
- Small cups or bowls for mixing
- Plastic or craft knife
- Wax paper or a non-stick surface for drying
Instructions
- Prepare your workspace. Spread out wax paper or a non-stick surface.
- Clean the empty egg shells and ensure they’re dry.
- Mix glue with a small amount of water to thin it.
- Add food coloring to the glue mixture and stir gently.
- Dip a clean egg shell into the glue mixture, coating the inside.
- Sprinkle Epsom salt over the inside of the egg, rotating it for an even layer.
- Repeat for each egg, using different colors for vibrancy.
- Place eggs shell-side down on wax paper to dry.
- Once dry, shake off excess salt and admire your creations.
Notes
Feel free to experiment with different colors and types of salt. Use natural dyes for an eco-friendly twist.