

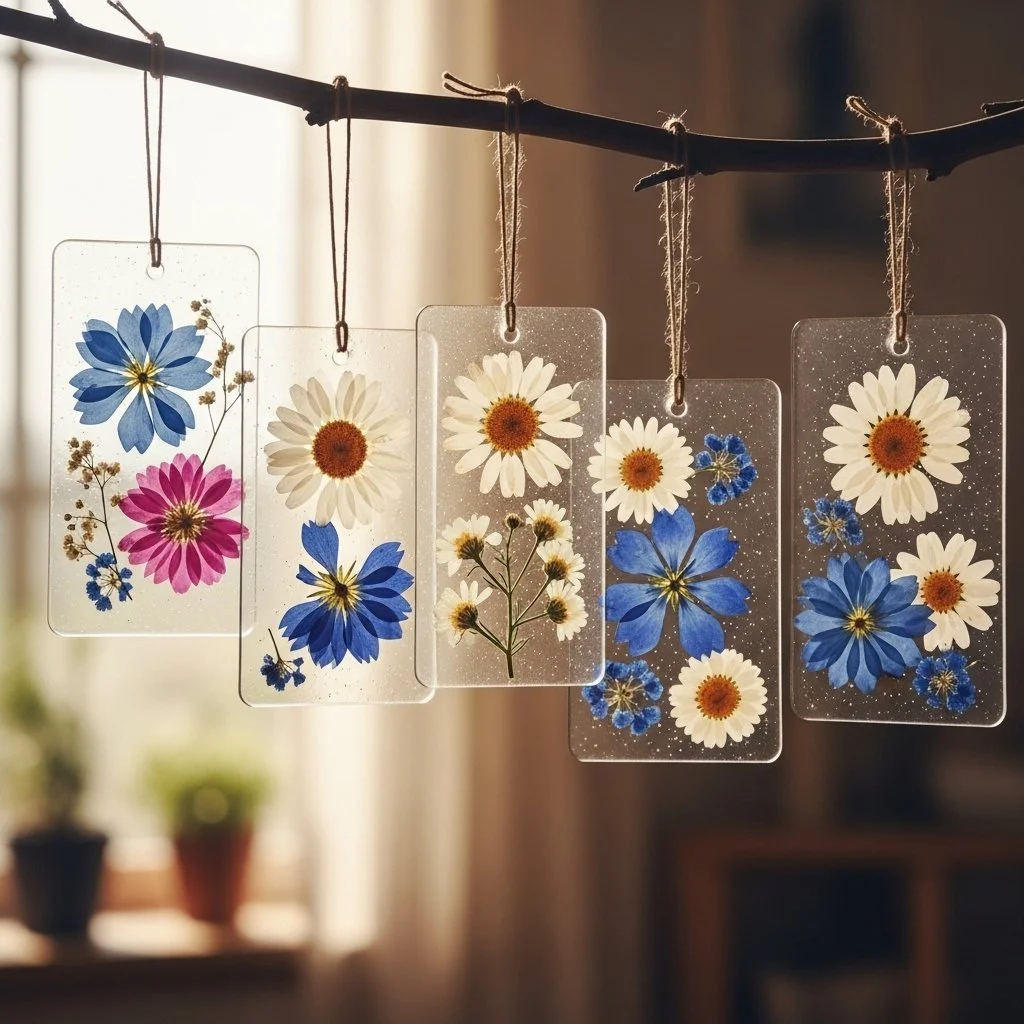
The cool bowl rests on my lap as late light slips through the window. I press a soft ball of dough between my fingers and watch tiny petals bloom under warm palms. Cornstarch Flower Charms feel like a small, slow ritual. Their texture stays velvety and faintly powdery, and the air carries a quiet, sweet hush that helps my hands settle and my mind follow.
I first made these charms on a rainy morning, while tea steamed beside me and soft music kept time. The recipe uses simple pantry staples and folds gentle chemistry into craft. If you like quiet projects that welcome sensory focus, these little flowers invite you to slow down and enjoy each shaping moment. You can also pair this activity with other tactile experiments like the soft, stretchy batch I shared in my dish soap bubble dough post that explores cornstarch and soap, and notice how different textures ask for different hands.
The Quiet Joy of Making Cornstarch Flower Charms
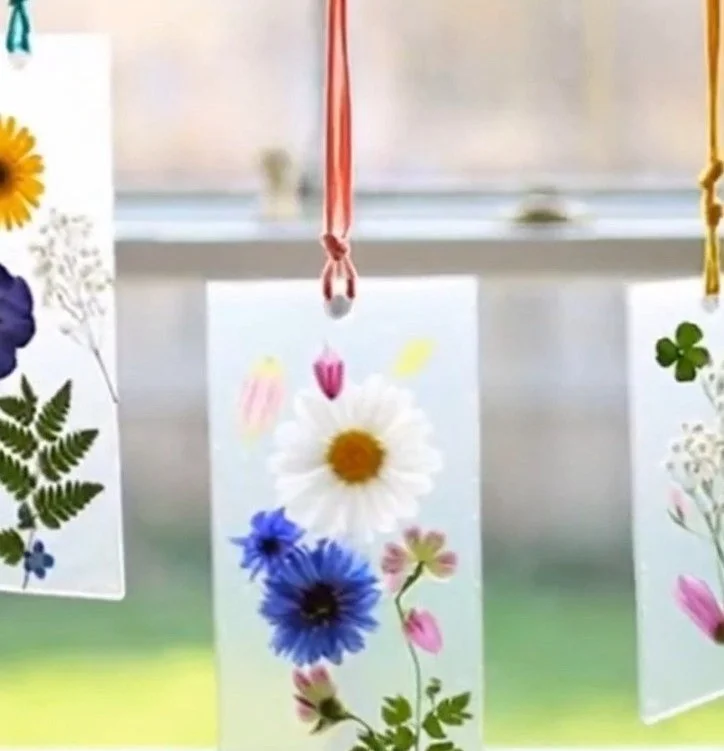
Making Cornstarch Flower Charms brings attention to small details. You notice the soft sifted cornstarch, the way water gently binds powder into a pliable mass, and the faint coolness of clay as you shape petals. The process asks for slow breath and calm movements. It keeps your hands busy in a focused, peaceful way.
These charms ask very little from your space or time. You can prepare them at a kitchen table, on a sunny windowsill, or beside a lamp in the evening. They fit easily into a cozy routine because they reward gentle, repeated actions. The rhythm of pinching, smoothing, and pressing becomes almost meditative.
I like to place the finished flowers on a small tray or string them on thin twine. They make quiet gifts, easy ornaments, or simple charms for bookmarks. If you enjoy exploring natural crystal forms and decorative floral ideas, my page about crystal flowers might spark more ways to use floral shapes in crafts inspired by crystal flower designs.
Why this craft soothes, in practical terms, has to do with sensation and predictability. The cornstarch dough responds smoothly to touch. You can shape, rest, and reshape without haste. That steady give and gentle resistance helps steady the breath and focus the eyes. You learn what pressure the dough prefers, how thin petals hold together, and how small changes in moisture shift texture. These are simple lessons that feel satisfying and safe.
A Gentle Look at the Process
Before you gather tools, take a quiet moment to imagine the flow. You will mix powder and liquid into a soft dough. You will knead with gentle palms and leave the dough to rest if it feels sticky. You will roll thin sheets and cut or shape petals with a spoon or cutter. Each small step asks for attentive but slow hands.
Listen for the soft sounds. The sift of cornstarch, the faint scrape of a spoon at the bowl, the whisper of a rolling pin over the dough. These sounds are unobtrusive and calming. Visually, you will watch smooth edges form and colors blend if you choose to add pigment. The whole process moves like a soft ritual from powder to flower.
If you enjoy experiments that grow from simple materials, you might try pairing this method with the gentle crystal-growing projects I describe in another post about growing a tiny floral crystal structure that explores slow, floral growth. Both crafts reward patience and quiet observation.
Materials You’ll Need
- Cornstarch, 1 cup (easy to find in most kitchens)
- White glue, 1/2 cup (PVA craft glue; optional substitute: clear glue for a different sheen)
- Water, a few tablespoons (warm water helps combine ingredients)
- Fine sandpaper or a nail file (for smoothing; optional)
- Food coloring or powdered pigment (optional; a few drops or a pinch)
- Small rolling pin or a smooth bottle (substitute-friendly)
- Small leaf or flower cutter, teaspoon, or craft knife (gentle shaping tools)
- Toothpicks or small sculpting tools (for texture and petal veins)
- Baking sheet and parchment paper (for drying)
- Thin twine, jump rings, or ribbon (if you want to hang charms)
- Clear sealant or matte varnish (optional for waterproofing; use in a ventilated area)
- Soft cloth and small container for water (for smoothing and cleanup)
- A shallow tray or shallow bowl to rest pieces while drying
Notes on materials
- Cornstarch is the main structure provider. It gives a soft, smooth feel.
- Glue binds the starch. It makes pieces stronger when dry.
- Warm water helps glue and starch combine without lumps.
- Pigments are optional. A little color goes a long way.
- Sealants increase durability but change the finish. Test on a scrap.
If you prefer a translucent look similar to thin suncatchers, you might also explore the bioplastic suncatcher recipe that uses similar base ingredients for a different finish in that tutorial.
Step-by-Step Directions
Mix cornstarch and glue in a bowl. Take a breath and add glue to the bowl. Pour the cornstarch slowly and stir with a spoon. Mix until the texture feels like a smooth paste with no dry powder.
Add warm water a little at a time. Warm water helps the mixture come together more evenly. Stir and feel how the paste loosens, then thickens into a malleable dough.
Knead gently on a smooth surface. Lightly dust the work surface with cornstarch to prevent sticking. Press and fold the dough with warm palms until it feels soft and even.
Rest the dough if it feels sticky. Cover with a cloth and let it sit for 10 to 15 minutes. This quiet pause lets moisture equalize and makes shaping easier.
Roll the dough thin with a rolling pin. Aim for paper-thin sheets for delicate petals. If you like a thicker charm, roll a little heavier. The feel guides you.
Cut shapes using a spoon or cutter. Press gently to cut petals and small flower shapes. Use a toothpick to lift pieces to the parchment-lined tray.
Shape petals and add texture. Curve edges with your finger or a soft tool for a natural look. Create tiny veins with a toothpick or press a leaf into the dough.
Dry slowly on a baking sheet. Air-dry overnight for small pieces, or dry in a low oven at about 175 F for several hours. Turn pieces occasionally for even drying and a smooth finish.
Sand and smooth after drying. Use fine sandpaper or a nail file to refine edges. Wipe with a soft cloth to remove dust before sealing.
Seal or string your charms. Apply a thin coat of clear sealant for protection, or leave matte for a natural look. Thread twine or attach jump rings to hang or wear.
Each numbered step keeps the process calm and intentional. Work slowly and notice the small changes. If a piece cracks, gently press the edges back together and rehydrate with a tiny drop of water before reshaping.
Using Cornstarch Flower Charms in Everyday Life
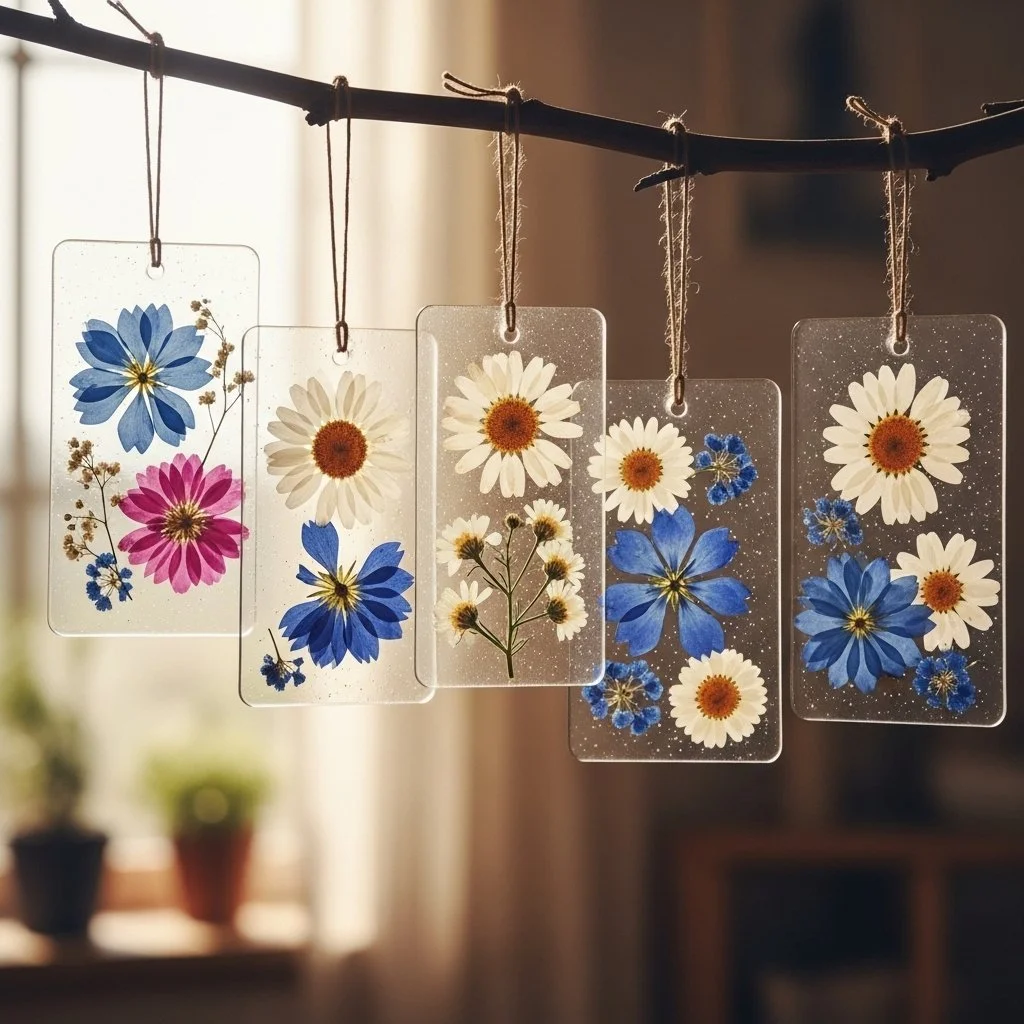
Once your flowers dry, they live in many quiet corners. Tuck one into a small dish as a table accent. Thread a few on a ribbon for a soft garland. Glue a charm to the front of a card for a handmade touch. The gentle shapes also make thoughtful gift toppers that whisper care.
I often place a cluster of small charms near my journal. When I pause between notes, I touch a petal and feel its smoothness. That small, familiar motion helps my hands steady and my mind return to a thoughtful place.
You can use these charms as keychain pendants, light ornaments for a small branch display, or tiny brooches if you add a pin back. If you prefer a seasonal touch, choose warm pigments in autumn or crisp pastels in spring. Each variation invites a slightly different mood, and you can switch them out as you like.
If you let these charms mingle with glass or sparkling pieces, they create a nice contrast. For example, placing a few beside crystal-like ornaments provides a tactile counterpoint that feels balanced and calm.
How to Store or Reuse Cornstarch Flower Charms
Store finished charms in a dry container away from direct sunlight. A shallow box with layers of soft tissue prevents scratches and keeps pieces safe. If charms become damp, air them on a tray in a warm, dry room until they fully dry.
To reuse or refresh, sand lightly and recoat with sealant. If a charm chips, you can blend a small bit of fresh dough into the spot to mend it, then let it dry thoroughly. For long-term keepsakes, avoid humid storage and consider a light coat of varnish to keep edges from softening.
If you plan to wear charms or expose them to moisture, seal both sides and allow extra drying time. Sealed pieces handle a gentle hand wash, but repeated exposure to water will shorten their life. Treat these charms as delicate, loved objects rather than rugged everyday wear.
Gentle Tips & Variations
Invite texture Press natural leaves or fine lace into the dough before drying. This adds soft, organic detail and keeps your hands tuned to subtle impressions.
Try translucence Use slightly more glue and roll thinner to get a softer, slightly translucent finish. This makes charms glow gently in diffused light.
Play with scent Add a drop of essential oil to the dough or lightly scent the finished pieces. Lavender or citrus gives a tiny sensory lift without overwhelming.
Make a tiny series Create sets of three or five charms that share color or size. Arranging them together increases their visual harmony and makes a calm statement.
Adjust for kids For younger makers, skip the sealant step and keep shapes simpler. Let children press with forks, spoons, or simple cutters for a joyful, hands-on session.
These ideas are invitations rather than strict rules. Let each suggestion sit with you and choose what feels right for the moment.
FAQs About Cornstarch Flower Charms
How long will the charms take to dry?
Drying time depends on thickness and humidity. Thin petals can air-dry overnight. Thicker pieces may take two to three days. Using a low oven speeds things up if you need pieces sooner.
Are these charms safe for small children?
The dough contains glue and is not edible. Always supervise small children and keep finished charms away from mouths. For child-friendly sessions, work with non-toxic glue and skip sealants.
What if my dough cracks while shaping?
Lightly moisten the edges with a fingertip dipped in water and press to mend. If cracks appear after drying, you can sand, fill with a fresh bit of dough, and let it dry again.
Can I use natural pigments or plant dyes?
Yes. A small amount of powdered pigment or tea stain can tint the dough. Remember that natural dyes may darken as they dry. Test on a scrap piece first.
How durable are these charms over time?
With gentle use and proper sealing, charms keep well as display pieces. Avoid prolonged exposure to moisture and rough handling. Store them in a dry place to extend their life.
Final Reflections on Making Cornstarch Flower Charms
The act of making these charms slows the mind in a friendly, tactile way. Each small petal teaches patience. Each tiny imperfection becomes part of the story. I find that when I work slowly with my hands, the world outside the window softens and I can return to ordinary life with steadier breath.
Remember that the charm lives both in the object and in the making. The quiet time you spend shaping, smoothing, and waiting is the gift. Let each step be a gentle purpose, not a task to rush. Trust your hands, notice the small changes, and enjoy the simple, slow pleasure that these little flowers bring.
Conclusion
I often refer to simple tutorials like How to Make Cornstarch Beads when I want another perspective on working with cornstarch-based materials. For kitchen experiments that avoid cornstarch altogether, this gentle guide on alternative thickening methods offers useful food-safe tips that sometimes inspire craft substitutions.
If you enjoyed this slow making moment, return to your hands when you need a calm place to rest. Keep notes about what you like or change next time. The next batch will remember your touch.
PrintCornstarch Flower Charms
A calming craft project to create delicate cornstarch flower charms using simple ingredients.
- Prep Time: 15 minutes
- Cook Time: 0 minutes
- Total Time: 15 minutes
- Yield: Varies based on charm size
- Category: Craft
- Method: Crafting
- Cuisine: N/A
- Diet: N/A
Ingredients
- Cornstarch, 1 cup
- White glue, 1/2 cup
- Water, a few tablespoons
- Fine sandpaper or a nail file
- Food coloring or powdered pigment (optional)
- Small rolling pin or a smooth bottle
- Small leaf or flower cutter, teaspoon, or craft knife
- Toothpicks or small sculpting tools
- Baking sheet and parchment paper
- Thin twine, jump rings, or ribbon (optional)
- Clear sealant or matte varnish (optional)
- Soft cloth and small container for water
- A shallow tray or shallow bowl for drying
Instructions
- Mix cornstarch and glue in a bowl.
- Take a breath and add glue to the bowl. Pour the cornstarch slowly and stir with a spoon.
- Mix until the texture feels like a smooth paste with no dry powder.
- Add warm water a little at a time.
- Warm water helps the mixture come together more evenly.
- Stir and feel how the paste loosens, then thickens into a malleable dough.
- Knead gently on a smooth surface.
- Lightly dust the work surface with cornstarch to prevent sticking.
- Press and fold the dough with warm palms until it feels soft and even.
- Rest the dough if it feels sticky.
- Cover with a cloth and let it sit for 10 to 15 minutes.
- Roll the dough thin with a rolling pin.
- Aim for paper-thin sheets for delicate petals.
- Cut shapes using a spoon or cutter.
- Press gently to cut petals and small flower shapes.
- Use a toothpick to lift pieces to the parchment-lined tray.
- Shape petals and add texture.
- Curve edges with your finger or a soft tool for a natural look.
- Create tiny veins with a toothpick or press a leaf into the dough.
- Dry slowly on a baking sheet.
- Air-dry overnight for small pieces, or dry in a low oven at about 175 F for several hours.
- Turn pieces occasionally for even drying and a smooth finish.
- Sand and smooth after drying.
- Use fine sandpaper or a nail file to refine edges.
- Seal or string your charms.
Notes
These charms can be used as gifts, ornaments, or decorative pieces. They are delicate and should be stored safely.
1 thought on “Cornstarch Flower Charms”