

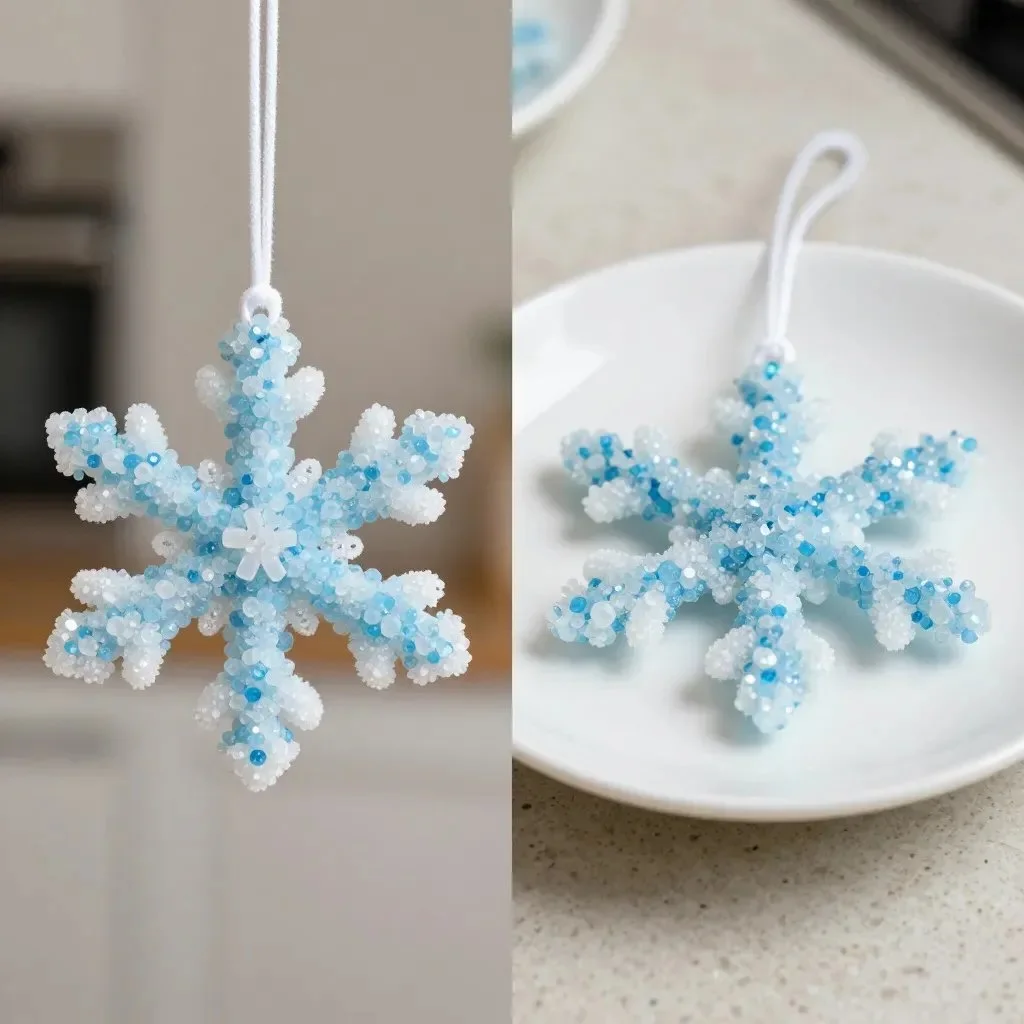
The air is filled with a gentle stillness as you create a Crystal Snowflake Ornament, casting soft, shimmering reflections against light. The fragile beauty of these ornaments captures a moment, inviting stillness and appreciation for both the process and the result. As you engage in this project, the tactile experience of handling the materials and watching the crystals take shape brings a sense of calm and focus. Each step becomes a mindful activity, allowing your thoughts to settle as you craft something beautiful and unique. You may also find Crystal Growing Tree Ornaments useful.
The Quiet Joy of Making Crystal Snowflake Ornament
Creating a Crystal Snowflake Ornament is more than just a craft; it is a delightful way to center oneself and embrace the artistry of nature. The delicate nature of these ornaments reminds us of winter’s beauty, evoking feelings of nostalgia and tranquility. As you watch the crystals form, you are likely to feel a connection to the natural world and a sense of accomplishment. This DIY project not only fosters creativity but also provides an opportunity to slow down and savor the moment. If you’re interested in similar projects, consider exploring growing crystal ornaments, which can also be a rewarding experience.
A Gentle Look at the Process
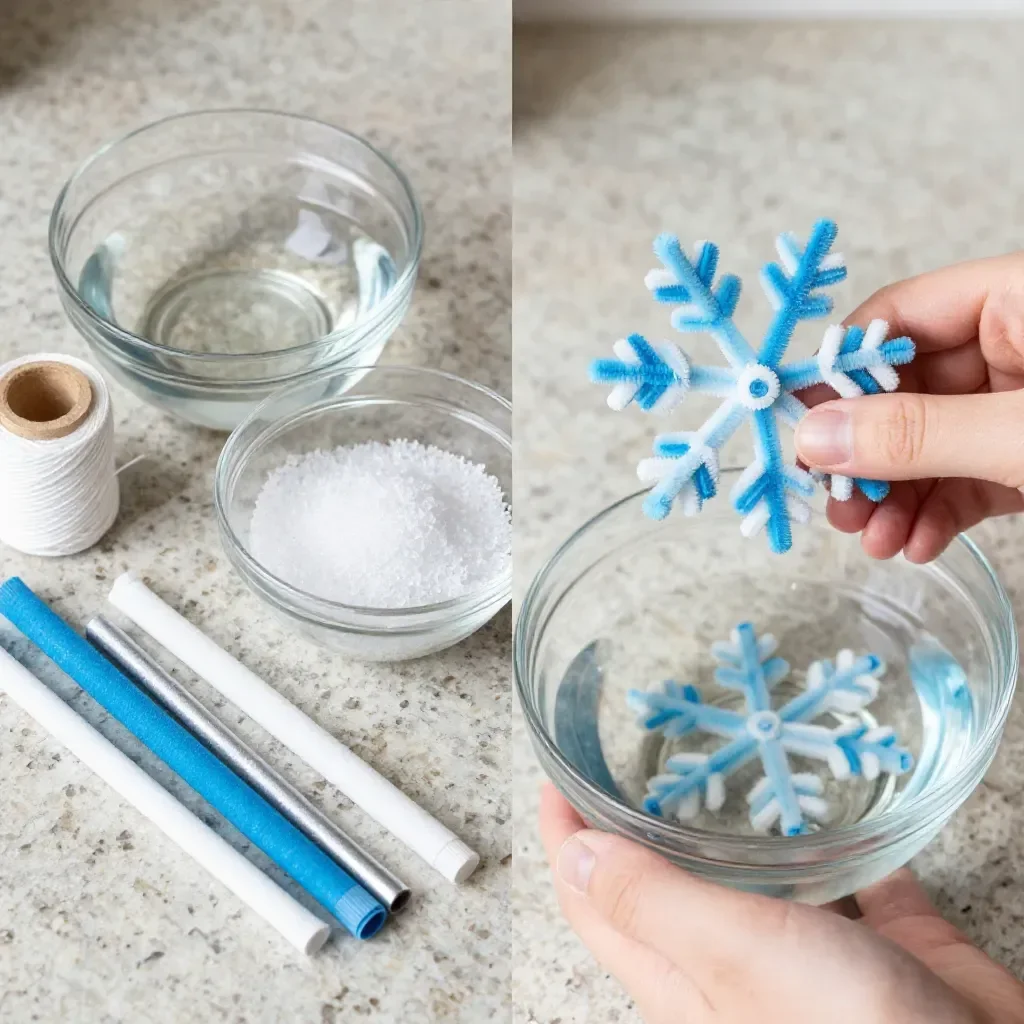
The process of making a Crystal Snowflake Ornament flows like a gentle dance, rewarding you with the visual delight of crystals forming before your eyes. It begins with the simple act of gathering your materials, each piece waiting patiently for its moment. As you mix the solution and watch it transform, the subtle sounds of stirring and pouring create a soothing rhythm. The anticipation builds as the crystals begin to appear, forming beautiful structures reminiscent of delicate snowflakes falling softly from the sky. You may also find Easy Growing Crystal Ornaments Recipe useful.
Materials You’ll Need
Gathering your materials creates a calming prelude to the joy of crafting: You may also find Growing Crystal Heart Ornaments useful.
- Borax (often found in the laundry aisle)
- Pipe cleaners (available at craft stores)
- A glass jar (any size will do)
- Boiling water (ensure adult supervision if needed)
- A wooden stick or pencil to suspend the ornament
- Optional: food coloring for decorating your crystal
These items are generally easy to find, and there is room for creativity. You can use colored pipe cleaners to add extra flair to your ornaments.
Step-by-Step Directions
Begin by twisting the pipe cleaners into your desired snowflake shape. You can create simple designs or intricate patterns; both will look beautiful when crystallized.
In a separate container, boil the water carefully. Use caution, as the steam can be hot.
Once the water is boiling, pour it into the glass jar, filling it about three-quarters full.
Gradually add Borax to the hot water, stirring gently. Continue adding until no more dissolves and you see some settling at the bottom. This creates a saturated solution where crystals can form.
If you’d like to add color, you can include a few drops of food coloring at this point and mix until even.
Tie a string to the middle of your snowflake and attach the other end to a wooden stick or pencil. This will allow it to hang suspended in the solution.
Slowly lower the snowflake into the jar, ensuring it does not touch the sides or bottom.
Place the jar in a quiet spot where it won’t be disturbed, and allow the crystals to grow for several hours or overnight.
Carefully remove the ornament from the solution once you are satisfied with the size of the crystals. Allow any excess moisture to drip off, then set it down to dry.
Finally, display your Crystal Snowflake Ornament in a sunny window or as part of winter decor, letting the light highlight its intricate patterns.
Enjoying the Finished Piece
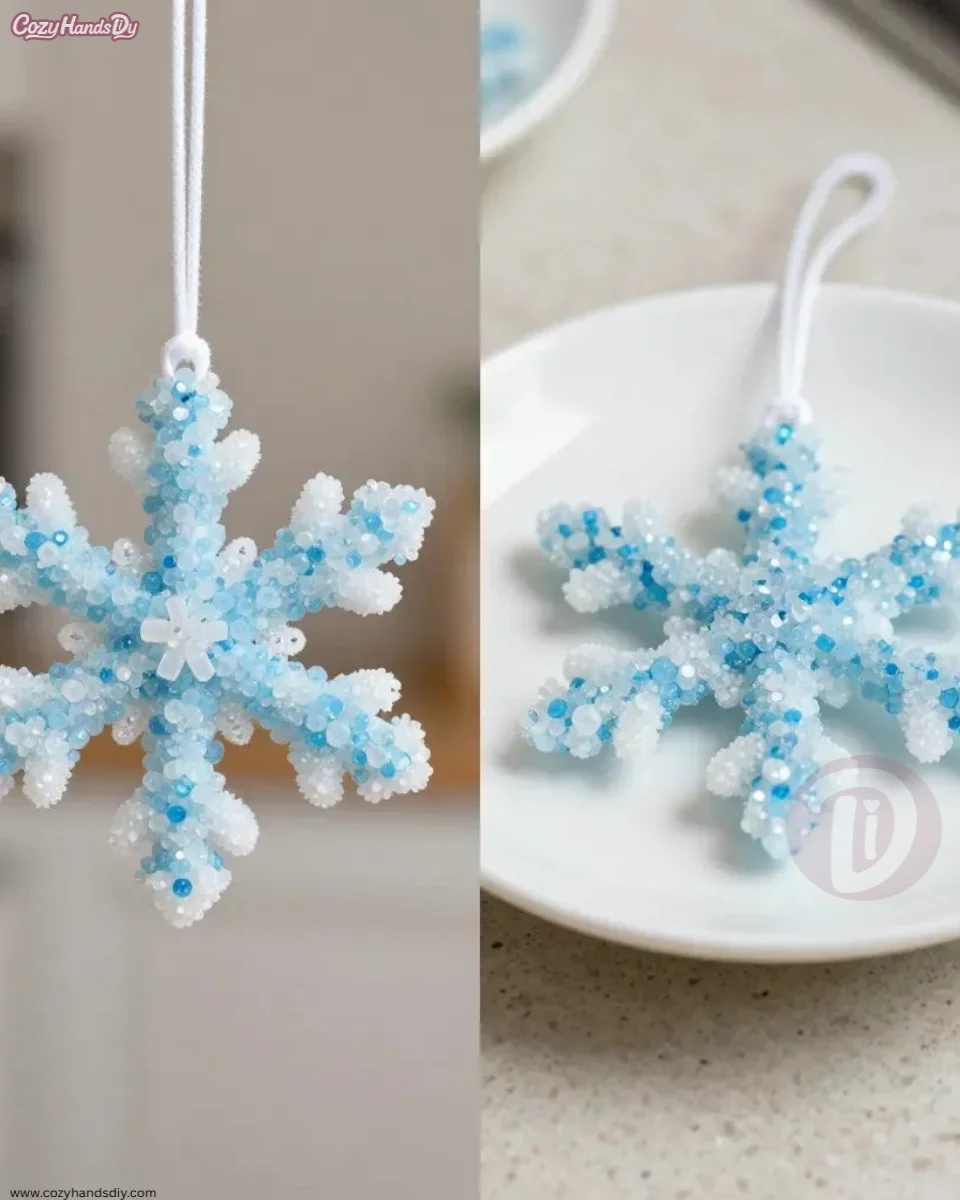
Once your Crystal Snowflake Ornament is complete, it can be a beautiful addition to your home decor. Hang it in a window where the sunlight can catch it, creating a dazzling display. You might also consider gifting it to someone special or using it as a centerpiece in a winter-themed setting. The presence of these ornaments can evoke a sense of peace and joy, reminding us that beauty can be created from simple elements in our lives.
How to Store or Reuse Crystal Snowflake Ornament
Taking care of your Crystal Snowflake Ornament is quite simple. To ensure its longevity, store it in a cool, dry place away from direct sunlight. If you’re looking for a way to reuse it, consider changing them out seasonally. You could create a new batch for different occasions, experiment with colors, or even try different shapes. The enchantment of these ornaments is that they can evolve with your creativity and seasonal intentions.
Gentle Tips & Variations
Here are a few ways to customize your Crystal Snowflake Ornament experience:
- Experiment with different shapes and sizes: Try creating larger designs or tiny crystals for a unique look.
- Use different colors: Blend various food coloring shades for a more whimsical appearance.
- Try additional materials: Instead of pipe cleaners, see how different shaped twigs or natural materials perform in your solutions.
- Consider adding glitter for extra sparkle, but do this carefully to avoid overshadowing the beauty of the crystals.
FAQs About Crystal Snowflake Ornament
What is the best way to hang the ornament after it dries?
You can use fishing line or decorative twine to hang your ornament. These options can create a lovely visual aesthetic while ensuring your ornament is secure.
Can I use other types of crystals?
While Borax is commonly used, you can also experiment with sugar or Epsom salt for different crystal effects. Each material will yield unique results.
How long does it take for the crystals to form?
Typically, you’ll see initial crystals forming within a few hours, but it’s best to leave them overnight for more substantial growth.
Conclusion
Creating a Crystal Snowflake Ornament is a rewarding activity that promotes mindfulness and creativity. Each crafted piece reflects not just the beauty of crystals, but also the peaceful journey of making. If you’re eager to explore more unique ornament options, consider browsing the 2025 Annual Christmas Ornaments Crystal Snowflake Star collection for inspiration or learn about the science behind these creations at Crystal Snowflake Ornaments (Borax Crystal Snowflakes Science). Embrace the calm it brings, and let your creativity shine.
PrintCrystal Snowflake Ornament
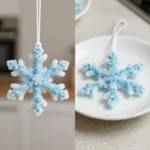
Create a beautiful Crystal Snowflake Ornament to enhance your holiday decor and embrace the tranquility of nature.
- Prep Time: 15 minutes
- Cook Time: 0 minutes
- Total Time: 1440 minutes
- Yield: 1 ornament
- Category: Craft
- Method: DIY Crafting
- Cuisine: N/A
- Diet: N/A
Ingredients
- Borax
- Pipe cleaners
- A glass jar
- Boiling water
- A wooden stick or pencil
- Optional: food coloring
Instructions
- Begin by twisting the pipe cleaners into your desired snowflake shape.
- Boil the water carefully in a separate container.
- Pour the boiling water into the glass jar, filling it about three-quarters full.
- Add Borax to the hot water, stirring gently until it dissolves, creating a saturated solution.
- Include a few drops of food coloring if desired and mix until even.
- Tie a string to the middle of your snowflake and attach it to a wooden stick or pencil.
- Lower the snowflake into the jar, ensuring it doesn’t touch the sides or bottom.
- Place the jar in a quiet spot and allow the crystals to grow for several hours or overnight.
- Remove the ornament carefully once satisfied with the crystal size and let it dry.
- Display your Crystal Snowflake Ornament in a sunny window or as part of winter decor.
Notes
Store in a cool, dry place away from direct sunlight for longevity. Experiment with different shapes and colors for unique variations.