

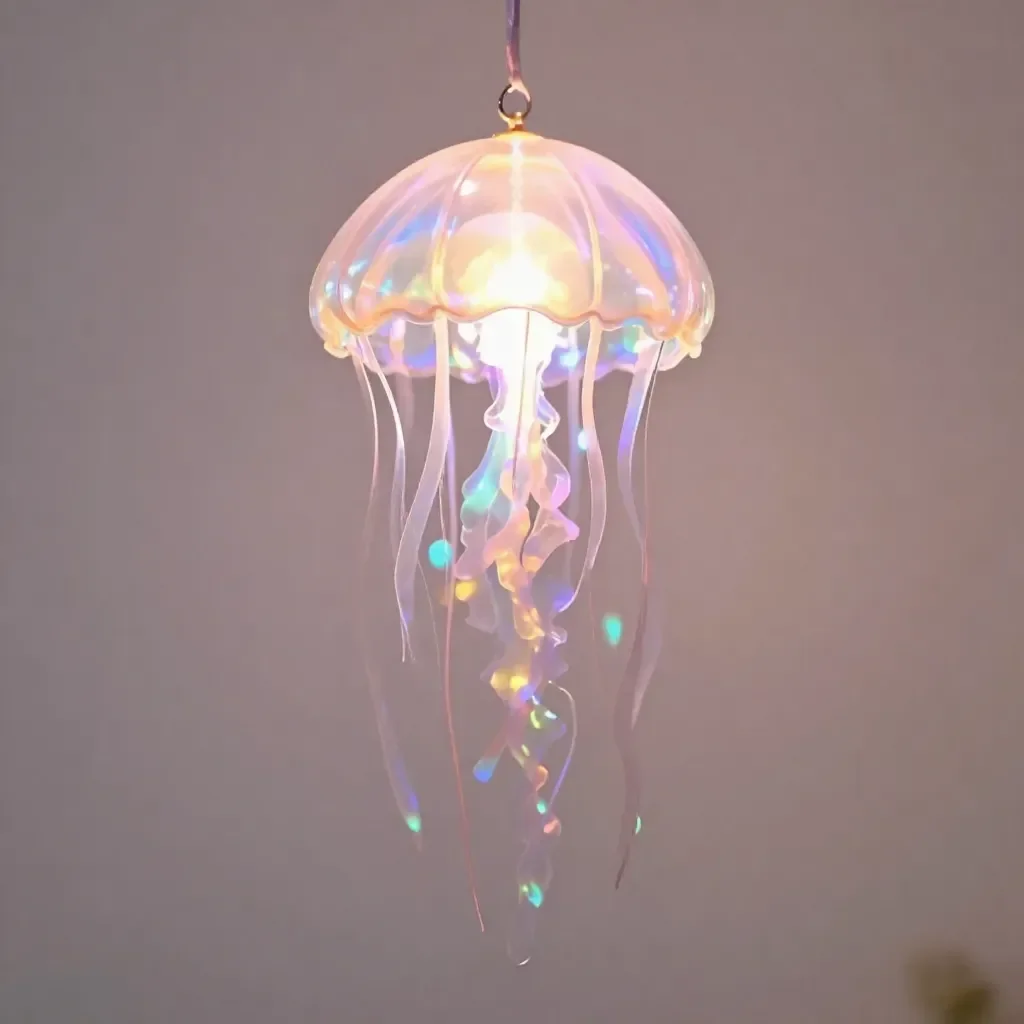
The soft glow of a lantern can transform a cozy corner into a magical space, one where shadows dance softly and the heart feels lighter. When crafting these DIY Glowing Jellyfish Lanterns, your fingers touch lightweight materials that flutter gently, and the smoothness of the lights evokes a sense of tranquility. This simple project offers a rewarding sensory experience as you create something meaningful to illuminate your surroundings while fostering a calm atmosphere. It encourages you to slow down, breathe, and immerse yourself in the making process. You may also find Adorable Diy Easter Bunny Cups useful.
The Heart Behind This DIY
Creating DIY Glowing Jellyfish Lanterns invites a sense of wonder and calm into your life. The rhythmic movements involved in making these lanterns can mirror the soothing cadence of the ocean’s waves, inspiring mindfulness. As you assemble each piece, you engage your senses, appreciating the textures, colors, and the gentle glow that results. This project gently nudges you to embrace the present moment, making it a serene antidote to our fast-paced world. It serves as a reminder of the beauty found in slowing down and nurturing your creative spirit. You may also find Broken Crayons Glowing Rainbow Flowers useful.
A Gentle Look at the Process
Imagine a flow of creativity that feels both calming and joyful. As you gather materials, the act of preparing transforms into a meditative ritual. The quiet sounds of crinkling paper or the soft snap of string resonate as you begin this process. This DIY offers a delightful balance of visual beauty and tactile engagement. Each element comes together in a way that allows you to feel absorbed in the moment, leaving stress behind. You may also find Cheesy Diy Handprint Dough Keepsakes useful.
Materials You’ll Need
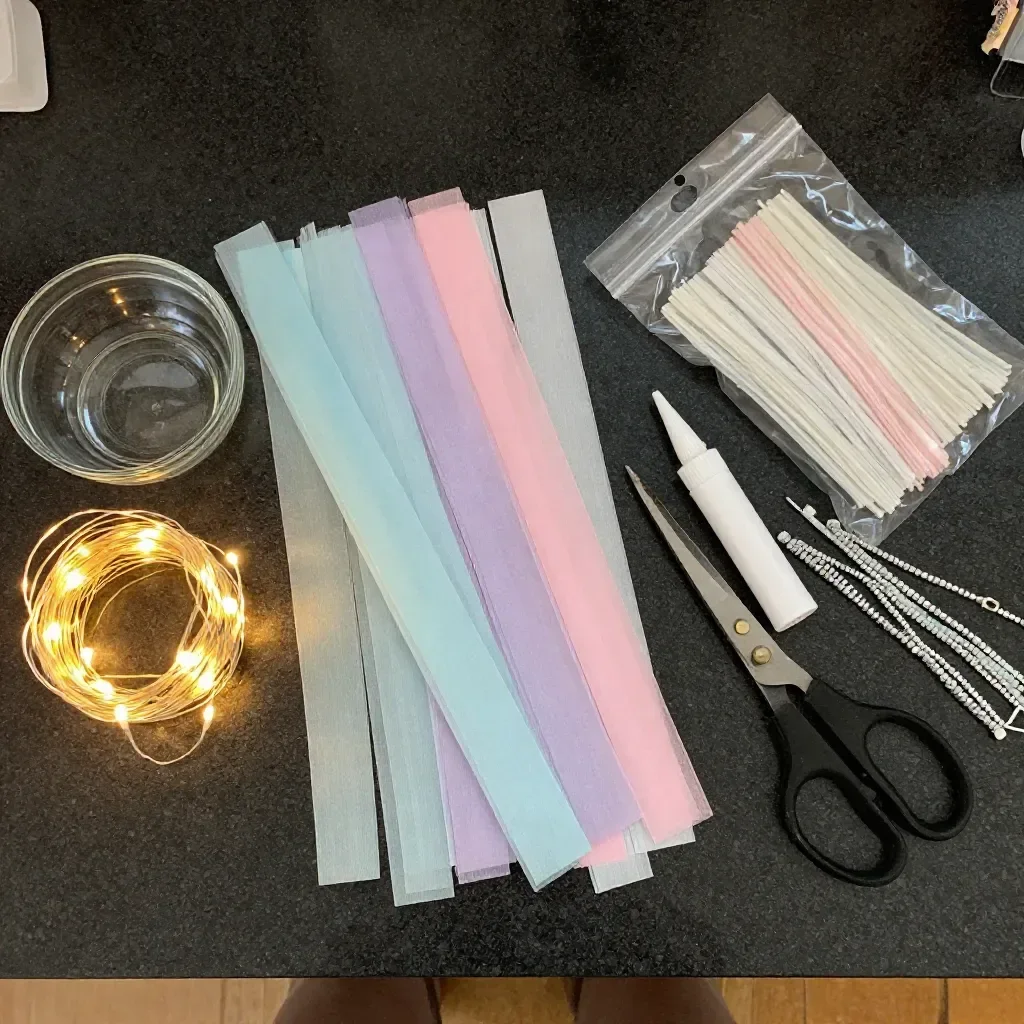
For this DIY project, you’ll need to gather the following materials: You may also find Colorful Diy Bioplastic Suncatchers Recipe useful.
- Round paper lanterns (easy to find at craft stores)
- LED tealight candles (safety-focused alternative)
- Colorful tissue paper (for a shimmering effect)
- Glue stick or craft glue (smooth application)
- String (to hang your lanterns)
- Scissors (for gentle cutting)
- Optional: glitter or stickers (for added decoration)
Step-by-Step Directions
- Begin by taking your round paper lantern and gently unfolding it. Feel the smoothness of the paper as it opens, like the calming spread of wings.
- Next, cut small squares or shapes from the colorful tissue paper. Let the vibrant colors inspire your creativity as you snip away.
- Using glue, attach the tissue paper to the outside of the lantern. Notice the paper’s texture and how the glue creates a satisfying bond.
- Once you have covered the lantern to your satisfaction, carefully insert an LED tealight candle inside. This will serve as the enchanting source of light for your lantern.
- Secure the top opening of the lantern. As you do this, take a moment to feel the lantern taking shape, preparing to light up your space.
- Finally, use string to hang your lantern in a special spot. Watch as it sways gently, illuminating your surroundings with a soft, inviting glow.
Enjoying the Finished Piece
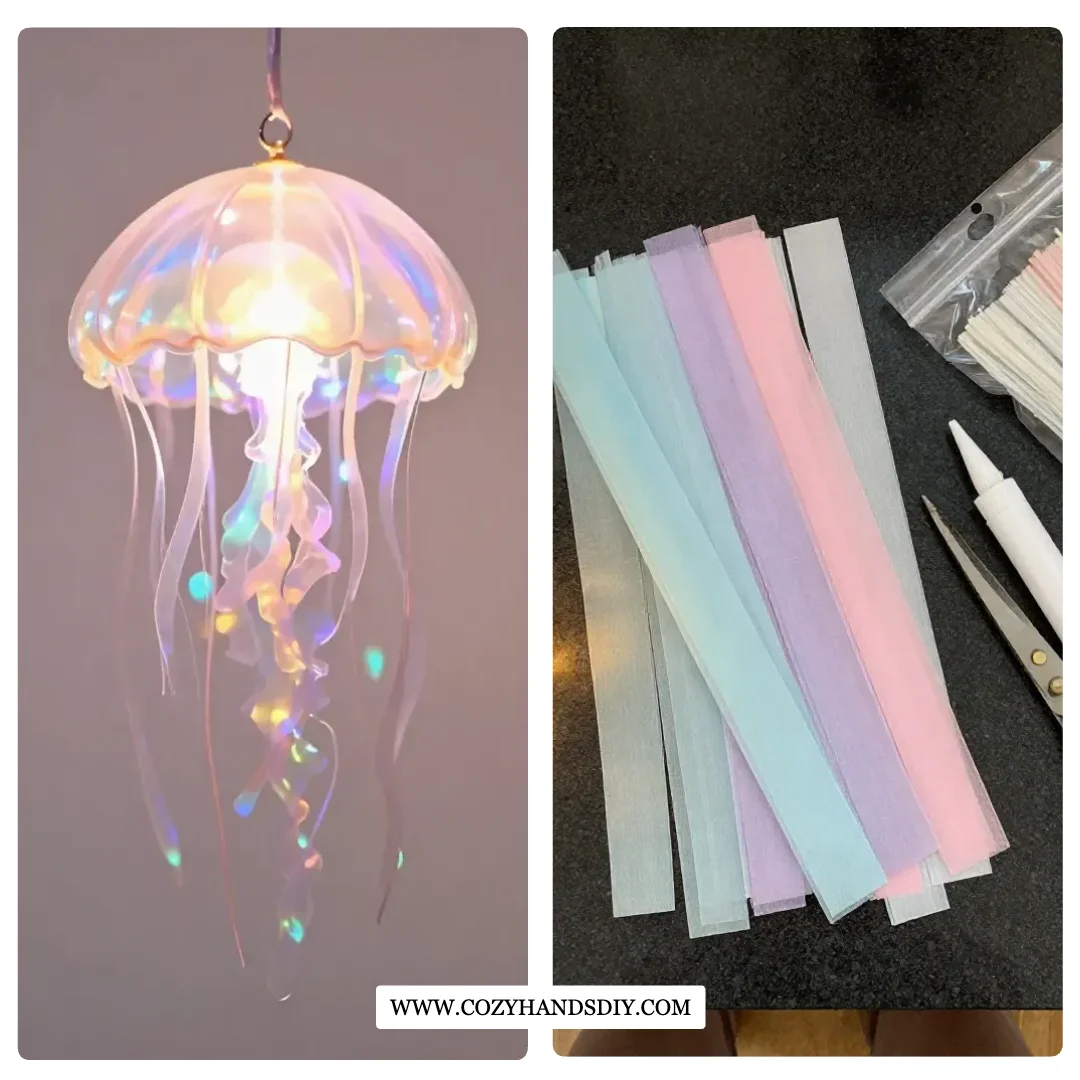
With your DIY Glowing Jellyfish Lanterns complete, enjoy placing them around your home. As evening falls, light them up, and take a moment to appreciate how they transform your space into a serene oceanic dream. These lanterns can be a focal point during relaxation or meditation, offering a gentle comfort that calms the mind and spirit. You might even share them with loved ones during gatherings, spreading joy and light.
How to Store or Reuse DIY Glowing Jellyfish Lanterns
To ensure your lanterns remain beautiful and intact, store them in a cool, dry place when not in use. Consider gently wrapping them in tissue paper or placing them in a soft box to protect them from dust and damage. If you choose to reuse them for different occasions, think about changing up the tissue paper colors or adding new decorations. Each time, it will feel like a fresh experience, breathing new life into the handmade lanterns.
Gentle Tips & Variations
- For an ethereal look, consider adding a layer of glitter to the tissue paper before adhering it to the lantern. It will catch the light beautifully.
- Try using different sizes of lanterns to create a school of jellyfish for a whimsical display.
- Experiment with colored LED lights for varied effects, giving you a new ambiance each time you light them.
- Don’t hesitate to add personal touches, like stickers or painted designs on the lantern itself, to reflect your unique style.
FAQs About DIY Glowing Jellyfish Lanterns
How long do the lanterns last once lit?
The LED tealight candles typically last for several hours. You can use them again and again, making these lanterns a sustainable choice for warmth and light.
Can I use real candles instead of LED?
While it’s possible, it is not advisable due to fire safety concerns. LED tealight candles provide a safe and worry-free alternative.
What if my lantern gets damaged?
If your lantern tears, don’t despair. You can repair it with a patch of tissue paper in a fun design and reattach it with glue.
Are there other themes I can explore with this technique?
Absolutely! You can create other ocean-themed lanterns or even seasonal designs, such as autumn leaves or winter snowflakes.
Can children participate in making these lanterns?
Yes! This project is a wonderful way for children to explore creativity and play with colors. Just ensure an adult supervises with any cutting or glue work.
Conclusion
Creating DIY Glowing Jellyfish Lanterns offers a delightful escape into the world of creativity. This project not only beautifies your space but also nurtures your soul. As you craft, consider the profound joy that comes from creating something with your own hands. For more interesting lantern ideas, explore resources like Jellyfish Lantern | DIY for Beginners – KiwiCo or check out DIY Plastic Jellyfish Lamp: 10 Steps (with Pictures) – Instructables. Allow your imagination to flow freely as you enjoy the warmth and light these lanterns provide.
PrintDIY Glowing Jellyfish Lanterns
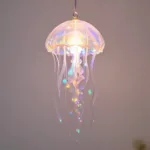
Create enchanting DIY Glowing Jellyfish Lanterns that illuminate your surroundings with a serene glow and foster a calming atmosphere.
- Prep Time: 10 minutes
- Cook Time: 0 minutes
- Total Time: 10 minutes
- Yield: 2 lanterns
- Category: Craft
- Method: Crafting
- Diet: None
Ingredients
- Round paper lanterns
- LED tealight candles
- Colorful tissue paper
- Glue stick or craft glue
- String
- Scissors
- Optional: glitter or stickers
Instructions
- Begin by taking your round paper lantern and gently unfolding it.
- Next, cut small squares or shapes from the colorful tissue paper.
- Using glue, attach the tissue paper to the outside of the lantern.
- Once you have covered the lantern to your satisfaction, carefully insert an LED tealight candle inside.
- Secure the top opening of the lantern.
- Finally, use string to hang your lantern in a special spot.
Notes
For an ethereal look, consider adding glitter to the tissue paper. Experiment with different sizes for a whimsical display.