

As you pause to examine the broken crayons scattered across your table, a gentle wave of nostalgia washes over you. Each crayon embodies a memory, a vibrant burst of color, and a playful spirit. You can almost hear the soft whispers of creativity, inviting you to transform these remnants into something beautiful. The process of making Broken Crayons Turned Into Glowing Rainbow Flowers offers a soothing rhythm, grounding you in the present as you explore texture, color, and light. This delightful transformation is not just about crafting; it becomes a tender act of rejuvenation, ushering in an aura of peace and warmth. You may also find Cozy Rainbow Crystal Roses Into Serenity useful.
The Heart Behind This DIY
Creating Broken Crayons Turned Into Glowing Rainbow Flowers is more than a simple project; it serves as a reminder of the beauty found in imperfections. Each broken crayon tells a story, allowing you to appreciate their uniqueness. Engaging in this sensory-rich activity invites you to slow down and focus, embracing the textures and colors as they come together. This DIY gently encourages mindfulness, igniting your creativity while fostering a sense of calm. For those looking for additional projects to explore that nurture tranquility, consider painted spring flowers which also bring comfort to your creative space.

A Gentle Look at the Process
Before diving into this project, it’s helpful to visualize the steps involved. The process is a graceful dance of melting colors and shaping blossoms. As you work, you will feel the warm, soft touch of the melting crayon wax, hear the gentle bubbling as it transforms, and see the vibrant colors swirl together, creating a visual symphony. This rhythmic flow of making fosters a serene atmosphere, allowing you to immerse yourself entirely in the task at hand. You may also find Baking Soda Rainbow Crystal Forest Rainbow Crystals useful.
Materials You’ll Need
Gathering your supplies for Broken Crayons Turned Into Glowing Rainbow Flowers is a lovely part of the experience. Here’s what you’ll need:
- Broken crayons (any color)
- Silicone flower molds (easy to find online or at craft stores)
- An oven or microwave-safe container
- A baking sheet (if using the oven)
- Optional: a small pot for easier melting
Step-by-Step Directions
- Begin by preheating your oven to 200°F (93°C) if you plan to use that method for melting the crayons. If using a microwave, set it to medium power.
- Carefully remove the wrappers from your broken crayons, revealing the colorful wax beneath.
- Chop or break the crayons into smaller pieces, mixing different colors to create a stunning palette for your flowers. The sound of the crayon snapping is oddly satisfying.
- Place the crayon pieces into the silicone molds, filling each flower shape evenly. Feel the smoothness of the crayons as they slide between your fingers.
- Slide the molds onto a baking sheet for stability and pop them in the oven for about 10-15 minutes, or until melted. If using the microwave, heat in short bursts, checking frequently to avoid overheating.
- Once melted, allow the molds to cool slightly before moving them. This step takes patience, rewarding you with a moment of stillness.
- After a few minutes, gently remove the cooled melted crayon flowers from the molds. You might hear a soft ‘pop’ as they release.
- Allow them to cool completely before displaying or using them.

Using Broken Crayons Turned Into Glowing Rainbow Flowers in Everyday Life
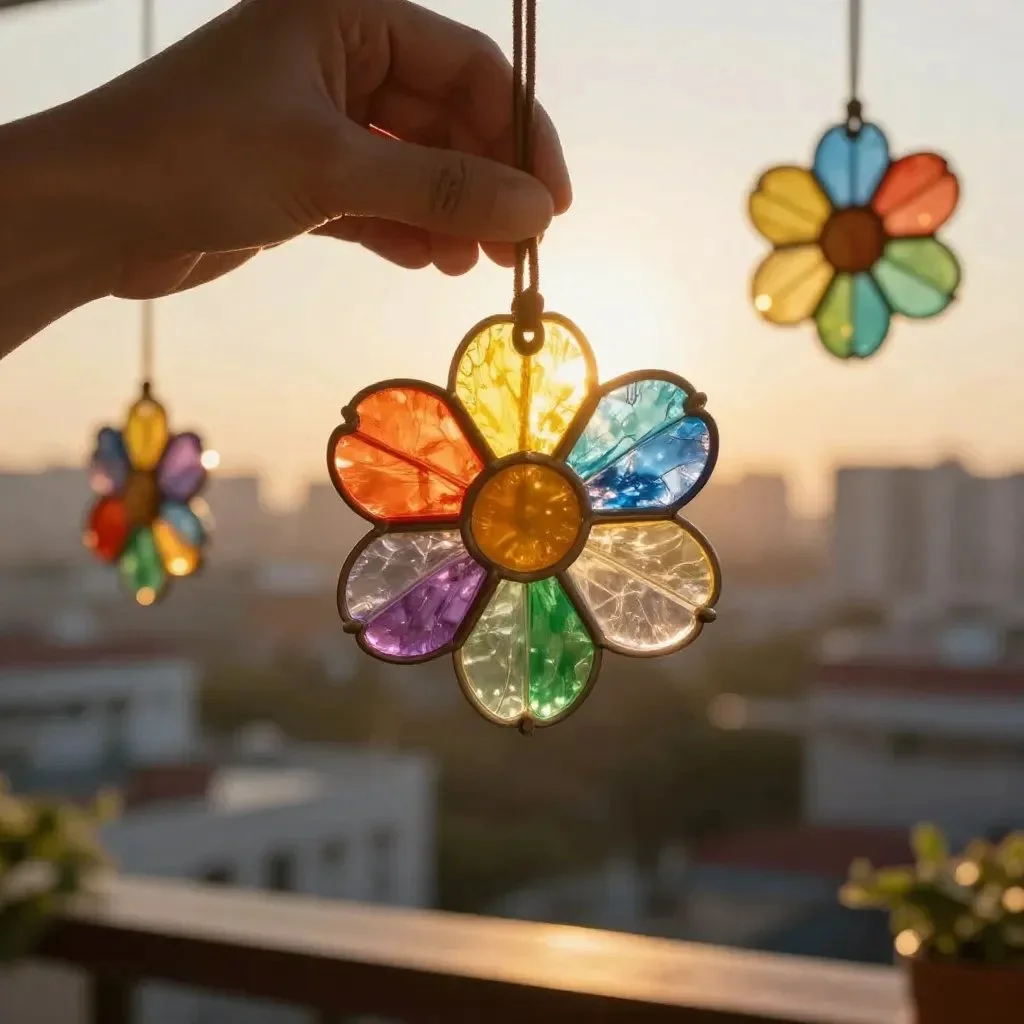
Once your glowing rainbow flowers are completed, their charm becomes a delightful addition to your space. Use them as decorative accents for table settings, brighten up a room or even include them in a cozy reading nook. Their colors evoke warmth and serenity, becoming little reminders of creativity that inspire calmness. For those who enjoy relaxing DIYs that evoke cheerful atmospheres, you might explore glowing flower projects as well.
Caring for Your Finished DIY
Ensuring your glowing rainbow flowers stay vibrant is simple. Store them in a cool, dry place away from direct sunlight to maintain their colors. If any flowers get dusty over time, gently wipe them with a soft, damp cloth to restore their glow. Instead of traditional storage, consider using them in decorative displays around your home, allowing their hues to lift your spirits daily.
Calm Customization Ideas
While the recipe for these glowing flowers is pleasing as is, there are various ways to make it your own. Here are a few gentle suggestions:
- Experiment with different kinds of molds, including animals or geometric shapes.
- Try layering colors in the molds for beautiful gradients.
- Add a hint of glitter to create a magical sparkle effect.
- Use themed shades for holidays, like warm reds, greens, and whites for winter festivities.
- Involve family or friends for a collective crafting session, sharing stories as you create together.

FAQs About Broken Crayons Turned Into Glowing Rainbow Flowers
Can I use crayons that are not traditional wax?
While this project works best with regular wax crayons, you can experiment with other types, but results may vary.
What if I don’t have silicone molds?
If silicone molds are unavailable, any heat-safe container that can be shaped could work, but the final result may not resemble flowers.
How long do these flowers last?
With proper care, your glowing rainbow flowers can last for a long time, just keep them stored in a safe place to avoid breakage.
Can I use this technique with other objects?
Absolutely! This method can also be adapted for making colored wax for candles or art pieces, encouraging even more creative exploration.
Conclusion
Crafting Broken Crayons Turned Into Glowing Rainbow Flowers provides not only a delightful end product but also a soothing process filled with sensory experiences. No matter your skill level, this DIY invites you to embrace creativity at your own pace. If you’re intrigued by poetry or narrative art, you might enjoy exploring The Poet’s Corner or dive into some imaginative storytelling with Starpoop by Lightspeed Magazine, offering a different yet equally calming creative outlet. Embrace the warmth of your own creativity and create a space filled with joy and calm.
PrintBroken Crayons Turned Into Glowing Rainbow Flowers

Transform broken crayons into beautiful glowing rainbow flowers, embracing the beauty of imperfection.
- Prep Time: 15 minutes
- Cook Time: 15 minutes
- Total Time: 30 minutes
- Yield: As many flowers as you can make from the crayons
- Category: Craft
- Method: Melting
- Cuisine: N/A
- Diet: N/A
Ingredients
- Broken crayons (any color)
- Silicone flower molds
- An oven or microwave-safe container
- A baking sheet (if using the oven)
- Optional: small pot for easier melting
Instructions
- Begin by preheating your oven to 200°F (93°C) if you plan to use that method for melting the crayons. If using a microwave, set it to medium power.
- Carefully remove the wrappers from your broken crayons, revealing the colorful wax beneath.
- Chop or break the crayons into smaller pieces, mixing different colors to create a stunning palette for your flowers.
- Place the crayon pieces into the silicone molds, filling each flower shape evenly.
- Slide the molds onto a baking sheet for stability and pop them in the oven for about 10-15 minutes, or until melted.
- Once melted, allow the molds to cool slightly before moving them.
- After a few minutes, gently remove the cooled melted crayon flowers from the molds.
- Allow them to cool completely before displaying or using them.
Notes
Store finished glowing flowers in a cool, dry place away from direct sunlight to maintain their colors.