

The gentle act of creating something beautiful can wrap around us like a warm blanket, calming our minds and inviting us to slow down. Imagine sitting at a cozy table, surrounded by soft hues of color and the comforting texture of materials beneath your hands. As you embark on making Cozy Rainbow Crystal Roses, you not only craft a stunning piece but also create a moment for yourself, allowing calmness and creativity to blend seamlessly into your day. You may also find Baking Soda Rainbow Crystal Forest Recipe useful.
Why Make This Cozy Rainbow Crystal Roses
Creating Cozy Rainbow Crystal Roses helps nurture a sense of mindfulness that can be so refreshing in our busy lives. Each petal you carefully shape serves as a reminder to breathe deeply and appreciate the present moment. This project encourages you to focus on the smooth surfaces, the vibrant colors, and the subtle sounds of your materials working together. With each step, you’ll find tranquility in the rhythm of your hands and the beauty that emerges from your effort. If you’re looking for more sensory-rich projects, consider exploring the Baking Soda Rainbow Crystal Forest, which offers a similar calming experience.

A Gentle Look at the Process
The flow of making Cozy Rainbow Crystal Roses is soothing and grounding. As you begin, you’ll enjoy the pleasing textures—soft, light, and perhaps cool to the touch. The sound of materials being manipulated can serve as a calming backdrop, perhaps with a soft glimmer of color emerging as you bring each rose to life. This process is not only about assembling a beautiful final product, but also about embracing the journey, where every movement has purpose and intention.
Materials You’ll Need
Gathering your materials is the first exciting step in this calming DIY. Here’s what you’ll need:
- Colorful crafting paper (ideally in shades that resonate with your senses)
- Scissors (easy and safe for all ages)
- A sturdy glue stick or adhesive
- Floral wire (for forming the structure)
- Green tape or floral tape (to finish the stems)
- Optional: glitter or gemstones for added sparkle
Each of these materials is easily accessible, allowing you to dive right into the creative process without stress.
Step-by-Step Directions
- Begin by cutting your colorful crafting paper into petal shapes. Aim for about six to eight petals per rose.
- Gently curl each petal with your fingers to give them a soft, natural look.
- Once your petals are ready, take a piece of floral wire and start layering the petals around one end, securing them with a bit of glue.
- Continue adding petals, alternating their positions for a full bloom effect. As you do, you’ll feel the petals coming together in a cozy embrace.
- When satisfied with the petals’ arrangement, wrap the floral wire with green tape to create a sturdy stem.
- Optionally, add a touch of glitter or gemstones to your rose for extra sparkle and uniqueness.
- Allow time for any glue to dry completely before placing your roses in a vase or another display area.

Enjoying the Finished Piece
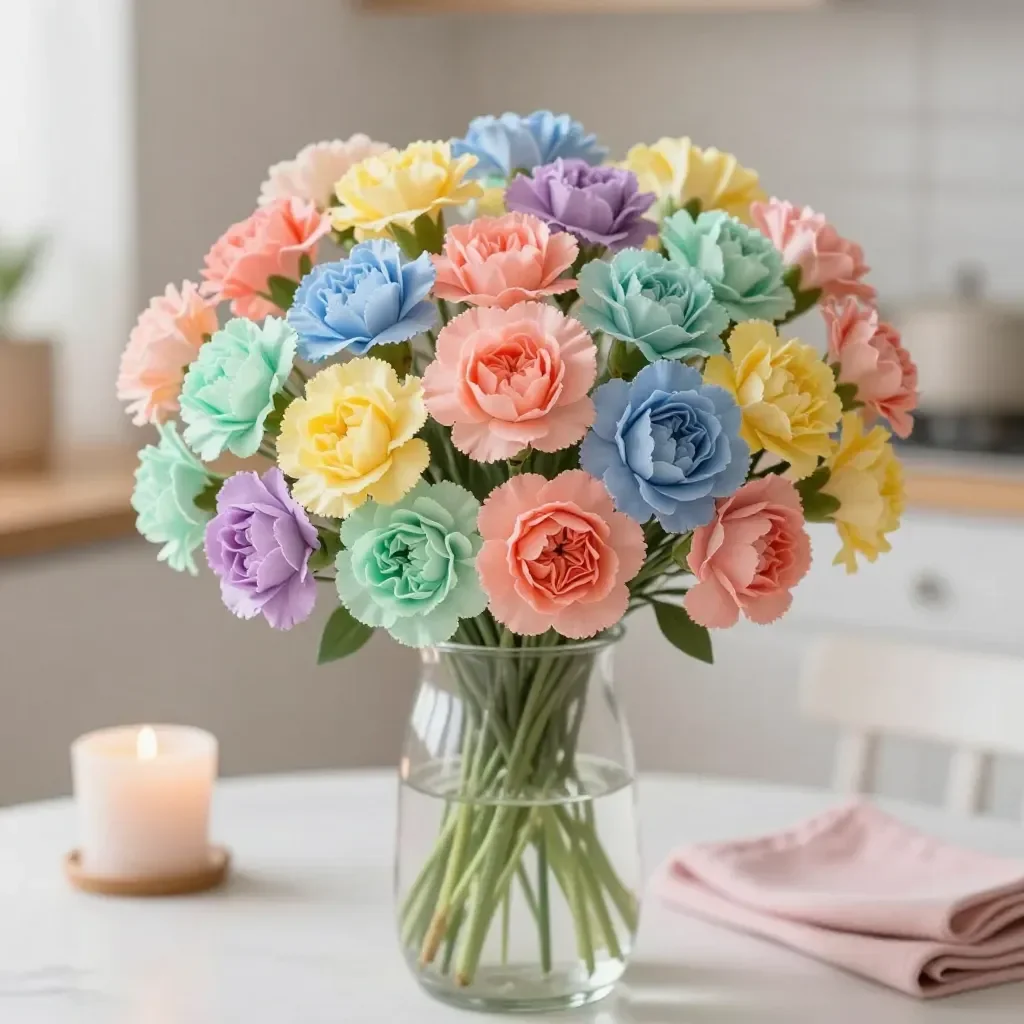
Once you’ve completed your Cozy Rainbow Crystal Roses, it’s time to showcase your beautiful creation. These roses can be placed anywhere in your home, adding a vibrant and thoughtful touch to your decor. You might choose to set them on a window sill where they can catch the light, or on a bedside table as a charming reminder of your creativity. As you appreciate the finished piece, take a moment to reflect on the process and the joy it brought you.
Keeping It for Later
To maintain your beautiful roses, store them in a cool, dry place. If you’re looking to keep them fresh for future use, consider wrapping them gently in tissue paper and placing them in a small box. This keeps the petals protected while allowing you to revisit their beauty whenever you like.
Gentle Tips & Variations
- Experiment with different shapes of petals to see how they alter the overall look of your rose.
- Consider using recycled paper or fabric scraps to create a personal touch while being environmentally friendly.
- Try creating a whole bouquet with different colors and sizes to add more visual interest.
- Invite friends or family to join you in this project for a delightful afternoon filled with creativity.
- After you create your Cozy Rainbow Crystal Roses, you may also enjoy making Crystal Geode Eggs to complement your floral arrangement.

FAQs About Cozy Rainbow Crystal Roses
Q: How long does it take to make Cozy Rainbow Crystal Roses?
A: The entire process can take anywhere from one to two hours, depending on how intricate you’d like your roses to be.
Q: Can children participate in making these roses?
A: Yes! This project is suitable for all ages, especially when supervised. The gentle cuts and gluing are safe with adult assistance.
Q: What if I can’t find floral wire?
A: You can use sturdy straws or even rolled-up paper to create the stems if floral wire is unavailable.
Conclusion
Creating Cozy Rainbow Crystal Roses provides a wonderful opportunity to immerse oneself in crafting while enjoying the present moment. As you explore this creative path, you may also find inspiration in additional projects such as the Valentine’s Day rose gifts for adding a touch of magic to your environment, or perhaps in delightful yarn creations like the Rainbow Crystal Hearts Yarn Cozy that bring further charm to your crafting journey. Remember, the moment spent creating is as precious as the final product itself. Embrace the calm, enjoy the process, and let your creativity flow freely.
PrintCozy Rainbow Crystal Roses

A calming DIY project to create beautiful and vibrant paper roses, nurturing mindfulness and creativity.
- Prep Time: 15 minutes
- Cook Time: 60 minutes
- Total Time: 75 minutes
- Yield: 1 rose
- Category: Craft
- Method: Crafting
Ingredients
- Colorful crafting paper
- Scissors
- Glue stick or adhesive
- Floral wire
- Green tape or floral tape
- Optional: glitter or gemstones
Instructions
- Begin by cutting your colorful crafting paper into petal shapes.
- Gently curl each petal with your fingers.
- Once your petals are ready, take a piece of floral wire and start layering the petals around one end, securing them with glue.
- Continue adding petals, alternating their positions for a full bloom effect.
- When satisfied with the petals’ arrangement, wrap the floral wire with green tape.
- Optionally, add a touch of glitter or gemstones to your rose.
- Allow time for the glue to dry completely before displaying your roses.
Notes
Store completed roses in a cool, dry place; wrap in tissue paper for longer preservation.