

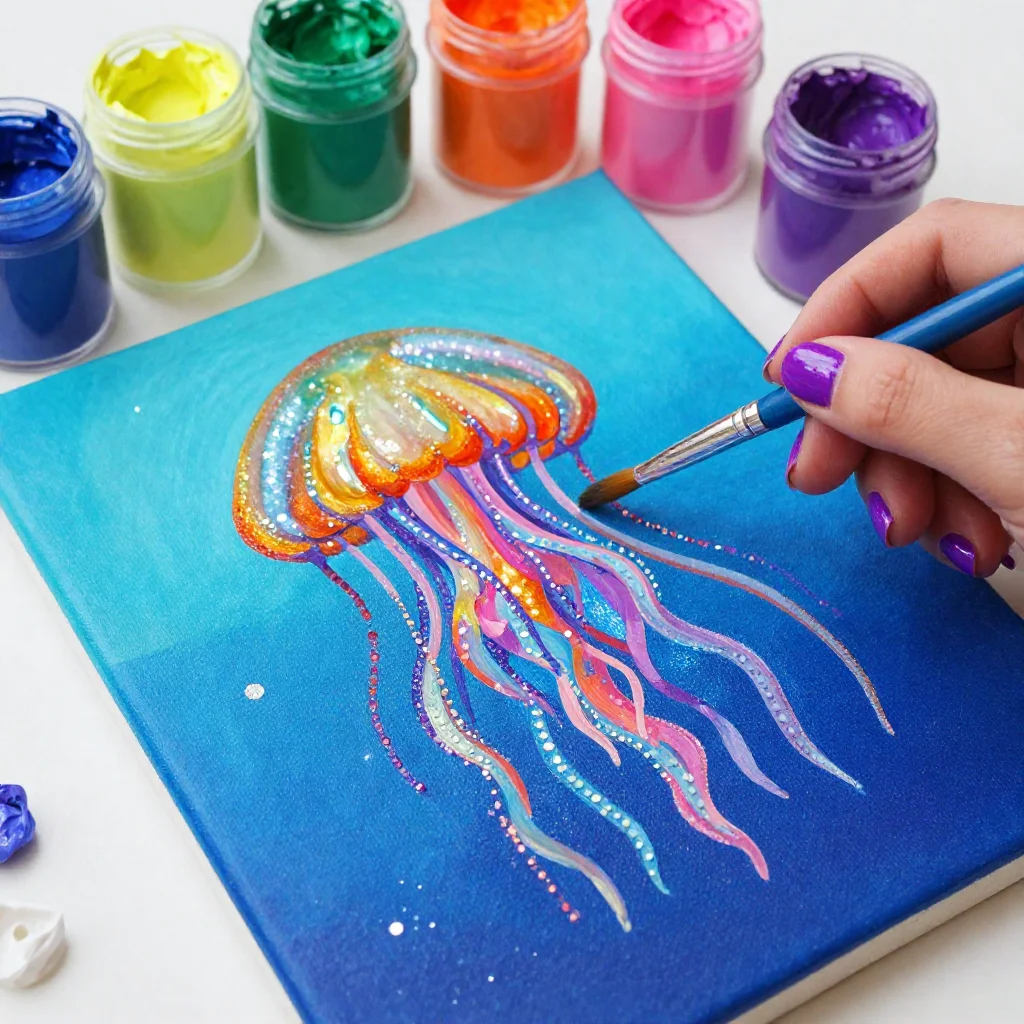
The soft texture of salt gently sifting through fingers, the delicate swirl of colors spreading like ink on paper, and the steady rhythm of creation all come together in the art of Jellyfish Salt Painting. Engaging with this sensory-rich project invites a moment of calm. While you create vibrant jellyfish with salt, paint, and water, you immerse yourself in a world of creativity that awakens both the mind and the senses. Each brushstroke becomes a whisper of intention, a movement that grounds you in the present.
The Heart Behind This DIY
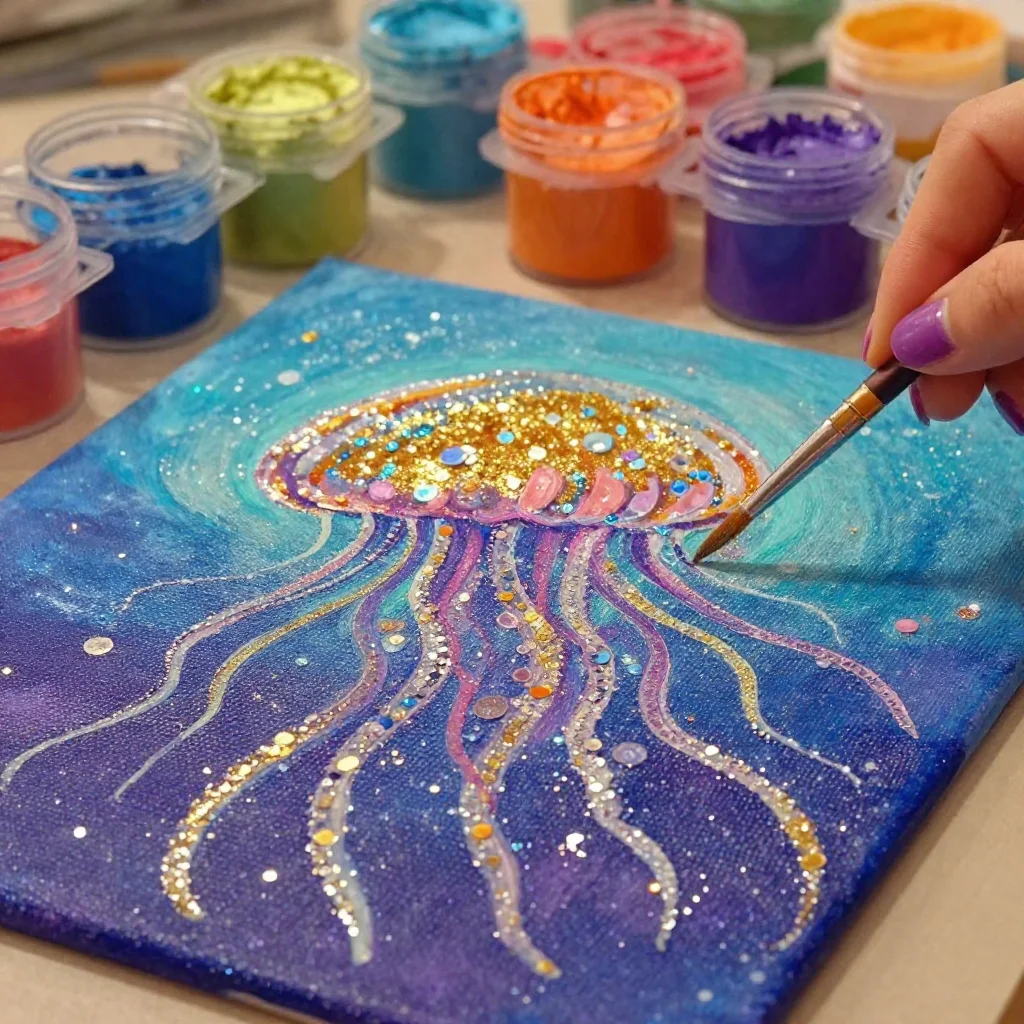
Creating a Jellyfish Salt Painting offers more than just a colorful artwork; it provides a quiet space for reflection and tranquility. The process encourages a slow and mindful approach, inviting you to focus on each detail, from the way the salt binds with the paint to the gentle motion of spreading colors on paper.
Salt painting introduces an unexpected element of texture, transforming a simple painting into a tactile experience. As you layer the salt and watch the colors bloom in uneven patterns, you engage multiple senses. The crunching sound of salt as you pour and its rough yet inviting texture serves to heighten your awareness. This method prompts you to embrace the moment, encouraging your mind to wander softly without destination.
The rhythmic process of adding salt and paint offers a soothing backdrop. It helps cultivate a sense of calm amidst the busyness of life. Each moment becomes an invitation to breathe deeply, to pause, and to appreciate the small wonders of creation. This artistic journey transforms the ordinary into a space of peace and mindfulness, making it easier for you to find clarity and joy in your daily routine.
A Gentle Look at the Process
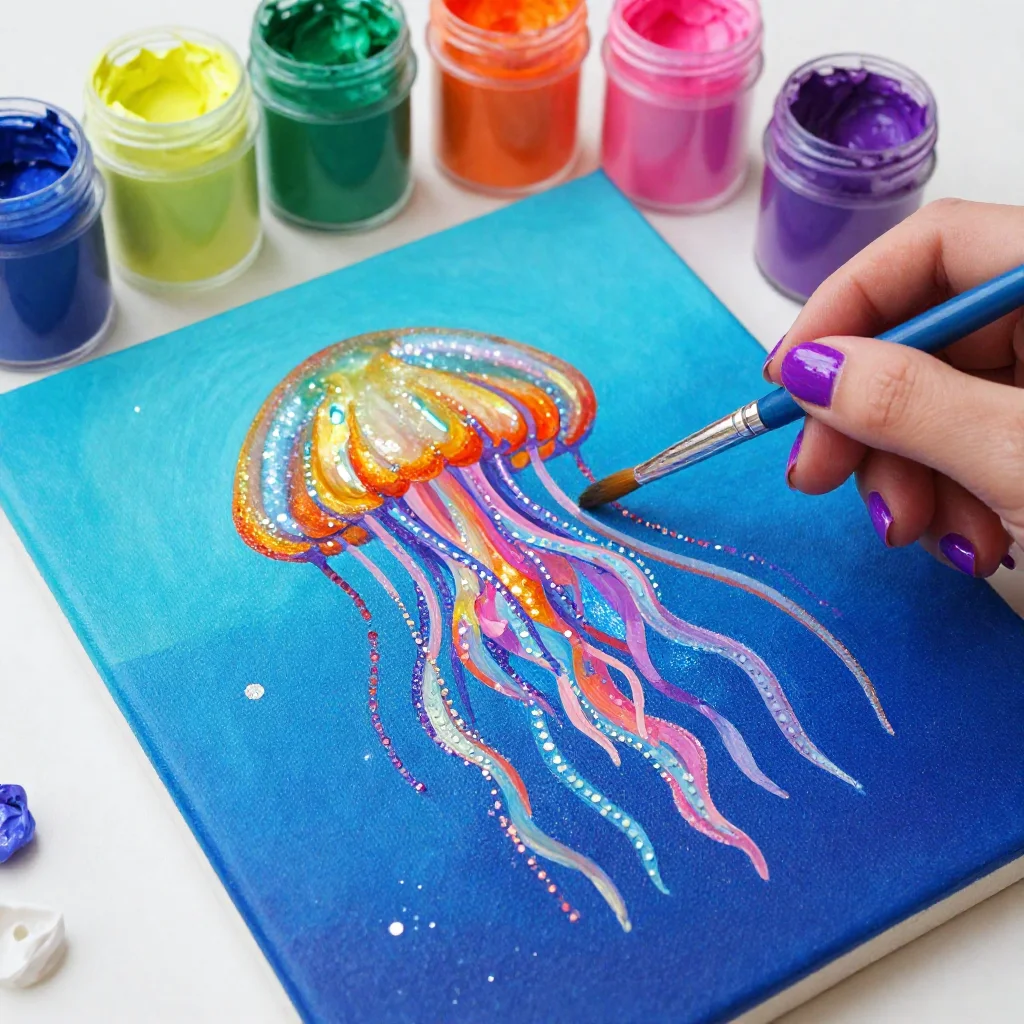
Before diving into the world of Jellyfish Salt Painting, it’s helpful to take a moment to understand the rhythm of this craft. You might begin by gathering your materials, taking time to feel each item and reflect on its purpose. The sound of salt sliding against itself in the container can awaken your senses, hinting at the tactile pleasure to come.
With a steady hand, you may lay down the salt in playful shapes on the paper, each grain inviting the next brushstroke. As each color meets the salt, the paint flows into a dance, creating patterns that mirror the soft, fluid movements of jellyfish in the ocean. This process moves slowly, requiring your full attention. You will find beauty in the little details, the way water glistens as it meets salt, producing unexpected results that always feel rewarding.
Now, let’s explore the materials you’ll use during this calming journey.
Simple Supplies for This DIY
Gathering your materials can be a delightful part of the journey. Here’s what you will need:
- Watercolor paper (sturdy and easy to work with)
- Fine salt (adds texture and helps paint spread)
- Liquid watercolor or food coloring (vibrant colors)
- Paintbrushes (soft bristles for the best effect)
- Small cups or containers (for salt and paint)
- A tray or cardboard (to catch excess salt)
- A pipette or a small squeeze bottle (for controlled paint application)
Each of these materials is easy to find, and you can often substitute if needed. The flexibility in colors allows you to make your painting truly your own, encouraging creativity at every step.
Step-by-Step Directions
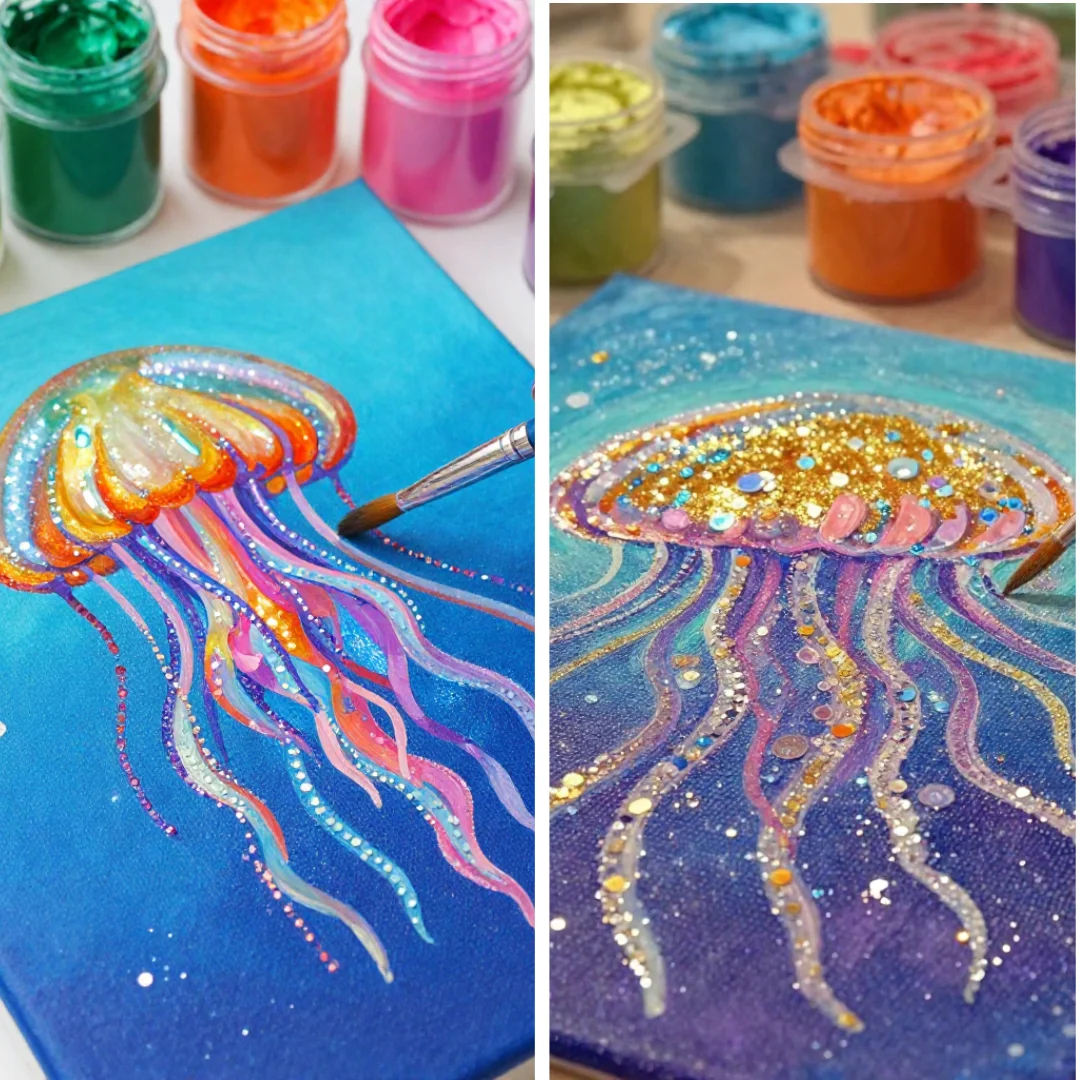
Begin by preparing your workspace. Lay out your watercolor paper on a flat surface. Make sure it is clean and free from distractions.
In a small cup, pour some salt. Use enough to create a generous layer on the paper. Feel the grains in your hands as you work.
Create a jellyfish shape using the salt. You can make circles for the body and lines for the tentacles. Let your imagination flow and have fun with it.
Next, using your liquid watercolor or food coloring, fill a small container with your chosen color. If you’re using multiple colors, keep them separate.
If you have a pipette or squeeze bottle, use it to drop or paint the liquid onto the salt. Watch as the color spreads through the grains in a mesmerizing way.
Allow time for the colors to soak. Observe the blending as it creates interesting patterns. Breathe deeply and enjoy this moment of creation.
Repeat the process with additional colors, layering as desired. Let the layers dry completely before moving your painting.
Once dry, shake off any excess salt gently. You may want to save it for a clear finish, or simply brush it away softly.
Enjoying the Finished Piece
Each completed Jellyfish Salt Painting can become a lovely part of your space. Consider framing it or displaying it on a shelf. With its vibrant hues and intricate textures, it invites a sense of calm and creativity into your environment.
This artwork serves as a reminder of a peaceful moment spent crafting. It beckons you to pause and appreciate the beauty of nature. As you walk past your painting, let it inspire you to integrate creative moments into your everyday rhythm. You can also share this joy with friends and family, letting them experience the tranquility of making something uplifting together.
How to Store or Reuse Jellyfish Salt Painting
Once your Jellyfish Salt Painting is finished and displayed, you might wonder how to treat it for longevity. This art piece can last for quite a while if cared for properly. Store it in a cool, dry place, away from direct sunlight to maintain its color vibrancy.
If you want to create again or experiment further, consider using your colored salt in new projects. You can gather it in a jar to preserve its unique hues. This way, you won’t waste any of the lovely materials. Also, if you enjoy other sensory projects, like our Salt Volcano, it could come in handy.
Calm Customization Ideas
As you grow more comfortable with the Jellyfish Salt Painting process, feel free to explore different variations. Here are some gentle invitations to make this project your own:
- Experiment with color combinations. Mix colors to see how they interact on the salt, creating new shades that surprise you.
- Try different shapes of jellyfish. Explore variations in size and tentacle shapes to see what feels most joyful to you.
- Incorporate other textures, such as glitter or small beads, to add depth and dimension to your artwork.
- Create a series of Jellyfish Salt Paintings. Each piece can reflect a different emotion or season, creating a gallery wall that tells a personal story.
Feel free to let your creativity guide you.
FAQs About Jellyfish Salt Painting
What age is this project suitable for?
This DIY is wonderful for all ages. Younger crafters may need some assistance, especially with pouring and painting. It can turn into a lovely bonding experience.
Do I have to use liquid watercolors?
Not at all. Food coloring works perfectly as well. Choose whichever you have on hand, and don’t be afraid to explore the colors that resonate most with you.
How long does it take for the painting to dry?
Depending on the amount of paint used and your environment’s humidity, it may take a few hours to dry completely. Patience in waiting can enhance the anticipation of seeing the finished piece.
Can I reuse the salt?
Yes! You can save the salt from your finished piece and use it for future creations. Just make sure to store it in a dry area.
What should I do if the colors don’t blend as I hope?
It’s all part of the charm of this craft. Embrace the unexpected results; they often lead to the most beautiful surprises in your artwork.
A Gentle Note Before You Go
Creating a Jellyfish Salt Painting transcends mere creativity; it serves as a soothing escape, a mindful practice that encourages presence and awareness. Remember to enjoy every step, from gathering materials to observing the way colors interact. Whether you display your art, give it as a gift, or simply admire your handiwork, let the calming experience of this craft anchor you in joyful creation.
If you seek more serene projects, consider exploring this activity guide for more salt painting ideas or check out this informative resource on jellyfish salt painting for inspiration. Take a deep breath, trust your creative instincts, and make your next beautiful piece.
PrintJellyfish Salt Painting
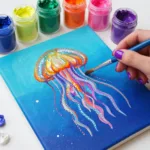
Immerse yourself in the calming art of Jellyfish Salt Painting, blending texture and color for a sensory-rich experience.
- Prep Time: 10 minutes
- Cook Time: 0 minutes
- Total Time: 2 hours
- Yield: 1 finished artwork
- Category: Art & Crafts
- Method: Crafting
- Cuisine: N/A
- Diet: N/A
Ingredients
- Watercolor paper
- Fine salt
- Liquid watercolor or food coloring
- Paintbrushes
- Small cups or containers
- A tray or cardboard
- A pipette or squeeze bottle
Instructions
- Begin by preparing your workspace. Lay out your watercolor paper on a flat surface. Make sure it is clean and free from distractions.
- Pour some salt into a small cup. Use enough to create a generous layer on the paper. Feel the grains in your hands as you work.
- Create a jellyfish shape using the salt. You can make circles for the body and lines for the tentacles. Let your imagination flow and have fun with it.
- Fill a small container with your chosen liquid watercolor or food coloring. If you’re using multiple colors, keep them separate.
- Use a pipette or squeeze bottle to drop or paint the liquid onto the salt. Watch as the color spreads through the grains in a mesmerizing way.
- Allow time for the colors to soak. Observe the blending as it creates interesting patterns. Breathe deeply and enjoy this moment of creation.
- Repeat the process with additional colors, layering as desired. Let the layers dry completely before moving your painting.
- Shake off any excess salt gently. You may want to save it for a clear finish, or simply brush it away softly.
Notes
This project is suitable for all ages, with younger crafters needing assistance. You can save and reuse the salt for future projects.