

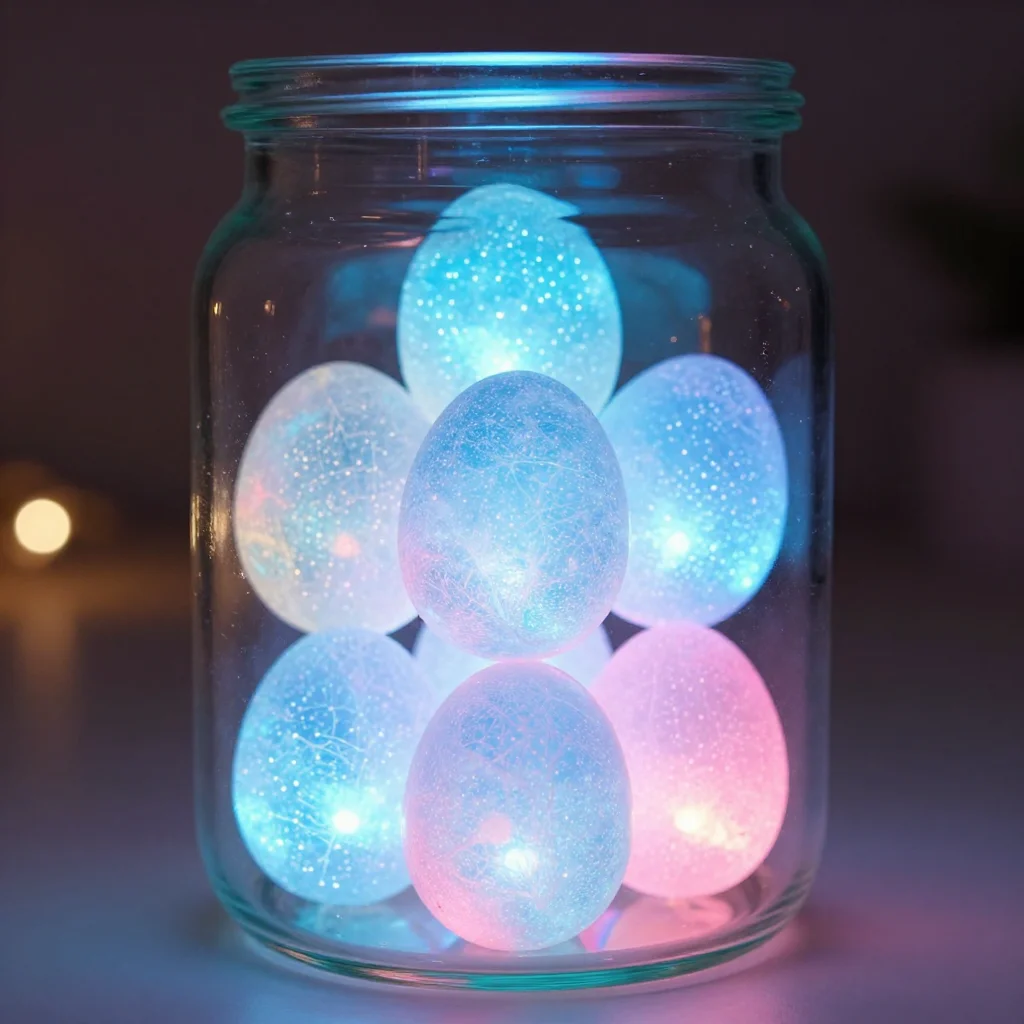
Creating translucent eggs can be a gentle, sensory experience. The smooth surface glistens under light, inviting a soft touch and a quiet moment of creating. As you immerse yourself in the process, the world outside seems to hush, leaving only the simple, calming act of making. The colors can swirl in unexpected ways, the materials can soothe, and the act of crafting becomes a mindful ritual that brings joy.
The Heart Behind This DIY
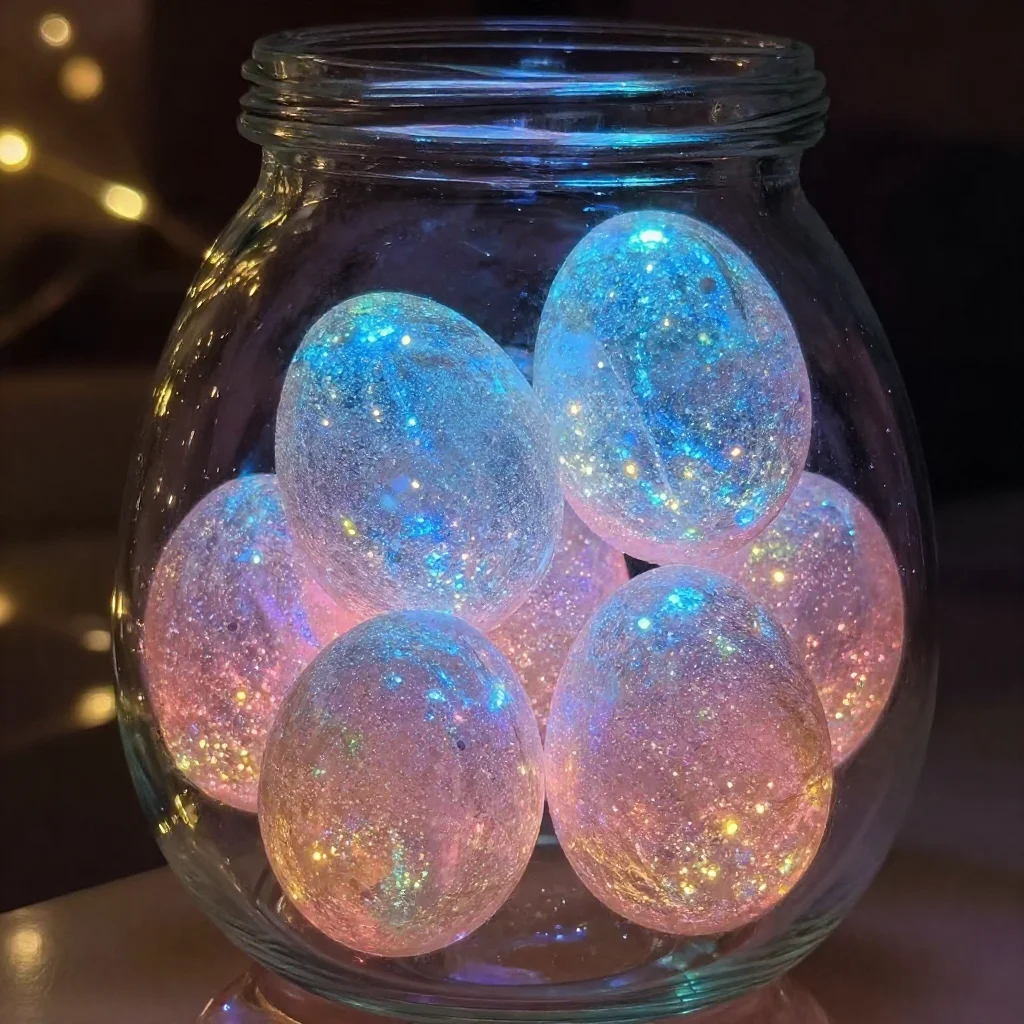
Making translucent eggs can be a comforting journey for both the mind and spirit. This project invites you to slow down and be present with the materials. The delicate beauty of these eggs often brings about a feeling of calm, like holding a piece of light in your hands. As you work with your fingers, you engage more deeply with each layer that reveals itself, creating something beautiful and unique.
Crafting translucent eggs allows you to focus on texture and light. The sensory experience extends as you blend colors, creating a gentle rhythm reminiscent of raindrops falling. As you pour, mix, and paint, you can find flow and serenity in the simple act of creation. It’s not merely about the finished product but the journey of making, nurturing creativity, and savoring every moment.
A Gentle Look at the Process
Before diving into the materials, let’s embrace how this tranquil process feels. Picture yourself setting out your supplies, the soft click of your scissors, and the soothing roll of paint across your palette. You might hear the gentle swish of a brush, a sound that can be almost meditative. Visualize the colors blending slowly, creating a dance of hues. Each motion feels effortless, allowing you to connect with every step.
This process is an invitation to engage your senses. As you work, you notice the smoothness of the surfaces, the textures of the different materials, and the way light plays with color. The gentle movements become a meditation, each stroke a reminder to breathe deeply and be present.
Materials You’ll Need
Gathering the right materials can enhance this sensory crafting experience. Here’s a simple list of supplies you will need:
- Clear plastic or glass eggs (available at craft stores)
- Transparent paint or acrylic paint (easy to find)
- Paintbrushes (various sizes)
- Small bowls for mixing
- Water (for rinsing brushes)
- Paper towels (for cleanup)
- Optional: Glitter, sequins, or other embellishments
Having everything in one place can help create a calm workspace, ready for your creative journey.
Step-by-Step Directions
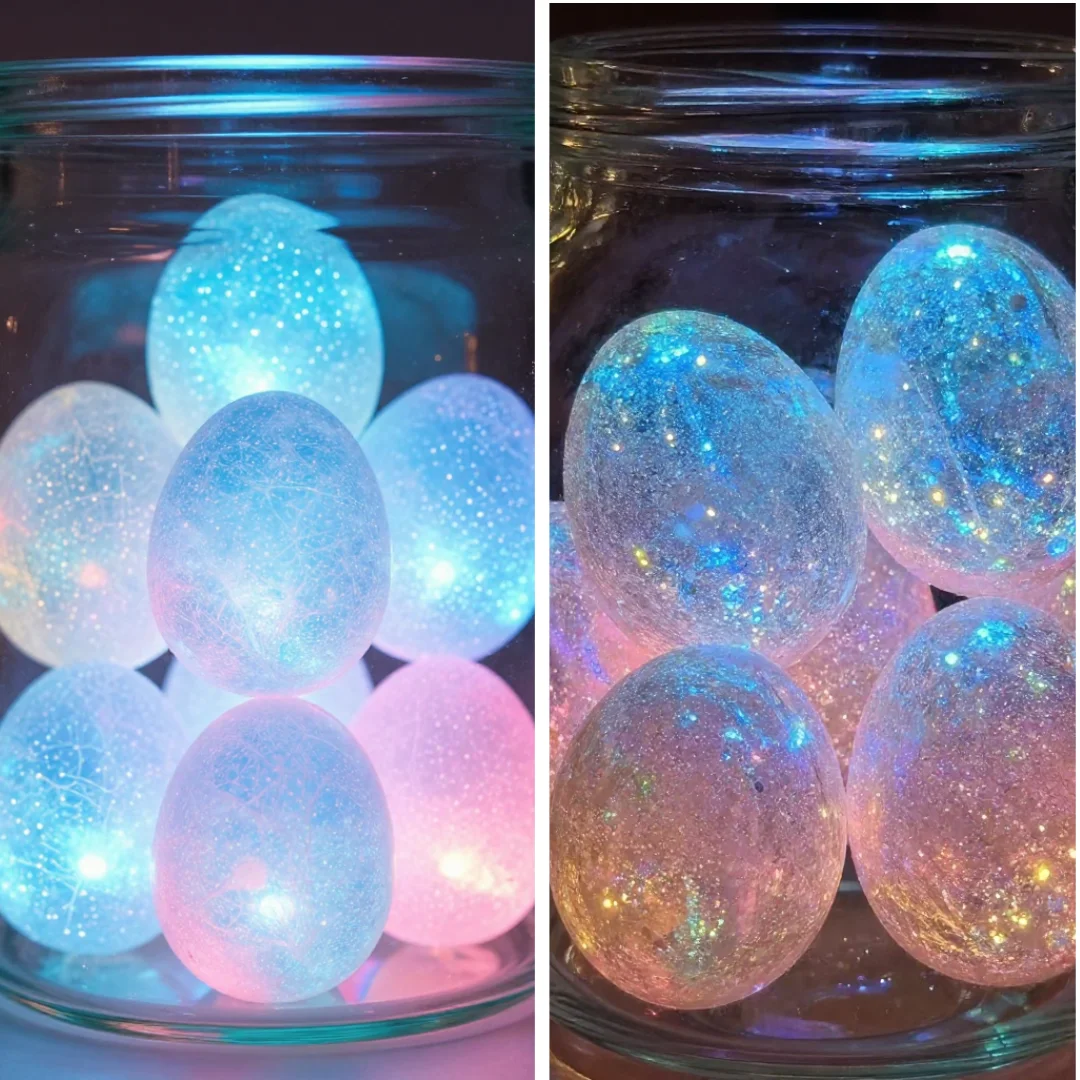
Begin by choosing your clear eggs. Hold them gently in your hands, enjoying their smoothness.
Pour a small amount of transparent paint into a bowl. Observe how the light shines through the liquid as you swirl it.
Use your brush to dip into the paint. The bristles will glide, and as you apply the paint onto the egg, you will feel the texture change beneath your fingers.
Apply the paint in thin layers. Watch how the colors blend, revealing new shades in the light.
Once you are pleased with the color, set the eggs aside to dry. Take a moment to enjoy the shine reflecting back at you.
While waiting, clean your brushes and workspace with warm water, feeling the soothing touch of the water.
If you wish, add glitter or sequins to your eggs once they are dry for an extra layer of texture and sparkle.
Allow the eggs to dry completely before displaying or using them.
Enjoying the Finished Piece
Translucent eggs can fit beautifully into different aspects of your life. One of the lovely things about these crafted pieces is their versatility. You might choose to display them in a sunny window, where they can catch the light in a mesmerizing dance of colors. Alternatively, place them in a woven basket as a centerpiece, creating a calming atmosphere in your space.
Some might enjoy using these eggs for seasonal decorations, gently incorporating them into their home decor. Others may find joy in gifting them to friends or family, sharing the comforting warmth of creativity. Each time you engage with these eggs, you can take a moment to appreciate the peaceful process that led to their creation.
How to Store or Reuse Translucent Eggs
Taking care of your translucent eggs ensures they remain a part of your cozy crafting experience for a long time. Store them in a safe place, like a soft cloth or felt-lined box, protecting them from bumps and breaks. If you want to reuse them, simply clean the eggs with a soft cloth that can wipe away any dust while preserving their shine.
If you feel inspired, consider changing their colors or designs for different seasons or holidays. This allows fresh energy to flow into your spaces while keeping crafting at the forefront of your home life.
Gentle Tips & Variations
As you explore this project, here are a few gentle ideas to make your experience even more personal:
- Consider using different types of paints, such as watercolor, to see how it transforms the translucency of the eggs.
- Experiment with layering colors to create depth and interest. Each layer can tell a story.
- Try adding natural elements, like leaves or small flowers, to your paints for subtle, nature-inspired textures.
- Choose a specific color palette that resonates with your mood or the season, enhancing the cozy atmosphere in your crafting space.
FAQs About Translucent Eggs
Can I use regular paint instead of transparent paint?
While transparent paint emphasizes the light and layering effect, regular paint can be used for a more opaque look. Just be mindful that the eggs may lose some of their translucent charm.
How long do the eggs take to dry?
Drying time varies depending on the type of paint used but expect between one to two hours for most, allowing you to easily check on their progress.
Can I personalize my eggs for different occasions?
Absolutely! Personalizing them with different colors or embellishments can add a unique touch, making them perfect for celebrations like Easter or spring decor.
Conclusion
Creating translucent eggs is more than just a DIY project; it is a way to nurture your creativity and foster a sense of calm. Each step in the process offers a chance for reflection and mindfulness, allowing you to be fully present in your crafting.
As you explore the world of translucent eggs, remember that every detail—from the choice of paint to how you display them—can reflect your unique spirit. To spark inspiration for fun experiments, check out The Transparent and Bouncy Egg Experiment. For those interested in the intriguing topic of clear eggs, you may want to visit the SimplyDiscus Forum. Happy crafting, and may you find beauty in every moment of making.
PrintTranslucent Eggs Craft
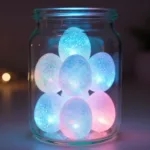
A calming DIY project to create beautiful translucent eggs using paint and creativity.
- Prep Time: 15 minutes
- Cook Time: 120 minutes
- Total Time: 135 minutes
- Yield: 4 eggs
- Category: Craft
- Method: DIY
- Cuisine: N/A
- Diet: N/A
Ingredients
- Clear plastic or glass eggs
- Transparent paint or acrylic paint
- Paintbrushes (various sizes)
- Small bowls for mixing
- Water (for rinsing brushes)
- Paper towels (for cleanup)
- Optional: Glitter, sequins, or other embellishments
Instructions
- Begin by choosing your clear eggs. Hold them gently in your hands, enjoying their smoothness.
- Pour a small amount of transparent paint into a bowl. Observe how the light shines through the liquid as you swirl it.
- Use your brush to dip into the paint. The bristles will glide, and as you apply the paint onto the egg, you will feel the texture change beneath your fingers.
- Apply the paint in thin layers. Watch how the colors blend, revealing new shades in the light.
- Once you are pleased with the color, set the eggs aside to dry. Take a moment to enjoy the shine reflecting back at you.
- While waiting, clean your brushes and workspace with warm water, feeling the soothing touch of the water.
- If you wish, add glitter or sequins to your eggs once they are dry for an extra layer of texture and sparkle.
- Allow the eggs to dry completely before displaying or using them.
Notes
Store eggs in a soft cloth or felt-lined box to protect them from bumps and breaks.