

A warm, late-afternoon light pours through the window and settles on the table where a slow, simple craft waits. The bowl of warm, slightly sticky bioplastic sits beside tiny puddles of color that look like captured sun. I fold a little swirl of pigment into the clear mix and watch a soft ribbon of color drift and settle. This quiet moment is what making DIY Bioplastic Suncatchers with Colorful Swirls feels like to me, a gentle hour of hands, small decisions, and steady breathing while the world softens outside. If you want a clear, stepwise recipe to follow later, you can also explore a related example in our colorful bioplastic suncatchers recipe.
The Quiet Joy of Making DIY Bioplastic Suncatchers with Colorful Swirls

Making these suncatchers asks you to slow down and notice small textures. The bioplastic begins glossy and warm, then dries to a delicate, slightly leathery film that catches light like thin glass. When you add color in slow, deliberate movements, the pigments make soft veins and marbled shapes that feel like little landscapes suspended in the sun.
This craft supports a calm rhythm of work. You measure, stir, and pour in a quiet sequence. You watch steam lift off the surface, feel a gentle warmth on your fingertips through a spoon, and listen to the soft clink of glass jars. These sensory moments help anchor attention, quieting busy thoughts and creating a small space for presence.
The project also holds simple meaning. Each suncatcher captures a tiny memory of the time you made it: the mug you drank from, the song that played, the light at that hour. If you enjoy botanicals, you might like another variation that presses small flowers into the bioplastic for a soft, preserved look in a different post about suncatchers with flowers.
How This DIY Comes Together
The process moves like a slow, deliberate dance. You heat corn starch and water until the mixture thickens and glows. You stir until the texture shifts from milky to clear and slightly viscous. Then you rest, working in small pours, adding tiny pools of diluted dye that spread and meet like watercolor on wet paper.
This craft combines gentle chemistry with tactile making. Corn starch and glycerin form flexible chains when heated, producing a film that dries firm yet flexible. Adding color in small amounts keeps the swirls soft. If you work slowly, you will see the colors fold and merge instead of blending into one muddy tone. That visual rhythm helps you stay present.
The steps feel calm. You move slowly between heat and cool, between mixing and shaping. You let parts dry overnight. You check them again in the morning. The whole project rewards patience and invites small, mindful choices.
Materials You’ll Need
- Cornstarch (easy to find at grocery stores)
- Distilled water (or filtered water)
- Vegetable glycerin (optional for extra flexibility)
- White vinegar (a small splash helps the mix set)
- Food coloring or liquid watercolor paints (small droppers make control easier)
- A small saucepan and a wooden spoon
- Heat-safe measuring spoons and cups
- Silicone baking mat or parchment paper (nonstick surface)
- Small glass jars or ramekins for pouring shapes
- Toothpicks or a fine brush for marbling color
- A straw or skewer to make a hanging hole while the pieces are wet
- A soft cloth and gentle soap for clean-up
If you like, you can adapt some materials and still get pleasant results. For a slightly different texture, try a recipe variation described on this companion page about another bioplastic method that uses small proportion changes.
Step-by-Step Directions
Measure ingredients. Combine 1 cup water and 4 tablespoons cornstarch in the saucepan, stirring until smooth.
Keep the motion gentle so you avoid lumps and create a silky base before heat.Heat slowly over medium-low. Stir constantly with a wooden spoon as the mix warms.
You will notice it thicken and become glossy; this is a reassuring, tactile change.Add a tablespoon of glycerin if you want softer pieces, and a teaspoon of vinegar for setting.
Stir until these blend evenly and the mixture becomes thicker and almost translucent.Remove from heat when the mixture pulls away from the sides slightly and maintains a pudding-like texture.
Work carefully to avoid overheating; you want a warm, viscous gel, not a stiff paste.Let the mix cool for a minute. Fill small jars or ramekins with a thin layer of the bioplastic while it is still pourable.
The surface will feel warm and smooth. Pour with calm, steady hands.Add tiny drops of food coloring to each jar. Use 1 or 2 drops to start for soft swirls.
Watch the color spread. Use a toothpick to nudge the color into lovely waves and veins.Marble gently. Drag a toothpick or fine brush through the colors to create swirls and soft folds.
Move slowly and observe how small gestures change the whole pattern.Make a hanging hole while the pieces are wet. Push a straw or skewer through the edge where you want the hole.
Hold for a moment and then pull out carefully to keep the shape intact.Allow pieces to dry on a silicone mat or parchment in a warm, dry spot for 24 hours.
The texture will shift from glossy and soft to a matte, slightly leathery feel as water leaves the film.Peel the suncatchers off gently when fully dry. Trim any uneven edges with scissors for neat shapes.
Run your fingers along the edge; the surface will feel smooth and slightly springy.Add cord or thin ribbon through the hole. Knot it securely and hang near a window where light can pass through.
Small movements will catch the sun and throw gentle color into the room.If a piece seems brittle after drying, mist it lightly with a little glycerin diluted in water and let it rest.
Small adjustments can restore flexibility without changing the pattern.Clean up calmly. Wash the saucepan and utensils with warm, soapy water and pat them dry.
The tactile end of the project matters as much as the making; treat your tools with care.
Enjoying the Finished Piece


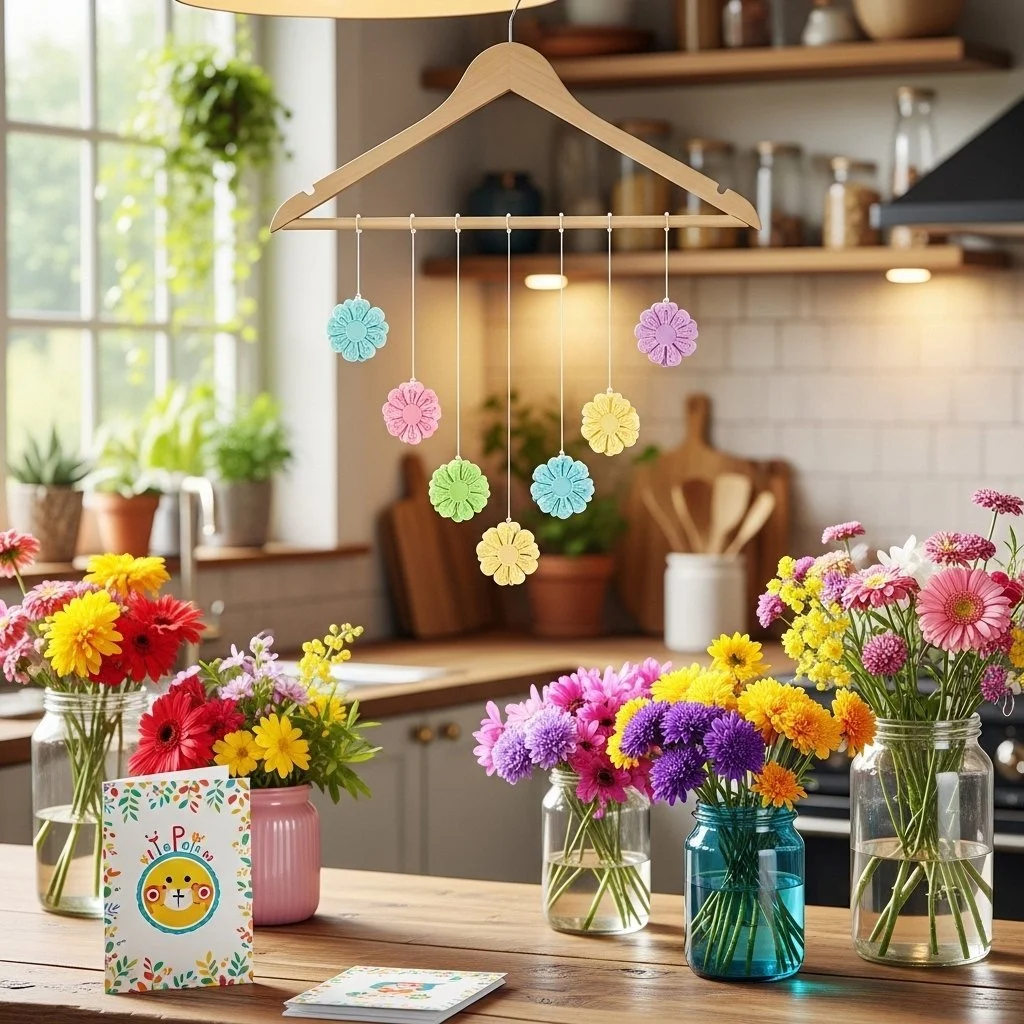
Hang one near a bedside window to greet the morning with a soft glow. Place another in a kitchen window where afternoon sun warms the glass and makes the swirls sing. The pieces work well in small groupings at different heights so the light moves between them and creates a gentle, shifting pattern on nearby surfaces.
These suncatchers also make quiet gifts. Tuck one into tissue paper and include a short note about the moment you made it. The new owner will touch soft edges and see the tiny, intentional swirls that record that hour. You can change ribbons by season to soften their look for winter or brighten it for spring.
Try pairing a suncatcher with a small bowl of pebbles or a pot of herbs to make a calm window vignette. The contrast between the matte plant leaves and the translucent color helps both elements feel more alive. If you enjoy arranging small collections, these pieces integrate easily and invite slow, ongoing adjustments.
Making This DIY Last
Bioplastic suncatchers last best when you keep them dry and out of intense, direct heat over long periods. Direct, constant sun can eventually cause some fading. Rotate them occasionally to even out exposure if you hang them in a very bright window.
Store extras flat between sheets of parchment in a cool, dry drawer. Avoid folding or stacking heavy items on top of them to keep shapes crisp. If a suncatcher attracts dust, wipe it with a soft, dry cloth rather than soaking it, which could soften the bioplastic.
If a hanging hole shows wear, reinforce it with a small loop of fine wire or apply a tiny dab of clear school glue and allow it to dry. For long-term keepers, consider framing a suncatcher in a shallow hoop or embroidery ring to provide gentle support while displaying it.
Be mindful of temperature extremes. Sudden heat can make the pieces pliable, and a very cold window in freezing weather can make them brittle. Treat them gently and they will reward you with years of calm light.
Small Ways to Make It Your Own
Try layered color. Let one thin layer dry slightly, then pour a second thin layer on top with a different color.
This creates depth and soft, internal shadow without complicated tools.Use natural pigments. Try diluted beet juice or spirulina water for muted, organic tones.
Natural colors can fade differently, so test a small sample first to see the long-term effect.Press small objects carefully. Add a pressed leaf or a tiny paper cutout on top while the mix is still slightly wet.
Press only gently and remove after drying if you want a simple imprint rather than a sealed inclusion.Play with shape molds. Use small shallow bowls or cookie cutters on parchment to form consistent shapes.
The shape you choose changes how the light moves through the piece, so experiment and see what feels coziest.Explore pattern inspiration. If you enjoy variety, try other approaches and record your favorites in a little notebook.
For more pattern ideas and playful textures, you might enjoy the approaches shared in this companion post about other suncatcher experiments.
Each of these invitations keeps the work soft and exploratory. None of them demand perfection. Treat them as experiments that teach you what you like.
FAQs About DIY Bioplastic Suncatchers with Colorful Swirls:
Q: Are bioplastic suncatchers safe to make around children?
A: Yes, with supervision and small adjustments. Keep the saucepan and heated mixture out of reach. Let children help with stirring once the mix cools or with placing color drops and marbling. Use child-safe, edible food coloring to reduce any worry about accidental contact.
Q: How long does it take for a suncatcher to dry?
A: Drying typically takes about 24 hours in a warm, dry spot. Thicker pieces take longer. You will know they are ready when the surface no longer feels tacky and the film peels easily from the mat.
Q: Can I make very large suncatchers?
A: You can make larger pieces, but they need slower, more even drying to avoid curling. Work in thinner layers or use gentle weight around the edges to keep them flat. Large pieces can crack as they dry if they cool or dry too quickly.
Q: Will the colors stay bright over time?
A: Colors usually retain a soft luminosity, but intense, direct sun for long periods may fade pigments gradually. Using concentrated pigments yields richer initial color, but subtle tones often age more gracefully and keep the handmade, cozy feeling.
Q: Can I wash my suncatchers?
A: Clean them gently with a soft, dry cloth. If necessary, use a barely damp cloth and dry immediately. Avoid soaking or scrubbing, which can soften or mark the bioplastic.
A Gentle Note Before You Go
Making a suncatcher honors small, patient choices. The warmth of the mixture, the weight of your spoon, the soft way colors ripple and settle all form a quiet practice. When you hang a finished piece and watch light filter through it, you reconnect to a simple pleasure: the slow unfolding of color and the gentle proof of your hands at work. Take your time. Let each step be an invitation to notice.
Conclusion
If you want a clear, child-friendly explanation of how the bioplastic mixture works and another simple recipe to follow, the page How To Make A Bioplastic Suncatcher – Chemistry for Kids offers an accessible science side to this craft.
For a different but related technique that uses glue to make luminous window pieces, see DIY Glue Suncatchers – Easy Ways to Brighten Your Windows! for inspiration and variation.
PrintDIY Bioplastic Suncatchers with Colorful Swirls

Create beautiful bioplastic suncatchers with colorful swirls using simple ingredients. Experience a calm crafting process as you capture sunlight in delicate, handmade designs.
- Prep Time: 10 minutes
- Cook Time: 20 minutes
- Total Time: 30 minutes
- Yield: 4 suncatchers
- Category: Craft
- Method: Crafting
- Cuisine: N/A
- Diet: N/A
Ingredients
- 1 cup distilled water
- 4 tablespoons cornstarch
- 1 tablespoon vegetable glycerin (optional)
- 1 teaspoon white vinegar
- Food coloring or liquid watercolor paints
- A small saucepan
- A wooden spoon
- Heat-safe measuring spoons and cups
- Silicone baking mat or parchment paper
- Small glass jars or ramekins
- Toothpicks or a fine brush
- A straw or skewer
- A soft cloth and gentle soap for clean-up
Instructions
- Measure ingredients. Combine 1 cup water and 4 tablespoons cornstarch in the saucepan, stirring until smooth.
- Heat slowly over medium-low. Stir constantly with a wooden spoon as the mix warms.
- Add a tablespoon of glycerin if you want softer pieces, and a teaspoon of vinegar for setting.
- Remove from heat when the mixture pulls away from the sides slightly and maintains a pudding-like texture.
- Let the mix cool for a minute. Fill small jars or ramekins with a thin layer of the bioplastic while it is still pourable.
- Add tiny drops of food coloring to each jar. Use 1 or 2 drops to start for soft swirls.
- Marble gently. Drag a toothpick or fine brush through the colors to create swirls and soft folds.
- Make a hanging hole while the pieces are wet by pushing a straw or skewer through the edge.
- Allow pieces to dry on a silicone mat or parchment in a warm, dry spot for 24 hours.
- Peel the suncatchers off gently when fully dry. Trim any uneven edges with scissors.
- Add cord or thin ribbon through the hole, knot it securely and hang near a window.
- Clean up calmly after the making ends by washing the saucepan and utensils with warm, soapy water.
Notes
For a slightly different texture, consider adapting the proportions of the ingredients. Keep the suncatchers dry and out of intense, direct heat to maintain their integrity over time.