

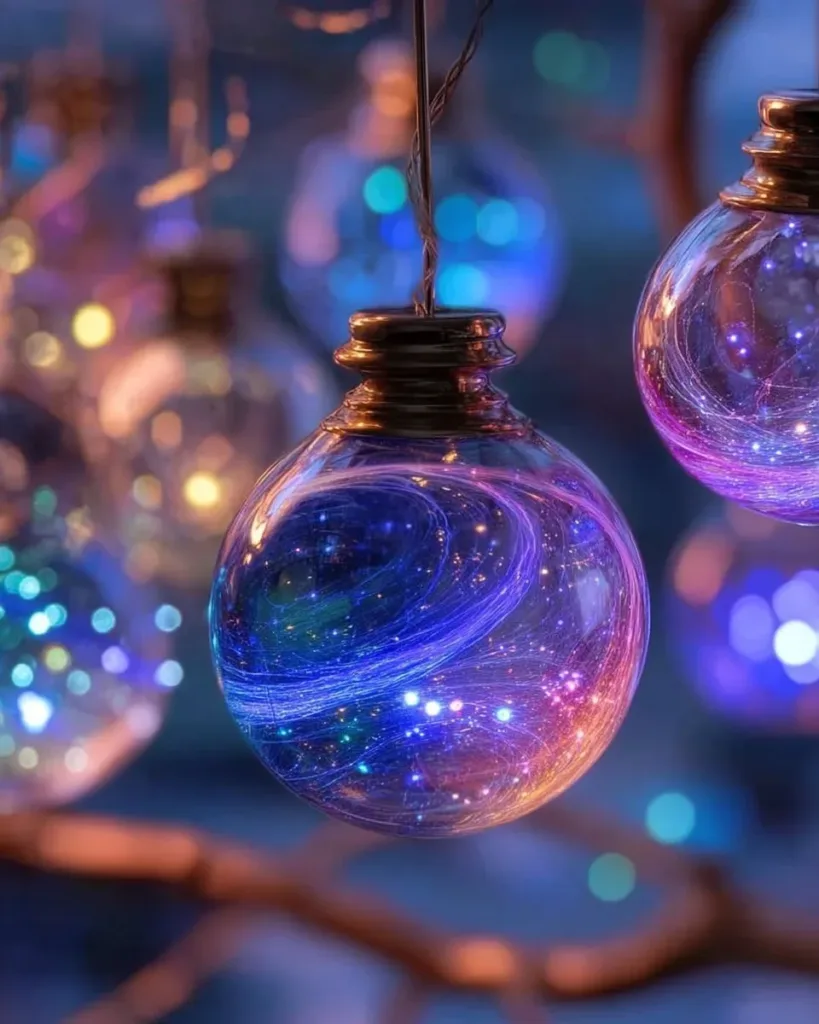
I press my thumb lightly into the cool jar, feeling the smooth glass edge and the tiny static pull of glitter against my skin. A soft, slow light blooms inside as I shake the jar and watch the swirls settle like a quiet galaxy. These Nebula Glow Ornaments ask me to slow down, to notice the little textures and the gradual change from bright to soft. I keep a list of simple projects nearby, and this one sits beside my favorites, like my birdseed ornaments that invite birds and quiet mornings you can make at home.
The Quiet Joy of Making Nebula Glow Ornaments
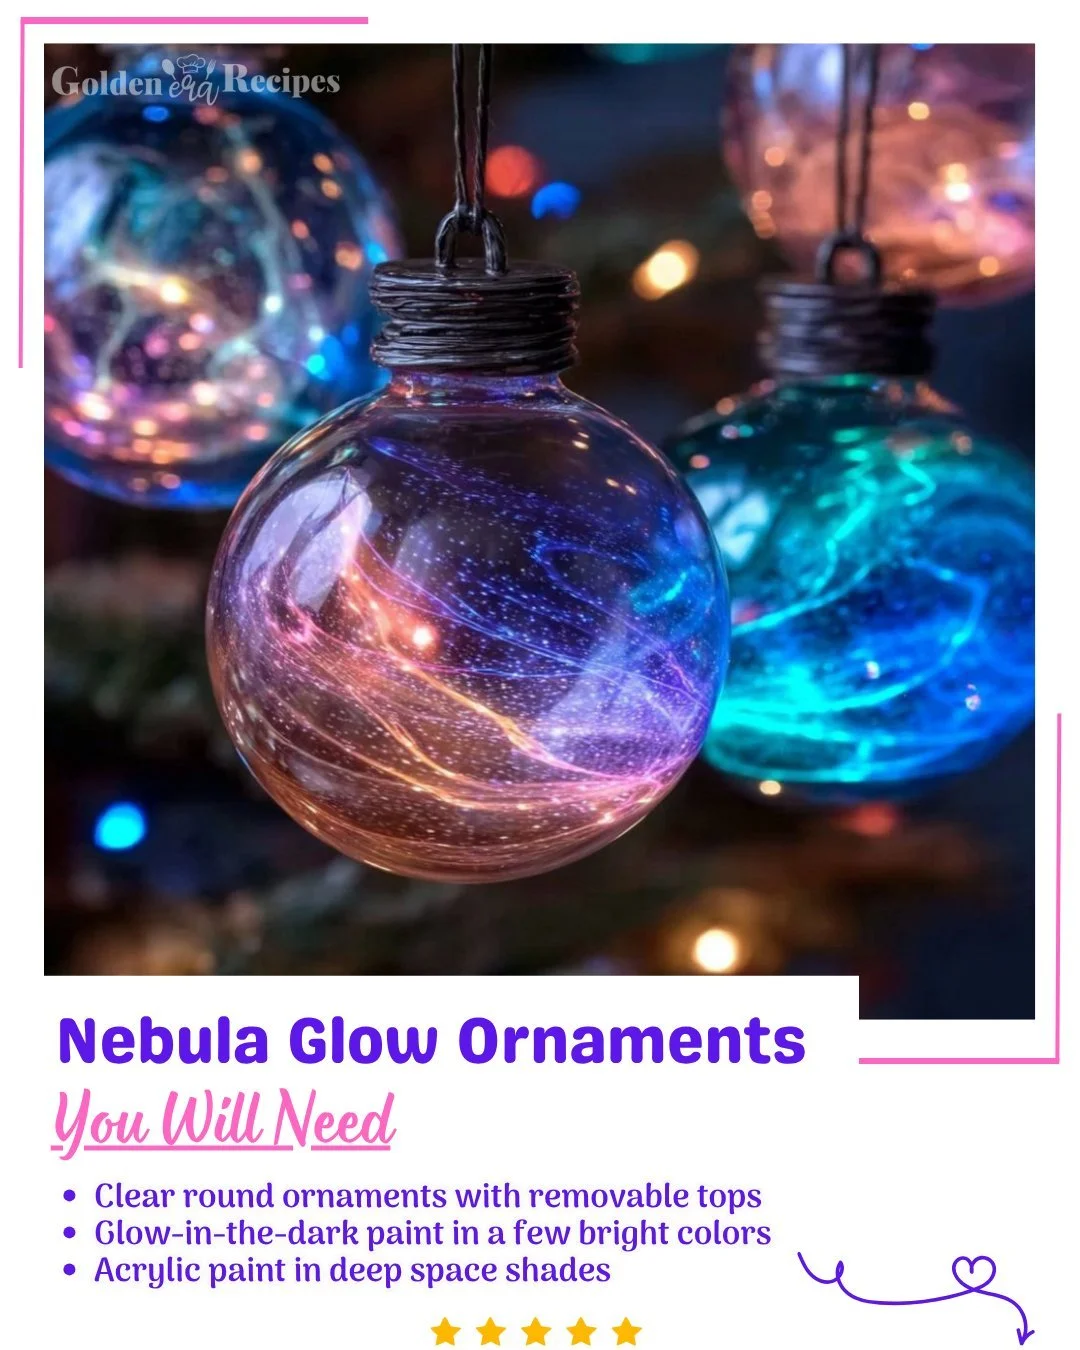
Making Nebula Glow Ornaments gives you a small, warm ritual. You mix soft powders, clear mediums, and tiny lights, and you watch color and light meet. The act of stirring and pouring feels like a slow, safe dance.
This project ties simple senses to a calm moment. You listen to the gentle clink of glass. You feel the cool smoothness of ornaments in your hands. You see tiny specks of glow float and settle. Each step asks for gentle focus, not speed.
I make these on rainy afternoons. The light from a single lamp picks up each particle. The glow paints the room with a hush. Creating this kind of light can ease busy thoughts and bring your attention back to the present.
The work also sits well with other quiet crafts. If you like small, tactile projects you might enjoy trying a soft, glowing jar or a crystal ornament at another time. My project notes include a link to a playful glowing jar that blends color and light in a similar way I made for calm evenings.
A Gentle Look at the Process
Before you mix a single thing, breathe and set a small, tidy space. The process moves in a few simple rhythms: measure, mix, pour, and wait. Each movement feels deliberate and kind.
You will scoop soft powders, watch them bloom in clear medium, and then meet that mix with glass orbs. The glass holds the light and the tiny suspended shapes. The slow drying time gives you quiet pauses. I often fold these pauses into tea breaks.
You will hear small sounds: a spoon tapping glass, a slow pour, the faint rustle of supplies. Those tiny sounds help cue the pace. Move slowly. Feel the texture of the powder as it slips between your fingers. Notice the way light changes when the mix hits the glass.
If you enjoy other small hanging pieces, you might like the gentle shapes in a crystal ornament project I keep on hand, which shows how simple materials form lasting keepsakes I wrote about once.
Materials You’ll Need
- Clear glass or plastic ornament balls, preferably with an opening large enough to work through (easy to find)
- Glow in the dark pigment powder or glow paint (non-toxic, water-based works well)
- Clear pouring medium or clear glue like PVA that dries clear (substitute-friendly)
- Fine iridescent glitter or mica powder for a soft nebula effect (optional)
- Small funnel or rolled paper to guide powders into the ornament (simple tool)
- Small stirring stick or wooden skewer (smooth and disposable)
- Rubbing alcohol in a spray bottle to clean glass interiors (safety and clarity)
- Thin cotton string or ribbon for hanging (soft and cozy)
- Small LED light or fairy light module if you want a steady glow (battery-operated)
- Paper towels and a shallow tray to catch spills (easy cleanup)
- Work mat or old towel to protect your surface (gentle on your table)
Notes: Choose non-toxic glow pigments if children join you. Clear pouring medium helps the glow material spread thinly and hold in place. Plastic ornaments work well if you worry about breakage.
Step-by-Step Directions
Clean the ornament inside well with rubbing alcohol.
Spray a small amount, swirl it around, and let it air dry until the glass looks clear and calm.Prepare your glow mix in a small cup.
Add a little clear medium, then stir in glow pigment a pinch at a time. The mix should feel silky, not runny.Add a whisper of mica or glitter if you like.
Stir gently. You want tiny clouds, not heavy clumps. The mica gives soft shimmer.Use a funnel to guide the mixture into the ornament.
Pour slowly in a thin stream so the pigment paints the inner surface, like making a faint galaxy.Rotate and tilt the ornament to coat the inside.
Move slowly and breathe. Watch the glow pigment spread in a smooth, slow arc.Tap gently to settle any bubbles or clumps.
A soft tap helps the mix form a thin, even veil. Keep the motion calm and steady.Let the ornament dry slightly, then add small details.
Drop a tiny dot of brighter pigment for a star, or a speck of glitter for a comet. Each addition stays more vivid if you add it while the medium still feels tacky.If you want a steady light, add a tiny LED module inside.
Place it gently and tuck the battery pack out of sight. The light warms the glow and keeps it alive longer.Seal the opening when you feel the inside is dry to the touch.
Use a small dab of clear glue or the ornament cap. Press it gently and wipe any excess with a paper towel.Thread ribbon or cotton string through the top and hang to cure.
Choose a soft place to hang. Let the ornament rest for 24 hours in a calm spot so the medium fully sets.
Enjoying the Finished Piece
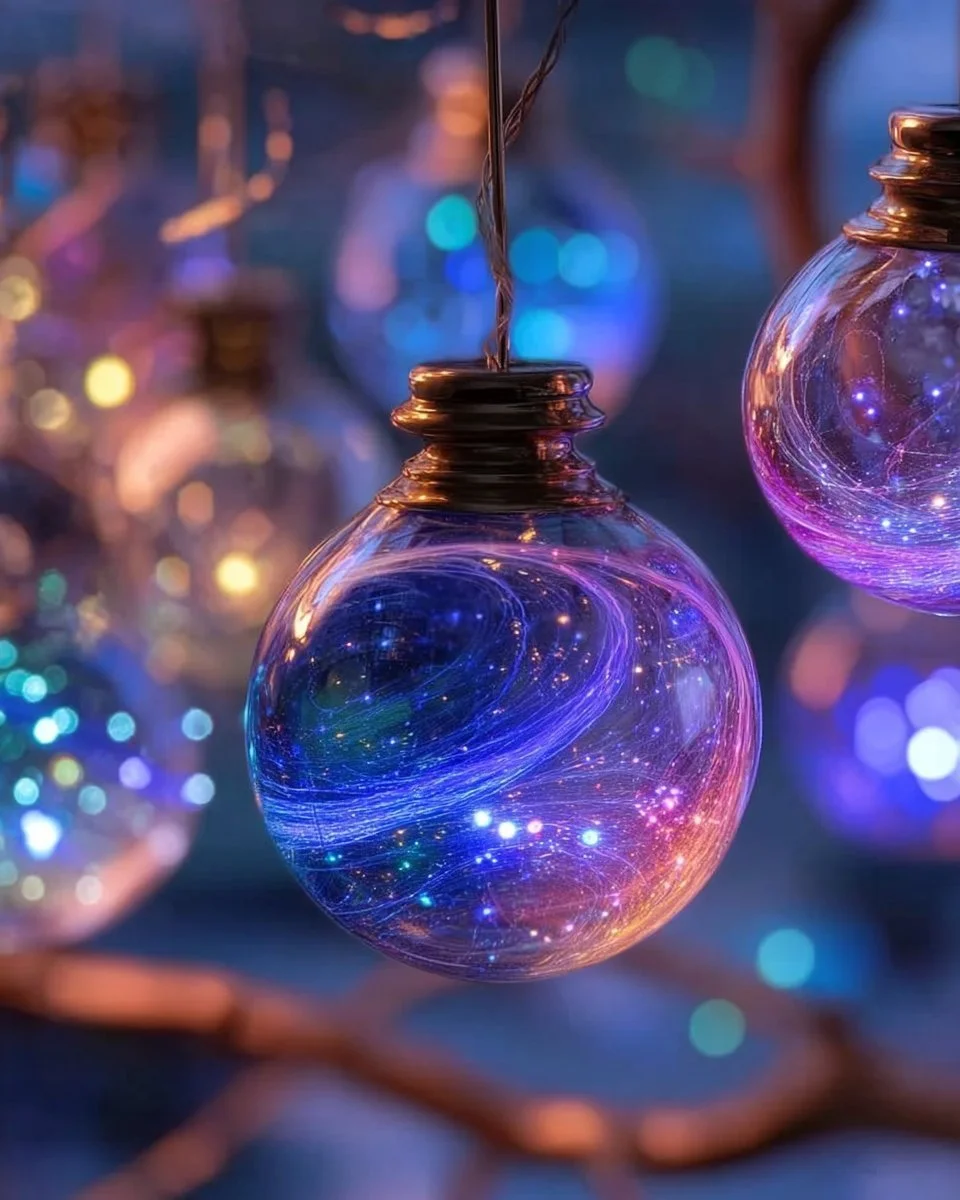
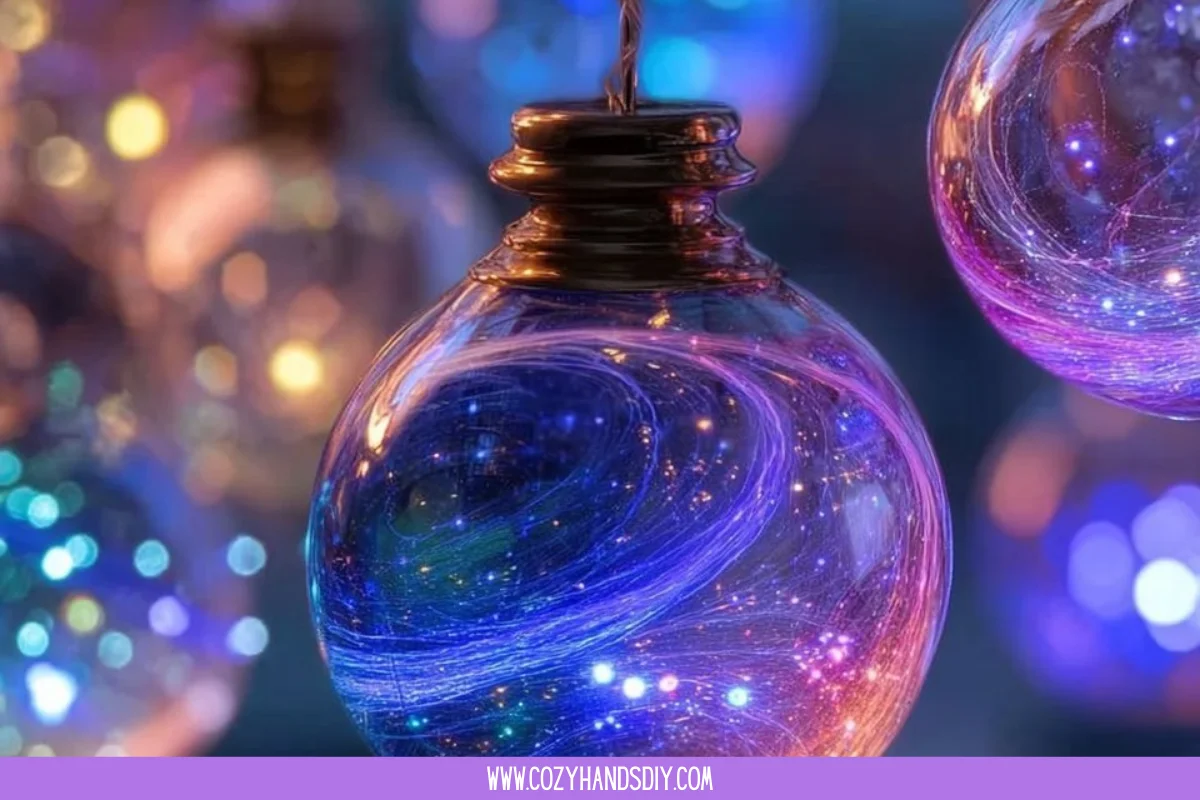
Hang your Nebula Glow Ornament near a low lamp or on a small branch. The soft light bounces off the mica and the glow pigment, creating a pool of warmth on a table or wall.
Place a few ornaments together to build a tiny sky. Each one reads differently in the dark. Some show swirls. Others hold a single bright pinprick.
You can use a single tiny LED to make the glow last through the night. The gentle light works well beside a reading chair or on a nightstand. I like to keep one on a small shelf near plants. The plant’s shadow and the glow create a quiet pattern that eases my breathing.
If you prefer motion, hang ornaments over a window where they can turn with the breeze. The slow spin catches light and glimmer. For a calmer view, use a small wooden stand and let the ornament sit like a small globe.
I also find that these ornaments pair nicely with other hand-made pieces. Try placing one near a heart-shaped ornament I once made. It creates a cozy, layered look with soft shapes and soft light that pairs well.
Keeping It for Later
Store ornaments in a shallow box lined with tissue paper.
Wrap each in soft cloth so glass does not clink. Keep the box in a cool, dry place.
If you used a light module, remove batteries before storing.
That keeps corrosion away and keeps batteries fresh. Label boxes gently so you know where each ornament lives.
You can refresh the glow later by adding another thin layer of glow pigment.
Open the top, add a small mix, and swirl again. Let it dry fully before rehanging. The surface will feel slightly raised when you add a new layer.
If dust gathers, wipe the outer surface with a soft microfiber cloth.
Avoid soaking or harsh cleaners. A little careful touch keeps the shine soft and kind.
If the ornament cracks or chips, I keep a small bin for broken pieces.
I use some in mixed-media crafts, or I place tiny shards inside a sealed jar as a keepsake. Broken things can become gentle new things.
Gentle Tips & Variations
Try a layered glow. Let one thin layer dry, then add a second color for depth.
Work slowly and let each layer set. The result looks like misted color.Use fine glitter with restraint.
A little goes a long way. Too much glitter can hide the soft glow. Use a pinch for starlike flecks.Experiment with heat-free sealing.
If you worry about VOCs, use non-toxic, water-based clear glue that dries clear and stays safe.Make a set as a ritual.
Create one ornament each week. Watch the subtle differences and make a slow series over time.Add a scent sachet nearby for a fuller sensory moment.
A tiny lavender bundle beside your ornament keeps the moment calm and invites slow breathing.
These small ideas invite you to make the project your own. Change the materials gently. Let the work match your pace and your space.
FAQs About Nebula Glow Ornaments
Q: Will the glow pigment last a long time?
A: Yes, if you use a quality pigment and keep the ornament in a dry place, the glow will last for years. UV exposure can fade some pigments, so store ornaments away from direct sunlight.
Q: Are these ornaments safe for kids?
A: They can be, if you pick non-toxic glow pigments and supervise the work. Use plastic ornaments for safety. Keep powders in small cups and guide little hands during mixing.
Q: What if the inside looks streaky?
A: Streaks add character. If you prefer smooth, use a thinner mix and rotate the ornament slowly as you pour. A second thin coat after drying helps even things out.
Q: Can I wash the ornament?
A: Avoid soaking. Wipe the outside gently with a damp cloth. Inside, do not use water once the medium has set. If you must refresh the glow, add a new thin layer instead of washing.
Q: How do I choose colors that look like a nebula?
A: Pick two or three colors that blend: soft blues, purples, and pale pinks work well. Add a tiny bit of bright pigment for a star point. Mica in pale gold or iridescent white gives a soft haze.
A Quiet Closing Thought
Making Nebula Glow Ornaments offers a small ritual for slow hands and soft light. Each ornament becomes a tiny whole world you can hold, hang, and return to. The process asks for patience and presence, two gifts we give ourselves by slowing our rhythm.
When I craft these, I focus on the touch of glass, the sound of the stir, and the small surprise when light meets color. Those little moments stay with me longer than the finished ornament. The craft becomes a pause, a gentle breath.
Take your time. Let the glow find you.
Conclusion
If you want to explore ready-made inspiration or materials, I sometimes look at curated ornaments like a Nebula Space Ornament on Etsy to see color and shape ideas Nebula Space Ornament on Etsy. For pigment options, the SpaceBeams glow paint can be a reliable choice for a bright, non-toxic glow SpaceBeams Nebula Glow in the Dark Paint.
PrintNebula Glow Ornaments

Create beautiful Nebula Glow Ornaments with a calming and mindful process using glow pigment and clear mediums.
- Prep Time: 15 minutes
- Cook Time: 0 minutes
- Total Time: 15 minutes
- Yield: 1 ornament
- Category: Craft
- Method: Crafting
- Cuisine: N/A
- Diet: N/A
Ingredients
- Clear glass or plastic ornament balls
- Glow in the dark pigment powder or glow paint
- Clear pouring medium or clear glue (PVA)
- Fine iridescent glitter or mica powder (optional)
- Small funnel or rolled paper
- Small stirring stick or wooden skewer
- Rubbing alcohol in a spray bottle
- Thin cotton string or ribbon for hanging
- Small LED light or fairy light module (optional)
- Paper towels and a shallow tray
- Work mat or old towel
Instructions
- Clean the ornament inside well with rubbing alcohol.
- Prepare your glow mix in a small cup.
- Add a whisper of mica or glitter if you like.
- Use a funnel to guide the mixture into the ornament.
- Rotate and tilt the ornament to coat the inside.
- Tap gently to settle any bubbles or clumps.
- Let the ornament dry slightly, then add small details.
- If you want a steady light, add a tiny LED module inside.
- Seal the opening when you feel the inside is dry to the touch.
- Thread ribbon or cotton string through the top and hang to cure.
Notes
Choose non-toxic glow pigments if children join you. Clear pouring medium helps the glow material spread thinly. Plastic ornaments work well if you worry about breakage.