

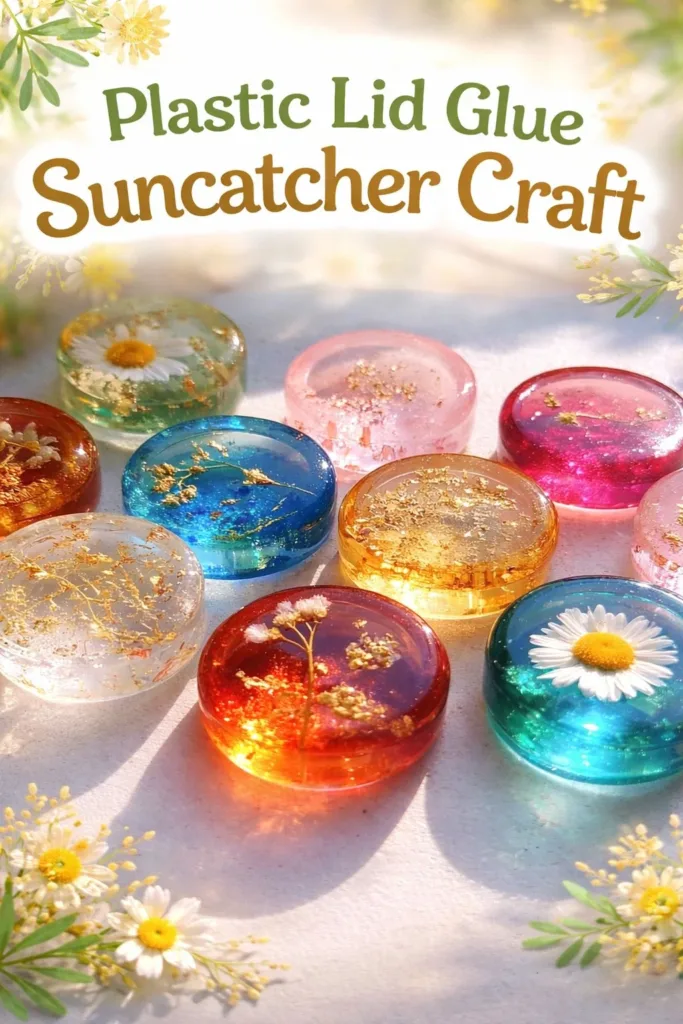
I cradle a cool, clear plastic lid between my fingertips and watch light bend and warm across the shiny curve. I squeeze a slow ribbon of glue into the shallow well, and the little sound of the glue tube feels like rain on a quiet roof. This Plastic Lid Glue Suncatcher Craft becomes a small ritual: the gentle press of the glue, the scatter of color as glitter settles, the hush while the pieces dry. If you like quiet, tactile moments, this simple project invites you to slow down and notice how light changes a handmade thing. For a related warm approach to making translucent suncatchers at home, I sometimes return to a favorite tutorial for inspiration, such as the bioplastic suncatchers tutorial which helped shape how I think about materials and translucency.
Why Plastic Lid Glue Suncatcher Craft Feels Comforting to Create
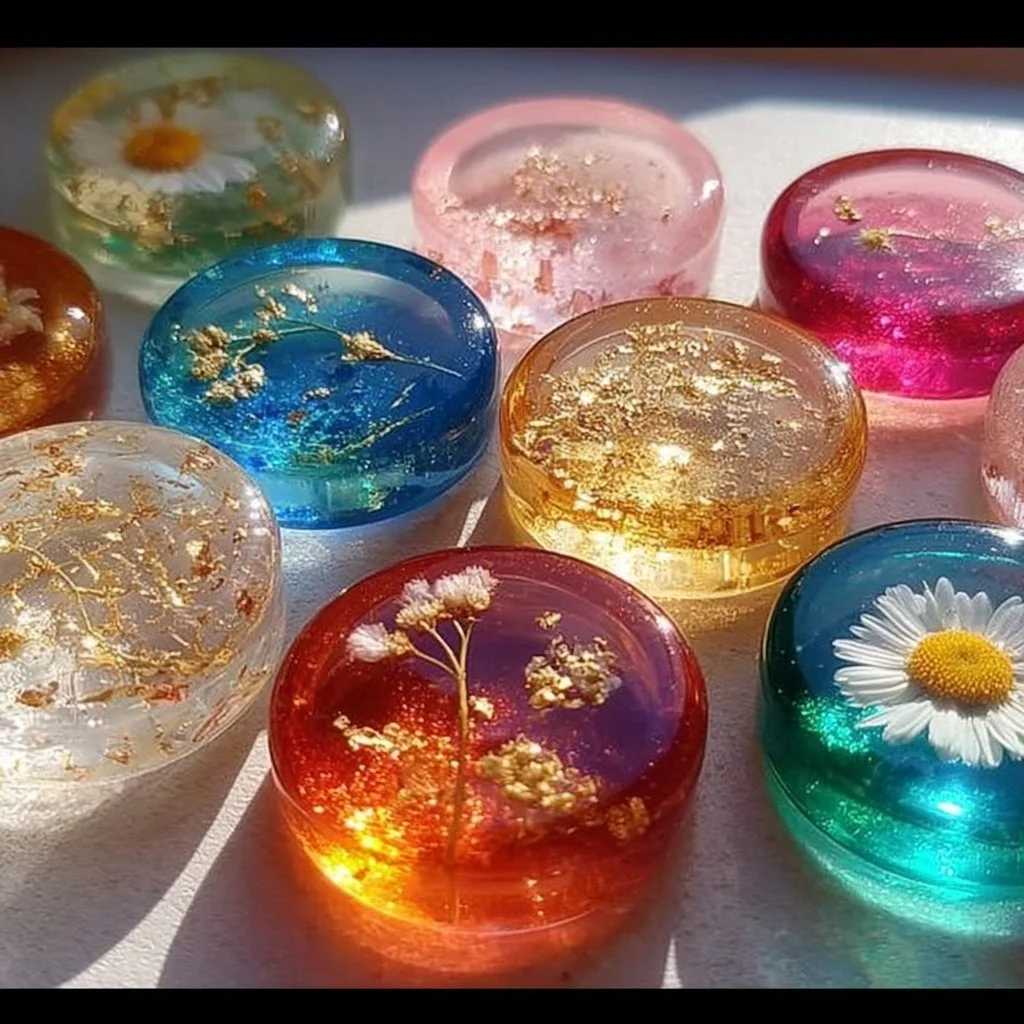
This craft brings calm because it asks for small, deliberate movements. The glue flows slowly, the color drifts in gentle pools, and you can work in soft light or near a window. Your hands stay busy in a soothing, predictable way.
Making with lids connects to childhood simplicity. We use what we already have: a jar lid, a bottle of clear glue, a bit of pigment or glitter. That familiarity quiets the mind. You do not need perfect tools to make something beautiful.
I notice the way the drying glue picks up tiny air bubbles that look like stars. That detail rewards patience. When sunlight passes through the finished suncatcher, it reveals textures and memories of the moment you made it. This sensory loop helps steady breathing and keeps attention gentle and kind.
This project also suits people who prefer low-stakes creativity. You can experiment with color, leave a small imperfection, and still have an object that glows. The process values softness over sharp outcomes, and that feeling matters when you want calm, mindful making.
A Gentle Look at the Process
Before we gather supplies, take a breath and imagine the rhythm. You will choose lids as tiny bowls, pour or squeeze glue in smooth lines, and let color settle without rushing. Each movement feels slow and intentional.
You will hear small sounds: the click of a lid, the soft sigh of glue leaving its bottle, the faint scrape as you level a surface. These sounds become part of the experience. Working in a quiet corner, you will notice light changing on the work as the glue moves from wet to set. That slow visual shift is very grounding.
If you like exploring variations later, look through simple guides about color mixing and translucent crafts for more texture ideas. I sometimes return to a favorite recipe for colorful making when I want to try new mixtures, like the ideas in this colorful bioplastic recipes post that sparked a few of my color blends.
Materials You’ll Need
- Clear plastic lids in various sizes – easy to find from jars or containers
- Clear school glue or craft glue (non-toxic) – works well and dries clear
- Food coloring, liquid watercolor, or craft dyes – small amounts add gentle color
- Fine glitter or mica powder – optional, adds soft shimmer
- A toothpick, skewer, or thin wooden stick – for stirring and making loops
- Wax paper or silicone mat – for a non-stick working surface
- Small funnel or plastic squeeze bottle – optional, for neater pouring
- Thin string, embroidery floss, or fishing line – for hanging
- Scissors and a needle (if you want to thread hanging material)
- A heat source like a hair dryer on low – optional, speeds drying slightly
- A small cup of water for cleaning tools – easy to keep close by
If you prefer a more eco approach, you can reuse lids from jars and skip glitter. For ideas on different translucent crafts that use similar materials, see a helpful note about variations in the bioplastic suncatchers variations guide.
Step-by-Step Directions
Prepare your surface and lids.
Set a sheet of wax paper or a silicone mat on a flat table. Place the plastic lids with their open side up so they sit steady.
Feel the cool smoothness of the lid as you arrange them like tiny ponds.Pour glue into each lid.
Gently squeeze a bead of clear glue into a lid, aiming for a thin even layer. Leave some space at the edge so the glue does not overflow when it spreads.
Work slowly and watch the glue slowly settle and flatten.Add color in small droplets.
Place one or two tiny drops of food coloring or liquid watercolor into the glue. Use a toothpick to nudge color into soft swirls.
Notice how the color diffuses, sometimes making soft feathered lines that feel like watercolor.Sprinkle shimmer or mica if desired.
Lightly dust a pinch of fine glitter or mica powder over the glue for a whispered shine. Less is more for a gentle look.
The shimmer will catch the light without overpowering the translucence.Create texture and details with a toothpick.
Drag a toothpick through the glue to make patterns, or poke a small hole for hanging if you plan ahead. You can also press in tiny leaves or pressed flower bits.
Every small touch changes the way light moves through the piece.Let the pieces dry slowly and undisturbed.
Place the lids somewhere flat and still, away from pets or drafts. Drying takes several hours or overnight depending on glue thickness.
If you feel impatient, you may nudge drying with a hair dryer on low at a safe distance, but air drying gives the softest finish.Remove the suncatcher from the lid.
Once fully dry to the touch and no longer tacky, gently flex the plastic lid to release the suncatcher. Work slowly so it does not bend too sharply.
If it needs help, slide a thin card under the edge to lift it free.Make a small hanging hole or attach a hanger.
If you did not make a hole earlier, use a needle heated slightly (handled with care) or a punch to make a tiny hole near the edge. Thread string or fishing line and tie a small loop.
Secure the knot and trim excess string. The finished shape should hang level and gentle.Place near light and pause to enjoy.
Hang your suncatcher in a window or on a sun-facing wall. Sit nearby and watch how the sun pours color across your hands and the room.
Take a few slow breaths and notice the comfort of owning something made quietly.Clean up slowly and store spare materials.
Wipe the lids and tools with warm soapy water, letting the small motions of cleaning finish the ritual. Save leftover glue in a dry place.
Keep a few lids and small amounts of color to start again when you want another calm making session.
Enjoying the Finished Piece
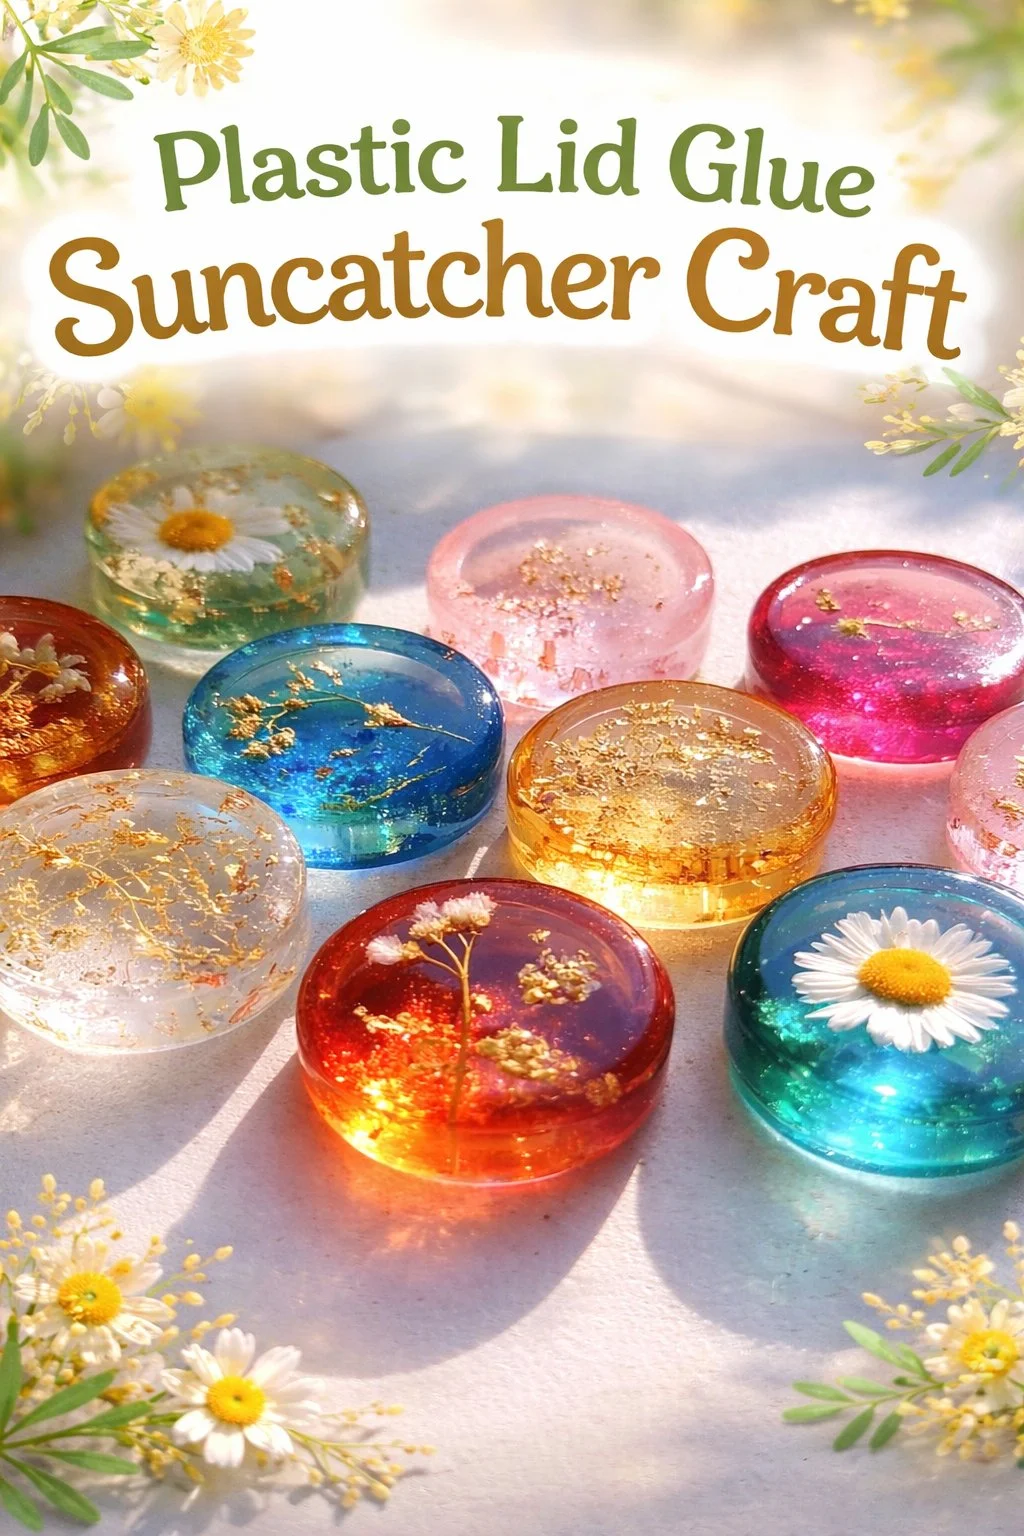
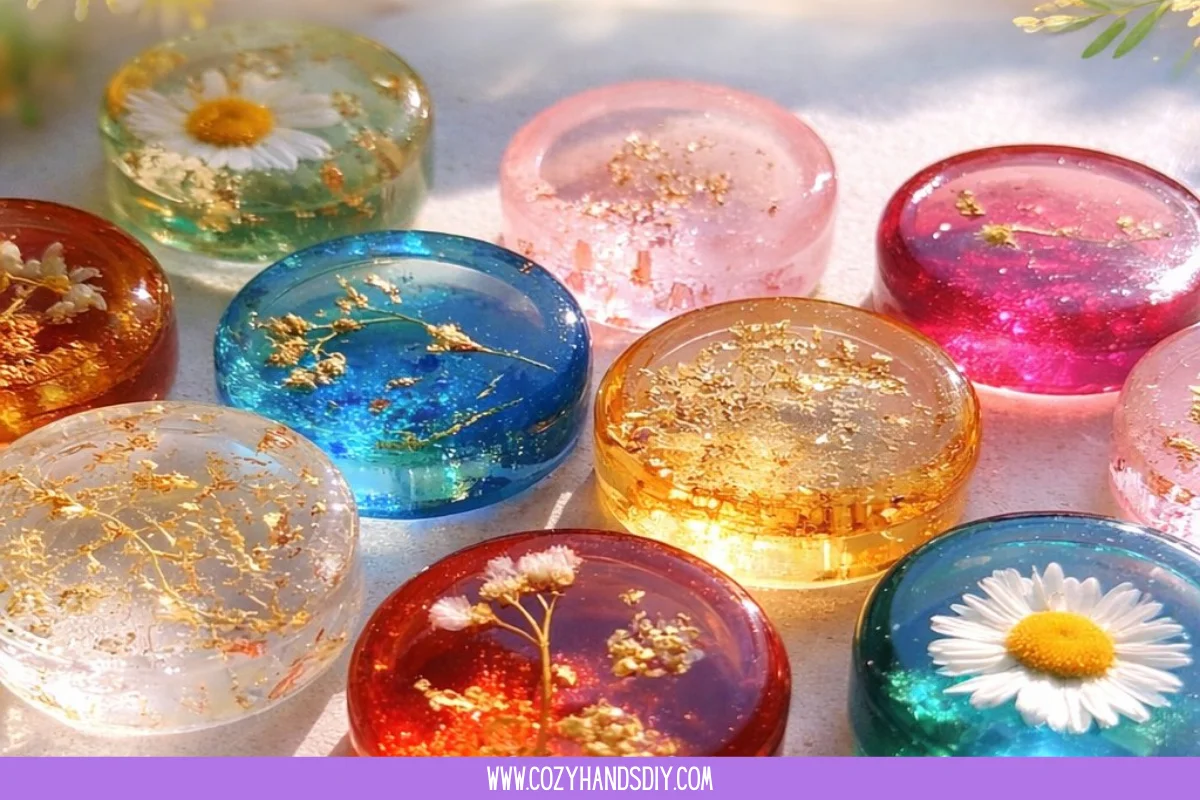
The finished suncatcher feels light against the fingers, like a small slice of colored glass. It may flex slightly because it comes from thin glue and a plastic mold, which gives it a gentle resilience.
Display choices matter to the quiet mood. I like to hang one or two in a narrow window so they do not fight the view. They create subtle pools of color on the windowsill and make morning light feel more intimate.
You can layer a pair of suncatchers at slightly different heights for a soft overlay of color. When the sun shifts, the colors blend in unexpected, peaceful ways. Let the arrangement be slow and spare rather than busy.
I often gift a single suncatcher slipped into a small tissue envelope. The recipient sees the texture and remembers the care behind it. Little handmade objects like this encourage a pause in ordinary days.
For more ideas on gentle hanging and display, I sometimes revisit other simple hanging ideas that pair well with this project, like those in this note on suncatcher hanging ideas to help shape placement and scale.
Making This DIY Last
These suncatchers last best when you keep them out of strong heat and away from direct outdoor weather. Intense heat can warp thin glue when it sits in bright sunlight for many hours.
Store spare pieces flat in a cool, dry drawer lined with tissue paper. Avoid stacking heavy objects on top of them. The pieces stay most stable when they keep their slight flexibility and do not get crushed.
If an edge becomes a little dusty, wipe gently with a soft, damp cloth. Avoid harsh chemicals or abrasive scrubbing. The glue surface cleans easily with a mild soap and lukewarm water.
You can reuse the lids for another batch until they show signs of tearing or deep scratches. I label a small box with used lids and the date, and that helps me rotate through materials without rushing.
If a suncatcher develops small cracks after years of sunlight, consider turning it into a new piece by trimming the edges and mounting it in a shallow frame. A small repair can make the object feel even more personal.
Gentle Tips & Variations
Try layering thin colors.
Invite a second layer of glue and color once the first layer dries. This creates mild depth and a watery look. Think of it as painting slowly with glue.Use natural inclusions.
Press a tiny dried leaf or small petal onto the glue before it sets. The organic texture softens the glow and adds a memory of the season.Make tiny mosaic shapes.
Pour small, separate suncatchers and once dry, arrange them in a frame or hang several on a single strand. The group feels like a quiet constellation.Go minimal with shimmer.
If you love simplicity, skip glitter and use only a whisper of mica or a single drop of food coloring. The calm of a paler piece can be more meditative.Change the edge.
After removal, gently trim the edge into scallops or soft waves with small scissors. The subtle shape shift changes how light curves through the piece.
Each suggestion is an invitation. Try one at a time and notice what soothes you. There is no right way to make this project feel like yours.
FAQs About Plastic Lid Glue Suncatcher Craft
Q: Is clear school glue safe for this craft?
A: Yes, non-toxic clear school glue works well and dries clear. For children, supervise closely and avoid ingestion. Work in a well-ventilated room and wash hands after handling.
Q: How long does a suncatcher take to dry completely?
A: Drying time depends on glue thickness and room temperature. Thin layers often dry within 4 to 8 hours. Thicker pieces may need overnight or up to 24 hours for full strength.
Q: Can I use plastic lids from yogurt tubs or takeout containers?
A: You can reuse many types of plastic lids, but choose ones that sit flat and are free of deep labels or grease. Rinse and dry lids before use. Some softer plastics may deform, so test one first.
Q: What if my suncatcher wrinkles or bubbles?
A: Small bubbles add character and catch light. If wrinkles occur, try slightly thinner glue or smoother pouring next time. Working in a stable temperature and avoiding drafts helps reduce texture changes.
Q: Can this craft be adapted for a group or classroom?
A: Yes, as long as you use non-toxic glue and keep stations simple. Prepare lids and color drops ahead of time. Encourage gentle handling and give extra drying time between sessions.
A Gentle Note Before You Go
When you finish a suncatcher, take a moment to hold it against the light. Notice the small imperfections and the way each one tells the story of the making. The calm you find in this craft comes from those tiny choices: the length of a stroke, the hush of waiting, the soft reward of seeing color move.
If you make this craft often, you begin to understand that the act of making quietly rearranges how you feel. You may not need a perfect result to feel calm. You only need the steady ritual. Let this project be part of a slow practice rather than a fixed task.
If someone else shares the light from your suncatcher, you share the making too. A small handmade object carries a soft message: here was a quiet moment, and I thought of you in it. Sit with that idea for a few breaths and notice how it warms your hands and your day.
Conclusion
For a clear, friendly step-by-step on colorful glue suncatchers that expands on mixing and shaping, I like the approachable guide at Colorful DIY Glue Suncatcher Craft – Mombrite which offers bright visual examples and ideas for playful color layers.
If you want another perspective with recycled materials and child-friendly variations, the Colorful Glue Suncatcher – Recycled Crafts for Kids page shares simple adaptations and ideas that can inspire further calm projects.
PrintPlastic Lid Glue Suncatcher Craft
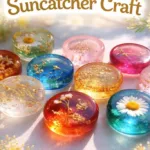
Create a beautiful and calming suncatcher using clear plastic lids, glue, and color. This simple craft invites a slow, mindful approach to making art.
- Prep Time: 15 minutes
- Cook Time: 8 hours
- Total Time: 8 hours 15 minutes
- Yield: Varies based on lids used
- Category: Craft
- Method: Crafting
- Cuisine: N/A
- Diet: N/A
Ingredients
- Clear plastic lids in various sizes
- Clear school glue or craft glue (non-toxic)
- Food coloring, liquid watercolor, or craft dyes
- Fine glitter or mica powder (optional)
- A toothpick, skewer, or thin wooden stick
- Wax paper or silicone mat
- Small funnel or plastic squeeze bottle (optional)
- Thin string, embroidery floss, or fishing line
- Scissors and a needle (if needed)
- A heat source like a hair dryer on low (optional)
- A small cup of water for cleaning tools
Instructions
- Prepare your surface and lids by placing a sheet of wax paper or silicone mat on a flat table and arranging the plastic lids open side up.
- Pour glue into each lid by gently squeezing a bead of clear glue into a lid, leaving space at the edge.
- Add color in small droplets by placing one or two drops of food coloring in the glue and using a toothpick to swirl.
- Sprinkle shimmer or mica if desired by lightly dusting fine glitter or mica powder over the glue.
- Create texture and details with a toothpick by dragging it through the glue or pressing in tiny leaves.
- Let the pieces dry slowly and undisturbed for several hours or overnight.
- Remove the suncatcher from the lid gently flexing the plastic lid.
- Make a small hanging hole or attach a hanger using a heated needle or punch.
- Place near light and enjoy the colors as the sun shines through.
- Clean up slowly and store spare materials for future crafting.
Notes
This craft is a soothing and low-stakes creative project perfect for mindfulness and relaxation. Use re-purposed lids and skip glitter for a more eco-friendly option.