

I love small, hands-on projects that feel like old kitchen magic. This DIY Lightning Storm in a Jar is one of those. It looks wild and works with things you can find at home. If you enjoy jar storms, you might also like this snowstorm in a jar project for another quiet, cozy experiment.
Why Make This DIY Lightning Storm in a Jar
This craft is simple and surprising. Kids and grown-ups both watch the light streaks and smile. It teaches about density and tiny reactions without heavy words. It also makes a great mantelpiece display on a rainy evening. If you like winter jar ideas, compare this to a snowstorm winter jar for different seasonal feels.
How to Make DIY Lightning Storm in a Jar
You will layer oil and water, add a little fizz, and then watch the lightning. The effect comes from droplets moving and catching the light. The steps are short and kind. Read through once, then gather your jars and tools. For layering tips, this project borrows ideas from a simple density jar technique that helps keep liquids from mixing too fast.
Ingredients
- One clear glass jar with a lid (mason jar works well)
- Vegetable oil or baby oil, about 1 cup
- Water, about 1/2 cup
- A few drops of liquid dish soap (optional)
- Food coloring (blue, purple, or a mix)
- Alka-Seltzer tablets or a small piece of effervescent powder
- A small flashlight or LED light (optional for extra sparkle)
Directions
- Pour the oil into the jar until it is about two-thirds full.
- In a separate cup, mix the water with a few drops of food coloring.
- Slowly pour the colored water into the jar. It will sink in beads and form a layer beneath the oil.
- Add a few drops of dish soap if you want the drops to cling and move more slowly.
- Break an Alka-Seltzer tablet into small pieces. Drop one piece into the jar and watch the colored droplets rise and fall.
- Dim the lights and hold a small flashlight to the side or under the jar to see the streaks like lightning.
- When the fizz stops, you can add another small piece to restart the motion.
How to Serve DIY Lightning Storm in a Jar
This is not food, so “serve” means how to show it. Place the jar on a table in soft light. Let children gather around at a safe distance. Use it as a calm activity before bed or as a centerpiece for a rainy afternoon. The slow motion is soothing and makes for a gentle moment with family.
How to Store DIY Lightning Storm in a Jar
Keep the jar capped when not in use. Store it on a shelf at room temperature. If you used food coloring, note that it can stain fabrics; keep it away from cloth. If the mixture gets cloudy after many uses, empty and rinse the jar and start fresh.
Tips to Make DIY Lightning Storm in a Jar
- Use a clear jar for the best view.
- Add the colored water slowly to keep the layers distinct.
- Try warm water for faster movement and cool water for slower swirls.
- If you worry about spills, work over a tray or sink.
- For greener crafting, pair this with other eco-friendly ideas like the bioplastic suncatchers eco-friendly project.
Variations
- Color mix: Use two colors in separate pours for layered lightning in different hues.
- Glitter storm: Add a pinch of fine glitter for a sparkly effect.
- Nightlight jar: Tape a small LED to the lid underside and keep it lit gently.
- Fizzy-free: Skip the Alka-Seltzer and gently shake the jar for a calmer, milky thunder look.
FAQs
Q: Is this safe for very young children?
A: It is a low-risk activity but use caution. Keep Alka-Seltzer and small parts away from children under three. Always supervise.
Q: Can I use any oil?
A: Yes. Vegetable oil, olive oil, or baby oil will work. Lighter oils tend to show the droplets better.
Q: How long will the effect last?
A: Each fizz cycle lasts a few minutes. You can refresh it with more Alka-Seltzer pieces. With no fizz, the jar stays layered for days.
Q: Will food coloring stain the jar?
A: Glass is easy to clean. Rinse with warm water and soap if staining appears. Be careful with cloth and surfaces.
Q: Can I use glitter glue instead of glitter?
A: You can, but glitter glue may cloud the water. Use a small amount to keep clarity.
Conclusion
This DIY Lightning Storm in a Jar is a small, old-fashioned delight. It asks for simple things and gives back a quiet, bright show. For a different take on lightning effects, see this clear guide on how to make a lightning bolt in a bottle from Sciencing: how to make a lightning bolt in a bottle. If you want another step-by-step storm experiment, this storm in a jar experiment has a nice variation to try next.
PrintDIY Lightning Storm in a Jar

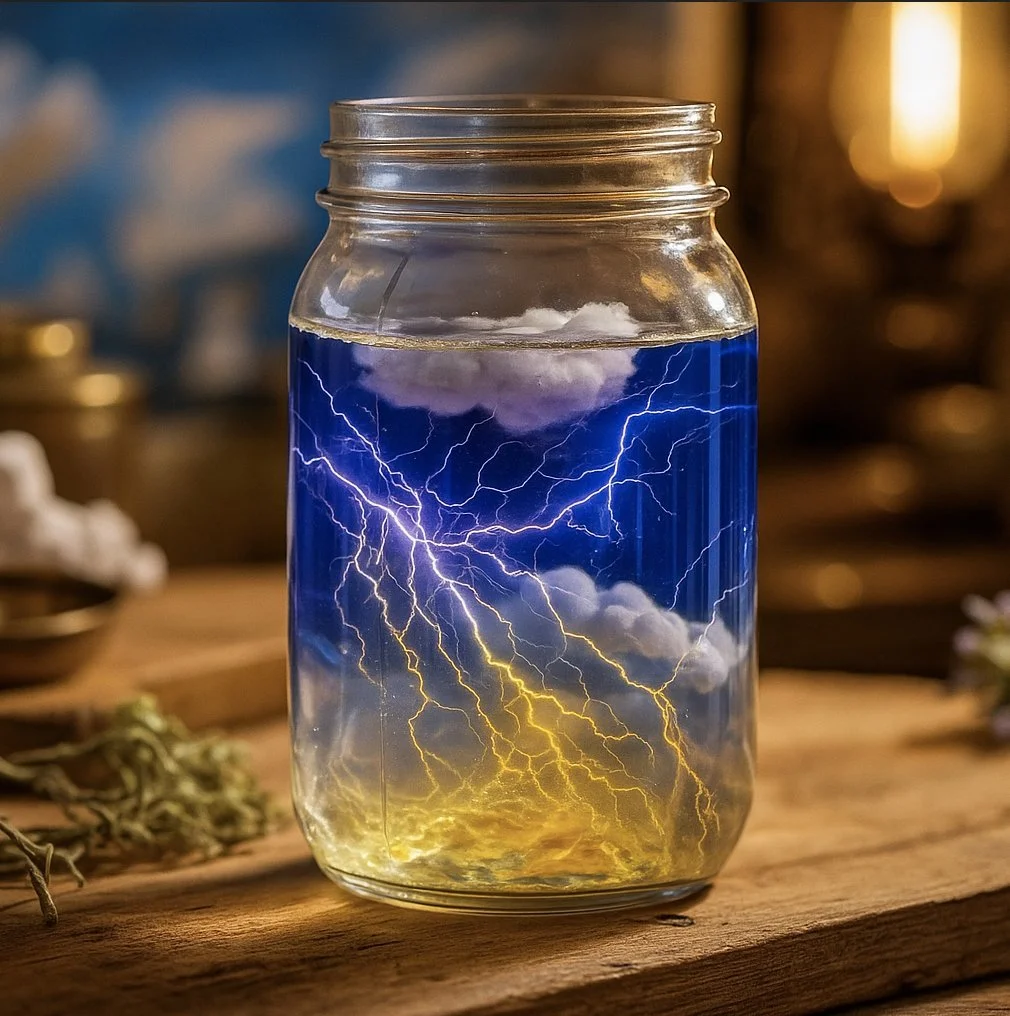
Create a mesmerizing lightning storm effect in a jar using simple household ingredients. This fun and educational craft is perfect for kids and adults alike.
- Prep Time: 5 minutes
- Cook Time: 0 minutes
- Total Time: 5 minutes
- Yield: 1 jar storm
- Category: Craft
- Method: Crafting
- Cuisine: N/A
- Diet: N/A
Ingredients
- 1 clear glass jar with a lid (mason jar works well)
- 1 cup vegetable oil or baby oil
- 1/2 cup water
- A few drops of liquid dish soap (optional)
- Food coloring (blue, purple, or a mix)
- Alka-Seltzer tablets or a small piece of effervescent powder
- A small flashlight or LED light (optional)
Instructions
- Pour the oil into the jar until it is about two-thirds full.
- In a separate cup, mix the water with a few drops of food coloring.
- Slowly pour the colored water into the jar so it sinks in beads beneath the oil.
- Add a few drops of dish soap if you want the drops to move more slowly.
- Break an Alka-Seltzer tablet into small pieces and drop one piece into the jar.
- Dim the lights and hold a small flashlight to see the streaks like lightning.
- When the fizz stops, add another small piece to restart the motion.
Notes
Keep the jar capped when not in use and store at room temperature. Use caution with Alka-Seltzer around young children.