

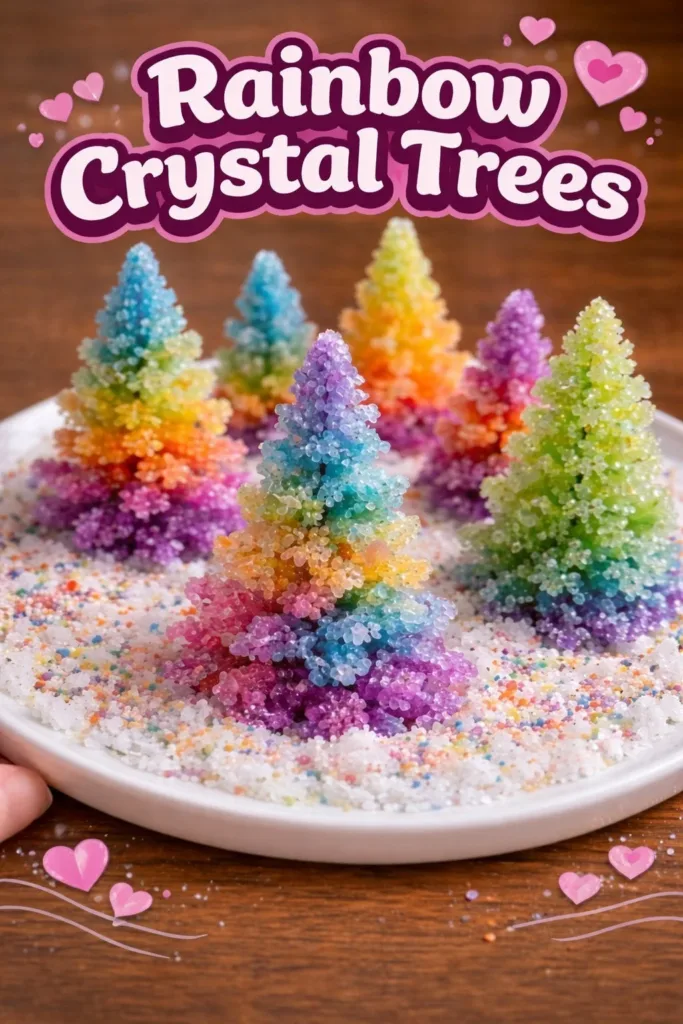
A warm pool of late afternoon light falls across my small work table and kisses the glass jar where a tiny rainbow tree grows. I breathe in the faint, clean scent of warm water and baking soda, and I feel the quiet rhythm of stirring, watching crystals begin to form like tiny frosted leaves. Making Rainbow Crystal Trees asks me to slow down, to feel the weight of each movement, and to notice the small bright moments that quietly sparkle back.
Why Rainbow Crystal Trees Feels Comforting to Create
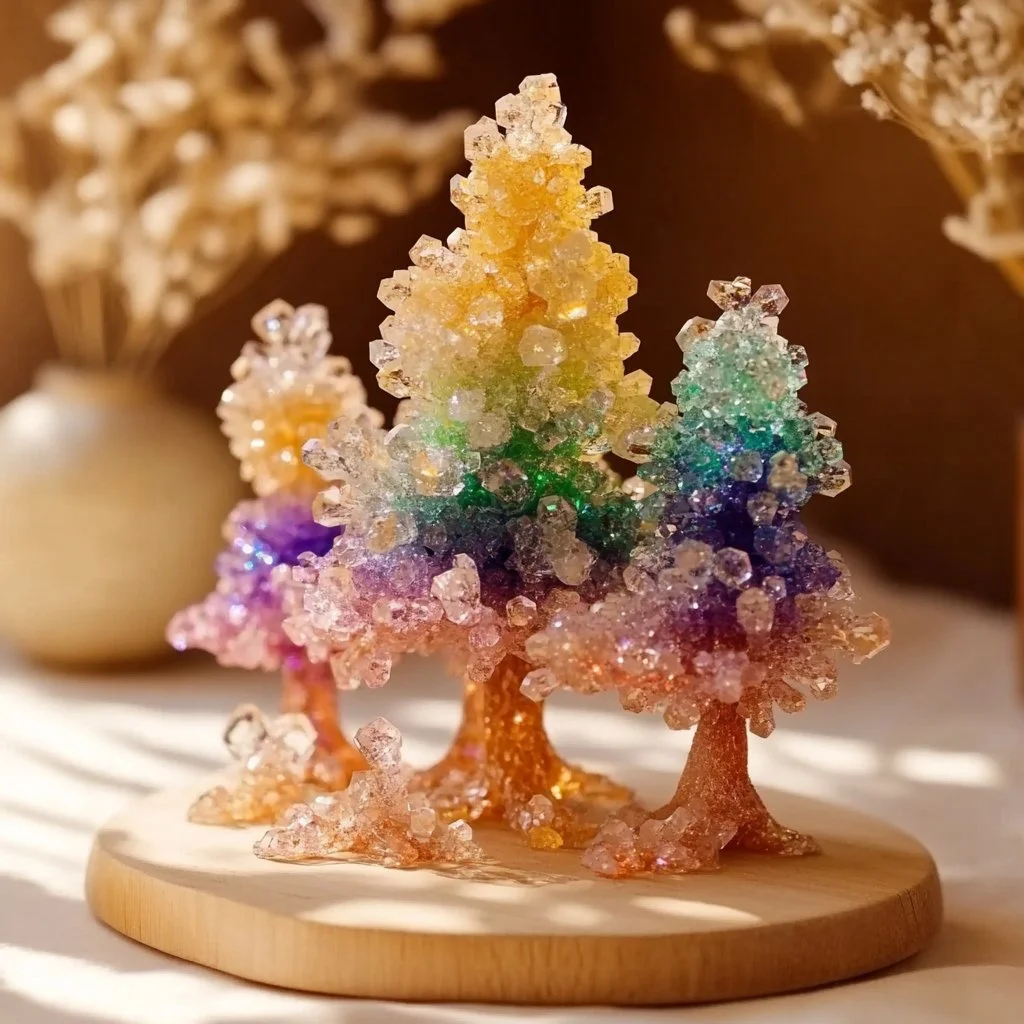
There is a gentle comfort in watching something grow where there was only a simple, steady process. A Rainbow Crystal Tree invites small waits and soft observations. You touch smooth wire, heat warm water, add color in tiny drops, and then you let time do the rest. The result rewards patience with a delicate pattern of crystals that catch the light.
This project calms because it uses predictable, safe steps. You repeat simple motions like twisting wire or stirring a solution. These movements ground the hands and slow the breath. The textures matter. The cool metal of the wire, the slightly grainy feel of baking soda, the slickness of a jar rim, and the gentle clink of stirring all create a small sensory world to inhabit for an hour or two.
If you enjoy other crystal experiments, you may like our post on growing simple baking soda crystal trees for family-friendly versions that focus on sensory play and easy setups. You can find that here: baking soda crystal growing trees.
A Gentle Look at the Process
Before we gather the supplies, let me offer a soft picture of how this comes together. First you build a little tree armature. You shape branches so they feel balanced in your hand. Then you make a warm, saturated baking soda solution and add a few drops of food color. You place the tree in the jar and watch as tiny crystals begin to form on the branches over several hours.
The sounds of the process are small and calming. Stirring makes a steady whisper. The jar offers a quiet clink when you set it down. As crystals grow, you might notice a soft crackle or the gentle pruning sound when you lift a branch free of tiny salt flakes. These small sounds become part of the making ritual.
If you want to explore a more forested style of crystal growth, see our project that layers colors and textures for a tranquil tabletop forest. That post shows ways to make groups of tiny trees and how color blends in a calm palette. Read more at baking soda rainbow crystal forest.
Materials You’ll Need
- Thin craft wire or copper wire, 20 to 26 gauge, easy to bend
- Small jar or glass container, clear so you can watch growth
- Baking soda, the key crystal-forming ingredient
- Hot water, just off the boil for better dissolving
- Clear tape or a small cork to center the tree in the jar (optional)
- Food coloring, small bottles of gentle hues
- Pliers and wire cutters, safe and simple to use
- Small pebbles or a clay base to hold the trunk steady
- A tray or towel to catch drips while the jar grows crystals
- Gloves, optional, for hands that prefer a dry touch
Most of these supplies feel familiar and easy to find. The wire acts as a scaffold. Baking soda creates the solution that will crystallize. Hot water helps dissolve more baking soda, which then leaves crystals behind as it cools. Food coloring tints the crystals gently so each branch looks like a tiny stained glass flutter. If you want to try a sturdier trunk, you can use a thin wooden dowel instead of wire. For a more natural feel, choose muted, earthy colors.
For a different armature style, check our guide to building a single-stem growth tree with slightly different proportions at baking soda crystal growing tree.
Step-by-Step Directions
- Prepare your space.
Lay down a towel or tray to catch spills.
Arrange tools and jars so everything feels easy to reach. - Make the tree skeleton.
Cut several lengths of wire, each about 6 to 8 inches long.
Twist them together at one end to form a trunk, then fan the upper ends into branches. - Shape the branches.
Bend the branch tips gently into small curves or loops.
Create a balance so the tree stands upright when placed on a small base. - Secure the trunk.
Press the twisted trunk into a small mound of clay or around some pebbles.
Make sure it sits centered and steady in the jar mouth. - Heat the water.
Boil fresh water and let it cool for a minute so it stays hot but not scalding.
Use about 1 cup per jar for a small tree. - Dissolve the baking soda.
Add 3 to 4 tablespoons of baking soda to the hot water.
Stir slowly until most grains dissolve. The solution will get cloudy; that is okay. - Tint the solution.
Drop 1 to 3 drops of food coloring into the solution.
Stir once or twice to swirl the colour gently. Use subtle amounts for a soft rainbow. - Position the tree in the jar.
Center the trunk so branches do not touch the glass sides.
If the jar neck is wide, tape the trunk to a small stick laid across the jar mouth to keep it centered. - Pour the solution.
Slowly pour the warm solution into the jar until the base covers the tree trunk.
Go steady to avoid splashing color on the branches. - Find a calm spot.
Place the jar in a quiet, still area away from direct sunlight and drafts.
Crystals prefer gentle, even conditions while they grow. - Watch and wait.
Check after 1 hour and then in two hour blocks.
You will notice tiny crystals forming first at rough spots and branch joins. - Add more color or solution if needed.
If growth slows, gently warm and add a little more solution to the jar.
You can very lightly dip a branch in a different colored solution to create small color accents. - Harvest the tree.
When you like the look, lift the tree from the jar and let it dry upright on a tray.
Handle slowly. Fresh crystals remain delicate until fully dry. - Finish and display.
Trim any stray wires and set the tree on a small base or in a shallow dish.
Enjoy the sparkle under soft light or near a small lamp.
The Flow above balances gentle hands with small acts of care. Practice makes the shapes more predictable. When I first made these trees, my branches sat unevenly and the crystals formed mainly near the trunk. I learned to spread the branches and to add gentle loops so that crystals find more surface to cling to. That small change made a big visual difference, and it taught me to attend to tiny balance points while I work.
Bringing Rainbow Crystal Trees Into Your Space
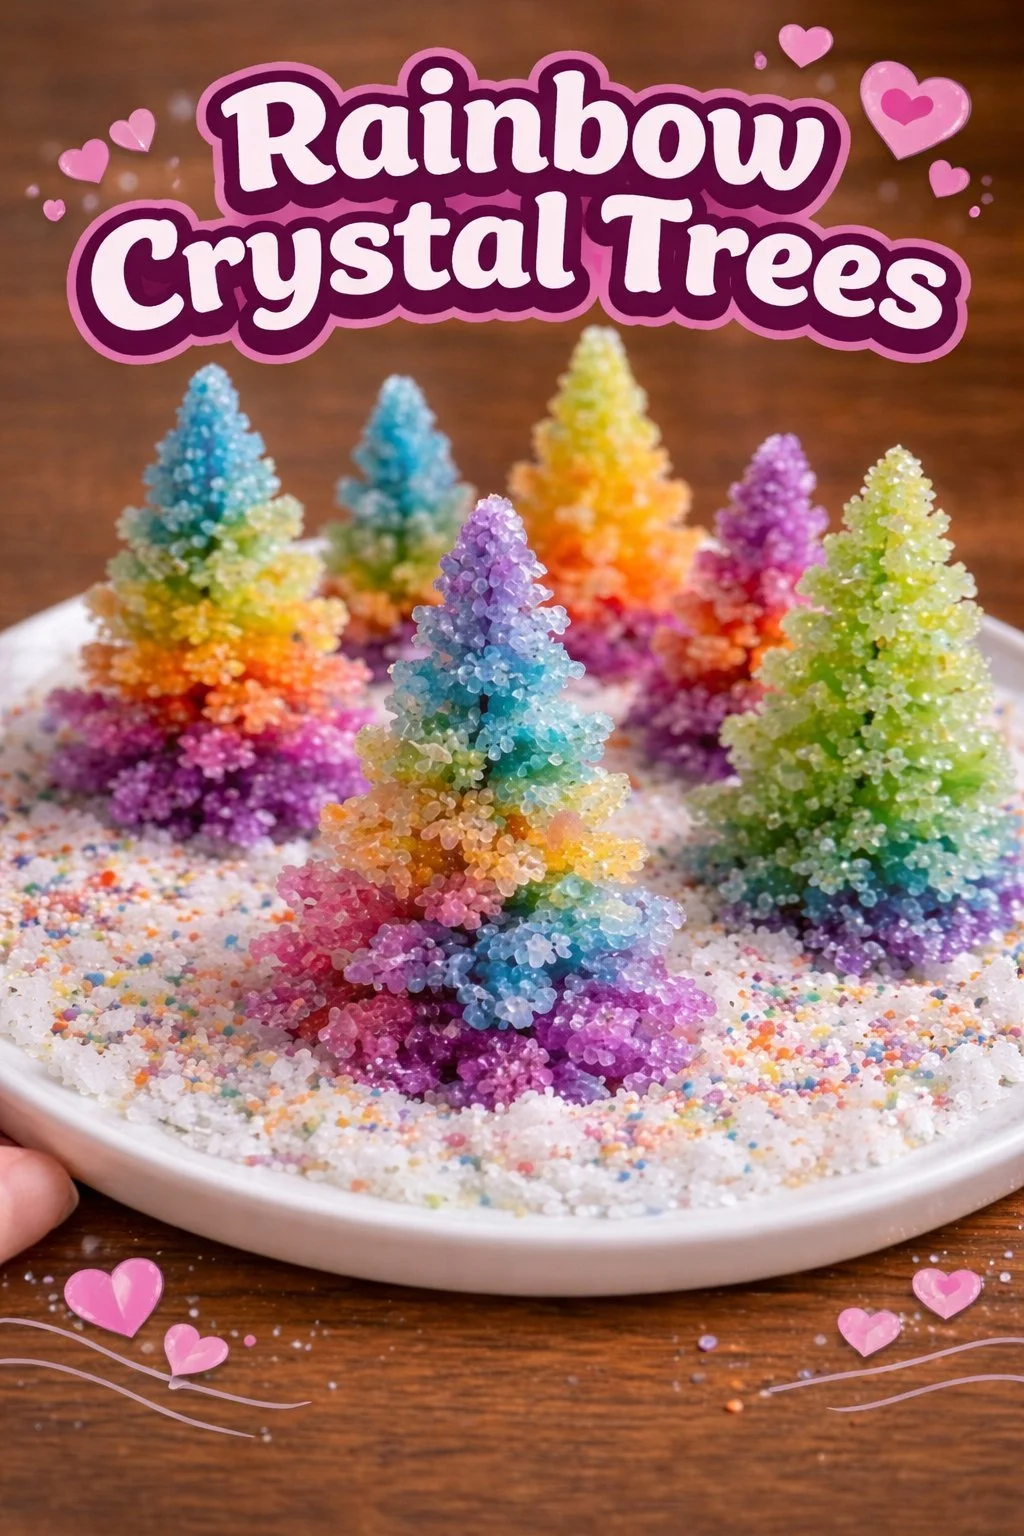
A finished Rainbow Crystal Tree feels like a small sunlit memory. Place a tiny tree on a bedside table to catch morning light. Set a group of small trees on a windowsill where early light slips through the crystals. You can cluster two or three trees of different heights to make a gentle display that feels like a miniature grove.
These trees also sit well in mindful corners. Pair one on a shelf with a small ceramic cup of dried lavender or a soft cloth bundle. The silent sparkle encourages slow breaths and quiet attention. Because the crystals can be slightly fragile, avoid placing them in high traffic areas where they might get bumped.
If you like to shift objects as part of a calm routine, rotate which tree you display each week. That rhythm of small change helps your eyes notice more detail. Little rituals like polishing a jar or lighting a candle near the display add another layer of calm. Each act invites you to look closely and savor how light moves across the tiny crystal leaves.
Caring for Your Finished DIY
Keep your tree dry.
Crystals look their best when completely dry, so let the tree air out for several hours.
Avoid humid rooms where crystals can soften or dissolve.
Dust with care.
Use a soft brush or a small paintbrush to remove dust.
Do not rinse under water; that may dissolve delicate crystal edges.
Store gently.
If you need to put your tree away, wrap it in tissue paper and lay it in a shallow box.
Avoid stacking heavy objects on top of it.
Refresh when needed.
If crystals chip or fade, carefully re-grow a small layer by placing the tree in a fresh, mild solution for a short time.
Work slowly and test one branch first so you do not overwhelm the existing structure.
If you plan to keep a tree for a long time, consider sealing the base or mounting it under a glass cloche. A cloche protects from dust and humidity while keeping the piece visible. I like to set a tiny tag beside each tree with the date of its making. That small note grows into a quiet timeline of projects and memories.
Gentle Tips & Variations
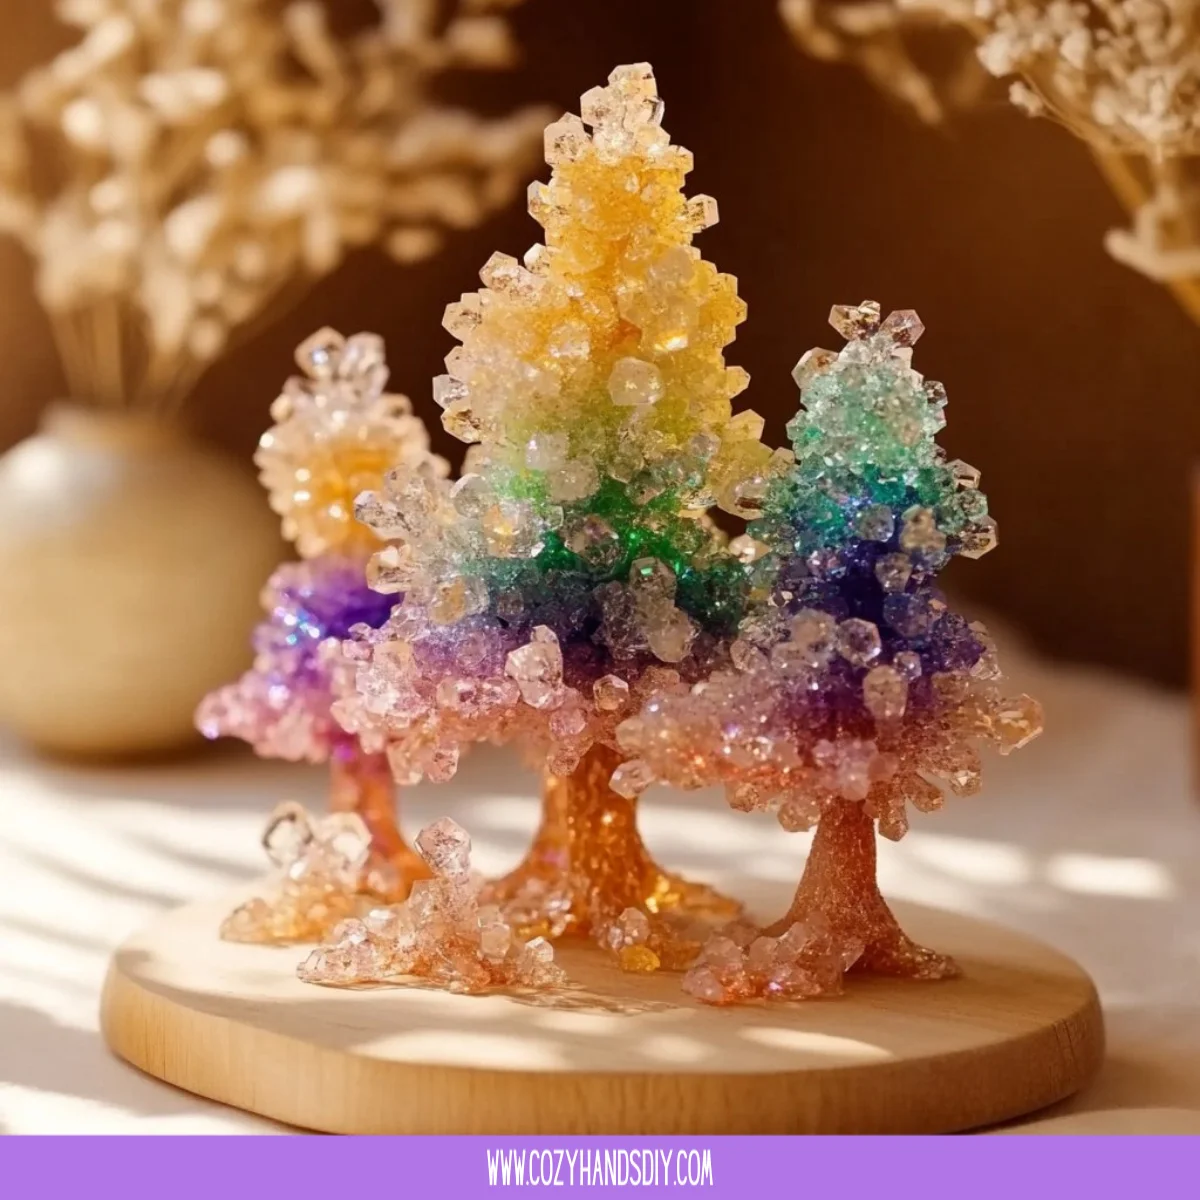
- Invitation to try color gradients.
Make three small jars and mix slightly different color concentrations.
Dip branch tips in each jar in sequence to create a soft gradient from trunk to tip. - Invitation to use natural armatures.
Try thin twigs or grapevine instead of wire for a rustic look.
Twig textures and small bark fissures often encourage interesting crystal patterns. - Invitation to experiment with scale.
Larger jars and thicker wire make bigger trees but require more solution and patience.
Small ones grow faster and feel intimate in tiny nooks. - Invitation to layer textures.
Combine glitter paint on the trunk or a tiny cloth base to contrast with crystal sparkle.
Textures bring a tactile story to the display. - Invitation to share the ritual.
Make a small set with a friend and swap trees to see how different hands shape growth.
This sharing turns the process into a soft social practice.
If you want a heart-shaped crystal variant, I have a guide that shows how to grow crystals on small flat armatures for ornaments and keepsakes. It is a gentle project for making personal gifts. Explore that idea here: baking soda crystal heart growth.
What I’ve Learned While Making This
I have a few small, honest lessons from many evenings spent with glass jars and warm solutions. First, patience changes the outcome. Crystals reward quiet time more than speed. Second, imperfection often looks best. Some branches catch more crystals; others stay sparse. Those differences give the piece character. Third, safety matters. I always let the water cool slightly before handling and use a tray to keep the workspace tidy.
I remember one slow afternoon when my solution failed to form many crystals. I had used tepid water and too little baking soda. I remade the solution with hotter water and a bit more baking soda and watched as the tree came alive over the next day. That little mistake taught me to trust the material and to adjust gently when things do not go as planned.
FAQs About Rainbow Crystal Trees
u003cstrongu003eAre baking soda crystal trees safe around children?u003c/strongu003e
u003cpu003eYes, when you use basic precautions. Baking soda is non-toxic, but the solutions can be messy. Supervise children and keep small tools like cutters out of reach. If young children help, give them simple, safe steps like stirring or choosing colors.u003c/pu003e
u003cstrongu003eHow long does it take for crystals to form?u003c/strongu003e
u003cpu003eYou often see initial crystals within a few hours. A full, sparkly growth can take from several hours up to 24 hours. Leaving the jar undisturbed overnight gives the best, even coverage.u003c/pu003e
u003cstrongu003eCan I use different salts instead of baking soda?u003c/strongu003e
u003cpu003eSome salts like borax or Epsom salt create different crystal shapes and quicker growth. Baking soda gives a soft, frosted finish. Choose a salt based on the look you want and follow safety guidance for each material.u003c/pu003e
u003cstrongu003eWhat causes the color to fade?u003c/strongu003e
u003cpu003eColor can fade if you use too much water after growth or store the pieces in humid places. Using a subtle amount of food coloring helps the crystals retain gentle hues. Avoid rinsing finished trees.u003c/pu003e
u003cstrongu003eCan I grow crystals on paper or fabric?u003c/strongu003e
u003cpu003eYes. Paper or cloth catches crystals differently and can make delicate ornaments. Work gently and let these pieces dry flat on a protected surface.u003c/pu003e
A Quiet Closing Thought
Slow making asks very little and gives something quietly bright. A Rainbow Crystal Tree becomes a small study in light, time, and gentle attention. Each project holds the memory of hands that bent wire and the warmth of a cup of tea nearby. When you place your finished tree somewhere it will catch a stray sunbeam, allow yourself a long, soft look. Notice how the crystals play with light and how that sight calms your breath. Let this small object be a reminder that careful, patient making can bring everyday beauty into ordinary corners.
Conclusion
If you want a clear, step-by-step reference that shows a classic method for growing magic-like crystal trees, see this helpful guide on how to grow your own crystal tree at a step-by-step guide to growing crystal trees. For inspiration from makers who turn wire and crystals into lasting suncatchers, you can view a handcrafted rainbow tree style at a handmade rainbow tree suncatcher listing.
PrintRainbow Crystal Trees
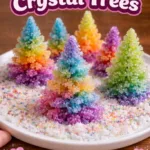
Create stunning and delicate Rainbow Crystal Trees using simple materials like baking soda and food coloring, perfect for adding a touch of whimsy to your space.
- Prep Time: 15 minutes
- Cook Time: 120 minutes
- Total Time: 135 minutes
- Yield: 1 crystal tree
- Category: Craft
- Method: Crafting
- Cuisine: N/A
- Diet: N/A
Ingredients
- Thin craft wire or copper wire (20 to 26 gauge)
- Small jar or glass container (clear)
- Baking soda (3 to 4 tablespoons)
- Hot water (about 1 cup per jar)
- Clear tape or a small cork (optional)
- Food coloring (small bottles)
- Pliers and wire cutters
- Small pebbles or a clay base
- A tray or towel to catch drips
- Gloves (optional)
Instructions
- Prepare your space by laying down a towel or tray to catch spills and arranging tools and jars for easy access.
- Make the tree skeleton by cutting lengths of wire (6 to 8 inches), twisting them to form a trunk, and fanning the ends into branches.
- Shape the branches by bending tips into small curves or loops for balance.
- Secure the trunk in clay or pebbles, ensuring it’s centered in the jar mouth.
- Heat the water, boiling it and allowing it to cool slightly.
- Dissolve baking soda in the hot water by stirring until grains dissolve.
- Tint the solution with food coloring, stirring gently to create a soft rainbow.
- Position the tree in the jar, ensuring branches do not touch the sides.
- Pour the warm solution into the jar, covering the tree trunk but avoiding splashes.
- Find a calm spot for the jar to promote crystal growth away from direct sunlight.
- Watch and wait, checking for crystal growth after 1 hour and in two hour increments.
- Add more solution if growth slows, using cautious warmth to avoid overwhelming the tree.
- Harvest the tree when desired, letting it dry upright on a tray.
- Finish by trimming stray wires and placing the tree on a small base or dish.
Notes
Crystals look best when completely dry, and care should be taken to prevent humidity and dust build-up.