

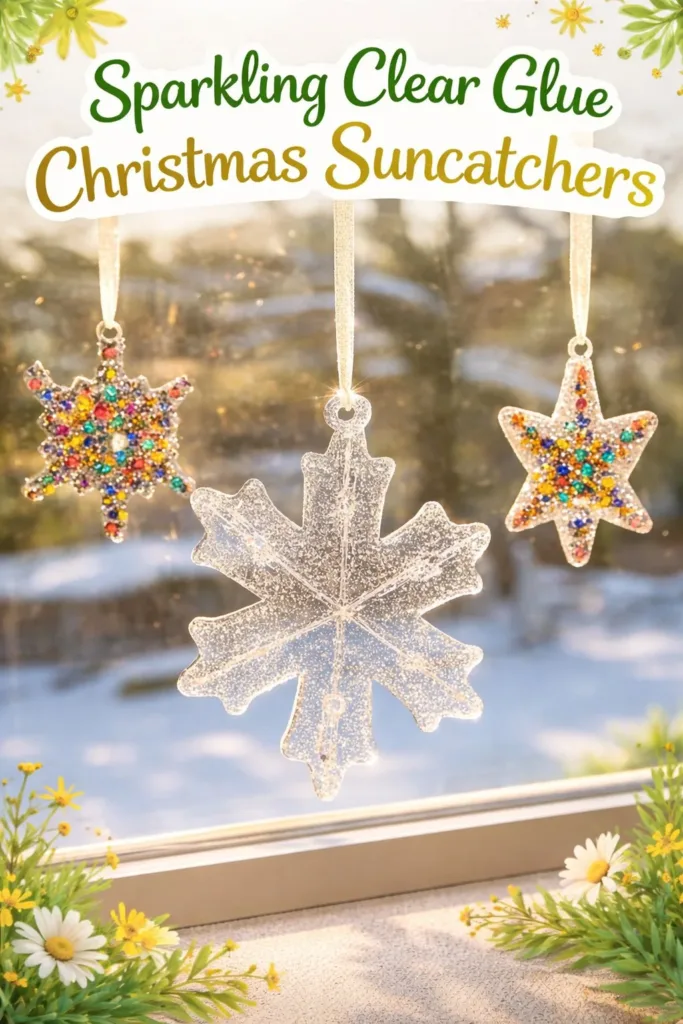
The light from the window hits my hands as I squeeze the bottle with a soft, steady rhythm. Tiny silver flecks drift in a clear pool of glue and catch the sun like quiet snow. As the glue spreads and settles into the small metal cookie cutter, the scent of craft glue is faint and familiar, and my fingers remember the gentle tug of a finished piece. Sparkling Clear Glue Christmas Suncatchers hold this hush of light, texture, and slow making, and they invite a calm hour of focused creativity. For a companion project on delicate clear glue shapes, see this gentle valentine heart suncatchers tutorial that shares a similar, soothing approach.
Why Sparkling Clear Glue Christmas Suncatchers Feels Comforting to Create

There is a small peace in tracing a shape with clear glue, watching it bloom and settle into a glossy, glass-like surface. The craft invites slow hands and soft focus. When you press glitter into clear glue, the sparkle appears like distant stars in a calm sky. You listen to the quiet squeeze of the bottle and the tiny, wet click as the glue touches metal or parchment.
This kind of making slows the outside rush. You work with textures that ask for gentle attention: the smoothness of glue, the crisp edge of a cutter, the cool surface of wax paper. The result refracts light and holds a private, cozy glow in windows or hung on a tree. Making these suncatchers makes the room feel softer and your thoughts more present.
How This DIY Comes Together
Before you begin, imagine the visual rhythm: dot, line, fill. You move slowly, building shapes layer by layer. The glue sits like a tiny, clear lake until it firms. If you choose glitter or small sequins, they float in the clear field and settle naturally, forming organic patterns. The work has a steady, readable pace.
Touch matters here. You will feel the smooth nozzle, the pressure under your thumb, the subtle give of the glue as it comes out. You will hear small sounds too: the soft pat of glitter on paper, the faint rustle of the cutter against the table. All of these small cues help you stay present and grounded as you create.
For a playful contrast in color and texture, try some of the ideas in the cozy blue crayon suncatchers post that explores a waxy, luminous effect.
Materials You’ll Need
- Sparkling clear glue (a clear-drying craft glue with fine glitter mixed in is ideal)
- Metal or plastic cookie cutters in Christmas shapes (easy to find, reusable)
- Parchment paper or a silicone mat (nonstick; reusable)
- A small disposable pipette or a fine-tipped squeeze bottle (for control)
- Fine glitter or micro-glitter (optional, for extra sparkle)
- Toothpicks or a small skewer (for smoothing and tiny adjustments)
- A pin or needle (to make a hanging hole after partial drying)
- Thin ribbon, twine, or fishing line for hanging
- Scissors (for trimming)
- Small tray or shallow box (to contain spills)
- A gentle, well-ventilated space and a flat surface for drying
Notes: You can use clear school glue or clear tacky craft glue. Glitter is optional if you prefer a pure, glass-like look. Silicone mats create the smoothest edges, while parchment paper works well for most homes. For a reference on clear glue techniques that work quietly and simply, consider trying a related recipe like the colorful bioplastic suncatchers recipe for other clear-surface ideas.
Step-by-Step Directions
-
Prepare your space and lay parchment paper on a flat surface.
Work slowly and keep cloth or paper towels nearby to catch little drips.
The surface should feel calm and organized so your hands can move with ease. -
Place a cookie cutter on the parchment so it lies flat and steady.
Press gently so the glue cannot seep underneath the edges.
The cutter becomes your frame, a clear border that helps the shape feel intentional. -
Fill a squeeze bottle or pipette with the sparkling clear glue.
Hold it like a pen, steady and controlled, with the tip just above the cutter.
The glue should flow smoothly when you apply gentle pressure. -
Begin by outlining the inside edge of the cutter with a thin line.
This creates a crisp border and helps the glue pool evenly.
Outline slowly; quiet, even movements keep the line steady. -
Fill the center by moving the glue in small circles or gentle sweeps.
Work from one side toward the other so you don’t trap air bubbles.
If a bubble appears, coax it to the edge with a toothpick and pop it. -
Add glitter sparingly, scattering it with a soft pinch or a small spoon.
Let it settle naturally into the glue; a little goes a long way.
Watch the glitter catch the light like tiny snowflakes before the glue sets. -
Smooth the surface with the back of a toothpick or a tiny skewer.
Tap lightly to level the glue, and coax any stray specks into place.
This step refines the shape and creates a glassy finish. -
Let the suncatcher dry until it firms but remains slightly tacky.
When partly set, use a pin to make a small hole near the top for hanging.
Be gentle; a steady hand keeps the hole centered and clean. -
Allow the piece to cure fully on a flat surface for 24 to 48 hours.
Longer drying time yields a clearer, more stable piece.
Avoid moving it during this time so the surface stays smooth. -
Carefully remove the cutter and peel the suncatcher from the paper.
Trim any thin strings or uneven edges with small scissors.
Thread ribbon or fishing line through the hole and tie a neat loop. -
Hang in a window and watch the light travel through the clear, sparkling plane.
Give yourself a few quiet minutes to notice the shimmer and the soft shadows.
The finished piece feels like captured light, a small, calm jewel.
If you want to try a different clear medium later, you might explore the gentle follow-up techniques in this bioplastic suncatchers follow-up, which shares similar patient steps and thoughtful drying notes.
Enjoying the Finished Piece


Place a completed Sparkling Clear Glue Christmas Suncatcher where morning or afternoon light can pass through it. A south-facing kitchen window or a small bedroom pane gives it a soft, steady glow. When sunlight moves across its surface, the glitter flashes in slow, reassuring beats.
Hang one on a holiday tree or tie a tiny ribbon and let it dangle from a doorknob. Use a group of small suncatchers paired on a single strand to create a gentle garland. The pieces work like quiet ornaments that catch attention without shouting. They feel particularly cozy in early winter, when light itself seems to become part of the quiet ritual of the day.
You can also place a suncatcher on a plain wall to create a soft scatter of light. The effect lasts beyond the holidays; the clear, sparkling pieces keep giving subtle cheer through many seasons if you rotate them into different rooms.
Making This DIY Last
To help your suncatchers stay lovely for years, keep a few simple care habits. Store extras flat in a shallow box between sheets of parchment. Avoid piling heavy objects on top, which can warp the shape.
If a piece collects dust, wipe it gently with a soft, dry cloth. Do not soak it in water, since prolonged moisture may soften the glue if the formula remains flexible. For window display, avoid direct, intense heat—like a heater vent or constant hot sun in very warm climates—because extreme warmth can slightly soften some clear glues.
If a hanging hole loosens over time, reinforce it by threading a small metal washer or a tiny clear bead against the hole before tying the ribbon. This small detail protects the thin edge and keeps the suncatcher hanging straight and secure.
For safety, keep small pieces away from very young children and pets. The craft uses small parts and glitter that work best when handled thoughtfully and kept out of reach if needed.
Gentle Tips & Variations
- Invite texture: Mix a tiny pinch of fine sea salt or clear microbeads into the glue for a frost-like texture. Try a test piece first to see how it sets.
- Warm, soft light: Hang suncatchers in a spot where morning light is soft rather than harsh. The glow will feel more comforting than glaring.
- Layered color: For a stained-glass suggestion, add a drop of alcohol ink or a water-based dye in thin streaks before the glue fully sets. Work with tiny amounts; the dye disperses slowly.
- Mini gallery: Make a small set of three matching shapes in different sizes and hang them vertically with small gaps. The rhythm in the arrangement reads like a quiet poem of light.
- Gift-ready: Tuck a suncatcher into a small box lined with tissue. The handmade shine makes a modest, mindful gift that invites slow appreciation.
These options invite you to play gently, not to perfect. They work as small invitations to make the craft your own.
FAQs About Sparkling Clear Glue Christmas Suncatchers:
Q: How long does it take for a clear glue suncatcher to fully harden?
A: Most clear craft glues firm within 24 hours, but full curing often needs 48 hours. Thicker pieces take longer. I let mine sit for two full days on a flat surface to ensure clarity and stability.
Q: Will the glitter fall out over time?
A: If you mix glitter into the glue rather than sprinkle it on top, it remains suspended and secure. A little surface wear may loosen a few tiny specks, but for indoor display the glitter usually stays in place when fully cured.
Q: Can I make a hole before the glue dries?
A: I prefer to wait until the glue is partly set and tacky, then poke a small hole with a pin. If you try too early, the hole might close; too late, and you may crack the edge. Aim for a gentle window of semi-set firmness.
Q: Is this safe for gifts to children?
A: These suncatchers contain small parts and glitter. They make lovely gifts for older children and adults. For younger children, supervise closely, or create larger, solid pieces without loose bits.
Q: How do I avoid bubbles?
A: Work slowly and fill from one side to the other. Tap the cutter gently on the table to encourage bubbles to rise. If a bubble stays, coax it with a toothpick and pop it at the edge.
A Quiet Closing Thought
Sit with the work for a moment before putting it away. Notice how the clear surface responds to small changes in light. The act of making itself becomes the gift: the steady squeeze, the soft glitter settling, the slow wait for it to set. These small rituals let you practice presence in the gentlest way.
Conclusion
If you enjoy simple, clear-glue forms and want to explore similar gentle projects, the classic Glue Star Suncatchers – Simple Fun for Kids offers a calm, family-friendly take that echoes many of the same soothing steps. For a heart-shaped variation full of warm colors, the Valentine’s Day Heart Suncatcher Craft – Where Imagination Grows gives thoughtful ideas for layering and display.
Thank you for sitting with this process. May your Sparkling Clear Glue Christmas Suncatchers bring soft light and slow joy to your windows and your hands.
PrintSparkling Clear Glue Christmas Suncatchers

Create beautiful Christmas suncatchers using sparkling clear glue and cookie cutters for a touch of festive charm.
- Prep Time: 15 minutes
- Cook Time: 60 minutes
- Total Time: 75 minutes
- Yield: Multiple suncatchers
- Category: Crafts
- Method: Crafting
- Cuisine: N/A
- Diet: N/A
Ingredients
- Sparkling clear glue
- Metal or plastic cookie cutters in Christmas shapes
- Parchment paper or silicone mat
- A small disposable pipette or fine-tipped squeeze bottle
- Fine glitter or micro-glitter (optional)
- Toothpicks or small skewer
- A pin or needle
- Thin ribbon, twine, or fishing line
- Scissors
- Small tray or shallow box
Instructions
- Prepare your space and lay parchment paper on a flat surface.
- Place a cookie cutter on the parchment.
- Fill the squeeze bottle or pipette with sparkling clear glue.
- Outline the inside edge of the cutter with glue.
- Fill the center of the cutter with glue.
- Add glitter if using, and let it settle.
- Smooth the surface with a toothpick.
- Let the suncatcher dry until slightly tacky; create a hanging hole with a pin.
- Allow to cure fully for 24 to 48 hours.
- Carefully remove the cutter and trim edges as necessary.
- Hang in a window and enjoy the light effects.
Notes
You can use clear school glue or clear tacky craft glue. Glitter is optional for a glass-like look. Use silicone mats for smooth edges.