

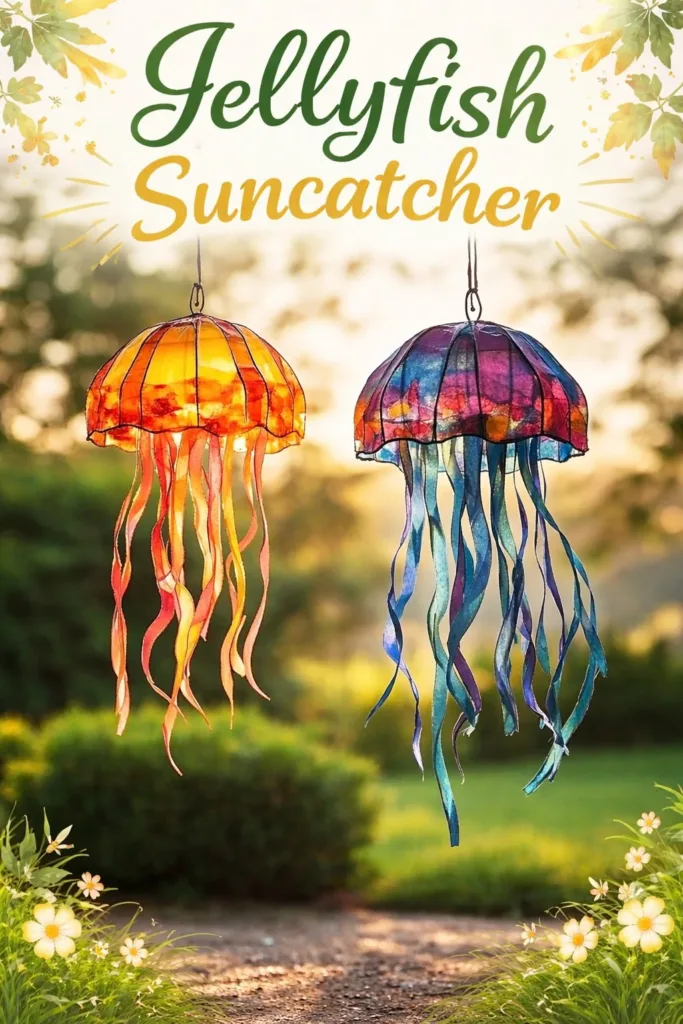
A warm beam of afternoon light caught the edges of a thin, translucent jellyfish as I finished tying its tendrils. The plastic cooled softly beneath my fingers. For a moment the world narrowed to two hands, the weight of a paperclip, and the quiet shimmer of color. This Jellyfish Suncatcher hung by the window the next morning and tipped in the breeze, scattering soft, moving color across the table and my attention. If you like gentle, hands-on projects that brighten a corner and slow your breathing, you may enjoy making one too. If you want more ideas for small sun-catching projects, my post about blue crayon suncatchers has a similar calm approach.
Why Jellyfish Suncatcher Feels Comforting to Create

There is a quiet rhythm to cutting, arranging, and tethering each jellyfish strand. The materials respond in simple ways. Plastic softens a little when warmed, paper bends easily when folded, and beads click like tiny meditation bells as you thread them.
Making a Jellyfish Suncatcher asks you to slow and notice small textures. The plastic sheet feels smooth and slightly cool. The scissors make a steady, satisfying snip. The light that passes through the finished piece shifts with the day. That shifting light gives a gentle reward that grounds a restless mind.
I often turn to projects like this when I need calm work that still offers sensory richness. The tactile steps keep my hands busy and my thoughts kinder. If you enjoy exploring different ways to catch light, this project pairs well with other recipes I have, like the colorful DIY bioplastic suncatchers recipe that explores different textures and color effects in sun-catchers and small ornaments. You can learn more about how those materials behave and why they become translucent on that page: colorful DIY bioplastic suncatchers recipe.
A Gentle Look at the Process
This project moves in a slow, satisfying flow. First you gather and soften materials. Then you cut the body shapes and curl the tentacles. You add color or beads and finish by threading a hanger. Each step asks for small, mindful motions.
The sound of scissors and the soft tap of beads give a calming background to the work. You may notice how your breathing settles when you repeat a gentle motion such as curling a plastic strip around a pencil. The overall process takes little time, and you can pause between steps to savor the light that slips through your piece.
If you have made bioplastic pieces before, you will notice similar effects with temperature and translucence. For more on working with bioplastic and the way it responds to heat and pressure, see this practical guide: DIY bioplastic suncatchers insights.
Materials You’ll Need
Before you begin, set out your materials so you can work calmly.
- Clear shrink plastic sheet or clear craft plastic, easy to find at craft stores or online.
- Permanent markers in colors you love, simple and stable on plastic.
- Scissors, sharp and comfortable in your hand.
- Hole punch or awl, for neat holes.
- Thin ribbon or fishing line for hanging, light and nearly invisible.
- Small beads for weight and decoration, optional and delightful.
- Paper towel or soft cloth to protect surfaces when heating, safety-minded.
- Pencil or dowel to curl tentacles, substitute-friendly with a straw.
- Baking sheet and oven or heat tool for shrinking plastic, choose what you have.
- Small paintbrush and rubbing alcohol for light cleaning, gentle and safe.
I learned to arrange my materials in a shallow tray to keep everything within reach. This simple habit reduced the urge to rush and kept the space tidy.
Step-by-Step Directions
-
Preheat your oven if the shrink plastic recommends it, or prepare your heat tool. Lay a paper towel on your work surface to catch stray marker dust and to protect the table.
Take a slow breath and touch each material so your hands feel the textures. -
Draw a simple jellyfish body on the shrink plastic. Keep lines clean and gentle. Color the inside with markers, adding small dots or soft gradients.
Remember the ink will intensify as the plastic shrinks, so trust light marks rather than heavy pressure. -
Cut the jellyfish shape, leaving longer strips below for tentacles. Snip slowly so the edges feel smooth under your fingers.
Each cut is a small, mindful action. Notice the thin sound of the scissors. -
Punch a small hole at the top of the jellyfish for hanging. Use a steady hand and a firm workspace.
If you feel unsure, make the hole slightly larger; you can always tighten the ribbon later. -
Arrange beads on tentacle strips if you like. Slide tiny beads onto a strip until the weight feels balanced.
The beads add a soft clink and gentle motion when the jellyfish sways. -
Bake or heat according to the shrink plastic instructions. Place the jellyfish on a baking sheet lined with parchment.
Watch through the oven window; the plastic will curl and then flatten. This little dance feels like a quiet show. -
After shrinking, let the piece cool completely on a flat surface. It will firm up and the colors will settle.
Cooling helps the shape stabilize, so resist the urge to touch it too soon. -
Curl the tentacles around a pencil or straw as desired to create gentle spirals. Work slowly and feel the warmth of the plastic if it is still slightly warm.
The tentacles will move more freely when they are slightly warm but be careful not to burn your fingers. -
Thread ribbon or fishing line through the top hole. Tie a secure knot and trim any extra. Test the balance by holding the hanger.
Adjust bead placement if one side droops. A balanced piece swings evenly and catches light gracefully. -
Find a window or light source and hang your jellyfish at a height where it can sway without knocking into other objects.
Watch the colors shift as the sun moves. Pause and enjoy the slow show.
Enjoying the Finished Piece


When your Jellyfish Suncatcher catches light, it creates small, moving patches of color. Hang it near a kitchen window, a reading nook, or a bright hallway where it can turn ordinary light into little moments of wonder.
I like to place one above a small plant. The soft color shifts on leaves feel like a conversation between two simple things. You can also hang several at staggered heights to create a slow, aquatic mobile effect that moves in drafts and casts playful patterns.
Place the suncatcher where you can see it from a favorite chair. When you pass, pause for one breath and notice how the light changes. These tiny pauses create a rhythm of calm throughout the day.
Caring for Your Finished DIY
A Jellyfish Suncatcher lasts best with a little gentle care. Keep it out of direct, harsh heat and strong UV for extended periods to help colors stay vivid longer.
If dust gathers, wipe the plastic gently with a soft, damp cloth. Use mild soap if needed and dry thoroughly. Avoid abrasive cleaners or rough scrubbing that could scratch the surface.
If the ribbon fades or the hole enlarges with time, reinforce it with a small washer or a clear adhesive dot. That small fix can extend the life of your piece and keep it hanging securely.
Store extra suncatchers flat between sheets of soft paper when not in use. This prevents bending and keeps delicate tentacles in good shape.
Gentle Tips & Variations
- Try translucent paints for a softer look. Thin layers work well. Paint thins out the more opaque marker lines and gives a watercolor feel.
- Mix bead textures for a quieter sound. Glass beads give a delicate chime while wooden or plastic beads stay subtly silent.
- Change the shape. Make smaller jellyfish to cluster on shorter hangers. A group of three small pieces looks cozy over a bedside table.
- Use recycled clear plastic from packaging for a more eco-friendly approach. Clean it well and cut carefully. This choice saves materials and adds a unique translucent texture.
- Invite a child to trace a jellyfish outline. Keep scissors and heat steps for an adult, but let them decorate the body. This shared making becomes a calm ritual.
A small note from my experience: when I used recycled plastic, the surface had tiny texture marks that caught the marker differently. That imperfection made each piece feel more like a found object, and I grew fond of those little irregularities.
In this section I also like to revisit another practical take on working with bioplastic forms when you want a sturdier base or different translucence. You can explore further ideas and methods on the DIY bioplastic suncatchers project here: DIY bioplastic suncatchers variations.
FAQs About Jellyfish Suncatcher
Q: Is shrink plastic safe to use at home?
A: Yes, when you follow the manufacturer instructions and use an oven-safe setup. Work in a well-ventilated area and avoid direct inhalation of fumes. I always bake on parchment on a tray and watch through the oven window. Keep children and pets at a safe distance during the heating step.
Q: What if my colors look too dark after shrinking?
A: Colors darken as the plastic shrinks. To keep hues soft, make lighter strokes with your marker and test on a scrap piece first. If a color ends up too intense, you can overlay a thin wash of white or use lighter marker layers next time.
Q: Can I make these outdoors in a sun oven instead of an oven?
A: You can, if you have a safe sun oven or consistent strong sunlight. The method works differently and takes longer. I prefer the kitchen oven for predictability, but a sun oven adds a lovely slow, natural rhythm to the process.
Q: How do I prevent the hole from tearing?
A: Use a small washer or reinforce the hole with a dab of clear glue once the piece cools. Punch the hole slightly smaller than the knot size so the ribbon or line fits snugly. A neat knot also helps distribute weight and prevent tearing.
Q: Can I hang this outside?
A: Light exposure and weather will fade colors faster outdoors. Hang in a sheltered spot for limited time, or rotate pieces between indoor display and outdoor enjoyment to extend their life.
A Gentle Note Before You Go
Making a Jellyfish Suncatcher gives you a small object that changes with light and invites attention. The act of creating it asks you to move slowly, listen to the soft sounds of tools, and savor the coolness and warmth of materials under your fingers.
If you feel rushed during the process, stop for a minute. Set the piece down, breathe, and return when you can give each step your calm attention. The work rewards gentle focus more than speed.
Remember that every little imperfection sings a story of hands that made it. The slight wobble in a tentacle, the extra bright blue dot, the tiny loop in the ribbon — these are the marks of a real, lived making moment. I keep mine near the window where the changing light reminds me of the quiet day I spent making it.
Conclusion
If you want a different visual style, you might enjoy the stained glass approach shown in the Jellyfish Stained Glass Suncatcher – Life Anchored guide, which uses colored glass pieces for a more luminous effect. For ready-made options or inspiration before you begin, you can also browse designs and small sellers on Jellyfish Suncatcher – Amazon.com.
Thank you for bringing a little stillness and light into your day with this project. Take it slow, enjoy the textures, and let the small dance of color remind you to pause.
PrintJellyfish Suncatcher

Create a mesmerizing Jellyfish Suncatcher that brightens any space with colorful reflections.
- Prep Time: 15 minutes
- Cook Time: 10 minutes
- Total Time: 25 minutes
- Yield: 1 suncatcher
- Category: Craft
- Method: Crafting
- Cuisine: N/A
- Diet: N/A
Ingredients
- Clear shrink plastic sheet or clear craft plastic
- Permanent markers in various colors
- Sharp scissors
- Hole punch or awl
- Thin ribbon or fishing line
- Small beads (optional)
- Paper towel or soft cloth
- Pencil or dowel
- Baking sheet and oven or heat tool
- Small paintbrush and rubbing alcohol
Instructions
- Preheat oven or prepare heat tool and lay a paper towel on your work surface.
- Draw a jellyfish body on the shrink plastic and color inside with markers.
- Cut the jellyfish shape with longer strips for tentacles.
- Punch a small hole at the top for hanging.
- Arrange beads on tentacle strips.
- Heat according to plastic instructions until it shrinks.
- Let cool completely.
- Curl tentacles around pencil.
- Thread ribbon through the hole and tie a knot.
- Hang your suncatcher in a window and enjoy the light display.
Notes
Keep the suncatcher out of direct heat to maintain color. Gently wipe with a soft damp cloth if dust gathers.