

A slow slice of late afternoon light drifts across my work table and pools on the glass beads and thin sheets of bioplastic I plan to use for a DIY Firework Suncatcher. My fingers linger on the cool surface of a painted sequin, feeling its slight ridges. The soft clink of small pieces under my hand becomes part of the making, a quiet rhythm that helps me breathe into the moment and notice the way light wants to live inside these tiny shapes. This project, a DIY Firework Suncatcher, invites that kind of gentle focus.
I often return to other suncatcher experiments for ideas; I find the colors and textures in a colorful bioplastic suncatchers recipe really helpful when I plan a new palette.
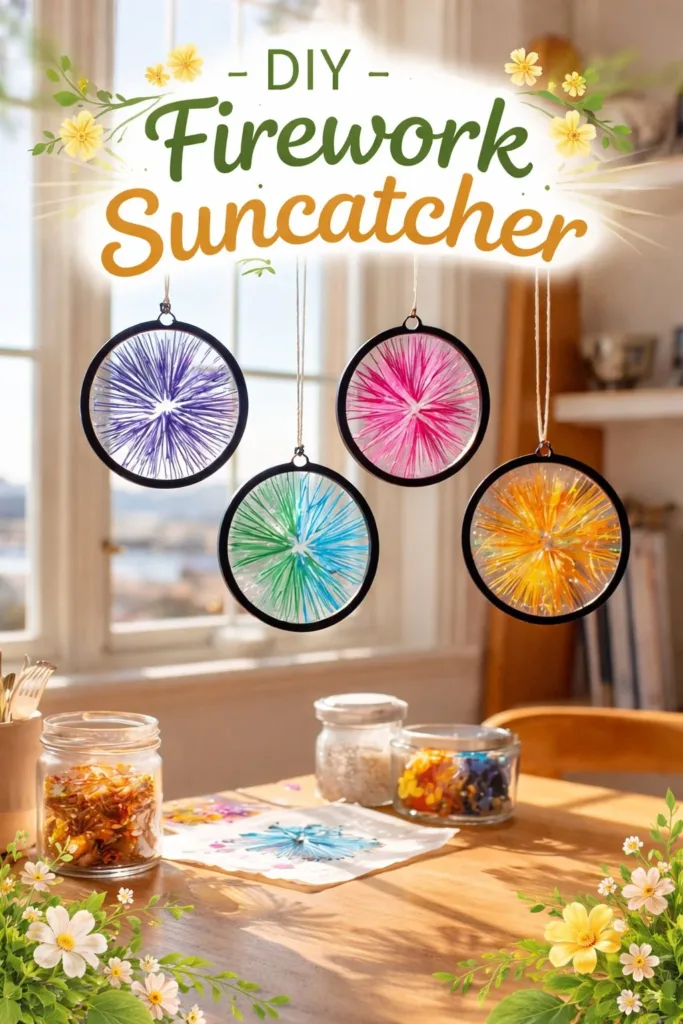
Why DIY Firework Suncatcher Feels Comforting to Create

Making a Firework Suncatcher slows my pace in a soft, steady way. The work lets my hands move in small, deliberate motions while my mind tracks color, light, and placement. The act of placing tiny pieces into a clear sheet feels like composing a memory, a small explosion of color that freezes into glass-like calm.
I notice simple sensory things as I work. The translucent plastic catches sunlight and warms under my palms. Paper and foil bring a soft metallic whisper under the beads. When I bake or press the material, it emits a faint, warm scent that feels safe and old-fashioned, like a kitchen project shared across time.
This project offers comfort because it rewards slow attention. You do not rush a suncatcher. You choose tiny elements, hold them to the light, shift their angle. Each gentle adjustment matters. The result moves with the day bright and sparking at noon, soft and jewel-like at dusk. That living quality makes the piece feel like an ongoing companion in your window.
Why this helps people rest: focused, tactile work gives your nervous system a different task than the constant mental chatter of screens. The predictable steps and small successes build quiet confidence. The finished piece catches light in a way that rewards return visits, each glance a small, calm gift.
A Gentle Look at the Process
Before you begin, imagine the motion and the look of your final piece. You will arrange small shards or shapes within a clear base so they look like a burst pattern. You will press, heat, or set the base so all parts fuse gently, and then you will let it cool and cure. The main movement feels like placing a small constellation into a glass pocket patient, precise, and mindful.
The rhythm of this work is slow and steady. I like to spread all my materials where I can reach them without stretching. This reduces sudden movements and creates a ribbon of space where my hands travel comfortably. Expect soft clinks, the faint scritch of a pencil, and a short warmth as the material sets. These sounds mark progress and help me stay present.
If you want variations on the method, I often test different thin clear sheets and small decorative pieces. For a deeper dive into pairings and textures, try this second bioplastic suncatchers method which gives ideas on layering and transparency. It can spark gentle adjustments to your own firework design.
Materials You’ll Need
- Thin clear bioplastic sheets or clear shrink film (easy to find or order online)
- Small sequins, beads, and metallic foil pieces (substitute-friendly)
- Acrylic paints or alcohol inks for tiny accents (optional)
- Fine-point marker or pencil for layout (optional)
- Non-stick baking sheet or silicone mat (safety first)
- Scissors and tweezers for precise placement
- Parchment paper for pressing
- A low-heat oven or heat gun for sealing (follow safety notes below)
- Thin ribbon or fishing line for hanging
- Small suction cups or a curtain hook for display
I often keep an extra small container of mixed beads and sequins labeled for suncatchers. Having tactile supplies ready makes the process calm and easy, and it reduces the urge to rush a color decision. For more on materials and eco-friendly options, you may find this third suncatcher approach useful for alternative supplies and texture ideas.
Safety note: if you use heat, work in a well-ventilated area and follow oven or heat gun instructions. Never leave heated equipment unattended.
Step-by-Step Directions
- Prepare your workspace. Lay a non-stick baking sheet or silicone mat on the table. Arrange beads, sequins, and foil in small dishes so you can reach them with calm motions.
- Cut the bioplastic sheet slightly larger than your planned suncatcher size. Hold the sheet and feel its smooth, cool surface. This piece will be your clear base.
- Sketch a loose burst pattern on paper. Use a pencil so you can place elements with a gentle guide but leave space for spontaneous choices.
- Place the first focal piece near the center with tweezers. Notice the way light passes through it and how it casts tiny shadows.
- Add radiating pieces outward from the center in short, measured moves. Keep your hand steady. Allow small gaps to show through for airy light.
- Introduce a few metallic bits or foil for sparkle. Use them sparingly; a single flash can shift the whole composition in a pleasing way.
- Once you like the layout, sandwich the arranged pieces between two sheets of parchment paper. Press lightly with your palm to settle the elements.
- Heat gently following your material’s instructions. If using an oven, place the parchment-covered piece on a baking tray and watch the material soften. The sheet will slightly curl and then flatten as it seals.
- Remove from heat and let cool fully on a flat surface. The cooling step firmens the piece and keeps the burst shape steady.
- Trim any uneven edges softly with scissors. Smooth the edges by sanding or by holding briefly near warmth if recommended by the material.
- Attach a small hole at the top for hanging. Reinforce the hole with a tiny dab of clear glue if you want extra security.
- Thread ribbon or fishing line and tie gently. Choose a length that places your suncatcher in sunlight for several hours of the day.
Each step invites a moment of attention. If something feels off, pause, breathe, and adjust. The project responds well to small, calm corrections.
Bringing DIY Firework Suncatcher Into Your Space


Once finished, the suncatcher brings a small, moving celebration to wherever you hang it. I like to place one near a kitchen window where the morning sun spreads a soft scatter across the countertop. That light feels alive and warms the room in a quiet way.
You can hang it in a bedroom to catch early light, or in a hallway where it splashes color as you pass. I often attach a thin ribbon and hang the piece from a small suction cup on a window pane so I can change its height by the season. The piece becomes part of the room’s rhythm, shifting as the light grows or wanes.
If you collect several firework suncatchers, display them at different heights to create a small mobile. The movement looks playful and calm. When the breeze stirs, the pieces turn slowly and the room fills with tiny dancing colors. For readers who care about the footprint of their projects, you might like this note on eco-friendly suncatcher care and ways to reuse materials thoughtfully.
When friends visit, the suncatcher often starts a relaxed conversation. People comment on the small details, the way a bead caught the light, or a metallic fleck that looks like a star. Those small moments of shared delight make the object feel like a gentle teller of stories.
Making This DIY Last
Treat your suncatcher like a small, precious object. Keep it out of direct harsh sunlight for long periods if your materials advise that, as prolonged heat can fade some inks or paints.
Clean gently with a soft, dry cloth. If dust gathers, a slightly damp cloth will usually do the job. Avoid abrasive cleaners or rough scrubbing. If you used paper or delicate foils, be extra gentle around those areas.
If the hanging loop wears, replace it with a new ribbon or piece of thread. Small repairs feel satisfying and let the piece continue to share light. You can also preserve and reuse the tiny beads and sequins by removing them from an older suncatcher before recycling the base, then using them in a fresh piece.
Store flat when not in use. Wrap in a soft tissue or cloth and lay it in a shallow box. Keep it away from heavy objects that might press and change its shape. A well-cared-for suncatcher will hold its colors and edges for a long, cozy time.
Gentle Tips & Variations
- Invite a limited palette. Pick three or four colors and repeat them in different sizes. The repetition helps the eye rest and makes the piece feel harmonious.
- Add small pressed flowers or leaves for a seasonal touch. Keep them dry and place them between sheets so they seal gently with the plastic.
- Try using translucent paints in tiny dots rather than solid shapes. The paint can look like embers when light passes through.
- Create a night version with tiny reflective beads only. Hung near a lamp, it offers subtle glints instead of bright sunlight.
- Make smaller versions to hang on a bundle or attach to gift tags. Small works make lovely, personal gifts and let you practice more freely.
Treat these tips as gentle invitations. Each variation teaches something new about color, light, and weight.
FAQs About DIY Firework Suncatcher:
Is this project safe for beginners?
Yes. Choose a low-heat method and work with non-toxic materials labeled for craft use. Start with small pieces and practice placing them on scrap sheets first. I always keep a small bowl of water and a damp cloth nearby and make sure the workspace stays well ventilated when using heat.
What if my pieces shift during heating?
If elements shift slightly, you can re-place them while the sheet is still warm but not hot to the touch. Use tweezers for fine adjustments. If the whole piece distorts, let it cool and then press it gently under a heavy book wrapped in parchment to flatten it calmly.
Can children help with this?
Children can take part in the design and placement stages. Keep them away from heat sources and handle any cutting or oven use yourself. Hand them tweezers and a small tray of beads and let them place pieces while you supervise.
What materials fade or react to heat?
Some inks and paints can change under heat. Test a scrap piece first. Metallic foils can darken if overheated. Use small test pieces to learn how your chosen supplies behave when pressed and warmed.
How do I hang multiple suncatchers without making the display feel crowded?
Vary lengths of ribbon and allow space between pieces so each suncatcher catches light on its own. Grouping works best when pieces differ a little in scale and color, so the eye can rest on each one.
A Quiet Closing Thought
When you make a DIY Firework Suncatcher, you create a small habit of noticing. The work teaches patience in tiny, satisfying doses. Each bead you place, each flick of metallic foil, and each gentle press into the sheet becomes a soft ritual of attention. The finished piece returns that attention in color and light.
Keep the process slow. Sit with a warm cup while you choose a color, or play soft music that helps your hands move in time. Notice the scent of paper and plastic together, the way sunlight frames the day. Let the making be its own small celebration, not a race toward completion.
If a step feels uncertain, step back and let your eyes rest. Return when you feel calm. The suncatcher will wait, and the light will still notice your work.
Conclusion
If you want supplies for small embellishments or custom decals that can make your suncatcher uniquely yours, I like the selection and ideas at custom decal supplies at Rainbow Symphony, which helped me experiment with tiny stickers that seal well. For inspiration on seasonal displays and pairing suncatchers with other summer decor, I often look to summer decor inspiration from The Rustic Rhode for ideas that feel warm and simple.
PrintDIY Firework Suncatcher

A creative project to make a vibrant Firework Suncatcher that captures sunlight and adds color to your space.
- Prep Time: 10 minutes
- Cook Time: 15 minutes
- Total Time: 25 minutes
- Yield: 1 suncatcher
- Category: Craft
- Method: Creative Project
Ingredients
- Thin clear bioplastic sheets or clear shrink film
- Small sequins, beads, and metallic foil pieces
- Acrylic paints or alcohol inks (optional)
- Fine-point marker or pencil (optional)
- Non-stick baking sheet or silicone mat
- Scissors and tweezers
- Parchment paper
- Low-heat oven or heat gun
- Thin ribbon or fishing line
- Small suction cups or curtain hook
Instructions
- Prepare your workspace and arrange materials for easy access.
- Cut the bioplastic sheet to the desired size.
- Sketch a loose burst pattern on paper for guidance.
- Place the first piece with tweezers, noticing how light interacts with it.
- Add pieces around it, keeping gaps for light to pass through.
- Incorporate metallic bits sparingly for sparkle.
- Sandwich the layout between parchment paper and press lightly.
- Heat following material instructions, watching for signs of softening.
- Remove from heat and let it cool completely.
- Trim any uneven edges and reinforce any holes for hanging.
Notes
This project is great for mindfulness and can help reduce stress by engaging your senses.