

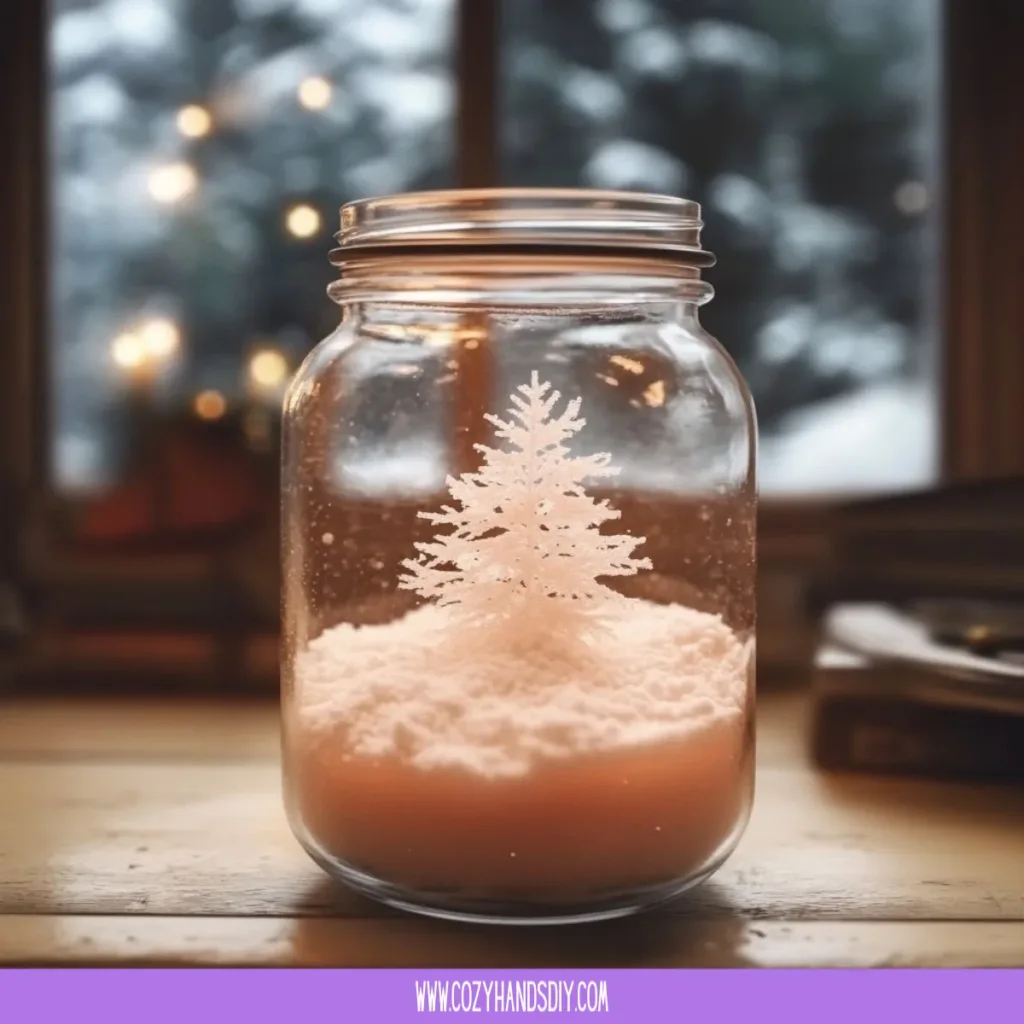
A soft hush fills the room as I tighten the jar lid and watch tiny flakes spin slowly in a pale pool of light. The glass fogs a little from my warm hands, and the tiny whirl of white calms me the way a slow breath does. This DIY Snowstorm in a Jar invites that quiet attention. It asks for gentle movements, a mindful pause, and the pleasure of watching small, steady motion catch the light.
I first made this jar on a cold afternoon with a child at my elbow and a kettle singing on the stove. The shaking was simple, the textures gentle, and the result felt like holding a little weather in my hands. If you want another take on the same idea, you can peek at our cozy snowstorm jar tutorial for extra ways to set your mood and color palette.
Why DIY Snowstorm in a Jar Feels Comforting to Create

This tiny weather globe calms because it slows time. You make small, deliberate choices: how much glitter, how slowly to tilt the jar, how long to watch the pieces settle. These choices create a rhythm that matches your breath.
The sensory details matter. The glass feels smooth and cool beneath your fingers. The liquid moves in a soft, viscous way that soothes when you watch it. Tiny glitter flecks click softly against each other and catch light like minuscule stars. That quiet sound and the slow visual settling draw attention to now.
Making something visible and self-contained carries comfort too. A small jar feels like a pocket of order. When the rest of the day feels noisy, you can hold this jar and remember you can make calm things. If you like combining projects that play with light and texture, try pairing this moment with a simple window piece like our nature suncatcher project to extend the gentle practice across the room.
I recommend this as a mindful craft for mornings when you want a quiet start or for evenings when you want a soft ritual. The process asks for slow hands and kind attention. It rewards that care with something both pretty and practical: a small mindfulness tool you can hold or place on a shelf.
The Flow of Making DIY Snowstorm in a Jar
Before we gather anything, imagine the motion you want to invite. Think slow turns and tiny flurries. Imagine the sound of small beads tapping glass and the sight of glitter drifting like snow.
The making moves in three graceful parts: build the base, mix the storm, and seal it into calm. Each part asks for steady hands and gentle movement. You stir, you watch, you close. The process feels like a short ritual.
Expect the tempo to be soft. You will measure in teaspoons and in breaths. You will watch the way water and oil separate, how glitter hangs on the surface for a moment, then falls like first snow. I like to keep a tea towel nearby to catch any drips and a table cleared of clutter so each motion feels spacious.
If you enjoy soft, glowing projects, this flows well after a light glowing jar session. Consider bringing the mellow light of a cotton candy glow jar into the same corner of the room to layer peaceful objects and extend the quiet.
Materials You’ll Need
- A clean glass jar with a tight-sealing lid (mason jars work well)
- Warm water (about 1/2 cup)
- Clear baby oil or clear mineral oil (about 1/2 cup; easy to find)
- White or iridescent glitter (fine and gentle; optional)
- Small sequins or tiny craft snowflakes (optional; choose smooth ones)
- Clear glycerin or clear corn syrup (1–2 teaspoons; helps slow the fall)
- A small funnel or a piece of folded paper for pouring (optional)
- A spoon or small stir stick (wood or plastic)
- Waterproof glue or clear-drying silicone sealant (for securing the lid)
- A soft towel or mat to work on (to protect surfaces)
Notes:
- Baby oil and glycerin are easy to source at drugstores or craft shops.
- If you prefer non-toxic options, clear vegetable glycerin works well and adds slow movement to the jar.
- Avoid glitter with sharp edges if you plan to let small children handle the jar.
- If you want a more natural look, skip glitter and use tiny paper snowflakes sealed in plastic first.
Step-by-Step Directions

- Clean and dry your jar and lid thoroughly.
Wash the jar in warm soapy water and dry it well. A dry jar keeps your mixture clear and prevents stray bubbles. - Add warm water to the jar, filling to about one third.
Leave a little space for oil and movement. The warm water helps dissolve the glycerin more easily. - Stir in 1 to 2 teaspoons of glycerin or corn syrup until it blends.
Watch the liquid thicken slightly; glycerin slows the fall of the snow and makes the motion smoother. - Add glitter or small snow shapes slowly, using a funnel if you like.
Drop just a pinch at first. You can always add more. Notice how the pieces float and drift before settling. - Pour clear baby oil or mineral oil slowly into the jar, filling to near the top.
Pour down the side to reduce bubbles. The oil separates from water and creates that soft, slow fall when you shake the jar. - Gently close the lid and test by turning the jar upside down.
Shake with slow, deliberate movements. Watch how the glitter spirals and drifts. If it falls too fast, add a bit more glycerin. - When the motion feels just right, open the jar and dry the threads of the glass.
A dry rim helps the glue stick better and keeps the lid sealing clean. - Apply a thin bead of waterproof glue or clear silicone to the inside rim of the lid.
Press the lid on firmly and wipe away any squeeze-out. Let it sit flat while the glue cures according to package time. - Let the jar rest overnight before moving it.
This helps bubbles rise and the glue set. Give the jar one last gentle shake and enjoy the calm of your tiny storm.
Each of these steps invites slow attention. I like to breathe slowly during the stirring and to watch how the mixture changes. The small noises of stirring and the sight of sparkles falling make the work feel intimate and grounding.
Bringing DIY Snowstorm in Your Space

Place your finished jar where light can touch it gently. A shelf near a window brings out the shimmer without direct sun that could warm the jar too much.
On a bedside table, the jar makes a small ritual for falling asleep. Turn it over slowly, follow the swirl until the pieces settle, and then place it aside as a signal your day is done. In a living room, a cluster of jars in different sizes creates a quiet vignette.
I like to group the snowstorm jar with a small stack of books and a ceramic cup of tea. The jar becomes a pause point between pages, a soft way to gather attention. If you keep a corner for mindful objects, this jar fits easily among small lights or fabric textures.
If you share the jar with children, keep it on a low shelf for them to reach under supervision. Consider making a smaller jar just for a short play session, and remind little hands to turn the jar gently. The goal is not to make a toy for rough play but to provide a calming, hands-on focus.
For seasonal displays, tuck the jar among natural elements like pine cones, smooth stones, or a sprig of evergreen. The contrast of soft motion and still textures deepens the cozy feel.
If you enjoyed making this and want another playful weather-inspired craft, our raindrop suncatchers bring the same mindful quality into bright window light.
Caring for Your Finished DIY
Keep your jar out of high heat and direct sunlight for long periods. The oil inside can warm and expand slightly, which could cause leaks over time.
If the lid ever loosens, avoid unscrewing it roughly. Hold the jar over a towel and turn gently. If you need to re-glue, clean the rim thoroughly, dry it, and apply a fresh bead of sealant.
Over time, tiny bubbles may drift to the top. They usually rise and disappear. If the jar becomes cloudy from dust or tiny bits of stubborn glitter, place it near a sink and wipe the outside with a soft cloth. If you prefer a new crisp look, you can open the jar, strain the liquid through a fine mesh into a fresh container, and reassemble with a clean lid.
To refresh the motion, add a teaspoon more glycerin and mix gently with a stick before sealing. This will slow the fall slightly and often renew the sense of soft motion.
If you plan to store the jar for a long time, keep it upright in a cool, dry box with padding so it does not roll or get knocked. Proper storage will help it last and remain a small, reliable comfort object.
What I’ve Learned While Making This
I learned that small adjustments make big differences. A single extra teaspoon of glycerin can change the whole tempo of the snowfall. Patience in pouring reduces bubbles and makes the jar feel more like a calm lake than a stormy pond.
I learned to prefer fine glitter or tiny smooth sequins. Bigger or jagged pieces can clump and interrupt the flow. I also learned the value of a solid seal. A well-glued lid keeps curiosity gentle and worry away.
Making the jar with someone else brings its own quiet joy. When a child works with me, I keep my language soft and my hands steady. I let them choose how many flakes to add and I turn the jar slowly to show the motion. Their eyes widen at the first swirl. That shared wonder feels like part of the craft.
I also learned to honor the jar’s limits. It looks lovely on a windowsill, but the sun can warm it too much. I learned to enjoy the jar in shade or in the soft warm glow of indirect light. The jar does not need to shine in full noon sun to be special.
Try variations slowly. Add a tiny pine needle, a miniature wooden bead, or a drop of washable paint for a muted color. Each change alters the sensory story the jar tells. I invite you to notice what calms you and adjust toward that.
Gentle Tips & Variations
- Use vegetable glycerin as a non-animal, gentle alternative if you prefer.
This option keeps the movement slow and the materials simple. - Make a batch of small jars in different sizes.
Place them in a small group to watch different fall speeds together; the variation feels soothing. - Choose soft colors for the glitter.
Muted whites, pale blues, or iridescent flakes keep the look quiet and restful. - Add a tiny charm sealed in a small zip bag before placing inside the jar for a surprise.
This keeps any small parts contained but visible and adds a personal touch. - If you want a quieter jar, use fewer pieces and more glycerin.
Less material means softer visual movement and a more meditative watch.
These ideas are invitations. You do not need to follow them. Let your hands and senses guide small experiments.
FAQs About DIY Snowstorm in a Jar
Is this safe for children to help make?
Yes, with supervision. Keep the glue step and any small sharp pieces out of reach. Let children pour glitter and stir under careful guidance. Emphasize gentle motions.
Can I use colored water or oil?
You can add a drop of water-soluble dye to the water only. Avoid adding color to the oil because most dyes do not dissolve in oil. Keep colors pale for a calm effect.
How long will the jar last?
With a good seal and stable storage, the jar can last many months or years. Check the lid periodically and keep it away from heat.
What if my jar looks cloudy?
Wipe the outside clean first. If cloudiness comes from inside, let the jar rest upright for a day. Tiny bubbles can rise and clear. If cloudiness persists, you may open, strain, and refresh the mixture.
Can I recycle the materials?
Dispose of oil and glycerin thoughtfully. If you wish to separate parts later, take the jar to a craft recycling program if available, and follow local guidance for oil disposal.
A Gentle Note Before You Go
Making a DIY Snowstorm in a Jar offers more than a pretty object. It creates a small ritual you can return to when you need to pause. The work is simple: a few steady hands, a soft shake, and a slow watch. Each time you turn the jar you invite a moment of calm into your day.
Treat the jar with kindness. Let it sit where it can catch light gently, and handle it with steady care. If you make several, place them like small waypoints through your space to bring quiet attention to corners of your home.
If you enjoyed the rhythmic making and want to explore other calming crafts, you might like the gentle shapes and light of seasonal suncatcher projects or the soft glow of jars that lean into color and slow motion. Those make smooth companions to your new snowstorm jar.
Conclusion
If you want a clear, science-based how-to alongside this cozy approach, the Snowstorm in a Jar Winter Science Experiment – One Little Project offers a simple experiment-style guide that complements the sensory focus here.
For another trusted resource with stepwise instructions and thoughtful safety notes, see Snowstorm in a Jar – Adventure Science Center. Both links can help you deepen your understanding of the materials and the little science behind slow falling particles.
Thank you for sharing a quiet making moment. May your jar be a small harbor of calm on busy days.