

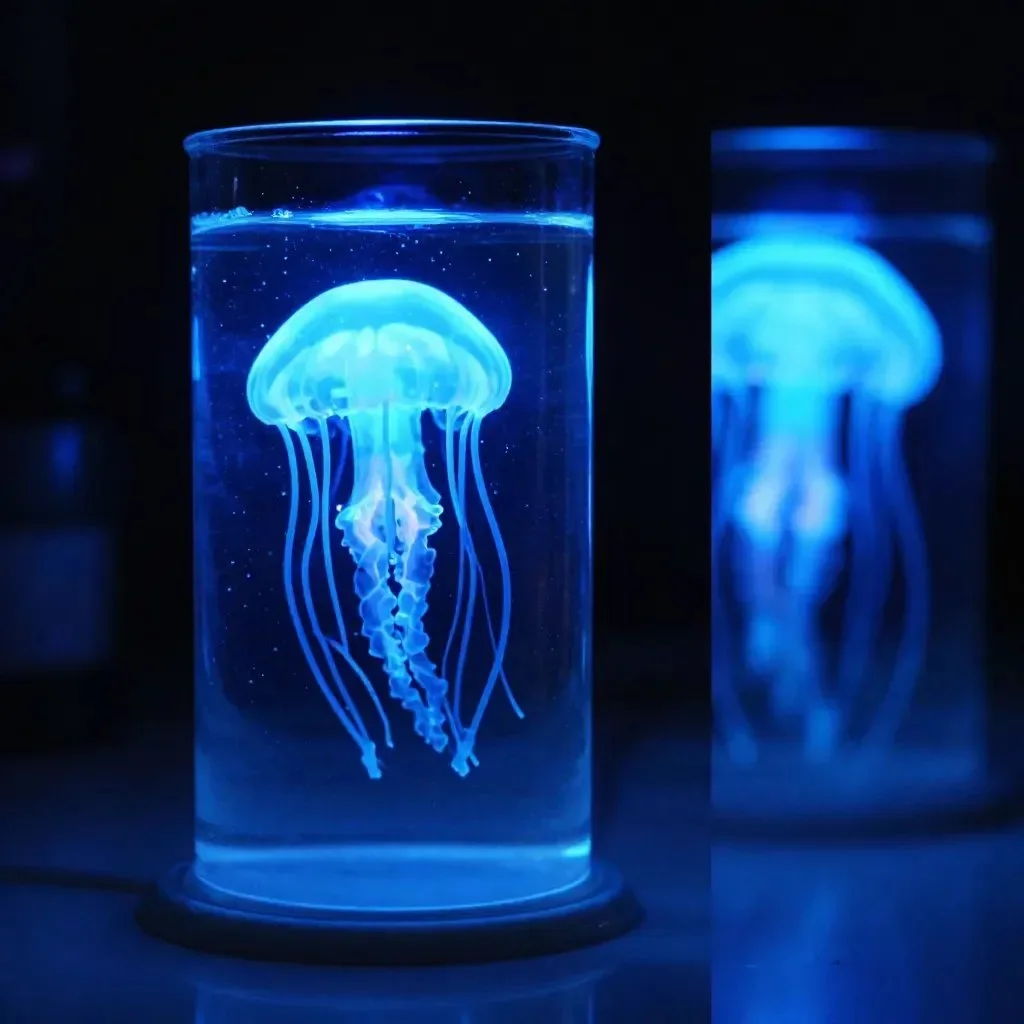
Creating a Glowing Jellyfish Jar is an experience that captures both the imagination and the senses. The soft glow, reminiscent of moonlight reflecting on ocean waves, invites a sense of calm. As you immerse yourself in the crafting process, the gentle movements and the soothing textures of the materials allow you to feel more grounded. It’s a beautiful way to bring a piece of the serene underwater world into your home, making each glow from the jar a reminder of tranquility. If you’re looking for similar projects, consider exploring DIY glowing jellyfish lanterns as an alternative.
Why Make This Glowing Jellyfish Jar
Engaging in the creation of a Glowing Jellyfish Jar helps cultivate mindfulness. When you focus on the slow, intentional movements involved in assembling the various components, you can find yourself more in tune with your surroundings. This project encourages slowing down, letting you appreciate each tactile element and the interplay of light and shadow as they dance together. The simple act of crafting becomes a meditative escape from the noisy world outside, helping you reconnect with your inner calm. Embracing this gentle journey also reflects the cozy nature of similar projects, such as the DIY glowing ocean jar, where each step offers layers of comfort.
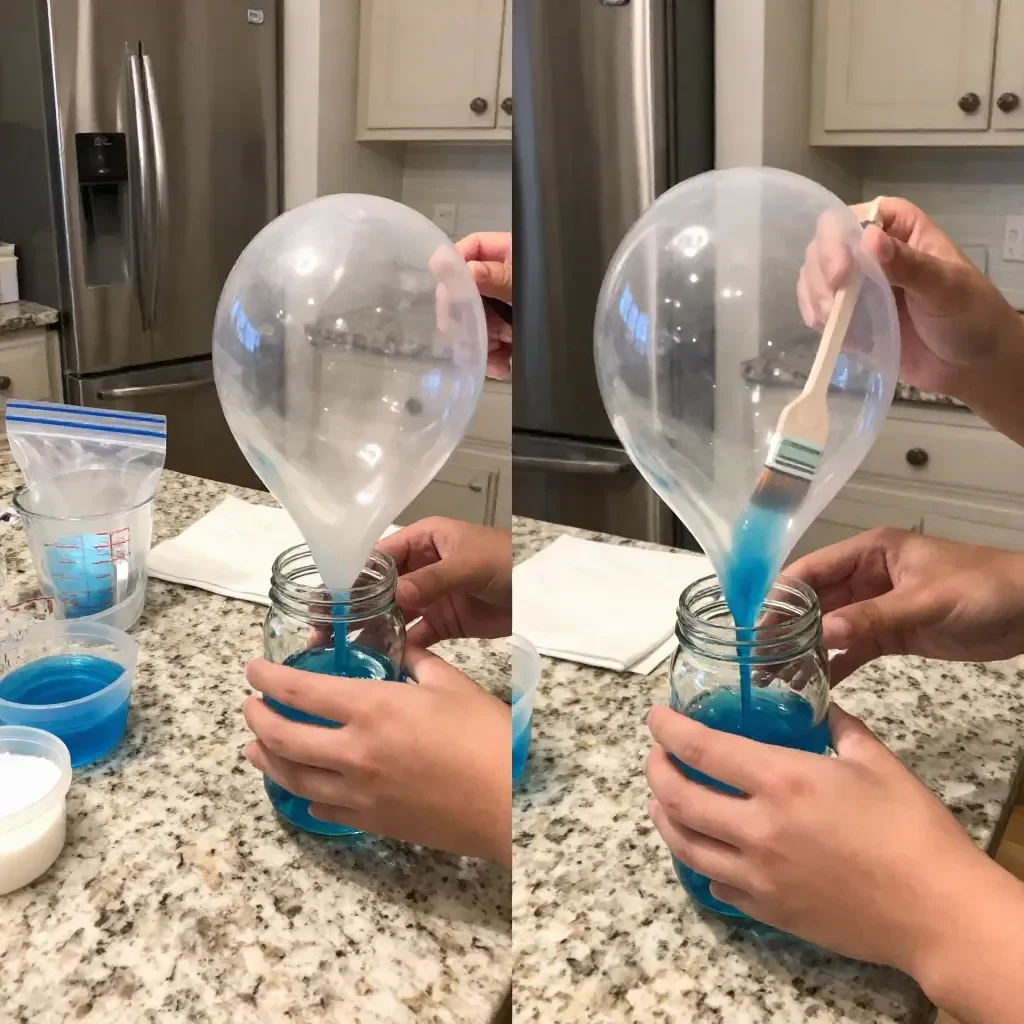
A Gentle Look at the Process
As you prepare to create the Glowing Jellyfish Jar, envision the soothing rhythm of the process. Gather your materials while listening to the soft sounds of your environment, whether it’s the rustle of paper or the gentle clink of jars. Each movement, from selecting colors to pouring in the water, should feel deliberate and relaxing. This project flows with the elegance of ocean waves, encouraging you to savor every moment. With its enticing creativity, this DIY stands as a perfect union with other crafts, like a glowing jellyfish bottle experience, which shares the same calming energy.
Materials You’ll Need
To create your Glowing Jellyfish Jar, you will need the following materials:
- A clear glass jar
- Blue and white paints (acrylics work nicely)
- Cotton or thin white fabric for jellyfish
- LED tealight or small fairy lights
- Water
- Optional: glitter for extra sparkle
These materials are generally easy to find and can often be sourced at local craft stores or online. The additional touch of glitter can enhance the enchanting effect, lending a magical quality to your creation.
Step-by-Step Directions
-
Prepare Your Workspace: Clear a surface and gather all your materials. Create a calm atmosphere by playing soft music or enjoying silence.
-
Paint the Jar: Use your blue and white paints to create an underwater effect on the inside of the jar. Let the colors blend softly, mimicking the ocean depths.
-
Make the Jellyfish: Cut the cotton or fabric into long strips. These will act as the jellyfish tentacles. You can choose varying lengths for a more dynamic look.
-
Assemble the Jellyfish: Attach the strips to a small piece of fabric or wadding. This will form the jellyfish’s body, and you can add a touch of paint here to match the jar.
-
Fill the Jar: Once the paint is dry, gently place the jellyfish into the jar.
-
Add Lights: Place your LED tealight or fairy lights at the bottom of the jar. Position them so they illuminate the jellyfish, creating a glowing, soothing effect.
-
Final Touches: You may add water to the jar if needed for your desired effect. Adjust the lights and fabric until you achieve the look you desire.
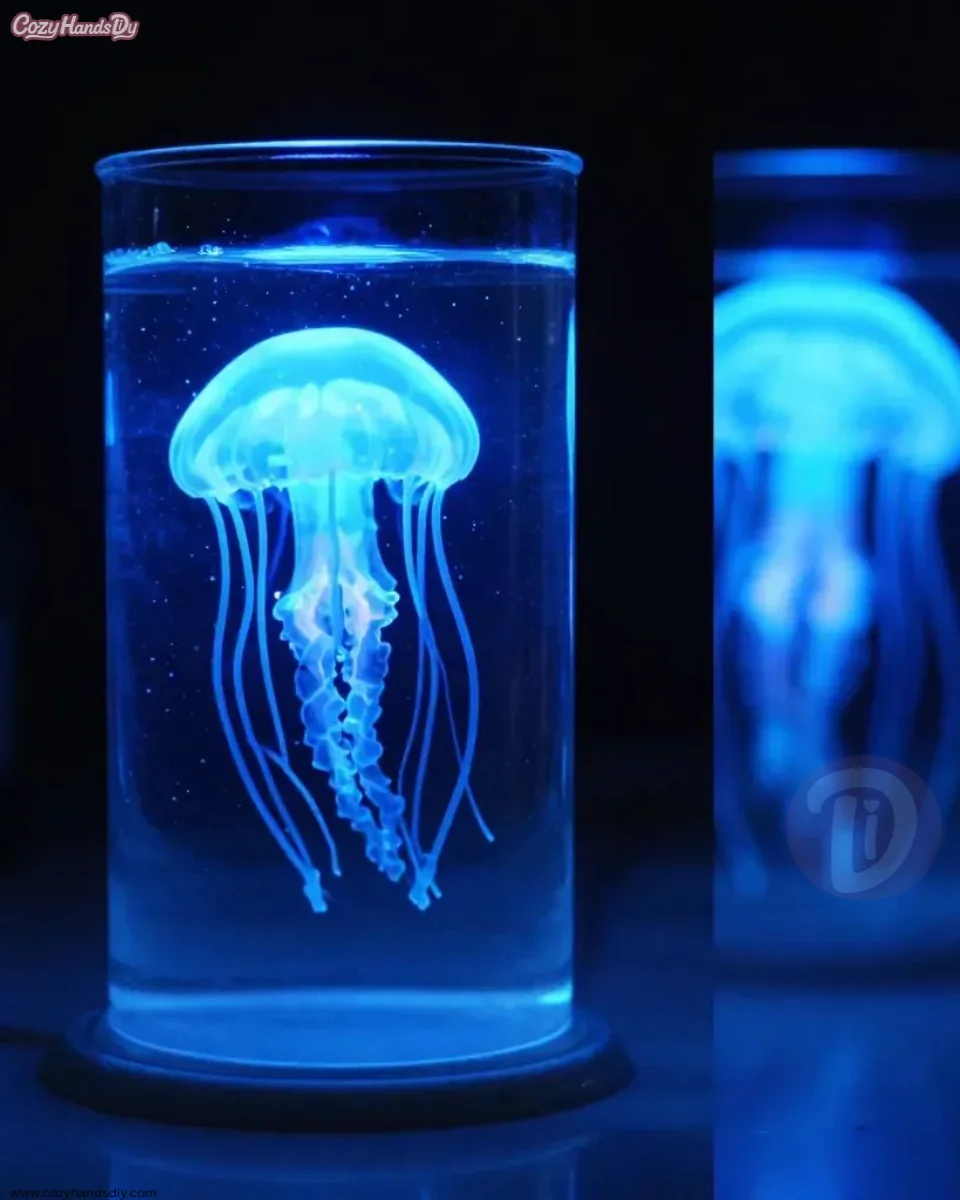
Enjoying the Finished Piece
Once you’ve completed your Glowing Jellyfish Jar, take a moment to appreciate your work. The soft light emanating from within creates a calming atmosphere that can enhance any space, whether you place it on a bedside table, desk, or living room shelf. It serves as not just a decoration, but as a source of comfort. Imagine it glowing softly as you wind down for the evening or during moments of quiet reflection. It also pairs beautifully with other glowing crafts, such as those found in our project for 4th of July fireworks jars.
How to Store or Reuse Glowing Jellyfish Jar
Storing your Glowing Jellyfish Jar is simple. If you need to keep it safe, find a cool, dry space where it is unlikely to topple over. Wrap it gently in soft cloth to prevent scratches and damage. If you wish to reuse the jar for different occasions, simply remove the jellyfish and clean it. You can change the internal decorations or color schemes as desired, making it a versatile piece that can evolve with the seasons.
Gentle Tips & Variations
-
Contrast with Light: Experiment with different colored lights to change the mood of your jar. Warm white light may give a cozy glow, while blue can evoke a cool, underwater feel.
-
Layering: Consider layering different materials to create a more complex jellyfish design. Using different fabrics can add depth and texture, making the jellyfish appear more lifelike.
-
Themed Jars: Create seasonal or themed versions of your jellyfish jar. For instance, consider pastel colors around Easter or darker shades for a spooky Halloween effect.
-
Gift It: Share your warm creation! A Glowing Jellyfish Jar makes for a thoughtful gift, especially to someone in need of a little extra calm in their life.
FAQs About Glowing Jellyfish Jar
Q: Can I use other types of lights inside the jar?
A: Absolutely! Any small light source that fits comfortably within the jar will work, but make sure they’re safe for indoor use and don’t generate much heat.
Q: How long will the glow last?
A: The glow depends on the type of light used. LED lights can last for many hours, often outshining other options.
Q: What should I do if my jellyfish fabric starts to fade?
A: To keep your jellyfish looking vibrant, avoid direct sunlight when displaying the jar. If necessary, you can easily repaint or replace the fabric.
Conclusion
Creating a Glowing Jellyfish Jar is a wonderful journey into creativity that fosters calmness and mindfulness. This project provides a gentle way to engage with materials and immerse in a soothing experience. For those interested in further exploring the enchanting world of glowing crafts, check out the discussion on jellyfish jars, which reveals fascinating insights. You might also enjoy the playful and imaginative SpongeBob Jellyfish Jar Keychain, adding a touch of whimsy to your creations.
PrintGlowing Jellyfish Jar
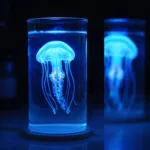
Create a peaceful and enchanting Glowing Jellyfish Jar that brings the serene underwater world into your home.
- Prep Time: 15 minutes
- Cook Time: 0 minutes
- Total Time: 15 minutes
- Yield: 1 jar
- Category: Crafts
- Method: DIY
- Cuisine: N/A
- Diet: N/A
Ingredients
- A clear glass jar
- Blue and white paints (acrylics)
- Cotton or thin white fabric for jellyfish
- LED tealight or small fairy lights
- Water
- Optional: glitter for extra sparkle
Instructions
- Prepare Your Workspace: Clear a surface and gather all your materials.
- Paint the Jar: Use your blue and white paints to create an underwater effect on the inside of the jar.
- Make the Jellyfish: Cut the cotton or fabric into long strips for tentacles.
- Assemble the Jellyfish: Attach the strips to a small piece of fabric to form the body.
- Fill the Jar: Once the paint is dry, gently place the jellyfish into the jar.
- Add Lights: Place your LED tealight or fairy lights at the bottom of the jar.
- Final Touches: Add water if needed and adjust lights and fabric for desired look.
Notes
Experiment with different colored lights and materials for varying effects. This jar makes for a great gift!