

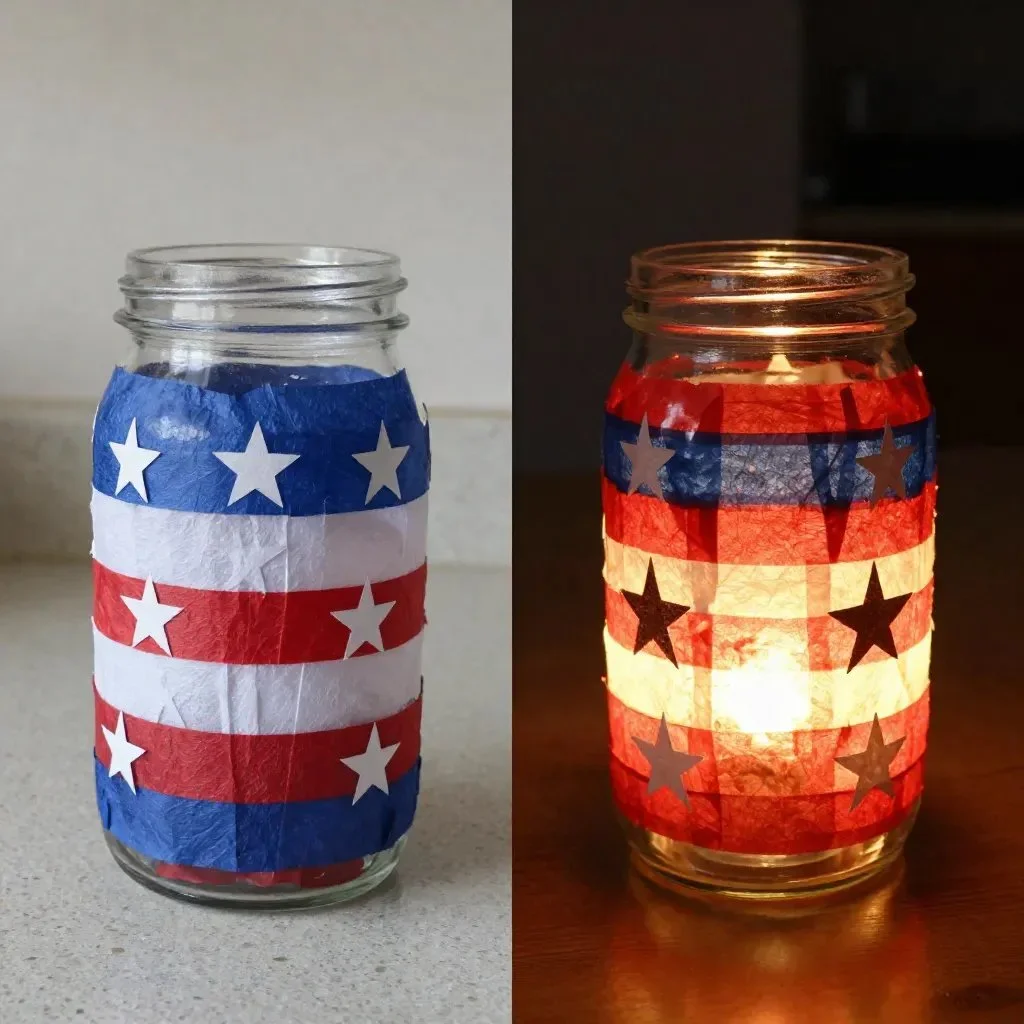
Creating a glowing star lantern can transport you to a cozy corner of your home, where the light dances against the walls like the warmth of a cherished memory. Imagine the serenity of the gentle glow illuminating your space, casting delicate shadows that flicker softly as they embrace the evening. This project invites you to focus on simple materials and touch, grounding you in the moment as you craft something beautiful. The act of making, filled with intention and purpose, brings a unique pleasure that comforts and calms. You may also find Diy Glowing Jellyfish Lanterns Cozy useful.
The Heart Behind This DIY
This glowing star lantern not only brightens a room but offers a serene space for reflection and tranquility. Engaging in this project can help you slow down, providing a gentle pause in life’s busy rhythm. As you shape and assemble each part, you’ll tap into your sense of creativity, feeling the texture of the materials and savoring the satisfaction of each step. Whether it’s a soft glow at bedtime or a centerpiece at a gathering, this lantern carries with it the spirit of comfort that nurtures creativity and calm. If you’re exploring different forms of DIY lighting, consider glowing bottle lanterns for more inspiration.
A Gentle Look at the Process
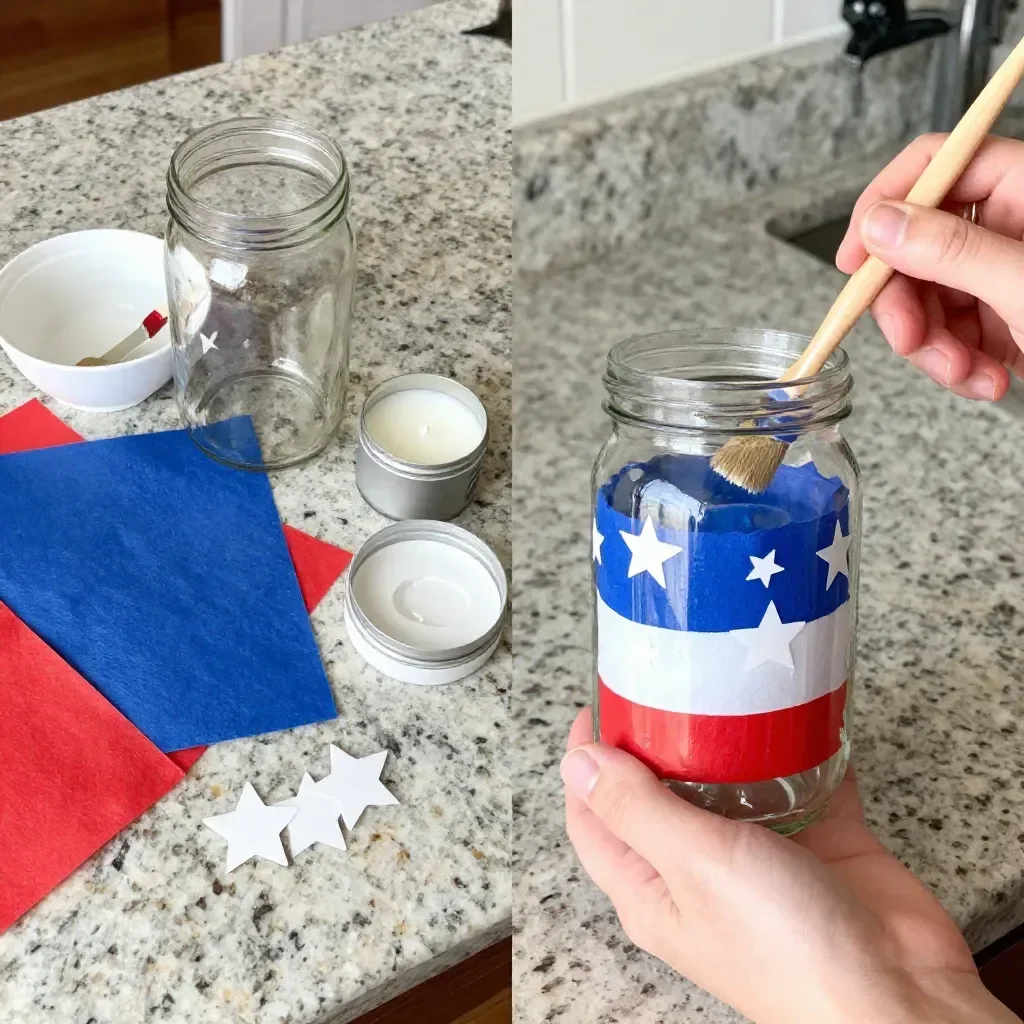
The process of making your glowing star lantern flows with a rhythm that is both satisfying and enjoyable. You begin with simple materials, each one adding an element of texture and engagement. As you cut, fold, and assemble, the soothing sounds of scissors and paper create a calming backdrop. The visual transformation is gradual, and with each step, you are crafting a piece that feels unique to you. This approach invites a slow, mindful experience, where the goal is not perfection but a happy dance of creativity. You may also find Brighten Your Home Stained Glass Lantern useful.
Materials You’ll Need
- Cardstock paper (preferably in a vibrant color)
- Scissors (sharp enough for a clean cut)
- A pencil (for marking)
- LED tea light (for safe illumination)
- Ruler (for precise measurements)
- Glue or double-sided tape (for assembly)
- Optional: Decorative materials like glitter or stickers
These materials are generally easy to find, allowing for a comforting gathering of supplies that enhances the anticipation of the project. You may also find Broken Crayons Glowing Rainbow Flowers Recycle Art Supplies useful.
Step-by-Step Directions
- Prepare the Base Shape: Start by measuring and cutting a square piece of cardstock, about 12 inches on each side. This will form the base of your lantern.
- Mark the Points: On each edge of the square, mark the midpoint. From these points, draw a star shape, extending each point outward to create the desired star design.
- Cut Out the Star: Carefully cut along the lines of the star while keeping the center intact for sturdiness.
- Create Flaps: Fold the points of the star inwards, forming flaps that will hold the structure together.
- Secure the Structure: Use glue or double-sided tape to secure each flap to the adjacent side, creating a three-dimensional star. Allow it to dry.
- Insert the Light: Place an LED tea light at the base of the star to create a safe and magical glow.
- Decorate Your Lantern: Add any additional decorations if desired, such as glitter or stickers, allowing for personal flair.
Enjoying the Finished Piece
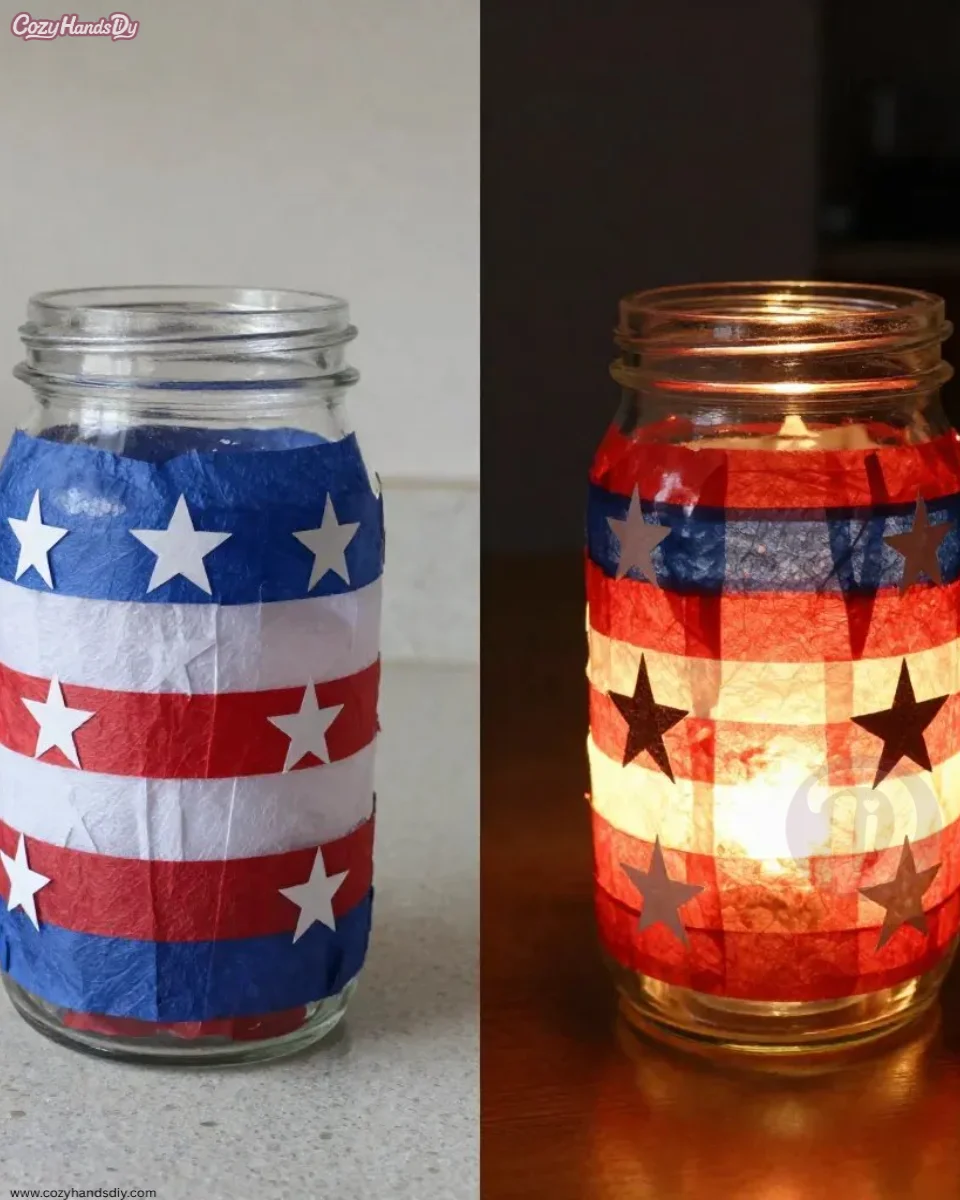
Your glowing star lantern can serve multiple purposes in your space. It might act as a soothing night light in a child’s room or a gentle ambiance during your evening relaxation. Place it in a calm corner where you often retreat to recharge. The lantern can also create a beautiful atmosphere during gatherings, enhancing conversations with its soft glow. Feel free to experiment with different colors or patterns, as each unique lantern has the potential to speak to your personal style.
Keeping It for Later
To ensure the longevity of your glowing star lantern, consider storing it in a protective box or wrapping it in soft material. If you choose to use more embellishments, be mindful of how they are preserved, as they can impact the durability of the lantern. You might even find joy in displaying it seasonally or re-living the crafting process by creating new versions to match different moods or occasions.
Gentle Tips & Variations
- Experiment with Sizes: Try making different sizes of lanterns using smaller or larger squares, creating a family of stars.
- Play with Colors: Use patterned or translucent papers for a unique effect when the lantern glows.
- Try Other Shapes: If stars aren’t your thing, explore other designs like hearts or moons, adding variety to your decor.
- Incorporate Natural Elements: Add leaves or pressed flowers inside the lantern for a refreshing, nature-inspired look.
FAQs About Glowing Star Lantern
Can I use regular candles instead of LED lights?
It’s best to use LED lights for safety, as traditional candles can be a fire hazard, especially with paper lanterns.
How long does it take to make the lantern?
Most people find that the process takes about an hour, allowing for careful crafting and decoration.
Can I hang the lantern?
Yes, you can incorporate a string or ribbon at the top to hang your lantern if you prefer a pendant-style display.
Will the color fade over time?
If placed in direct sunlight, the colors may fade. Consider locations with softer light for display.
Conclusion
Creating a glowing star lantern is not just about the final product; it is a journey of making that nurtures creativity and calmness. Through each step, from gathering materials to the last flicker of light, you infuse your space with warmth and intention. As you embrace the process, you might also find inspiration in other decorative ideas such as Galaxy Gold 7-Point Shining Star or explore decorative lamp shades for more brightening options. Enjoy the quiet moments, the glow, and the satisfaction of your creation.
PrintGlowing Star Lantern
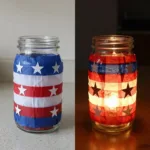
Create a beautiful glowing star lantern that brightens your space and enhances tranquility.
- Prep Time: 15 minutes
- Cook Time: 0 minutes
- Total Time: 60 minutes
- Yield: 1 lantern
- Category: Craft
- Method: DIY
- Cuisine: N/A
- Diet: N/A
Ingredients
- Cardstock paper (preferably in a vibrant color)
- Scissors
- A pencil
- LED tea light
- Ruler
- Glue or double-sided tape
- Optional: Decorative materials like glitter or stickers
Instructions
- Prepare the base shape: Start by measuring and cutting a square piece of cardstock, about 12 inches on each side.
- Mark the points: On each edge of the square, mark the midpoint and draw a star shape.
- Cut out the star: Carefully cut along the lines of the star while keeping the center intact.
- Create flaps: Fold the points of the star inwards to form flaps.
- Secure the structure: Use glue or double-sided tape to secure each flap, creating a three-dimensional star.
- Insert the light: Place an LED tea light at the base of the star.
- Decorate your lantern: Add any additional decorations if desired.
Notes
To ensure longevity, store the lantern in a protective box. Experiment with different sizes and colors for unique displays.