

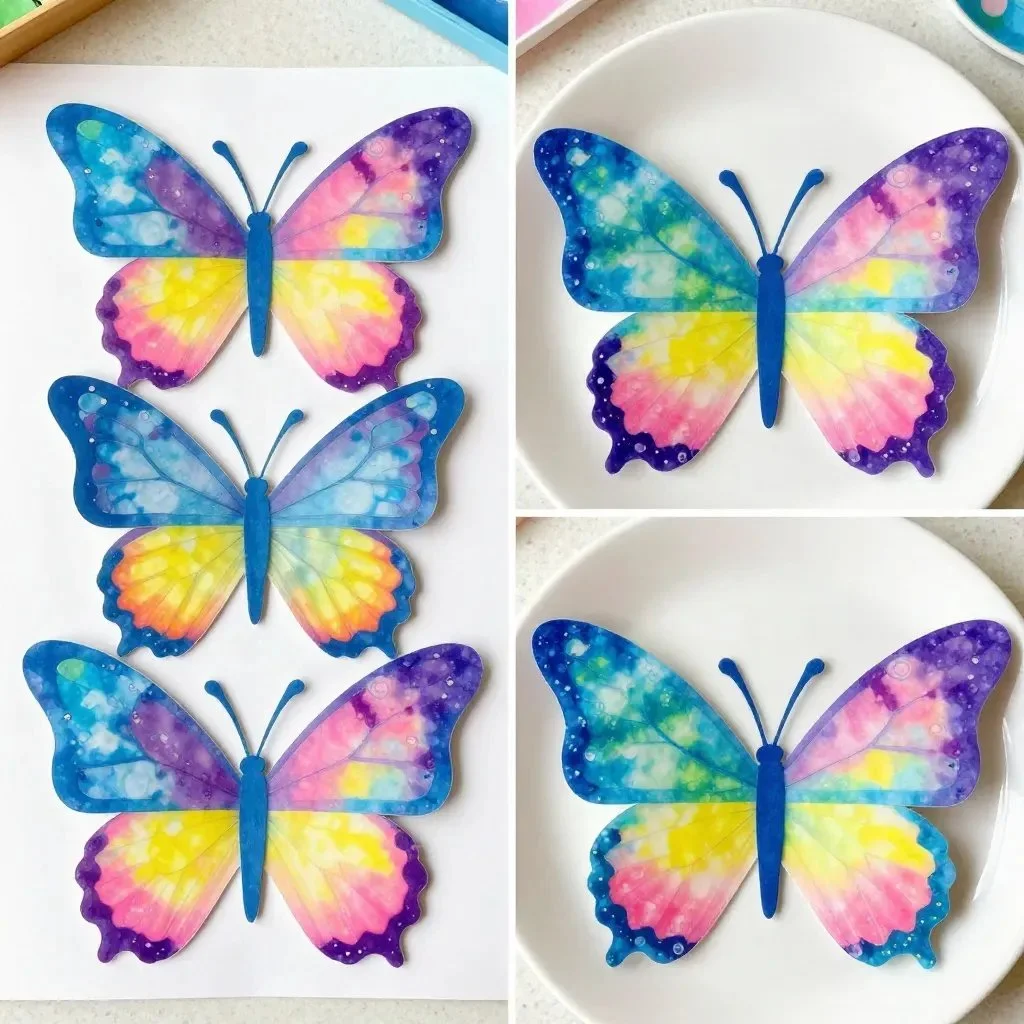
Creating a Bubble Print Butterfly brings a sense of calm as you engage with the tactile nature of the materials. The popping sounds of bubble wrap under your fingers create a soothing rhythm, while the vibrant colors dance in your mind. With every layer of paint and bubble, you can feel a gentle connection to the creativity flowing within you. This project allows for introspection and a delight in simple pleasures as you create a beautiful piece to admire. You may also find Bright Butterfly Craft Calming Keepsake useful.
The Heart Behind This DIY
The Bubble Print Butterfly serves not only as a craft but also as a therapeutic experience, encouraging you to slow down and breathe. As you delve into this making moment, notice how the textures beneath your hands invite you to engage in the present. The act of printing with bubbles brings a delightful surprise, fostering a sense of joy and anticipation. These sensory experiences help guide your focus away from distractions, creating a cozy space for creativity. This activity not only results in a lovely butterfly to cherish but also nurtures a mindful practice that can soothe the busyness of your days. The calming process of creating something beautiful fosters a deeper connection to your environment and yourself. You may also find Bubble Foam Play Cozy Joy useful.
How This DIY Comes Together
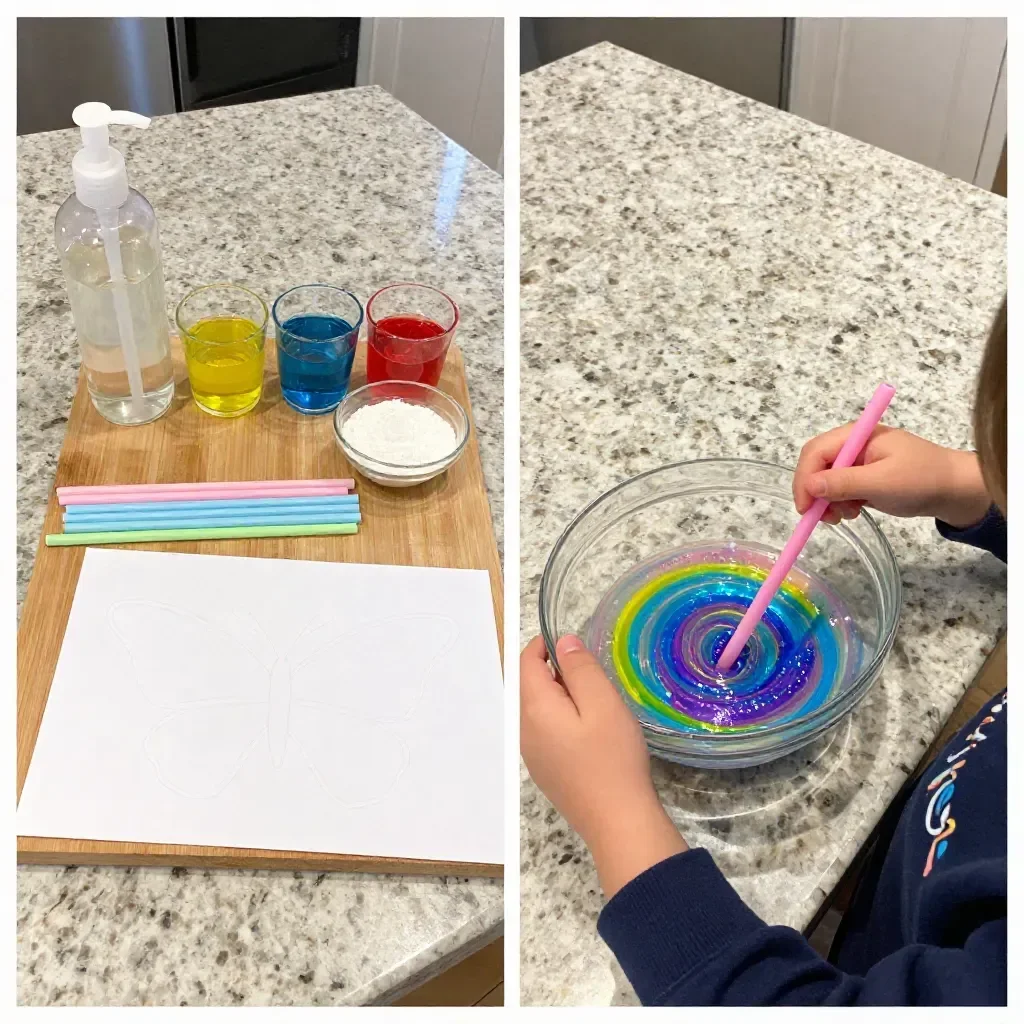
Before you begin the adventure of making your Bubble Print Butterfly, let’s gently explore the process. You’ll be engaging with vibrant colors, smooth paint, and the satisfying texture of bubble wrap. As you prepare to get started, consider how the various elements will blend together, creating layers of color that feel lively and whimsical. The bubbling sounds as you press and pop the wrap will cultivate a joyful atmosphere, inviting you to lose track of time and fully immerse yourself in this tranquil activity. You may also find Bubble Wand Fireworks useful.
Materials You’ll Need
- White paper or cardstock (thicker paper works best)
- Washable paint in various colors (choose your favorites)
- Bubble wrap (large and small bubbles for variety)
- A paintbrush or sponge (for applying paint)
- A shallow tray or plate (for paint)
- Scissors (to cut the bubble wrap)
- An apron or old clothing (to protect your clothes)
- A surface cover (newspaper or a plastic tablecloth)
These materials are quite easy to find, and many may already be in your craft supplies. Have fun gathering them and personalize as needed. You may also find Butterfly Craft 2 useful.
Step-by-Step Directions
-
Prepare Your Space: Cover your workspace with newspaper or a plastic cloth to catch any paint spills. This also helps to create a cozy environment.
-
Cut the Bubble Wrap: Trim your bubble wrap into butterfly-shaped wings. You can make different sizes and styles to personalize your butterfly.
-
Apply Paint: Pour various colors of washable paint onto your shallow tray or plate. Use a paintbrush or sponge to spread a thin layer of paint over the bubble wrap, making sure to coat it evenly.
-
Press and Print: Carefully place your painted bubble wrap onto your white paper or cardstock, pressing down gently to transfer the paint. The bubbles will make delightful imprints. You can print multiple times for varied effects.
-
Reveal Your Butterfly: Lift the bubble wrap to see the beautiful patterns left behind. If you want, you can repeat this process with different colors or layers of paint.
-
Cut Out Your Butterfly: Once the paint is dry, cut out the shape of your butterfly. This can be a fun shape to play with, giving you endless options for your final piece.
-
Display Your Masterpiece: Let your butterfly shine by displaying it on a wall, in a frame, or as part of a mobile. You may even consider using your butterfly in other sensory art projects, intertwining different styles and techniques.
Enjoying the Finished Piece
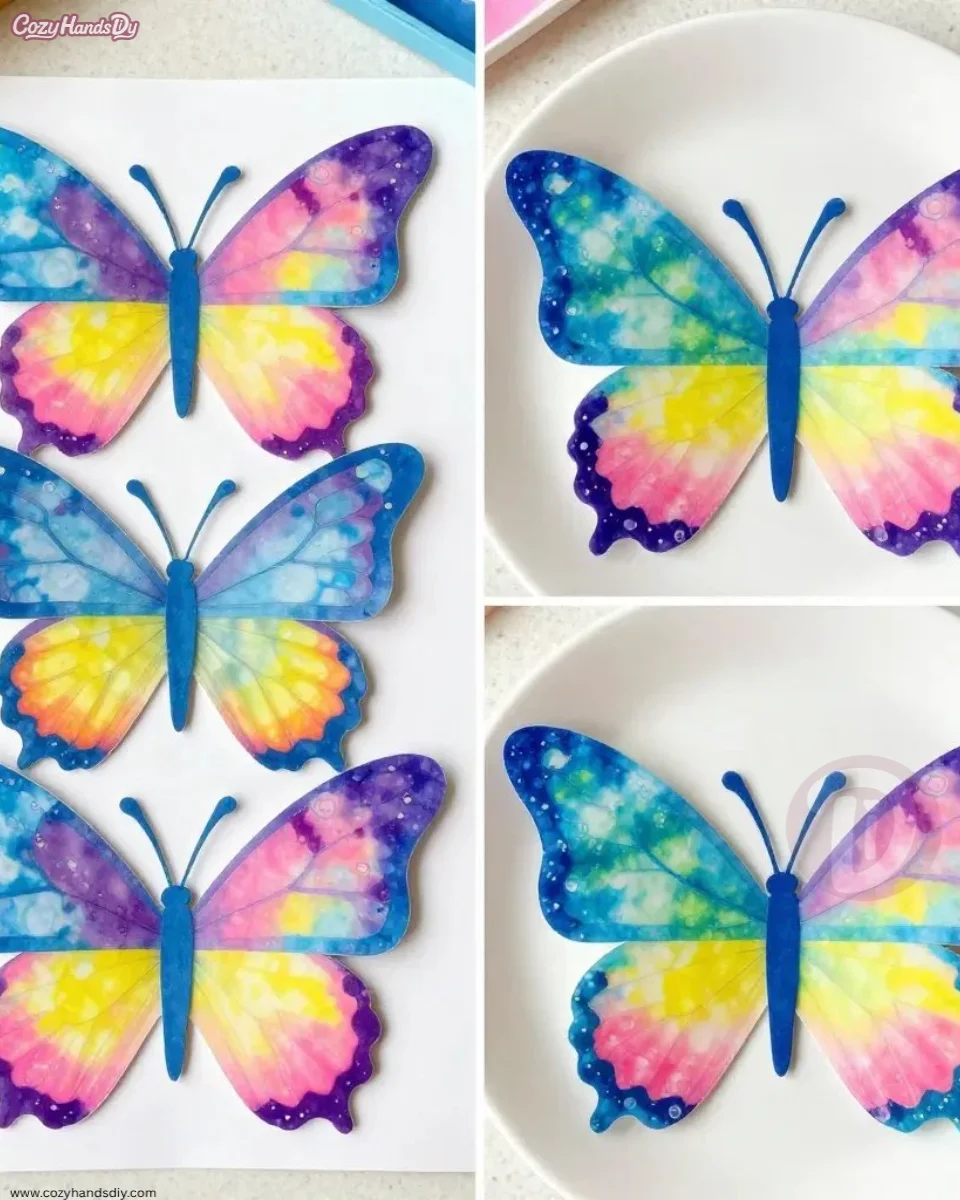
The finished Bubble Print Butterfly can be a charming addition to your home. Consider using it as wall art to add a touch of color to your space, or a lovely handmade gift for someone special. Hang it in a nursery or child’s room as a reminder of creativity and joy. The process of creating something meaningful enriches daily life, encouraging you to reflect on the simple pleasures of making and sharing your work.
Keeping It for Later
When it comes to preserving your colorful creations, consider storing your Bubble Print Butterfly in a flat, safe place. A large envelope or portfolio can help protect the fragile textures while keeping them ready to display or gift. You might also think about reusing the butterfly for future projects, such as decorating greeting cards or crafting unique bookmarks. This allows you to extend the joy of creating beyond the initial moment.
Gentle Tips & Variations
- Experiment with Colors: Invitation to try different palettes, maybe pastels for a soft butterfly or bold colors for a statement piece.
- Add Texture: You could consider incorporating other materials, like glitter or fabric, to enhance the sensory experience while making your butterfly.
- Explore Different Shapes: Feel free to get creative with shapes; not only butterflies but also caterpillars or flowers can add a delightful twist.
- Involve Others: This is a fantastic project for all ages, so invite friends or family to experience the joy of creating together.
FAQs About Bubble Print Butterfly
Can I use other paints instead of washable paint?
Yes, you can experiment with other types, but ensure they are safe and non-toxic, especially if children are involved. Water-based paints can be a great alternative.
How can I make the butterfly more durable?
One option is to spray a clear sealant over the finished piece once it’s completely dried. This can help protect it from fading and wear.
What if I don’t have bubble wrap?
If bubble wrap isn’t available, you can create a similar effect using sponges or textured fabric to achieve interesting prints.
Conclusion
Creating a Bubble Print Butterfly offers a wonderful invitation to slow down and engage in a fulfilling crafting moment. This peaceful activity fosters a connection to your creative self and the joy of handmade art. To further enhance your crafting experience, consider exploring some butterfly-themed decorations that could complement your project beautifully. Additionally, you can find more craft ideas that include bubble printing at this informative resource. Enjoy the process and the soothing presence of creating something meaningful!
PrintBubble Print Butterfly
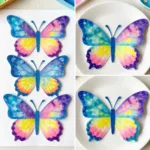
A calming and creative DIY project that uses bubble wrap to create vibrant butterfly prints.
- Prep Time: 15 minutes
- Cook Time: 0 minutes
- Total Time: 15 minutes
- Yield: 1 butterfly
- Category: Craft
- Method: Crafting
- Cuisine: N/A
- Diet: N/A
Ingredients
- White paper or cardstock
- Washable paint in various colors
- Bubble wrap
- Paintbrush or sponge
- Shallow tray or plate
- Scissors
- An apron or old clothing
- A surface cover (newspaper or plastic tablecloth)
Instructions
- Prepare your workspace by covering it with newspaper or a plastic cloth.
- Cut your bubble wrap into butterfly-shaped wings.
- Apply various colors of paint onto your tray or plate.
- Press the painted bubble wrap onto your paper, transferring the paint.
- Reveal the patterns left behind by lifting the bubble wrap.
- Cut out the shape of your butterfly once the paint is dry.
- Display your butterfly on a wall, in a frame, or as part of a mobile.
Notes
Consider using different materials to enhance your butterfly, like glitter or fabric, for added texture.