

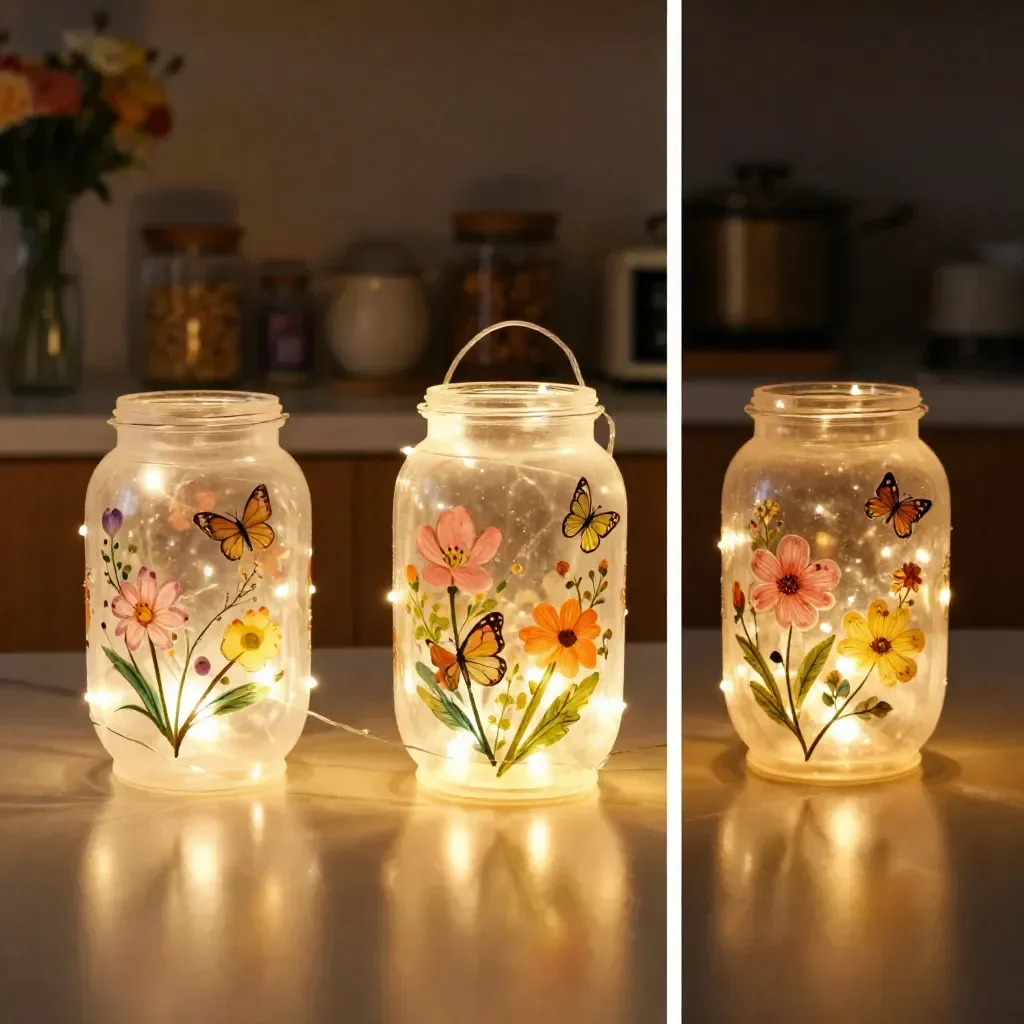
The gentle glow of lanterns made from recycled milk jugs creates a soothing ambiance, transforming ordinary spaces into enchanting hideaways. As daylight fades, the light inside these delightful creations reflects a warm, inviting atmosphere. Each lantern embodies a moment of calm creativity, where intention meets routine, and the simplicity of making something beautiful allows us to pause and breathe. From the tactile experience of handling the materials to the mesmerizing glow they emit, making magical milk jug lanterns is a journey worth taking, inviting creativity into your cozy spaces. You might find inspiration in other projects like pink glow fairy lanterns, each offering its own unique charm.
The Heart Behind This DIY
Creating magical milk jug lanterns is more than just a crafting project; it’s a celebration of mindfulness and simplicity. Engaging in this activity offers a calm and focused moment amid a busy day. The act of cutting, decorating, and illuminating these lanterns provides an opportunity to slow down and connect with the materials in a deliberate way, promoting serenity. As you bring your creations to life, notice how the soft oohs and aahs of discovery resonate within. This is a chance to embrace the sensory nature of crafting, feeling the cool plastic against your fingers and watching your lantern transform into a soft beacon of light.
A Gentle Look at the Process
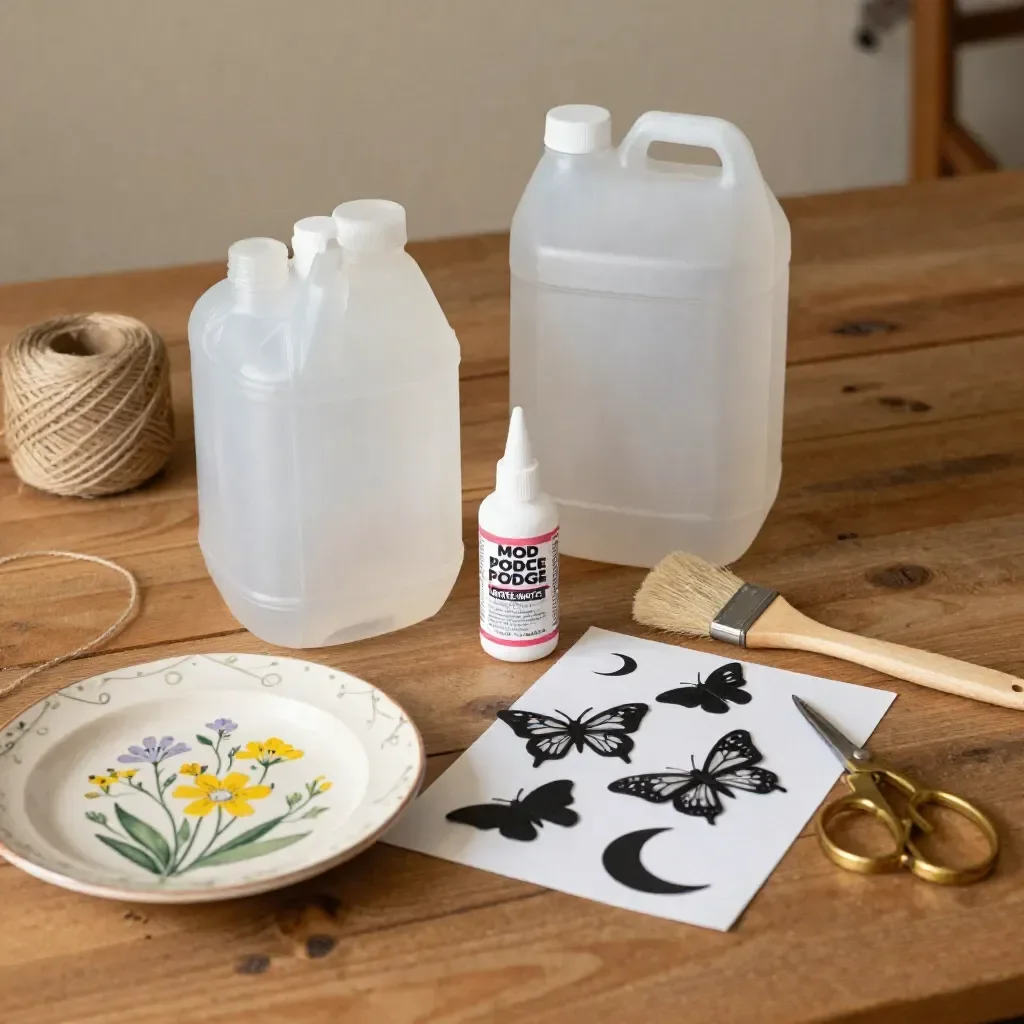
Before diving into making these magical milk jug lanterns, let’s embrace the flow of creativity that will guide us along the way. The process involves engaging movements, from cutting the jug to adding the final touches. Picture the sound of scissors gliding through the plastic, each snip revealing another potential feature of your lantern. You can almost hear the whisper of excitement as the lantern begins to take form. Allow yourself to be present with each step, enjoying the colors, textures, and the fragrant scents of any embellishments you choose to add.
Materials You’ll Need
Gathering your materials is the first step in this cozy journey. Here’s what you will need:
- Empty milk jugs (with lids)
- Craft paint or markers (easy to find)
- Battery-operated tea lights
- Scissors (be cautious while using)
- Paintbrushes
- Optional: Glitter, decorative paper, or stickers for embellishment
Each item plays a role in creating the charming allure of your lanterns. The jugs are the canvas, while the paints and decorations allow your imagination to shine through.
Step-by-Step Directions
- Start by cleaning the empty milk jug thoroughly and removing any labels to ensure a smooth surface for your designs.
- Using scissors, carefully cut out shapes on the side of the jug. You can create windows, hearts, or whimsical designs to let the light shine through.
- Next, prepare your paint or markers. Apply a layer of paint on the exterior of the jug, allowing it to dry before adding any additional colors or patterns.
- If you want to add some sparkle, now’s the time to sprinkle glitter onto the wet paint so it adheres well.
- Once your designs have dried completely, place a battery-operated tea light inside, and screw the cap back onto the jug.
- Finally, find a cozy spot in your space to display your new lantern, or consider creating a group of them to enhance the ambiance.
Where This DIY Fits Into a Calm Routine
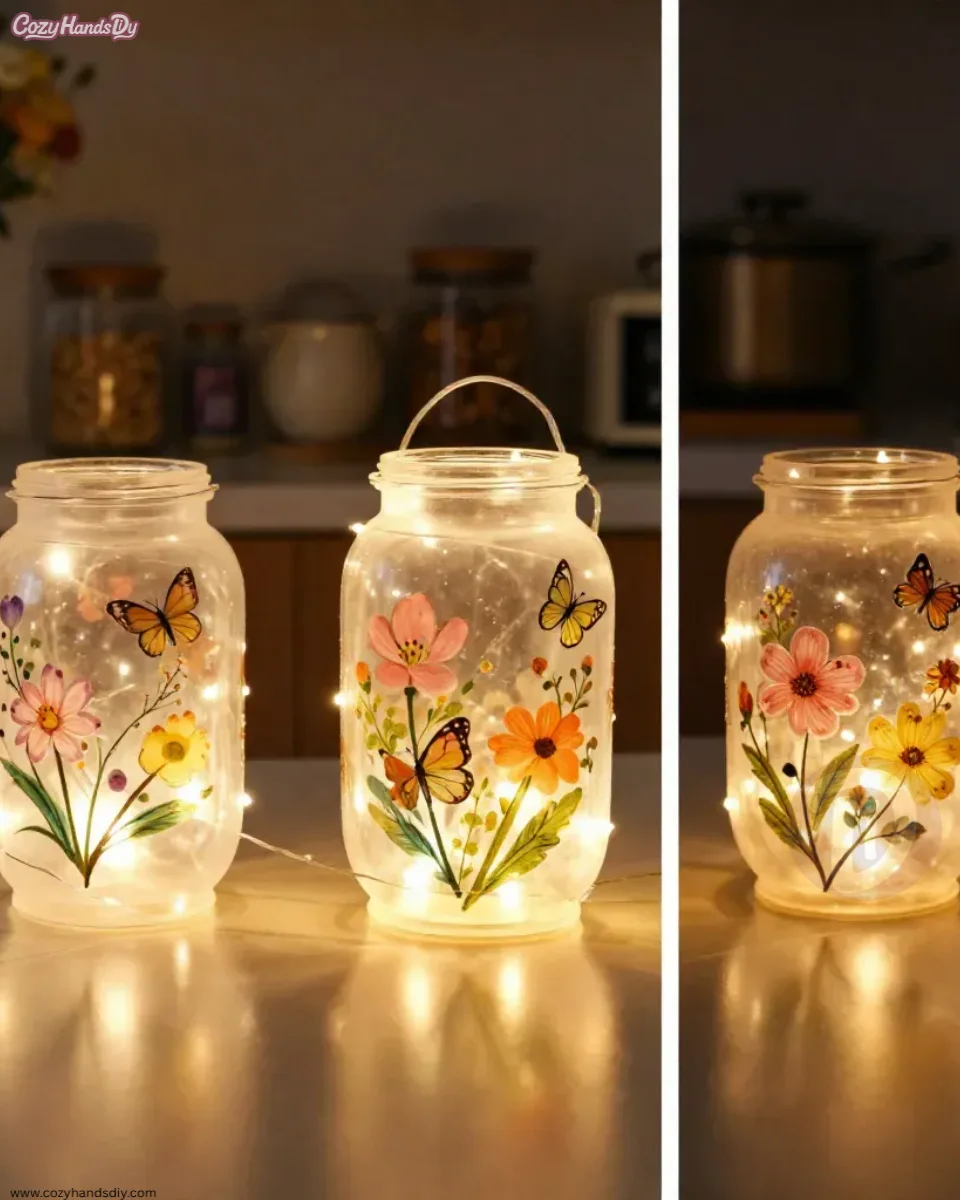
Once completed, these magical milk jug lanterns provide a warm, enchanting light that can elevate any environment. Use them to create a cozy reading nook or to add charm to a garden party. They can also serve as gentle night lights for children, comforting them as they drift off to sleep. Displaying these lanterns in groups can transform your living space into a magical oasis, where soft light dances off walls and invites relaxation.
Making This DIY Last
Caring for your magical milk jug lanterns is simple. To prolong their life, keep them in a dry, shaded area when not in use. If they gather dust, a gentle wipe with a soft cloth will bring back their sparkle. Should you desire to change their look, the paint can be easily layered over or replaced, giving you the freedom to refresh their style with the seasons.
Gentle Tips & Variations
To personalize your magical milk jug lanterns, consider these options:
- Experiment with color combinations that resonate with you, inviting a distinct mood.
- Create themed lanterns for different occasions like holidays or special events.
- Try using string lights inside instead of tea lights for a more whimsical effect.
- If you’re feeling adventurous, introduce other materials such as glass beads or lace to enhance the texture and visual appeal.
FAQs About Magical Milk Jug Lanterns
Q: Can I use real candles in these lanterns?
A: It is safer to use battery-operated tea lights, as they present less risk of fire and provide the same warm glow.
Q: How can I make the lanterns weatherproof?
A: Applying a layer of clear sealant over the paint can help protect your creations from moisture and weather effects if you plan to place them outside.
Q: What age group is this project suitable for?
A: This DIY can be enjoyed by children with adult supervision, making it a lovely family activity.
Conclusion
Conclusion
As you finish your magical milk jug lanterns, remember that crafting is a journey of self-expression and tranquility. Allow yourself to enjoy the comforting glow they provide in your space, serving as gentle reminders of your creative energy. For additional crafting ideas, you might be interested in discovering the enchanting approach of Sparkle Craft: Milk Jug Lanterns or explore engaging projects like DIY Duct Tape Milk Carton Garden Lanterns. Embrace the calm and cozy moments these lanterns can bring into your life and spaces.
PrintMagical Milk Jug Lanterns
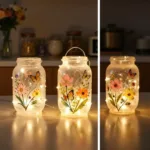
Create enchanting milk jug lanterns that add a warm glow and charm to your cozy spaces.
- Prep Time: 15 minutes
- Cook Time: 0 minutes
- Total Time: 15 minutes
- Yield: 1 lantern
- Category: Crafts
- Method: Crafting
- Cuisine: N/A
- Diet: N/A
Ingredients
- Empty milk jugs (with lids)
- Craft paint or markers
- Battery-operated tea lights
- Scissors
- Paintbrushes
- Optional: Glitter, decorative paper, or stickers
Instructions
- Start by cleaning the empty milk jug thoroughly and removing any labels.
- Using scissors, carefully cut out shapes on the side of the jug.
- Next, prepare your paint or markers and apply a layer on the exterior of the jug.
- If you want to add glitter, sprinkle it onto the wet paint.
- Once your designs have dried completely, place a tea light inside the jug.
- Finally, find a cozy spot to display your new lantern.
Notes
Consider personalizing your lanterns with themed designs for various occasions.