

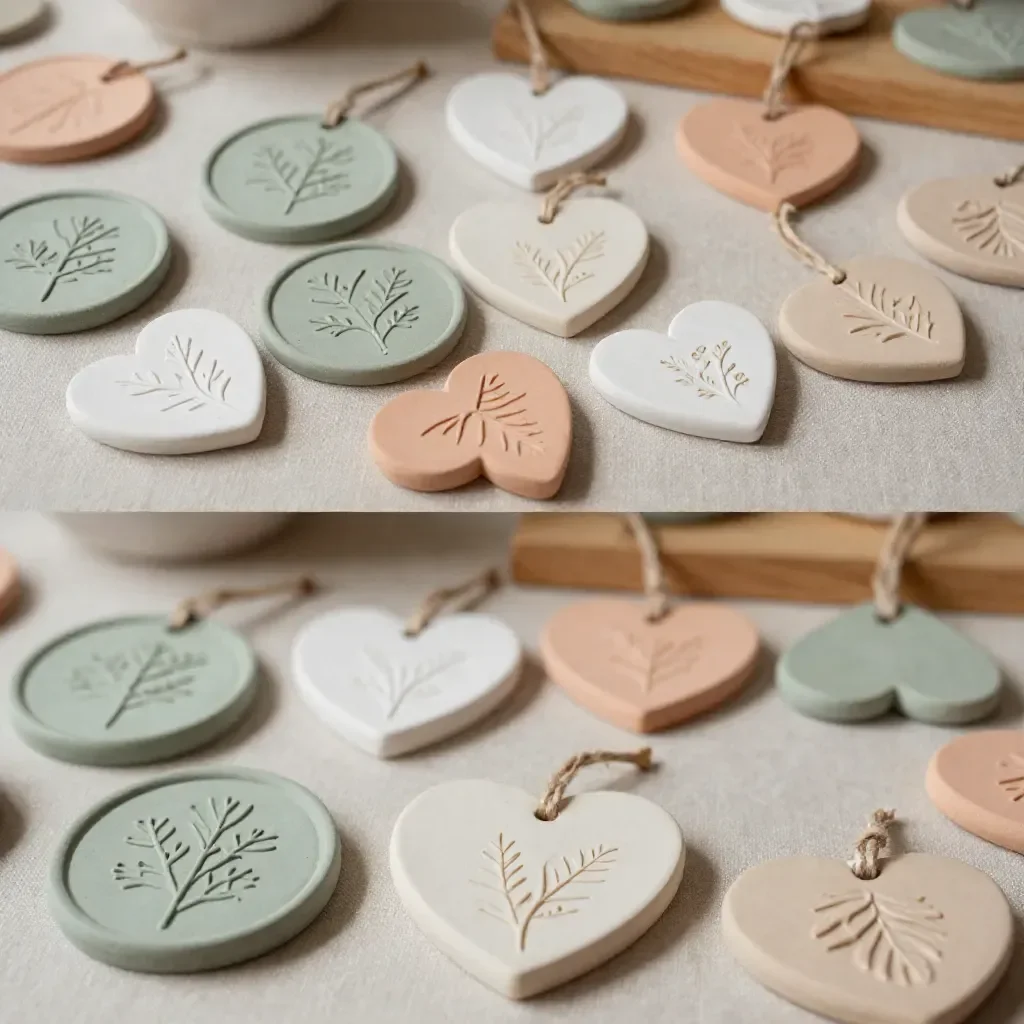
Creating Nature Clay Imprints invites a soothing connection to the world around us. As your hands knead the soft clay, you can feel the cool texture beneath your fingers, eliciting a sense of calm. Each print you make captures a moment of nature, transforming leaves, petals, or bark into lasting memories that you can hold and admire. This DIY project centers on inviting the beauty of the outdoors into your space, reminding you to appreciate the little details of life. You may also find Diy Bioplastic Suncatchers Natures Window Art 2 useful.
The Heart Behind This DIY
Before diving into the methods, let’s pause to appreciate why making Nature Clay Imprints feels so restorative. Engaging with natural elements helps slow down the hectic pace of life, allowing you to immerse yourself in the moment. The process of pressing natural items into pliable clay enhances mindfulness; you notice the intricate patterns of a leaf or the texture of a flower petal, bringing a sense of tranquility. This practice not only encourages creativity but also nurtures a deeper relationship with nature. The final product serves as a gentle reminder of your time spent outdoors, connecting the craft to a serene, grounded mindset. You may also find Diy Bioplastic Suncatchers Natures Window Art useful.
A Gentle Look at the Process
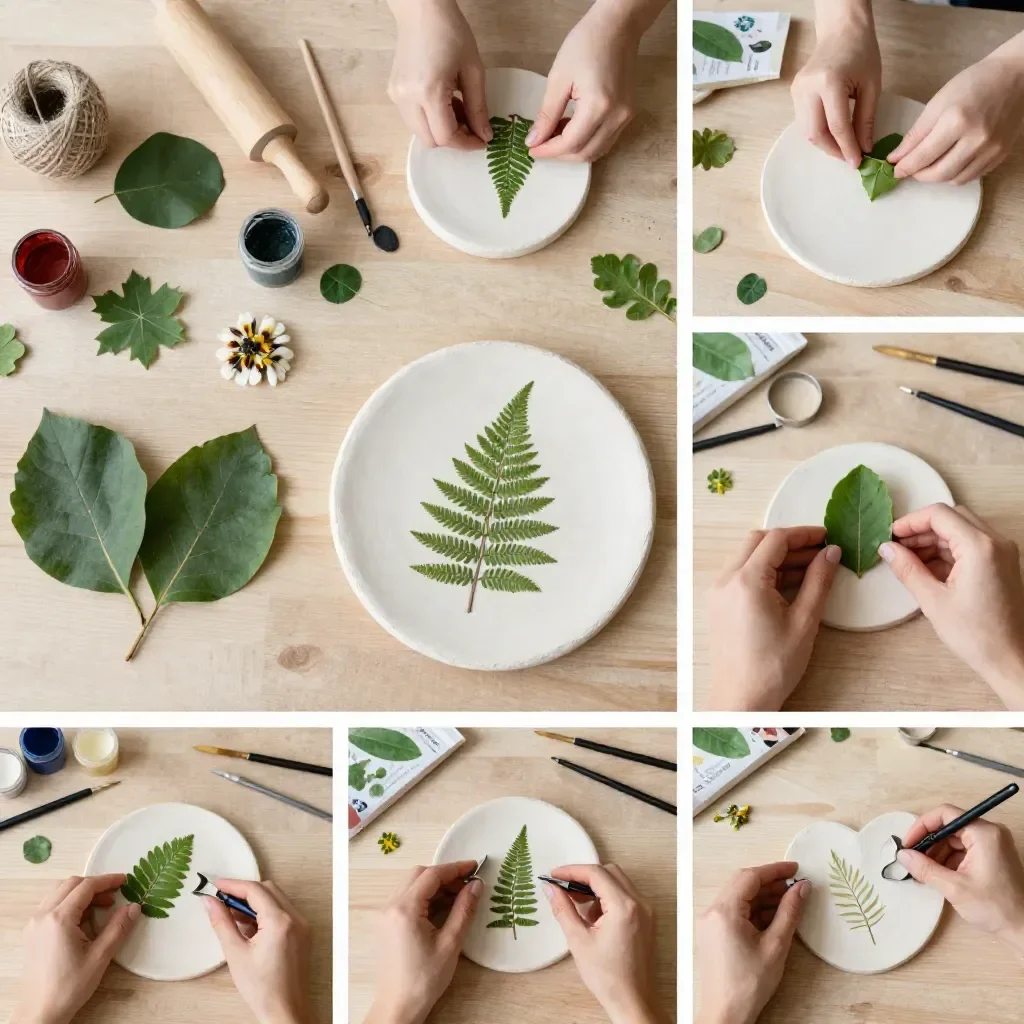
Creating Nature Clay Imprints involves a simple yet satisfying rhythm. You’ll roll out the clay, feeling it yield beneath your hands, and then choose the natural items you want to imprint. The sound of leaves crunching as you press them into the clay is soothing, much like the soft rustle of trees in the wind. As you work, the visual arrangement of your chosen pieces comes together, creating an organic pattern that reflects your unique touch. This calm flow promotes a meditative state, making the entire experience feel purposeful and fulfilling. You may also find Glitter Dragonfly Nature Decor useful.
Materials You’ll Need
Here’s a brief list of materials to gather for making your Nature Clay Imprints:
- Air-dry clay (easy to find at craft stores)
- Natural items for imprinting (leaves, flowers, or textured bark)
- Rolling pin or flat surface for rolling out the clay
- A small knife or cutter (optional, for shaping)
- Paint or varnish (optional, for decorating)
These materials are easy to source and can be adapted based on what you have on hand. The process feels even more intentional when you incorporate elements from your surroundings.
Step-by-Step Directions
Prepare Your Workspace: Find a calm spot to create, laying down a cloth or wax paper to protect the surface and allow for easy cleanup.
Roll Out the Clay: Take a portion of air-dry clay and use your rolling pin to flatten it to about a quarter-inch thickness. Enjoy the cool, smooth texture as you work.
Choose Your Natural Items: Select leaves or flowers that interest you, appreciating their unique shapes and designs.
Make Your Imprints: Press the natural items gently into the clay, ensuring you create firm impressions. You can vary the depth to capture more detail.
Shape the Clay: If desired, use a knife or cutter to shape the edges of your clay piece, giving it a neat finish.
Let It Dry: Allow the imprints to air dry fully. Depending on thickness, this may take 24-48 hours. Find comfort in the anticipation while you enjoy the natural awareness.
Paint or Varnish (Optional): Once dry, you can paint or apply a protective varnish to enhance your pieces and add a personal touch, making them truly yours.
Enjoying the Finished Piece
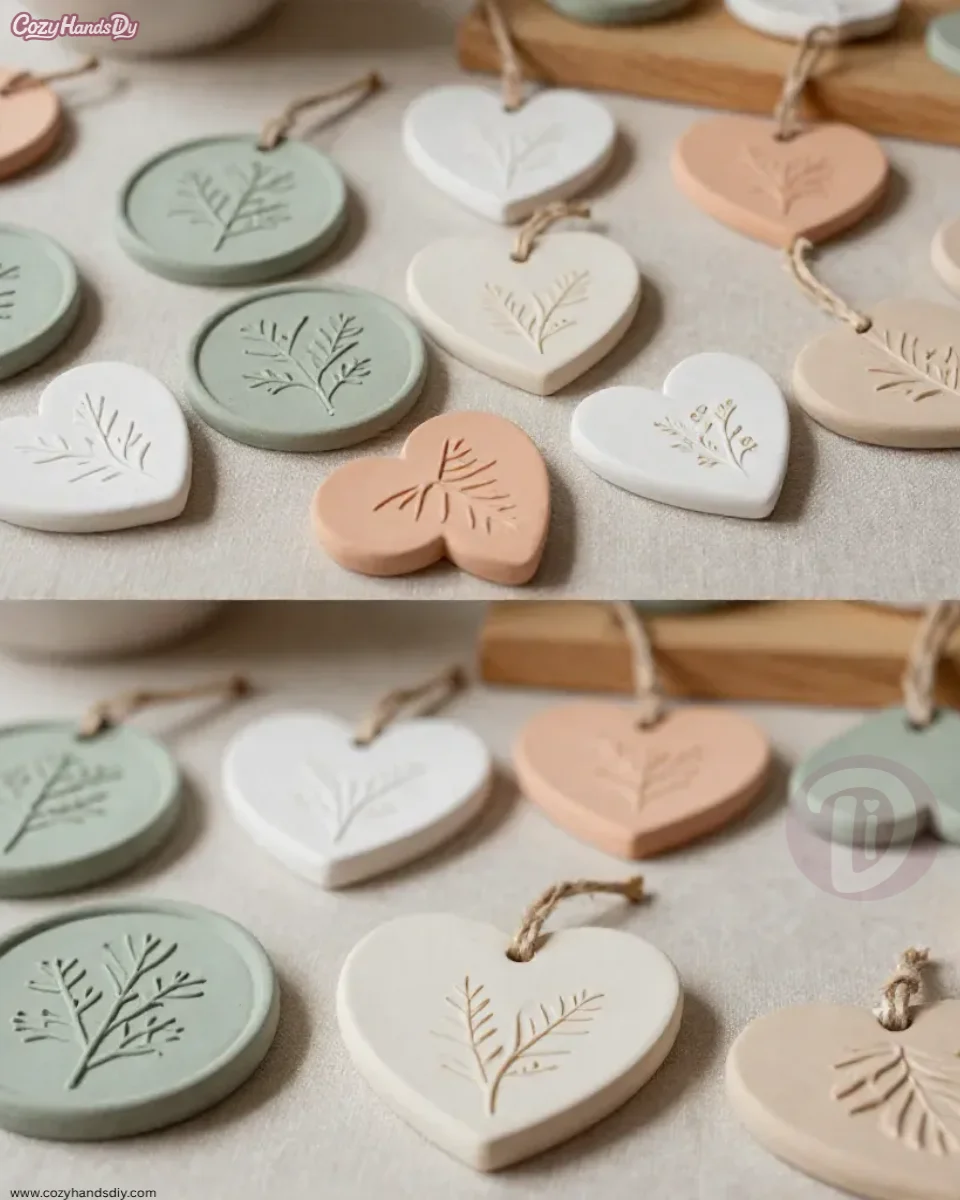
Once your Nature Clay Imprints are complete, there are numerous ways to enjoy and utilize them. Display your creations in a sunny window to catch the light, transforming them into captivating decorations. Alternatively, consider using these pieces as unique coasters or charming gift tags. Each imprint serves as a conversation starter, evoking memories of the tranquil moments spent gathering the materials. Incorporating these pieces into your home can bring a sense of nature indoors, enhancing your surroundings with a soothing vibe.
Keeping It for Later
To preserve your Nature Clay Imprints, store them in a cool, dry place. If you used air-dry clay, keep the imprints away from moisture to avoid warping. For those who desire a transformative moment, consider repainting or reapplying varnish after a season or two. This can refresh the pieces and breathe new life into them while keeping the crafting spirit alive.
Gentle Tips & Variations
- Experiment with Textures: Try using different types of leaves or flowers with intricate patterns for unique results that resonate with your personal style.
- Create a Series: Consider making several clay imprints to showcase the variety of shapes found in your local environment, displaying them together as a nature-inspired collection.
- Incorporate Natural Dyes: If you’re feeling adventurous, lightly paint the imprints using natural dyes from fruits or vegetables to add beautiful color and variation.
- Themed Seasonal Imprints: Gather materials that represent each season, deviating from leaves to pine cones in winter, making your craft a year-round activity.
FAQs About Nature Clay Imprints
What type of clay should I use for this project?
Air-dry clay is ideal because it doesn’t require baking and is easy to handle. You can find it at most craft stores.
Can I use real leaves and flowers?
Yes, using real natural items adds authenticity and beautiful detail to your imprints. Just be sure to press them gently to avoid tearing.
How should I store my imprints?
Store them in a cool, dry place away from sunlight to keep them from warping or fading.
Can I make these with children?
Absolutely! This project is a wonderful way to explore nature and creativity together. Just supervise during the cutting stage if sharp tools are involved.
What if I want to make larger imprints?
You can scale up the amount of clay you roll out to accommodate larger natural items, creating stunning larger pieces for display.
Conclusion
Creating Nature Clay Imprints is a lovely way to bring the outdoors into your home while enjoying a mindful crafting experience. The process allows for a meditative retreat into creativity, where every small detail holds meaning. You may find inspiration in the world around you, so consider exploring other crafting ideas as well. For more engaging projects, take a look at how to make clay nature print Christmas decorations or delve into creative nature imprints. Allow each project to calm your spirit and nurture your connection with nature.
PrintNature Clay Imprints
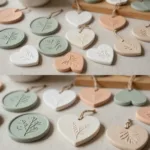
Create beautiful clay imprints using natural elements, inviting the beauty of the outdoors into your home.
- Prep Time: 15 minutes
- Cook Time: 0 minutes
- Total Time: 48 hours
- Yield: 4-6 imprints
- Category: Craft
- Method: Crafting
- Cuisine: NA
- Diet: NA
Ingredients
- Air-dry clay
- Natural items for imprinting (leaves, flowers, or textured bark)
- Rolling pin or flat surface
- A small knife or cutter (optional)
- Paint or varnish (optional)
Instructions
- Prepare your workspace: Find a calm spot and lay down a cloth or wax paper.
- Roll out the clay to about a quarter-inch thickness using a rolling pin.
- Choose your natural items, appreciating their unique shapes.
- Make your imprints by pressing the natural items into the clay.
- Shape the clay edges with a knife or cutter if desired.
- Let it dry fully for 24-48 hours.
- Paint or apply varnish to enhance your imprints if desired.
Notes
Experiment with different textures and different natural items. Consider creating multiple pieces as a collection.