

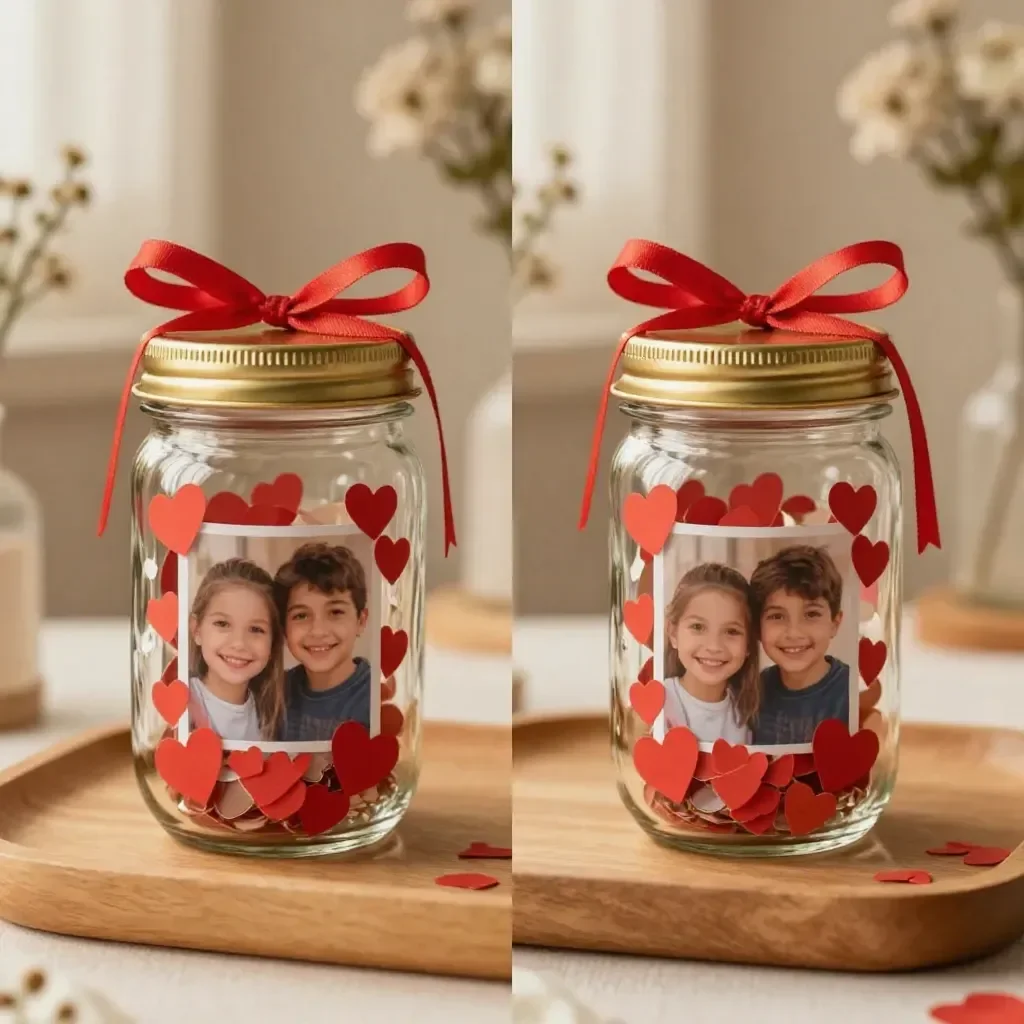
A gentle glimmer catches your eye as you cherish a quiet moment. You sit with all the ingredients ready for a DIY Photo Glitter Snow Globe Jar, feeling a comforting excitement wash over you. As you layer your memories and sparkles, there lies the promise of nostalgia mixed with artistic expression. This tactile project invites you to slow down, breathe deeply, and indulge in a world where creativity thrives. There’s magic in seeing your special moments encased in beauty, waiting to dance with every gentle shake. You may also find Diy Snowstorm In A Jar useful.
The Heart Behind This DIY
Creating a DIY Photo Glitter Snow Globe Jar connects us to a sense of coziness and warmth. It offers a break from our hectic lives, allowing us to immerse ourselves in the joyful act of making. The rhythmic sound of pouring glitter, the soft sparkle catching the light, and the tender recollections captured in the photographs all contribute to a peaceful sensory experience. This hands-on project encourages mindfulness, as it requires focus and care, ultimately leading to a serene state of being. By engaging in this creative process, you can feel grounded, energized by the colors, textures, and memories that each jar holds. Whether it’s a memento of a loved one or a treasured moment in time, the act of crafting this jar feels like wrapping yourself in a warm blanket on a chilly day. You may also find Diy Snowstorm Winter Jar useful.
A Gentle Look at the Process
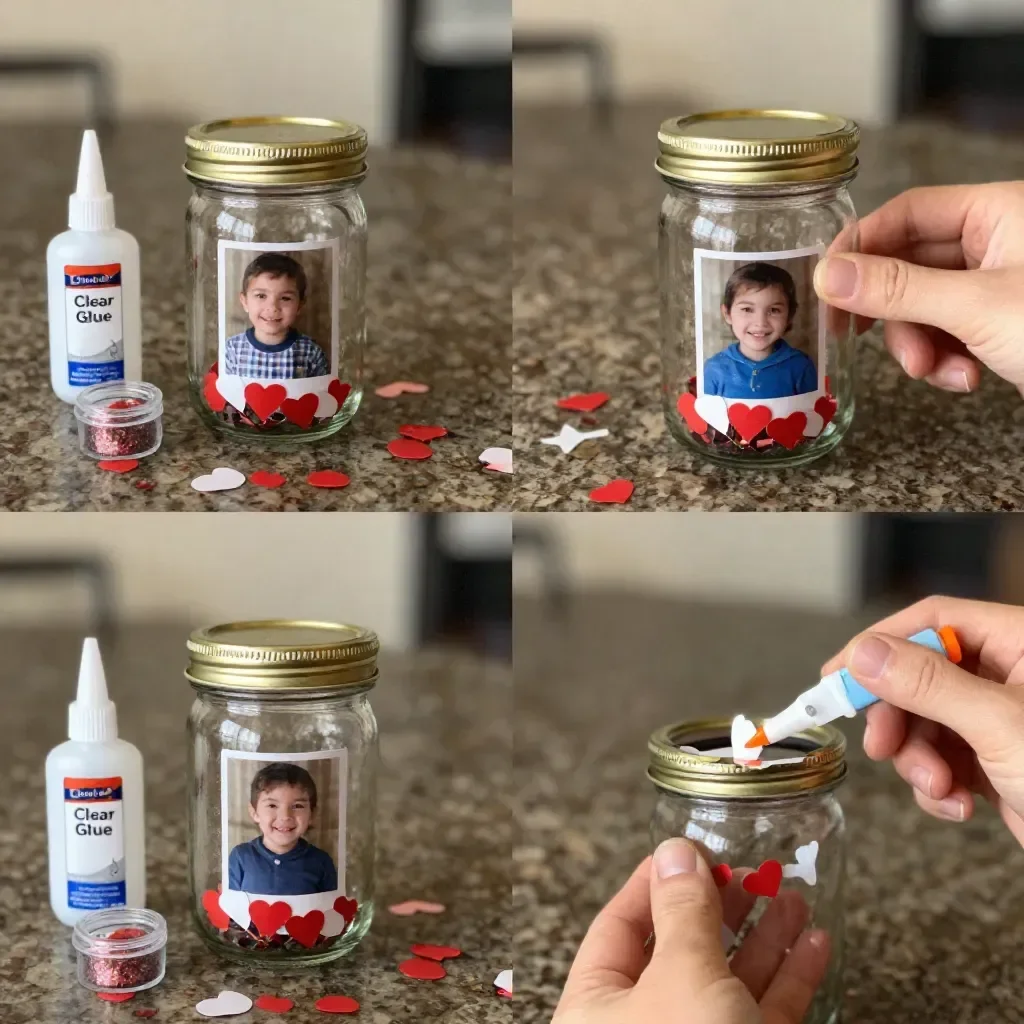
As you prepare to create this enchanting snow globe, imagine the soothing movements of your hands and the joy that comes from layering materials with intention. The vibrations of the glitter softly tumbling into place, mixed with the calmness of water, create a serene rhythm to follow. This project unfolds gently, like a mindful meditation session, where each step invites you to explore textures, colors, and feelings. Keeping this slow pace will not only enhance your experience but will also ensure your snow globe encapsulates your memories beautifully. You may also find Diy Cotton Candy Glow Jars useful.
Materials You’ll Need
Gathering the right materials is an enjoyable part of the creation process. You will need: You may also find Diy Lightning Storm In A Jar useful.
- A clean mason jar or similar clear container
- Photographs printed on water-resistant paper (or laminated)
- Fine glitter (your choice of color)
- Distilled water
- Glycerin (optional, for a lovely slow fall of the glitter)
- Decorative items (like faux snow, small ornaments, or pinecones)
- Hot glue gun
- Paint or markers for decorating the lid (optional)
Feel free to play with substitutes. For instance, you can create a snow-like effect using a cotton ball instead of faux snow. The materials are easy to find at local craft stores or even around your home.
Step-by-Step Directions
Start by selecting the photograph you want to preserve in your snow globe. Trim it to fit the width of your mason jar, leaving a little space for an aesthetic touch.
Secure the photograph to the inside of the jar lid with hot glue, making sure it’s firmly placed. This will ensure that it remains upright and visible when the jar is filled.
Pour in your fine glitter, letting it cascade into the jar. Opt for a small amount first and add more gradually to find the shimmering effect you desire.
Add decorative elements around the photograph. They can include tiny pinecones or bits of faux snow for an enchanting wintery scene.
Pour distilled water into the jar, leaving enough space at the top to avoid overflow when sealing it. For added effect, mix in a teaspoon of glycerin, which makes the glitter float down slower, creating a beautiful display.
Seal the jar tightly by attaching the lid, ensuring no water escapes. If desired, go ahead and personalize the jar’s lid with paint or markers to make it uniquely yours.
Shake gently to see the stunning effect of the glitter floating around your photograph, capturing your moment beautifully inside.
Enjoying the Finished Piece
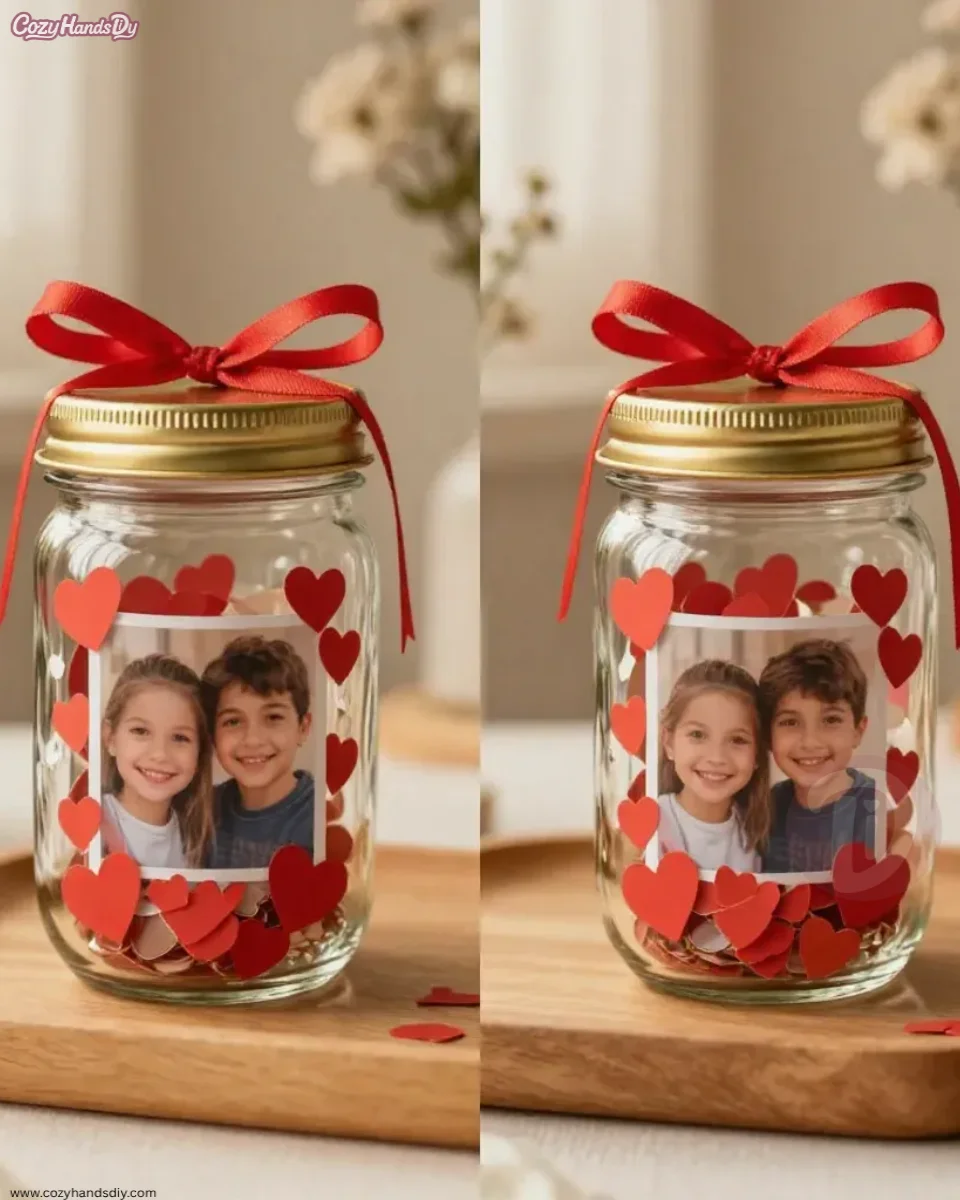
Once complete, the DIY Photo Glitter Snow Globe Jar is not just a beautiful decoration but a cherished memory piece. It can sit on your desk, bringing calmness throughout your day, allowing you to reflect on special moments as you gaze at the glitter swirling in rhythmic dances. This jar can also be a lovely gift or a centerpiece during family gatherings, inviting conversations about the memories captured inside. Let it be a reminder of the beauty in both the past and the present, a sensory embrace that brings warmth into your space.
How to Store or Reuse DIY Photo Glitter Snow Globe Jar
To maintain your whimsical creation, ensure it is placed away from direct sunlight; this keeps the colors vibrant and the images intact. If you ever feel inspired to refresh its content or add new memories, simply remove the lid, swap out decorations, and rearrange the glitter. Water may need to be topped up if evaporation occurs, so keep an eye on that to maintain its enchanting charm.
Gentle Tips & Variations
- Consider using various types of glitter to create fascinating contrasts. Mixing chunky glitter with fine glitter can evoke different themes, making your jar feel unique.
- You could also add a touch of food coloring to the water. A hint of blue or green can transform the overall look, giving the impression of a tranquil ocean effect.
- For a seasonal twist, switch out the decorations based on the holidays. Autumn leaves, Christmas ornaments, or spring flowers can bring a fresh feel to your jar throughout the year.
- Don’t hesitate to use multiple smaller jars to make a collection, each featuring different cherished memories or themes.
FAQs About DIY Photo Glitter Snow Globe Jar
Can I use regular water instead of distilled water?
While you can use regular water, distilled water is preferred for fewer impurities, helping to prevent cloudiness over time.
How long will the glitter last in the snow globe?
With proper care, the glitter can last for years, especially when kept out of direct sunlight and sealed tightly.
What if my glitter won’t float?
If you find that the glitter is sinking too quickly, adding glycerin can help slow down its movement, creating a more magical effect.
Conclusion
Creating your own DIY Photo Glitter Snow Globe Jar brings warmth and calm to the crafting experience. As you collect memories and let your creativity flow, remember that you may also find inspiration from additional resources, such as a DIY Photo Snow Globe tutorial or the LA County Library’s DIY Snow Globe crafting guide. Each jar holds its own story and personal touch, inviting you to slow down, reflect, and enjoy the gentle art of making.
PrintDIY Photo Glitter Snow Globe Jar
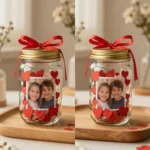
A delightful and mindful craft that captures memories in a beautiful glitter-filled snow globe.
- Prep Time: 15 minutes
- Cook Time: 0 minutes
- Total Time: 15 minutes
- Yield: 1 snow globe
- Category: Craft
- Method: Crafting
- Cuisine: N/A
- Diet: N/A
Ingredients
- 1 clean mason jar or clear container
- Photographs printed on water-resistant paper
- Fine glitter (your choice of color)
- Distilled water
- Glycerin (optional)
- Decorative items (like faux snow, small ornaments, or pinecones)
- Hot glue gun
- Paint or markers for decorating the lid (optional)
Instructions
- Select the photograph you want to preserve in your snow globe.
- Secure the photograph to the inside of the jar lid with hot glue.
- Pour in your fine glitter, letting it cascade into the jar.
- Add decorative elements around the photograph.
- Pour distilled water into the jar, leaving space at the top.
- Seal the jar tightly by attaching the lid.
- Shake gently to see the glitter effect.
Notes
Use various types of glitter and swap decorations for seasonal themes to keep it fresh.