

As you sit at a sun-soaked table, the gentle warmth dances on your skin, inviting you into a soft and relaxing moment. You reach for a ball of clay, its cool, smooth texture easing through your fingers. With each touch, you begin to mold and shape, tapping into the rhythmic flow of creativity that helps ground your thoughts and soothe your spirit. Making DIY clay bowls can become an enchanting ritual—a calming practice that connects you to the tactile world, allowing for reflection, relaxation, and the simple joy of creating something beautiful and functional. You may also find Adorable Diy Easter Bunny Cups useful.
The Quiet Joy of Making DIY Clay Bowls
Creating DIY clay bowls is more than just a crafting activity; it is a journey in itself, rich with sensory experiences that invite you to slow down. As you immerse yourself in the process, the feel of the clay transforms your surroundings into a place of mindfulness. The way the clay squishes under your fingers can be surprisingly grounding, delivering a sense of connection to the present moment. This soothing act serves as a gentle reminder that taking time for yourself and engaging in creative expression fosters emotional well-being. You may also find Cheesy Diy Handprint Dough Keepsakes useful.

A Gentle Look at the Process
Before diving into the materials, take a moment to imagine the calming flow of shaping clay. Picture settling down with your supplies, perhaps accompanied by soft music or the sound of a gentle breeze. You can feel the clay yielding to your hands, molding effortlessly into forms that express your ideas and emotions. The smells of the materials, the softness of the textures, and the rhythmic movements enhance the cozy atmosphere of creating DIY clay bowls. You may also find Colorful Diy Bioplastic Suncatchers Recipe useful.
Materials You’ll Need
To embark on this soothing journey of crafting clay bowls, gather the following materials: You may also find Crispy Diy Coffee Filter Tie Dye Flowers useful.
- Air-dry clay (easy to find in craft stores)
- Acrylic paint (optional, for decorating)
- Paintbrushes (for applying paint)
- A rolling pin (for flattening the clay)
- A bowl or mold (to shape your clay)
- Water (to smooth the edges)
- A cutting tool (to carve designs)
These materials will assist in crafting your unique bowls while keeping the experience enjoyable and simple.
Step-by-Step Directions
- Start by taking a small piece of air-dry clay and kneading it gently until it becomes soft and pliable. This movement helps to warm the clay and release any air bubbles.
- Roll the clay into a ball, then flatten it into a disc using a rolling pin. Aim for about half an inch thick, allowing for easier shaping.
- Place your flattened clay on a bowl or mold that serves as a base. Gently press the clay into the mold to form the desired shape, ensuring it is evenly distributed along the edges.
- Carefully remove the clay from the mold. If needed, smooth the edges with a little water and your fingers for a polished finish.
- Allow your clay bowl to dry completely, following the manufacturer’s instructions. This usually takes 24 hours, depending on the thickness.
- Once dry, you can choose to paint your bowl. Use soft, calming colors that resonate with you, adding an extra personal touch to your creation.
- Allow the paint to dry completely before using your bowl for storage or decoration.

Enjoying the Finished Piece
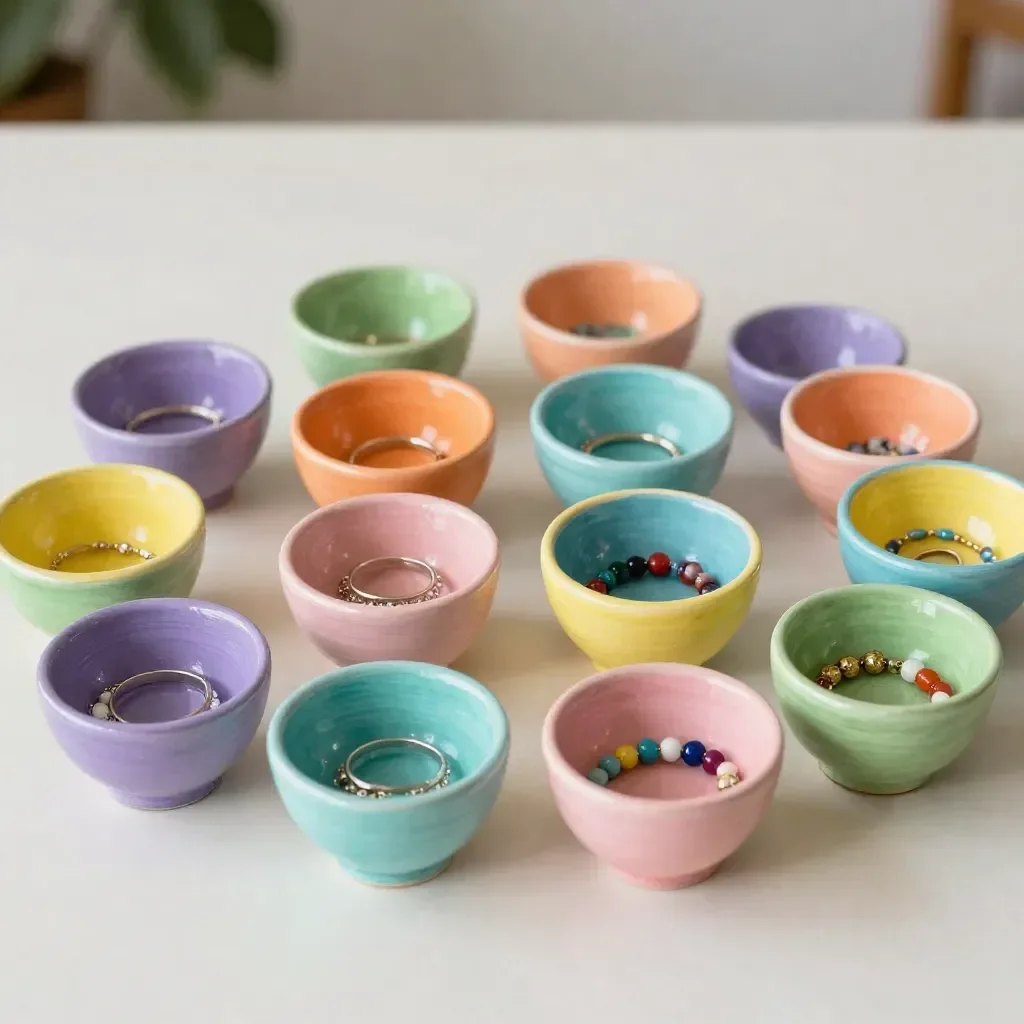
Once your clay bowl is complete, it can serve a special role in your daily life. You might choose to display it as a charming centerpiece, hold small trinkets, or even use it to organize everyday items. As you place it in your space, let it be a reminder of the mindful creativity you poured into making it. Every time you see or use your bowl, take a moment to reflect on the calmness of the process and the intention behind your creation.
How to Store or Reuse DIY Clay Bowls
Taking care of your clay bowl allows it to remain a cherished element of your home. To ensure its longevity, store it in a cool, dry place away from direct sunlight. If your bowl is adorned with paint, you may choose to apply a clear sealant to protect the surface. If you ever want to redefine its purpose, the clay is easy to reuse. Simply reshape it when you feel inspired to create anew, keeping the gentle spirit of making alive.
Gentle Tips & Variations
- Consider decorating your bowl with natural elements, like pressed flowers or leaves, pressed into the surface before it dries for a lovely textural design.
- Experiment with various molds or shapes to create bowls of different sizes and styles. Each one can serve a unique purpose in your home.
- Try making a series of small bowls to offer as gifts, bringing a sense of cozy creativity to your loved ones.
- Invite friends or family to join in the crafting experience, creating a comfortable atmosphere filled with laughter, conversation, and creativity.

FAQs About DIY Clay Bowls
Q: Can I use regular clay instead of air-dry clay?
A: While regular clay requires firing in a kiln, air-dry clay is specially designed to dry and set naturally, making it perfect for home projects.
Q: Is it safe to paint my clay bowls?
A: Yes, using acrylic paint is safe for decorating your clay bowls. Just be sure to allow the paint to dry thoroughly before using the bowl.
Q: How long do air-dry clay bowls last?
A: With proper care and storage, air-dry clay bowls can last for many years, allowing you to enjoy your creation for a long time.
Conclusion
Making DIY clay bowls is a wonderfully calming endeavor that nurtures both the mind and the hands. It can be a perfect way to unwind and connect with your creative spirit. If you wish to explore different techniques, check out how to make air dry clay bowls for more inspiration or learn about other lovely creations like DIY clay leaf bowls. Embrace the joy of crafting, and remember that every bowl carries a piece of your calming journey within it.
PrintDIY Clay Bowls

A calming guide to creating beautiful DIY clay bowls using air-dry clay. Perfect for relaxation and creative expression.
- Prep Time: 15 minutes
- Cook Time: 1440 minutes
- Total Time: 1455 minutes
- Yield: 1 bowl
- Category: Crafts
- Method: Crafting
- Cuisine: N/A
- Diet: N/A
Ingredients
- Air-dry clay
- Acrylic paint (optional)
- Paintbrushes
- A rolling pin
- A bowl or mold
- Water
- A cutting tool
Instructions
- Start by kneading a small piece of air-dry clay until soft and pliable.
- Roll the clay into a ball, then flatten it into a disc with a rolling pin, about half an inch thick.
- Place the flattened clay on a bowl or mold, gently pressing it to form the desired shape.
- Carefully remove the clay from the mold and smooth the edges with water if needed.
- Allow the clay bowl to dry completely, usually 24 hours.
- Once dry, paint your bowl with soft colors if desired, and let the paint dry completely before using.
Notes
Store clay bowls in a cool, dry place. Apply a clear sealant if painted for longevity.