

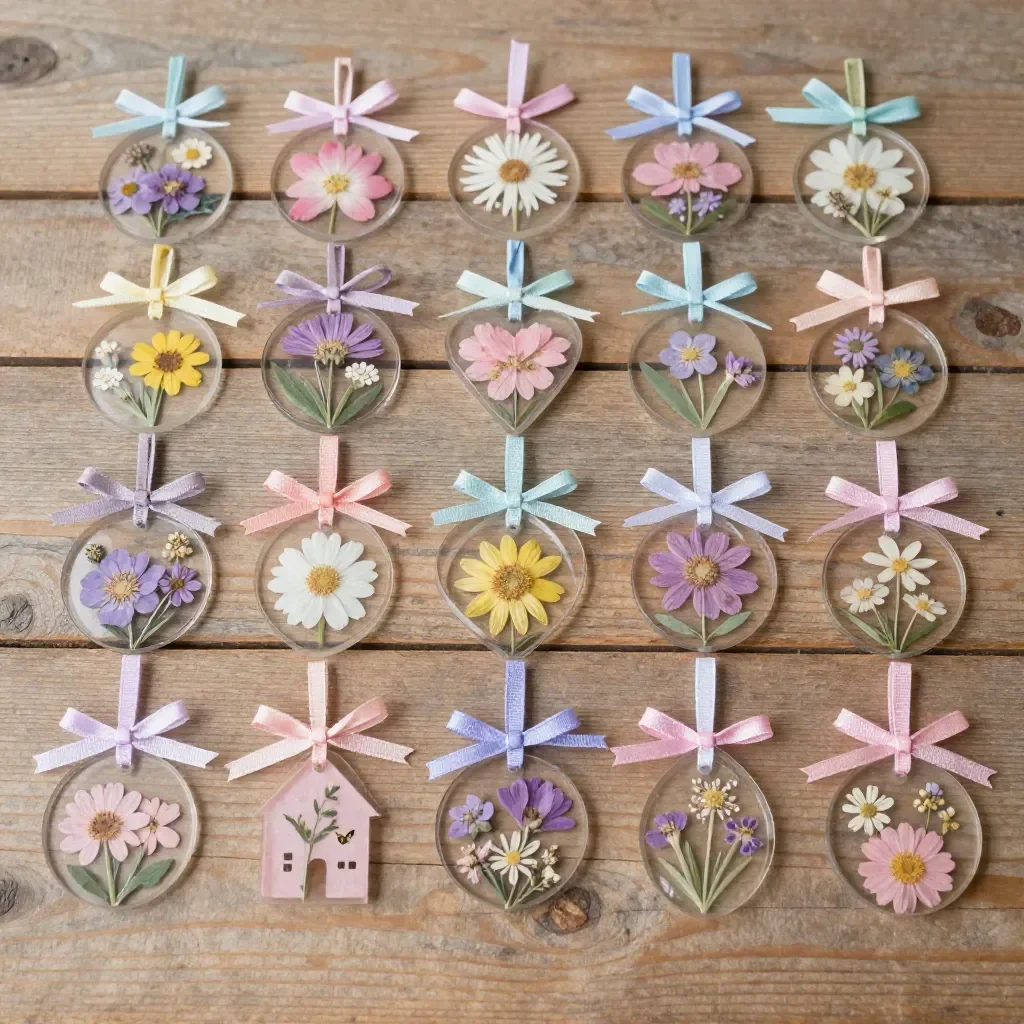
The gentle light filtering through a window brings an almost magical quality to the atmosphere around you, especially when you have delicate creations like Clear Glue Flower Ornaments in your hands. These ornaments, with their translucent petals and whimsical shapes, reflect the sun’s rays beautifully, transforming a simple space into a vibrant haven. Engaging in this calming DIY offers a grounding experience, allowing you to focus on the textures of the glue and the feel of the flower shapes as you create them. You may also find Clear Glue Mosaic Suncatcher useful.
The Heart Behind This DIY
Making Clear Glue Flower Ornaments offers a delightful escape from everyday busyness. The process forces you to slow down and immerse yourself in creativity. The act of mixing glue, selecting colors, and pondering designs becomes almost meditative. It also allows space for reflection, as each flower you create embodies emotion and intention. Beyond the simple pleasure of crafting, this activity enhances mindfulness, helping you connect with the present moment and clear your mind of distractions. Creating art in this way adds layers of calm to your routine and can foster a sense of joy and accomplishment as you see your unique pieces come to life.
You may also find Clear Glue Suncatcher Home Decor useful.
A Gentle Look at the Process
Before diving into the specifics of creating your Clear Glue Flower Ornaments, imagine the sensory experience you’ll have. Picture the smooth, cool sensation of the clear glue in your hands, contrasted with the soft paper of the flowers. As you work, you’ll hear the slight rustle of materials and the gentle squeeze of the glue bottle, providing an almost rhythmic sound that adds to the crafting atmosphere. Embracing this process allows you to find pleasure in the simple tasks of measuring, pouring, and layering. It’s about letting each step unfold naturally, giving you the freedom to express yourself creatively. You may also find Clear Glue Suncatcher useful.
Materials You’ll Need
- Clear glue (look for one that dries transparent and flexible)
- Colorful tissue paper (any shades that inspire you)
- Scissors (for cutting out flower shapes)
- Baking sheet or wax paper (to protect your work surface)
- Acrylic paint (optional for extra design elements)
- Brushes (if using paint)
All these materials are usually easy to find. The tissue paper offers vibrant colors and delicate textures, making them an excellent choice for flower ornaments. The clear glue will bond everything together beautifully, ensuring your creations have a polished finish. You may also find Sparkling Clear Glue Christmas Suncatchers useful.
Step-by-Step Directions
-
Prepare Your Workspace: Lay down the baking sheet or wax paper to protect your surface from glue spills. Take a moment to find your flow in this quiet activity.
-
Cut Flower Shapes: Use the scissors to cut various flower shapes from the colorful tissue paper. These can be simple circles with pointed edges or more intricate designs, depending on your preference.
-
Mix the Glue: In a small container, mix a portion of your clear glue with a few drops of acrylic paint (if using), creating a tinted adhesive that complements your flower colors.
-
Layer the Glue: Using a brush, apply a thin layer of glue on one side of the flower shape. Be gentle as you coat it to ensure even spreading.
-
Create the Flower: Place another flower shape on top of the first one, allowing the two to bond. You can experiment with layering different colors and shapes for a more dynamic look.
-
Drying Time: Allow your flowers to dry completely on the baking sheet or wax paper. This might take a few hours. Embrace this waiting period as a moment to relax and breathe.
-
Final Touches: After the flowers are dry, consider adding additional elements. You could paint small details, add glitter, or even attach them to a string for hanging.
-
Display Your Art: Think about how you want to showcase your Clear Glue Flower Ornaments. You might hang them in a window, place them on walls, or give them as thoughtful gifts.
Using Clear Glue Flower Ornaments in Everyday Life
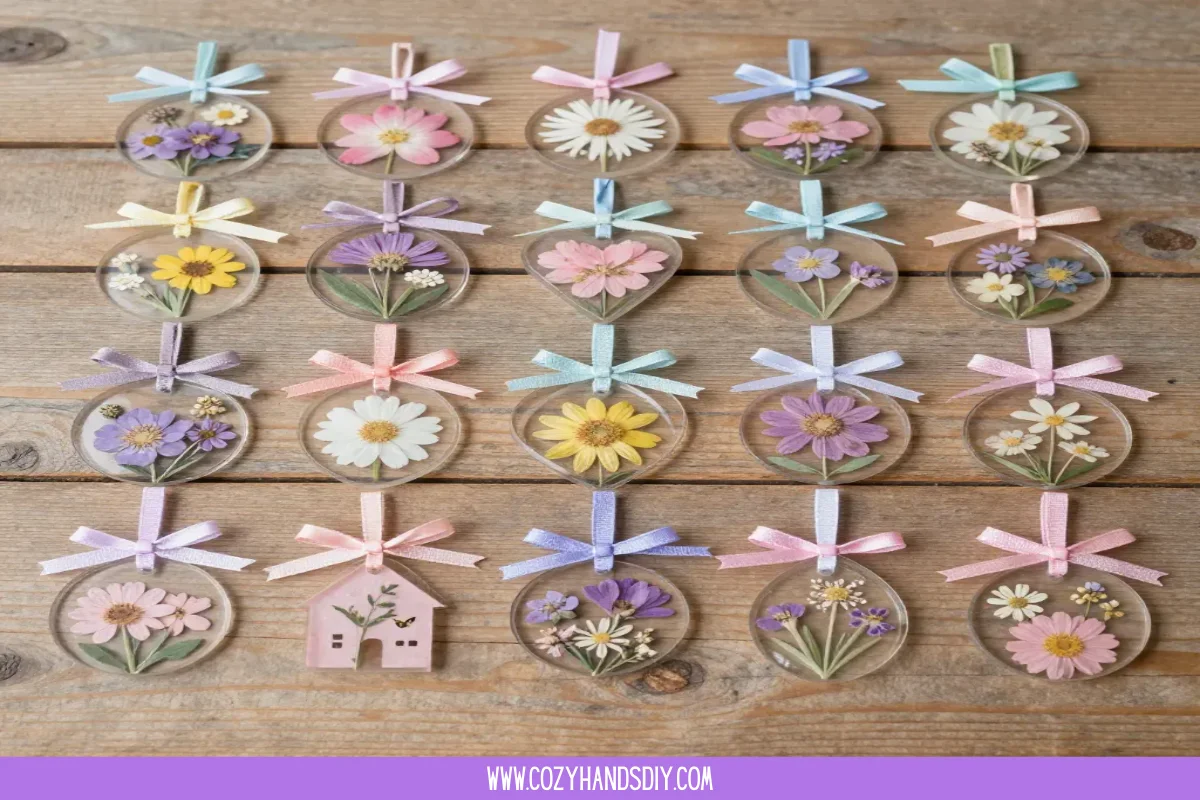
Once your Clear Glue Flower Ornaments are complete, they can bring a delightful touch of color and creativity to your living space. Whether suspended in a sunlit window or displayed in a lovely arrangement on a table, these decorations can brighten your day. You might also consider using them as part of a festive decor for holidays or events, embracing the joy they bring in connecting nature and artistry. Each piece can evoke warmth and remind you of the gentle act of making, providing an emotional connection that enhances your environment.
Making This DIY Last
Taking care of your Clear Glue Flower Ornaments is quite simple. If displaying them in a dry area, they can last for a long time without requiring any special treatment. However, if they become dusty, a gentle wipe with a soft cloth can help maintain their luster. If ever you feel inspired, it’s also possible to repurpose these ornaments. Strands of flowers can easily be transformed into thoughtful gifts or seasonal decorations, providing endless creative opportunities.
Gentle Tips & Variations
- Experiment with Colors: Don’t be afraid to mix colors of the tissue paper or glue. Soft pastels may create a gentle look, while bright hues can add vibrancy.
- Add Natural Elements: Consider incorporating dried flowers or leaves within your ornaments for a more organic feel.
- Try Different Shapes: While flowers are the highlight, you can use similar techniques to create other shapes, perhaps butterflies or hearts.
- Use Different Adhesives: For a different finish and texture, try using various types of glue, such as glitter glue or even decoupage mediums.
- Create a Theme: If you’re making these for a special occasion, think of a theme that resonates, like a garden party or a holiday celebration.
FAQs About Clear Glue Flower Ornaments
Can I use regular glue instead of clear glue?
While any adhesive can work, clear glue gives the best finish for the transparent look you want. It dries without color, ensuring your designs stand out.
How long does it take for the glue to dry?
Typically, clear glue takes about 2 to 4 hours to dry completely, but it may vary based on the thickness of the application.
Can I hang these ornaments outside?
It’s best to keep them indoors. Outdoor elements like wind and moisture can cause them to disintegrate.
Do I need special tools?
No special tools are necessary apart from basic crafting supplies you likely already have at home. Simple scissors and a brush will suffice.
Can children participate in making these ornaments?
Absolutely! This DIY is an excellent project for kids with supervision. Just be prepared for a bit of messiness!
Conclusion
Creating Clear Glue Flower Ornaments is more than just a craft; it’s a soothing journey into creativity that enriches both the process and the outcome. If you’re considering the best materials, you might want to explore options like the SUNFATT Full Size Hot Glue Sticks for your projects. For further guidance on special materials, take a look at A Comprehensive Guide to Gluing Acrylic. Engaging with this craft invites moments of tranquility and joy, both in the creation process and in showcasing your unique work. So, take a deep breath, gather your materials, and immerse yourself in the delightful world of making.
PrintClear Glue Flower Ornaments
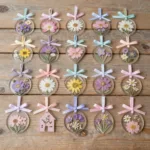
Craft beautiful, translucent flower ornaments using clear glue and colorful tissue paper. A calming DIY project that enhances mindfulness and creativity.
- Prep Time: 15 minutes
- Cook Time: 240 minutes
- Total Time: 255 minutes
- Yield: 4 ornaments
- Category: Crafts
- Method: DIY Crafting
- Cuisine: N/A
- Diet: N/A
Ingredients
- Clear glue (that dries transparent and flexible)
- Colorful tissue paper (various shades)
- Scissors
- Baking sheet or wax paper
- Acrylic paint (optional)
- Brushes (if using paint)
Instructions
- Prepare your workspace: Lay down the baking sheet or wax paper to protect your surface from glue spills.
- Cut flower shapes: Use scissors to cut various flower shapes from the colorful tissue paper.
- Mix the glue: In a small container, mix clear glue with a few drops of acrylic paint (if using).
- Layer the glue: Apply a thin layer of glue on one side of the flower shape with a brush.
- Create the flower: Place another flower shape on top of the first one, allowing them to bond.
- Drying time: Allow flowers to dry completely on the baking sheet or wax paper.
- Final touches: After drying, consider painting small details or adding glitter.
- Display your art: Think about how you want to showcase your Clear Glue Flower Ornaments.
Notes
This project can be a wonderful activity for kids with supervision. Experiment with colors and shapes for unique designs.