

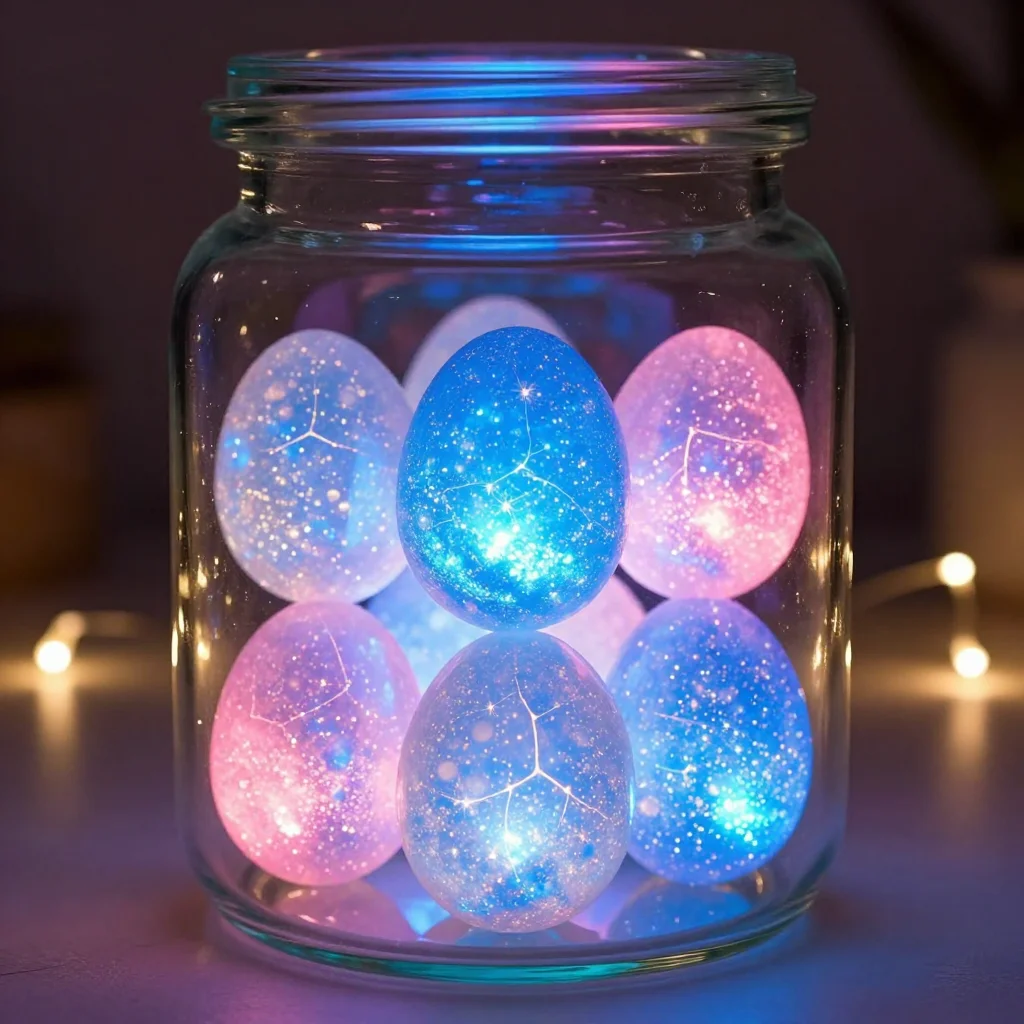
Creating with your hands connects you to textures, colors, and the soft glow of light. The calming experience of making translucent eggs can sweep you into a peaceful state, where the gentle task of crafting brings tranquility. As you work through this sensory journey, the bright hues and translucent layers combine in delightful ways. Each egg becomes a small universe of color and light, perfect for festive decorations or a quiet reflection of spring’s arrival.
The Heart Behind This DIY
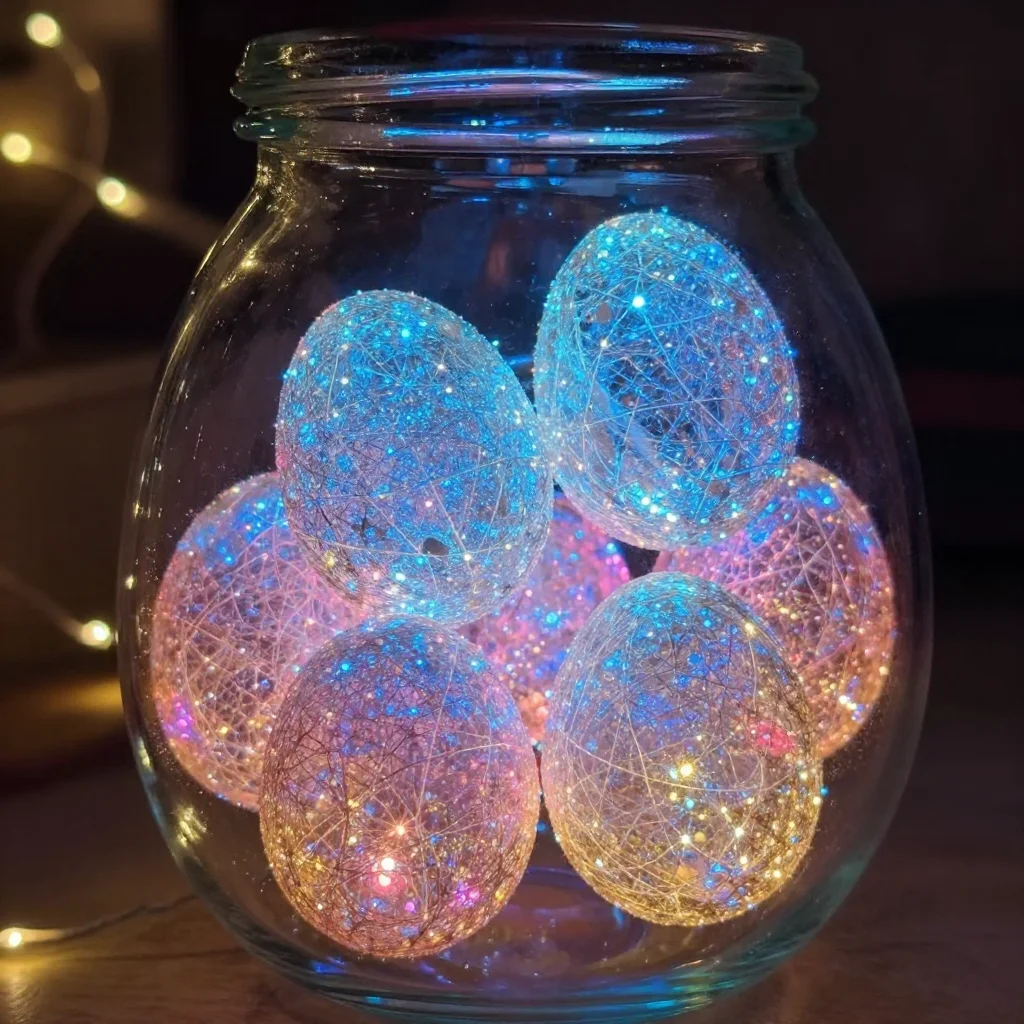
Making translucent eggs invites you into a space of mindfulness. This project encourages you to slow down and pay attention to each step of the process. When you focus on the delicate task of creating, you momentarily set aside the busyness of life.
The feeling of soft materials between your fingers, the way light dances through the colors, and the gentle movements of mixing and crafting all contribute to a cocoon of calm. Each layer you apply becomes a meditation, drawing your awareness away from distractions and into the comforting warmth of creativity and intention. This project allows your mind to unwind and your spirit to feel light, making it an invaluable part of your DIY journey.
A Gentle Look at the Process
Crafting translucent eggs unfolds slowly, like the emergence of spring blooms. First, you gather your materials, creating a comforting clutter of colors waiting to be shaped. As you begin to work, the soft sounds of mixing, pouring, and applying fill the air, crafting a sensory backdrop for your experience.
Each step flows into the next, creating a rhythm that feels inherently calming. The motion of your hands, the way colors blend and morph, and the way light filters through provide a peaceful atmosphere. You might find that time slips away as you dive deeper into your making, leaving you refreshed and centered.
Materials You’ll Need
- Clear eggs (plastic or blown, depending on preference)
- Tissue paper in various colors (easy to find at craft stores)
- Mod Podge or white glue
- Soft paintbrush
- Warm water (for mixing with glue if necessary)
- A small bowl (for mixing materials)
- Scissors (if you want to cut your tissue paper into specific shapes)
Step-by-Step Directions
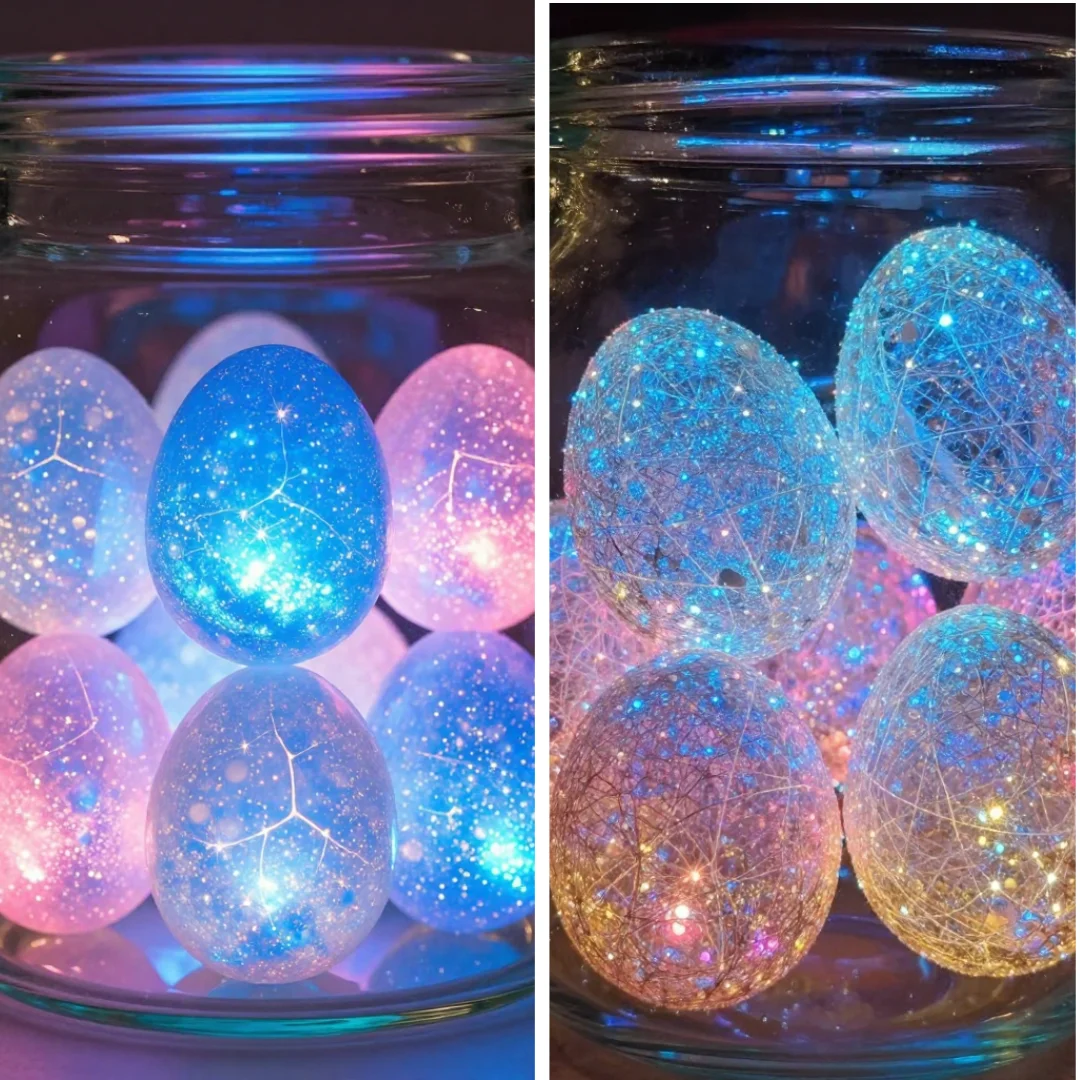
Begin by arranging your materials on a flat surface. Take a moment to enjoy the colors and textures. This small act sets the stage for your creative process.
If you desire, cut the tissue paper into smaller shapes. Think about how you want to layer them on your eggs. The uneven edges will create beautiful textures and looks.
In your bowl, mix equal parts Mod Podge and warm water. This mixture should feel smooth and is essential for adhering the tissue paper to the eggs.
Dip your paintbrush into the mixture and apply a thin layer to the surface of your egg. Enjoy the way the brush glides over the plastic, leaving a glossy finish.
Carefully place a piece of tissue paper onto the glue-covered part of the egg. Use your brush to gently dab more glue over the paper, helping it adhere and become part of the egg’s surface.
Continue layering, overlapping the pieces of tissue paper. Feel free to experiment with different colors and shapes as you build up the design.
Allow the first layer to dry slightly before adding more. This pause can bring a sense of calm, letting you appreciate your work so far.
Once finished, set your eggs aside to dry completely. The wait brings anticipation, a moment to reflect on the beauty of your craft.
Enjoying the Finished Piece
Filling your home with handmade translucent eggs brings a gentle charm to your space. You can display them on a windowsill, where sunlight shines through, illuminating their colors. The soft glow provides a calming atmosphere and makes for lovely seasonal decorations.
These eggs can also be incorporated into your personal altar or meditation space, serving as a reminder of creativity and mindfulness. Consider placing them in bowls, surrounded by natural elements like stones or flowers, to enhance the cozy vibe of your surroundings.
Keeping It for Later
Once your translucent eggs are complete and dry, storing them is straightforward. Consider keeping them in a dedicated box or container lined with soft cloth. This prevents them from bumping against each other and ensures they remain intact.
If you plan to reuse them, wrapping them in tissue paper or bubble wrap can be a thoughtful way to keep them safe. When the seasons change, consider giving them a fresh look by adding new layers or colors, allowing for continual creativity and joy.
Gentle Tips & Variations
- Experiment with different gluing techniques. You might find a sponge works to create unique textures as you apply your tissue paper.
- Try using other types of paper, such as wrapping paper or magazine cut-outs, for varied effects. The thickness may alter the translucency beautifully.
- Decorate your eggs for different seasons. Consider pastel colors for spring or warm tones for autumn.
- Add small embellishments, like glitter or beads, to enhance the surface texture.
- Invite a friend to join in. Sharing the experience can make it even cozier as you exchange ideas and enjoy each other’s company.
FAQs About Translucent Eggs
What materials are best for making translucent eggs?
Clear plastic eggs are excellent for this project, allowing light to shine through beautifully. You can also use blown eggs for a more delicate approach.
Can I use other types of glue?
While Mod Podge is popular for this craft, any white school glue works well, just ensure it dries clear.
How long do the eggs last?
If stored properly, these eggs can last for many seasons. Just handle them with care to maintain their beauty.
Can I paint my eggs after making them?
Definitely! Once your tissue layers are dry, feel free to add more paint or designs to personalize your eggs further.
Conclusion
In this journey of crafting translucent eggs, you’ve created more than decorations. You have woven a tapestry of calm moments, sensory delights, and personal expression. As you explore this creative outlet, consider how it can fit into your routine, adding layers of joy and mindfulness. For inspiration beyond your current project, consider learning about the Transparent and Bouncy Egg Experiment or opportunities to deepen your understanding through various forums and discussions like those found on SimplyDiscus. Embrace the process of making, and let it nurture a sense of presence long after the project is complete.
PrintDIY Translucent Eggs
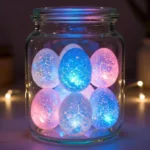
Craft beautiful translucent eggs for festive decorations or personal meditation spaces using simple materials.
- Prep Time: 15 minutes
- Cook Time: 30 minutes
- Total Time: 45 minutes
- Yield: 8 eggs
- Category: Craft
- Method: Crafting
- Cuisine: N/A
- Diet: N/A
Ingredients
- Clear eggs (plastic or blown)
- Tissue paper in various colors
- Mod Podge or white glue
- Soft paintbrush
- Warm water (for mixing with glue)
- A small bowl (for mixing materials)
- Scissors (for cutting tissue paper)
Instructions
- Begin by arranging your materials on a flat surface.
- If you desire, cut the tissue paper into smaller shapes.
- In your bowl, mix equal parts Mod Podge and warm water.
- Dip your paintbrush into the mixture and apply a thin layer to the egg.
- Carefully place a piece of tissue paper onto the glue-covered part of the egg.
- Continue layering, overlapping pieces of tissue paper.
- Allow the first layer to dry slightly before adding more.
- Once finished, set your eggs aside to dry completely.
Notes
These eggs can be displayed for seasonal charm or used in meditation spaces. Store properly to maintain their beauty.