

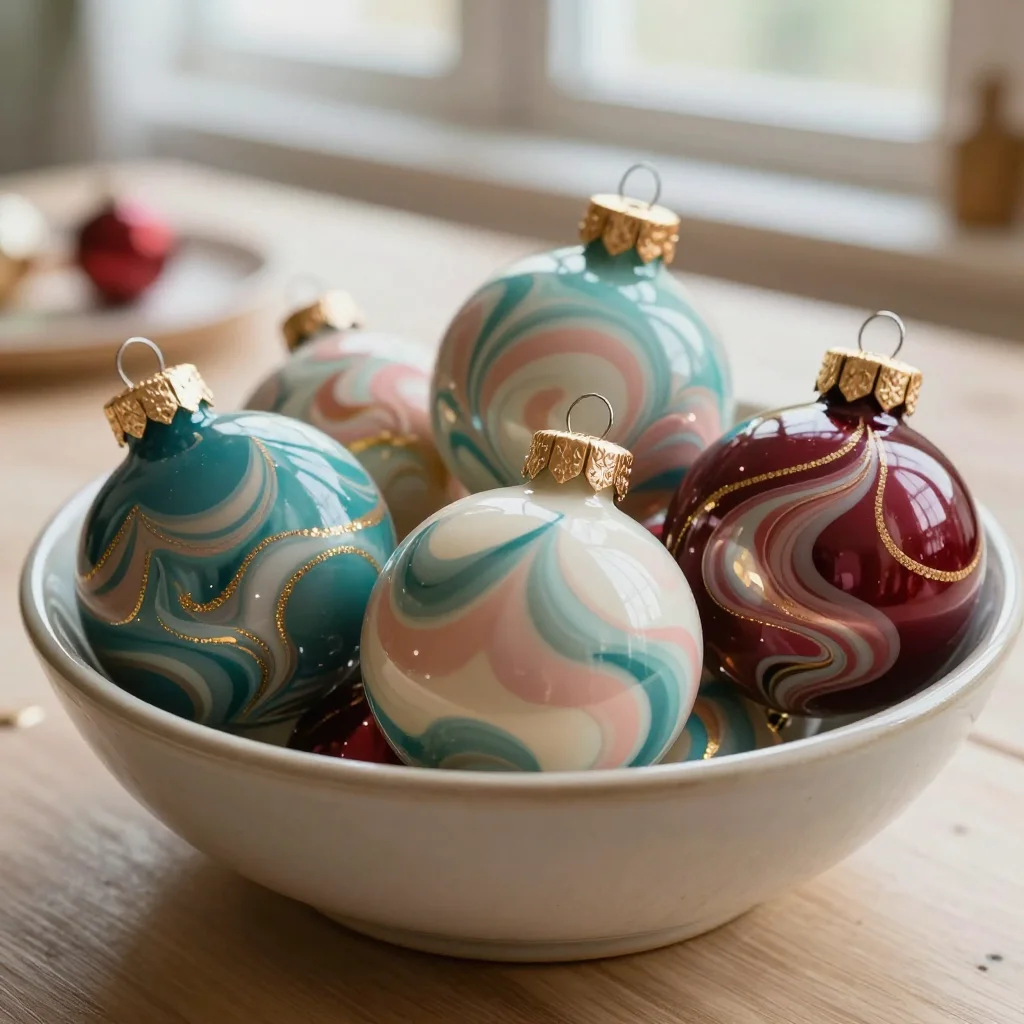
Ornament water marbling invites you into a world of gentle colors swirling together, creating beautiful patterns as you dip each ornament. The soft sound of water, the smoothness of paint, and the delicate movement of your hands bring a calmness that wraps around you. It feels like a quiet moment in a busy day, a space where creativity flows without pressure. Each swirl of color reflects a peaceful intention, transforming simple ornaments into treasured keepsakes, each with its own story.
The Heart Behind This DIY
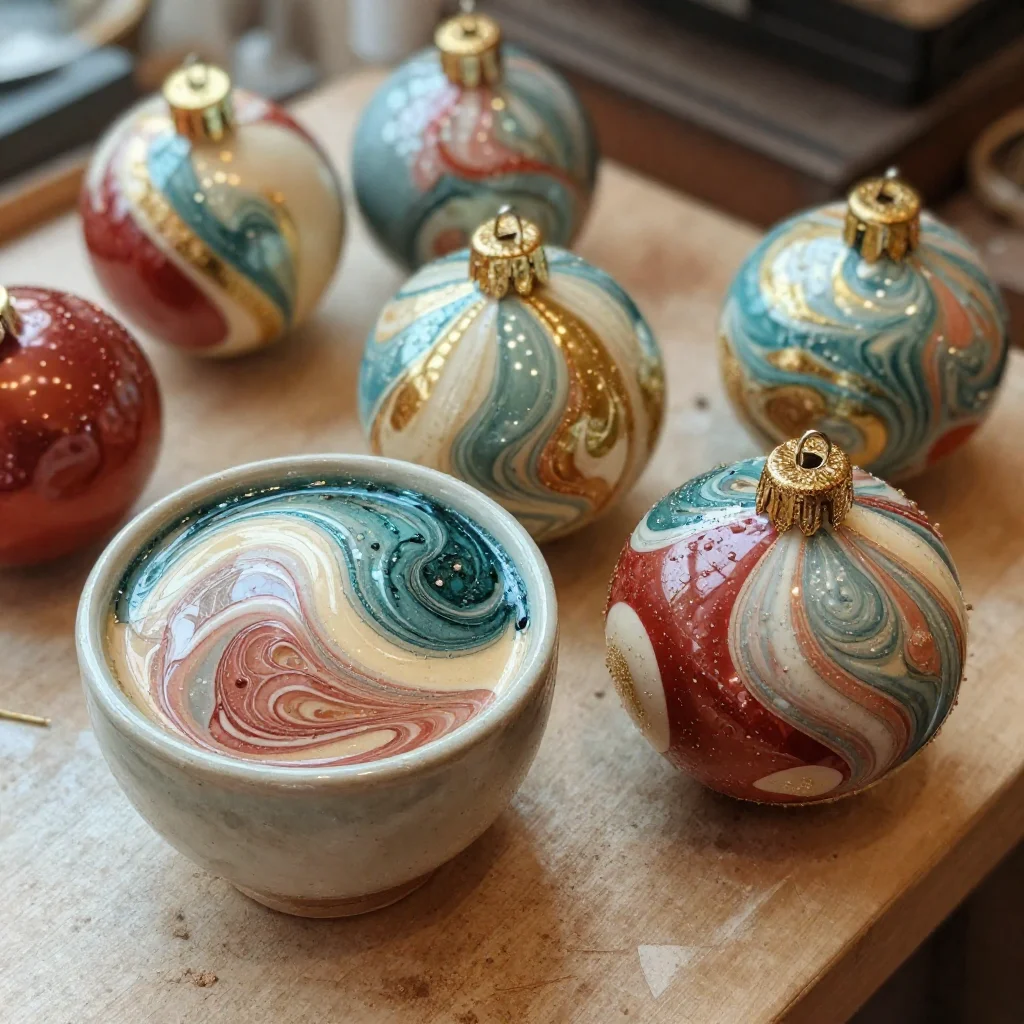
Creating ornament water marbling feels deeply satisfying. This practice allows you to pause and engage with the materials in a sensory way. As you prepare your workspace, you can immerse yourself in the colors and textures around you. The water glimmers softly under the light, and as you move, the world outside fades. The simple act of marbling brings focus, helping you center your mind on the moment.
The swirling colors and the anticipation of discovery invite you to slow down. Each ornament you create becomes a reflection of your calm state of mind. You are not just making an ornament; you are engaging in mindful making, where the process feels just as rewarding as the finished piece. This DIY encourages a balance of creativity and tranquility, something that resonates in today’s fast-paced world.
A Gentle Look at the Process
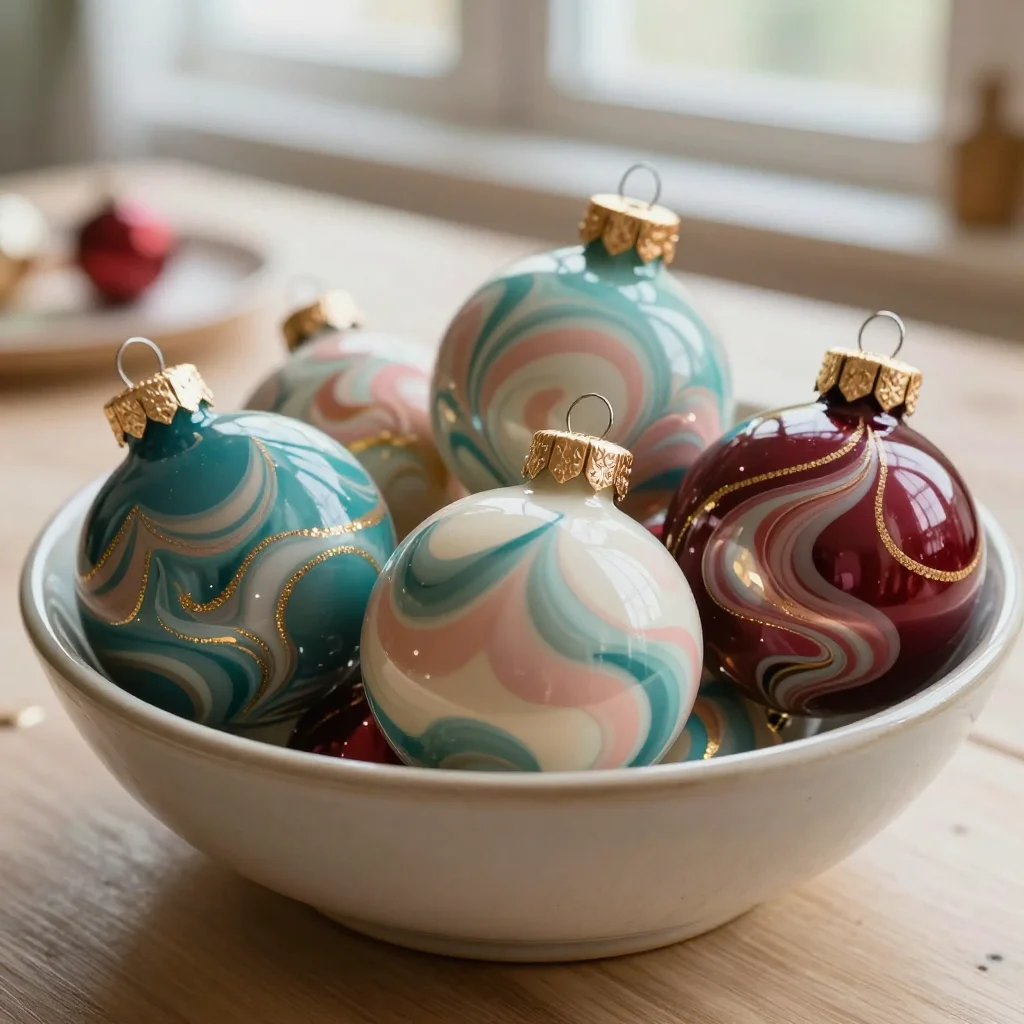
In the quiet flow of making ornament water marbling, you experience a rhythm that feels both soothing and playful. The calming act of dipping an ornament into the water, watching the colors swirl and dance, leads you through a delightful journey. As you begin, you’ll notice how the colors react and create unique prints on each piece. The soft splash of water and paint mixes in exciting patterns, almost like a symphony of colors emerging from stillness.
Finding your groove while working with these materials allows for a meditative atmosphere. You’ll feel the textures of paint and water, embracing the gentle mess these elements create. The final ornaments serve as lovely reminders of your creative spirit and the tranquil moments in which they were formed.
Materials You’ll Need
- Clear plastic or glass ornaments (easy to find)
- Nail polish in assorted colors
- Shallow dish or tray (for the marbling)
- Warm water (not boiling)
- Toothpicks (for swirling the polish)
- Paper towels (for drying)
- Disposable gloves (optional for cleanliness)
Gather these supplies when you feel ready, and keep in mind that colors can be mixed and matched to suit your personal taste. It’s also a lovely excuse to use up leftover nail polish that may be tucked away.
Step-By-Step Directions
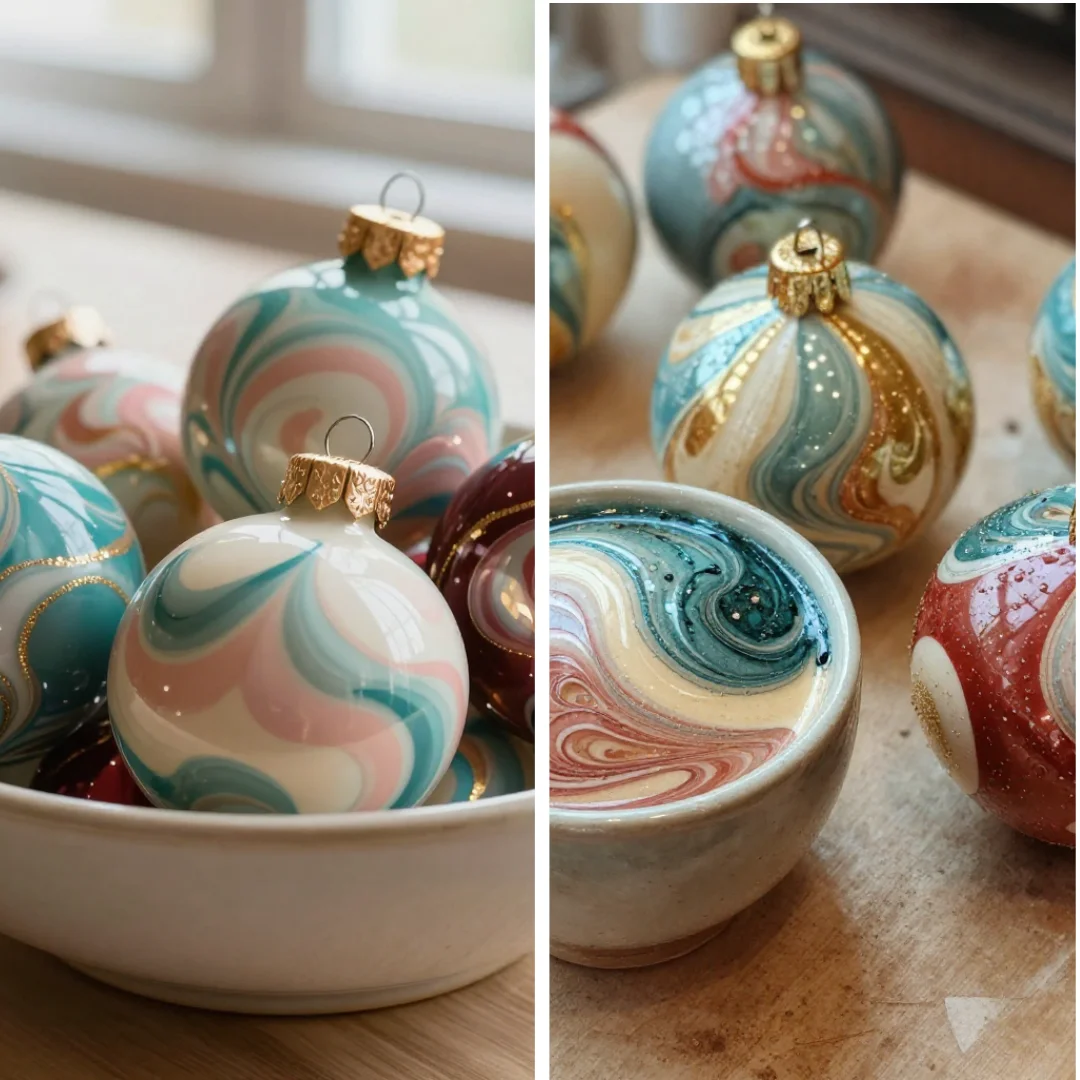
- Start by filling your shallow dish with warm water. Aim for a depth that will allow the ornaments to submerge easily.
- Open your nail polish bottles and choose your colors. Take a moment to appreciate the hues and imagine how they will blend.
- Slowly drip the polish onto the water’s surface. Watch how it spreads, creating beautiful patterns. You can add multiple colors, seeing how they interact.
- Use a toothpick to swirl the colors together gently. Go slow and take your time; the more fluid your movements, the lovelier the designs.
- Once you’re happy with the patterns, pick up an ornament and dip it into the water at an angle. Roll it around so the polish adheres evenly.
- Lift the ornament out of the water and hold it over the dish for a moment, allowing excess to drip away.
- Place the ornament on a paper towel to dry, ensuring you leave space for additional pieces if you’re making more.
- Once dry, admire your creations. Each ornament should reflect unique patterns, so celebrate the beauty of each one.
Enjoying the Finished Piece
After completing your ornament water marbling, the real joy lies in how you choose to display your creations. These ornaments can grace your holiday tree, adorn your windows, or be gifted to loved ones. Their colors will catch the light, casting gentle reflections around your space, bringing a sense of warmth and comfort.
You can also incorporate these ornaments into everyday life. Hang them as cheerful decorations throughout your home, celebrating creativity year-round. Their vibrant designs can spark conversations and remind you of the calm moments spent crafting.
Making This DIY Last
Caring for your finished ornaments involves gentle handling, especially if they are made with glass. Store them in a safe place, ideally wrapped in tissue paper or bubble wrap, to prevent scratching. This will help maintain their beauty and longevity for many seasons to come.
If you made your ornaments from plastic, they should hold up well, but keep them away from direct sunlight to prevent fading. When the holidays roll around, you’ll be glad you took the time to create these little treasures.
Calm Customization Ideas
- Experiment with color combinations beyond traditional ones. Soft pastels for spring or deep jewel tones for winter can create entirely different moods.
- Change the patterns by using a different tool instead of a toothpick. A comb or even a fork can create unique designs.
- Include glitter in your nail polish for a little sparkle. Just a drop can elevate the finished ornament’s aesthetic.
- Use a variety of shapes for your base ornaments. Consider stars or hearts for a playful twist on the classic round shape.
- Try marbling on other surfaces too, such as small wooden ornaments or even canvas, taking your technique beyond glass or plastic.
FAQs About Ornament Water Marbling
What type of nail polish works best for water marbling?
Regular nail polish works best since it needs to float on top of the water. Avoid quick-dry formulas as they tend to create less fluid patterns.
Can I use acrylic paint instead of nail polish?
While it’s possible to use acrylic, nail polish provides a unique finish that tends to blend better for marbling. The oil-based properties allow for vibrant color separation.
How do I fix mistakes while marbling?
If you are unhappy with a design, simply dip the ornament back into the water and start over. The beauty of this process allows for many chances to create the perfect piece.
Will the polish fade or chip over time?
If cared for properly, your finished pieces will hold up well. However, keep them away from direct sunlight and handle them with care.
What if I don’t have a shallow dish?
You can use almost any flat container that can hold water. Feel free to repurpose items you already have at home.
Conclusion
Creating your own ornament water marbling is not just about the result. It’s about the experience of engaging with colors, water, and your own creativity. Allow your mind to wander as you watch the paint dance on the surface, filling your heart with calm. Every ornament holds not just the beauty of its design but memories of the mindful moments you spent crafting.
If you’re eager for more ideas to expand your creative journey, consider exploring nail polish marbled Christmas ornaments or other marbling techniques. Each project carries its own story, waiting for your gentle touch to bring them to life. Embrace the coziness of your creativity, and enjoy making every moment count.
PrintOrnament Water Marbling
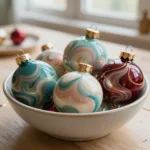
A calming and creative DIY project that transforms simple ornaments using the art of water marbling with nail polish.
- Prep Time: 10 minutes
- Cook Time: 30 minutes
- Total Time: 40 minutes
- Yield: 10 ornaments
- Category: Craft
- Method: DIY
- Cuisine: N/A
- Diet: N/A
Ingredients
- Clear plastic or glass ornaments
- Nail polish in assorted colors
- Shallow dish or tray
- Warm water
- Toothpicks
- Paper towels
- Disposable gloves (optional)
Instructions
- Start by filling your shallow dish with warm water.
- Open your nail polish bottles and choose your colors.
- Slowly drip the polish onto the water’s surface.
- Use a toothpick to swirl the colors together gently.
- Once you’re happy with the patterns, dip an ornament into the water at an angle.
- Lift the ornament out of the water and hold it over the dish.
- Place the ornament on a paper towel to dry.
- Once dry, admire your creations.
Notes
Experiment with color combinations and tools to create unique designs. Store finished pieces carefully.