

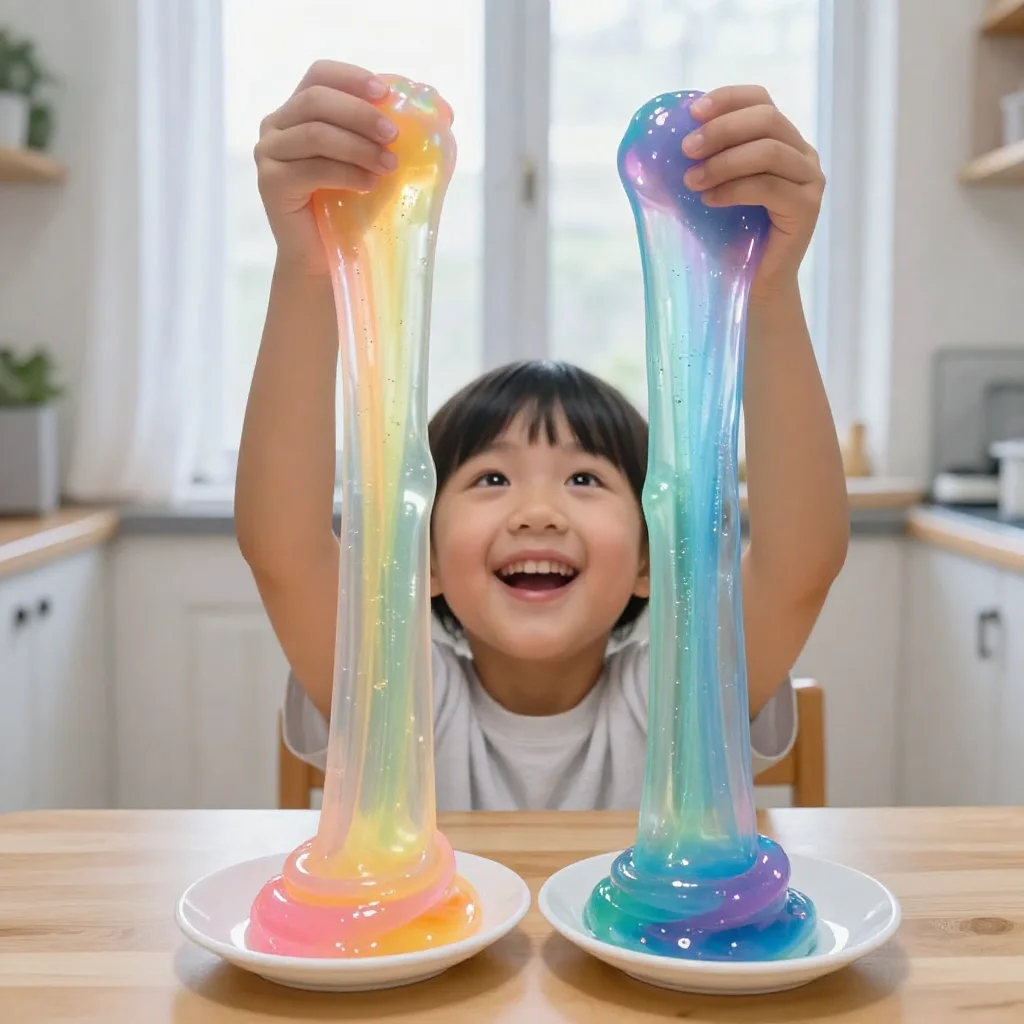
Creating a soft, airy space filled with color can lead to a moment of joy, especially when working on a project like the DIY Rainbow Bubble Activity. Imagine the gentle sunshine filtering through your window as you blend bright, swirling colors. Picture the light reflecting off bubbles, dancing and vanishing into the air. These small, soothing experiences remind us to be present and engaged in the moment. This project invites stillness, creativity, and the joy that comes with a simple act of making.
The Heart Behind This DIY

Making the DIY Rainbow Bubble Activity fosters a calming space both mentally and physically. As we engage with colors and textures, we create a sensory experience that invites us to slow down. The vibrant hues and the soft, floating bubbles draw attention away from our busy minds, allowing us to focus on the here and now.
This project brings a delightful sense of wonder. Children and adults alike find joy in watching bubbles form, gliding through the air like tiny rainbows. The process becomes an exploration of creativity, where one can express themselves freely. There’s a comforting rhythm in blowing bubbles and seeing them drift away, like gentle thoughts easing out of our minds.
The tactile sensations of the tools and materials guide us into a mindful space. The warm, smooth texture of bubble wands and the sweet smell of soap can transport you for a moment, helping you feel connected. Engaging in this relaxing creative process allows for reflection and self-discovery. It becomes more than just a project; it is a moment to breathe deeply and embrace joy in simplicity.
A Gentle Look at the Process

Creating the DIY Rainbow Bubble Activity invites a flow of gentle movements and soothing interactions. Imagine filling a container with liquids that shimmer, swirl, and promise vibrant colors. The sound of sloshing as you mix elements together feels rhythmic, almost like a meditative practice.
You’ll transition from gathering materials to watching the mixture bubble softly. As you dip wands into this colorful mix, the anticipation builds. Each bubble that forms encapsulates not just air, but fleeting moments of happiness. The process itself becomes deeply rewarding as you allow the colors to fill your space with life and light.
Soon, you will find yourself lost in the joy of making. By embracing the actions, from mixing to blowing, you turn a simple process into a cherished experience. Every step is an opportunity to appreciate the textures, movements, and sounds. This flow encourages mindfulness, and the finished product radiates warmth and creativity.
Materials You’ll Need
Gathering materials for the DIY Rainbow Bubble Activity is simple. Here’s what you need:
- Dish soap (easy to find at grocery stores)
- Water (tap water works just fine)
- Food coloring or liquid watercolors (vibrant and fun)
- Baking dish or a shallow container (for bubble mixing)
- Straws or bubble wands (substitute-friendly)
- Optional: glitter (for some extra sparkle)
Each material plays an essential role in the creation of bubbles, bringing vibrant colors and inviting textures. The simplicity of these supplies allows anyone to engage, regardless of crafting experience.
Step-by-Step Directions

Begin by pouring about two cups of water into the shallow container. Watch the water glimmer as it fills, resembling a calm lake.
Add a few tablespoons of dish soap to the water. The soap settles on the surface, creating a soft foam.
Gently stir the mixture with a straw or your hands, allowing the water and soap to blend smoothly. Notice the gentle bubbles forming as you mix.
Now comes the fun part — add drops of food coloring! Try using multiple colors for a rainbow effect. Swirl the mixture gently to see the colors drift together.
Take your bubble wand or straw and dip it into the colorful mixture. Bring it out and hold it up to the light. You may see the colors refracting and shimmering.
Slowly blow through the straw or gently wave the wand to create bubbles. Watch as they rise and float away, capturing the beauty of your creation.
Repeat the process, experimenting with colors and sizes of bubbles. Let it be playful, allowing yourself to make adjustments as you feel inspired.
When you’re done, enjoy the beautiful array of bubbles, and take a moment to appreciate your colorful work.
Using DIY Rainbow Bubble Activity in Everyday Life
After making the DIY Rainbow Bubble Activity, you can find several ways to savor the results. These colorful bubbles enhance many moments. They can bring a joyful light to a simple afternoon in the garden or provide a calming backdrop during playtime with friends.
You might display the colorful creations in a sunny spot, watching how they catch the light and scatter rainbows around the room. Creating a bubble station in your home or garden can invite friends and family to participate, turning a quiet moment into a shared experience of laughter and exploration.
Incorporating this lively activity into your daily routine can enhance mindfulness. You can take moments to pause and blow bubbles, allowing worries to float away with each one. This playful activity serves as a beautiful reminder of the joy in simplicity and creativity, returning to a calming space when life feels chaotic.
How to Store or Reuse DIY Rainbow Bubble Activity
Taking care of your DIY Rainbow Bubble Activity means ensuring it’s ready for the next time you’re inspired to create. You can store your bubble mixture in a tightly sealed container. This keeps it fresh and prevents evaporation.
If you have leftover bubble mix, be sure to give it a gentle stir before use, as ingredients may separate. For the best results, try to use the mixture within a week or two. If you love experimenting with colors, you can easily repeat the activity using fresh ingredients as needed. Being mindful of storage allows for recurring moments of creativity and relaxation.
Gentle Tips & Variations
To cultivate your own rhythm in creating the Rainbow Bubble Activity, consider these gentle tips:
- Explore different shapes and sizes of bubble wands. You might cut straws to various lengths or form wands using pipe cleaners.
- Enhance the experience with a touch of nature. A small table by an open window allows for a gentle breeze to carry bubbles outward, inviting a serene atmosphere.
- Try adding essential oils to the mixture for a subtle scent. A few drops can soothe the mind, creating a more immersive experience.
- Consider an outdoor adventure. Blow bubbles into the wind at a park and observe the colors as they float away beneath the sky.
These small invitations encourage creativity and allow the act of making to reflect your unique style while maintaining calmness and joy.
FAQs About DIY Rainbow Bubble Activity
What if I don’t have dish soap?
You can substitute with liquid castile soap or any gentle soap you have at home. Experimenting with different soaps may lead to interesting bubble effects.
How long do the bubbles last?
Bubbles usually last just a few moments before popping, but you can always create more. Celebrate each bubble as a fleeting moment of joy.
Can I use this activity indoors?
Absolutely! Just be mindful of surfaces, as soap may create slippery spots. Settle in a space where cleanup is easy and enjoy.
Do I need special tools to make bubbles?
Not at all! While bubble wands can help, everyday items like straws or even your hands can create lovely bubbles too.
Conclusion
Creating the DIY Rainbow Bubble Activity offers a beautiful space to explore mindfulness and creativity. Embrace the opportunity to engage your senses, from the vibrant colors to the soft textures. As you immerse yourself in this calming activity, remember that each bubble holds a moment of joy and wonder.
When you feel inspired, here are two helpful resources that explore similar bubble activities: Rainbow Bubble Snakes DIY STEM Experiment for the Entire Family and Rainbow Bubble Snakes – Housing a Forest. These can further enrich your journey into the world of bubbles, bringing even more playful moments to your everyday life. Enjoy the process of making, and let the experience linger, just like the bubbles you create.
PrintDIY Rainbow Bubble Activity

Engage in the calming and colorful DIY Rainbow Bubble Activity, creating bubbles filled with joy and playfulness.
- Prep Time: 10 minutes
- Cook Time: 0 minutes
- Total Time: 10 minutes
- Yield: Varies
- Category: Activity
- Method: Creative Activity
- Cuisine: N/A
- Diet: N/A
Ingredients
- 2 cups of water
- A few tablespoons of dish soap
- Food coloring or liquid watercolors
- Baking dish or shallow container
- Straws or bubble wands
- Optional: glitter
Instructions
- Begin by pouring about two cups of water into the shallow container. Watch the water glimmer as it fills, resembling a calm lake.
- Add a few tablespoons of dish soap to the water. The soap settles on the surface, creating a soft foam.
- Gently stir the mixture with a straw or your hands, allowing the water and soap to blend smoothly. Notice the gentle bubbles forming as you mix.
- Now comes the fun part — add drops of food coloring! Try using multiple colors for a rainbow effect. Swirl the mixture gently to see the colors drift together.
- Take your bubble wand or straw and dip it into the colorful mixture. Bring it out and hold it up to the light. You may see the colors refracting and shimmering.
- Slowly blow through the straw or gently wave the wand to create bubbles. Watch as they rise and float away, capturing the beauty of your creation.
- Repeat the process, experimenting with colors and sizes of bubbles. Let it be playful, allowing yourself to make adjustments as you feel inspired.
- When you’re done, enjoy the beautiful array of bubbles, and take a moment to appreciate your colorful work.
Notes
Store your bubble mixture in a tightly sealed container and use within a week or two for the best results.