

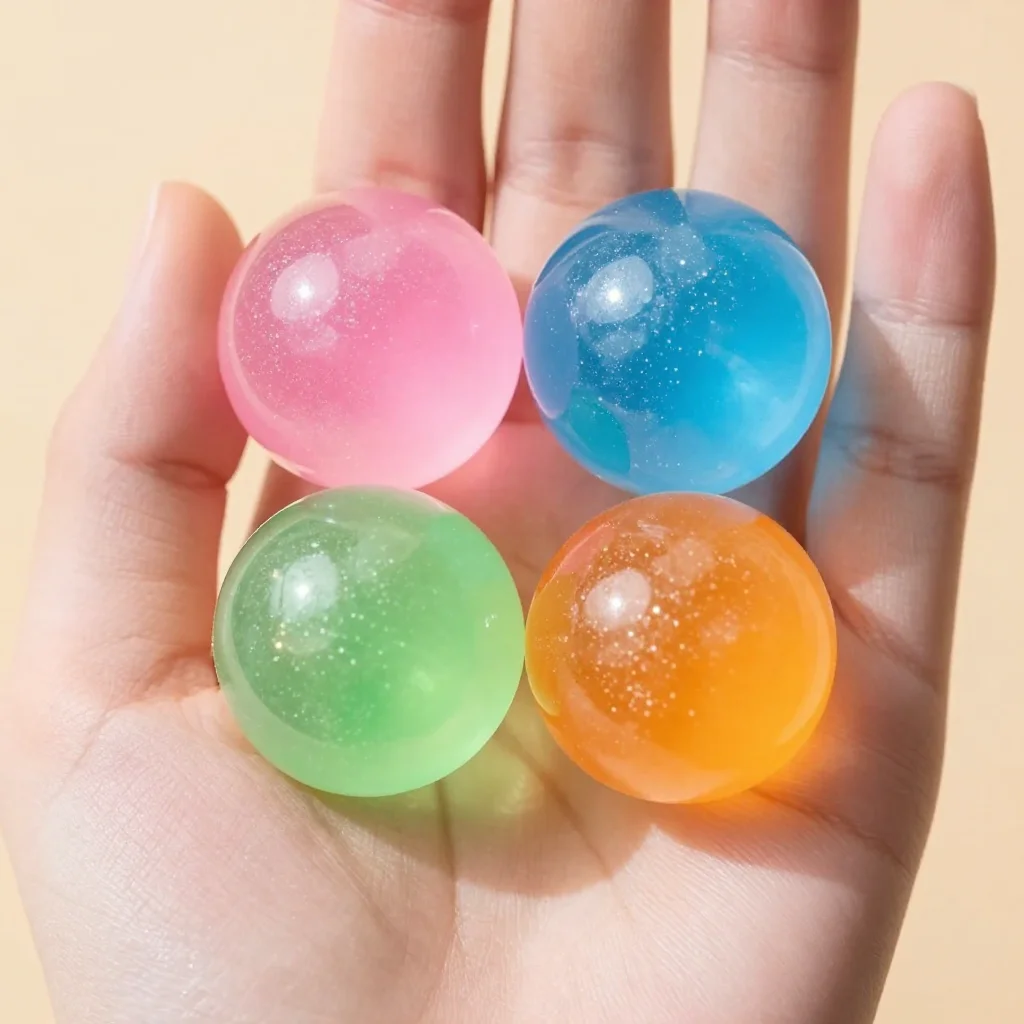
Making a bouncy ball can feel like a playful dance with color and texture, an invitation to reconnect with the joy of creation. As your hands mix and mold the soft material, you may notice the smoothness of your fingers against the cool surface. Each squeeze brings about a new rhythm, a gentle reminder to be present in this mindful moment. The world outside can fade into a soft background as you focus on the sensations and the playful spirit of crafting something both simple and delightful.
The Heart Behind This DIY
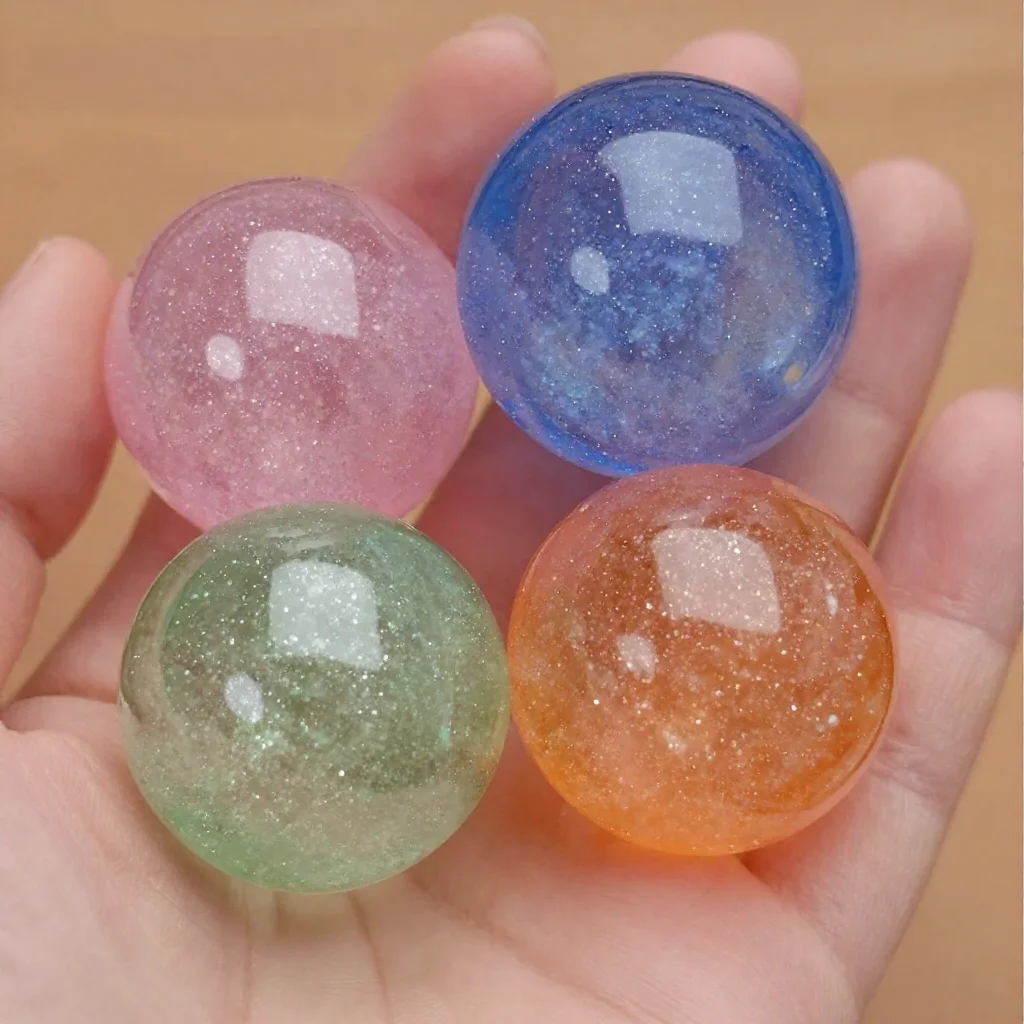
Creating a bouncy ball is not just about following steps; it’s about finding joy in the process. The act of molding and shaping taps into a playful energy that many of us often overlook. This DIY invites you to slow down, engaging your senses fully as you feel the textures and embrace the colors.
When you focus on the materials, there’s a calming quality that can wash over you. Mixing the ingredients involves a satisfying squish and a swirl of fingers in soft substances. This sensory experience encourages you to breathe deeply and immerse yourself in the moment. The satisfaction of creating something that bounces and plays evokes a sense of childhood wonder.
In a busy world, taking time for such a simple project can feel like a gift. This project can ground you, allowing for quiet reflection while giving yourself space to create. As you make these bouncy balls, watch your worries float away, leaving behind only a sense of calm and accomplishment.
A Gentle Look at the Process
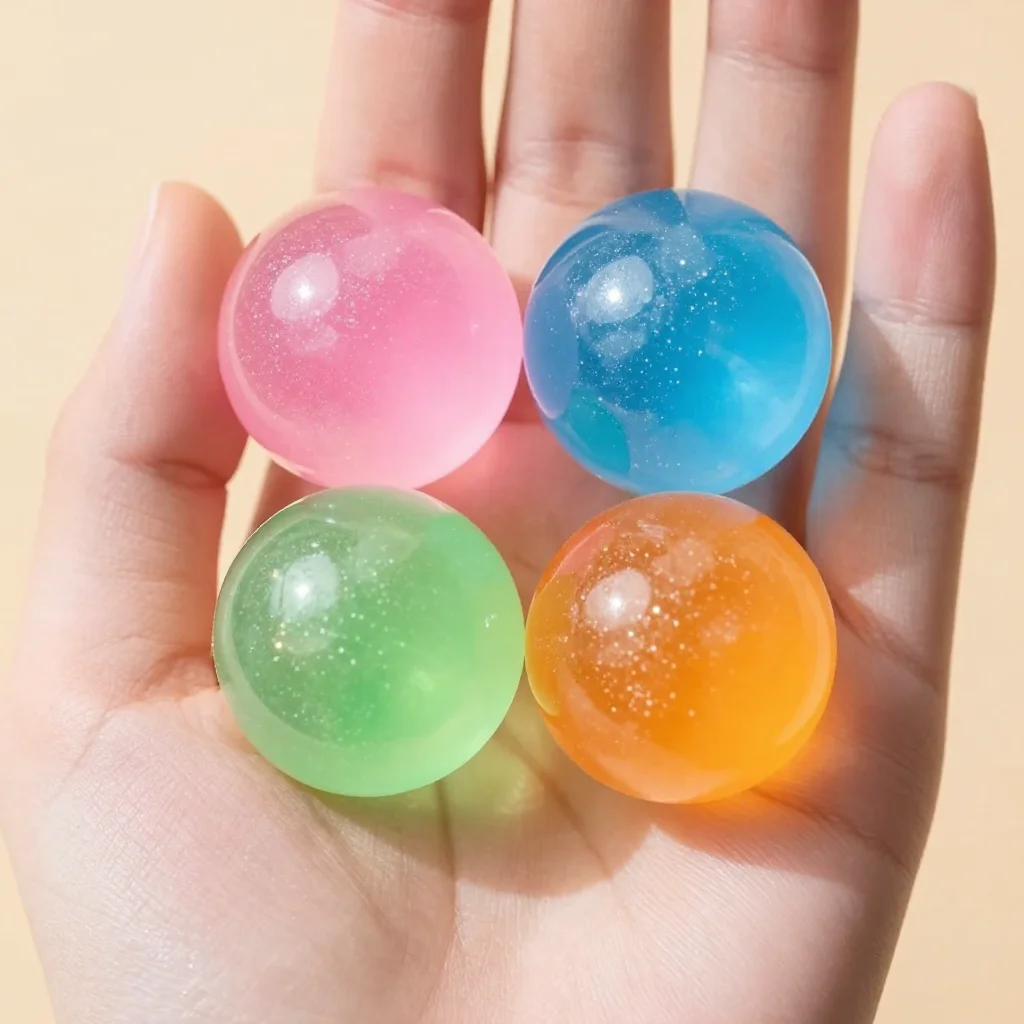
The journey to making your bouncy ball unfolds in gentle, rhythmic movements. It begins with gathering your materials and then transitions into the comforting act of mixing ingredients slowly. You might feel the warm sun on your skin if you choose to work outside. Each step allows you to engage with unique textures and colors, creating a sensory symphony that can calm your mind.
You will enjoy watching elements come together, feel the materials blend, and witness your creation become more vibrant with each movement. This flow is a reminder of how satisfying it is to create with your hands and how much joy can be found in truly engaging with the world around you.
As you prepare to create, consider what materials resonate with you. Pay attention to the colors and textures that call to your spirit, and feel free to let your intuition guide you.
Materials You’ll Need
To begin making your bouncy ball, gather the following materials:
- White school glue (easy to find)
- Liquid starch (look in the laundry aisle)
- Food coloring (choose your favorite colors)
- A bowl for mixing (soft and easy to hold)
- A wooden stick or spoon (for stirring)
- A squishy plastic bag (for shaking)
- Optional: Glitter (for a touch of sparkle)
Having these supplies ready will create a calming atmosphere and will make the process feel even more enjoyable.
Step-by-Step Directions
-
Start by pouring about 1/2 cup of white school glue into your mixing bowl. Notice how the glue glistens under the light, and breathe in the faint scent.
-
Add a few drops of food coloring to the glue. Swirl it gently to see the colors mix and blend. Feel the soft texture as it shifts with each movement.
-
Pour in 1/4 cup of liquid starch slowly. As it combines with the glue, observe how the mixture thickens, creating a new soft substance.
-
Stir with your wooden stick until the mixture begins to come together. Pay attention to the sounds of the stirring, a gentle rhythm that can be quite soothing.
-
Once it seems combined, use your hands to kneed the mixture for a few minutes. Feel the elasticity as you work it, enjoying how it stretches and holds its shape.
-
As a final step, roll the mixture into a ball shape. Breathe deeply as you look at the vibrant color and feel its smooth surface in your palm.
-
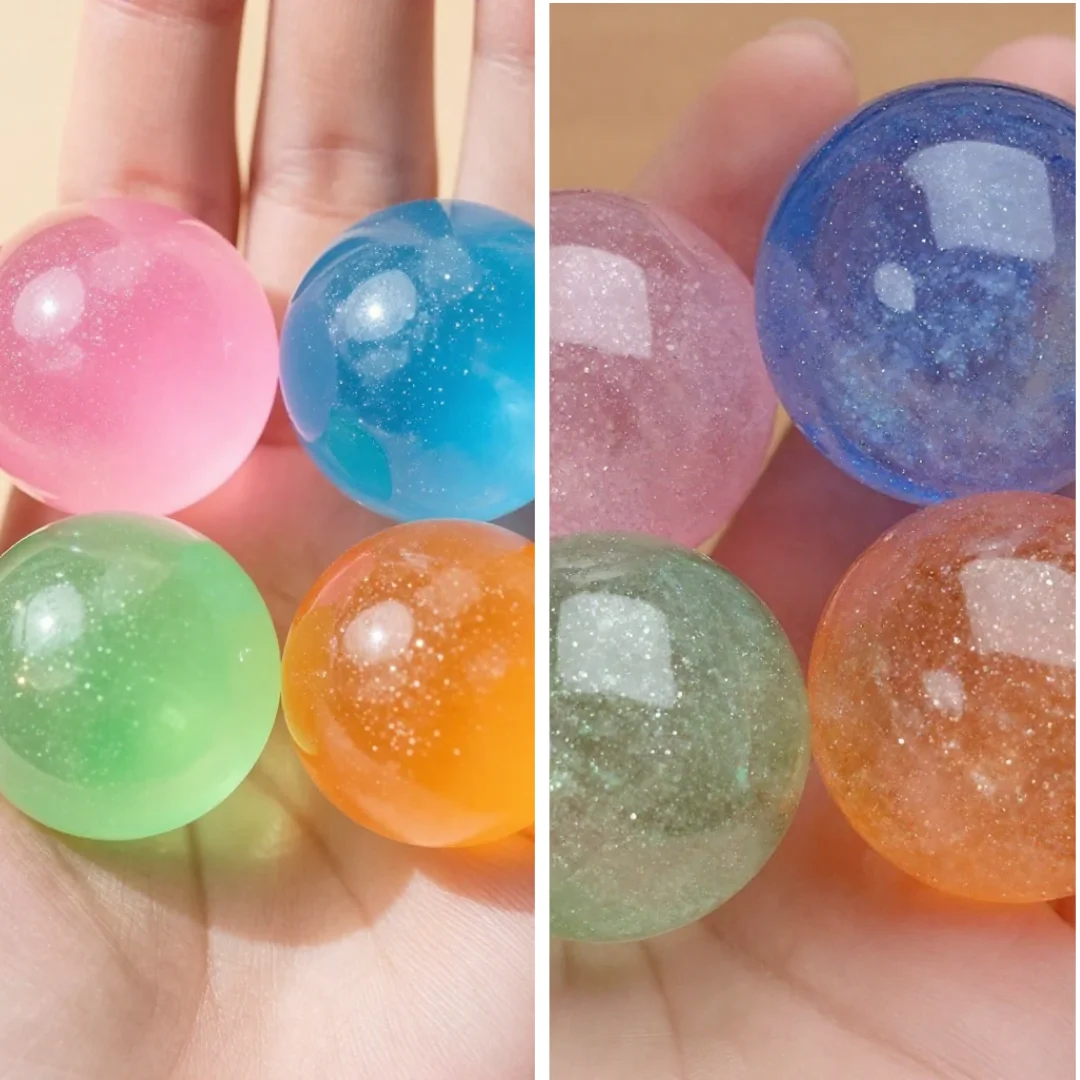
If you wish, toss in some glitter to give the ball some sparkle. This is an optional step, but it adds a layer of magic to your creation.
-
Allow your bouncy ball to sit for a moment so it can firm up, then it’s ready to bounce into your life.
Using How to Make a Bouncy Ball in Everyday Life
The joy of a bouncy ball extends beyond its mere appearance. Once your creation is complete, it invites you to play and be light-hearted, embracing a sense of fun. You might find a cozy corner in your home where you can toss the ball gently, listening to its satisfying bounce against the floor.
Perhaps you’ll incorporate it into calming games, using it to practice mindfulness. Each connection with the ball can serve as a reminder to bring focus to the moment, enjoying the simplicity of the action. Whether you use it for solo enjoyment or share it with loved ones, the ball can help create playful memories, filling your day with laughter and warmth.
How to Store or Reuse How to Make a Bouncy Ball
To keep your bouncy ball in top shape, store it in a cool, dry place. A small container or a breathable fabric bag can keep it safe from dust and damage. It’s important to avoid heat, which may cause the ball to lose its playful texture.
If you notice your bouncy ball begins to lose its bounce over time, it can be revitalized with a little care. Consider giving it a gentle wash in warm water, patting it dry afterwards. The act of cleaning can feel refreshing, as if giving your creation new life.
Gentle Tips & Variations
Explore these gentle invitations to adjust or personalize your bouncy ball:
-
Color Layers: Instead of mixing all colors together, consider creating layers. Add one color and let it set slightly before adding a new hue. This layering can result in beautiful patterns.
-
Different Sizes: Experiment with the size of your bouncy ball. A smaller size may create a faster bounce, while a larger ball can be softer to catch.
-
Textures: Introduce different materials into the mix, such as fine sand or even small beads. This can add interesting textures and enhance the sensory experience.
-
Themes: Choose colors based on a theme for your bouncy ball, such as seasonal colors or a favorite character. This allows for deeper personal connection as you create.
-
Bouncing Techniques: Try out various bouncing techniques. Drop it, roll it, or toss it lightly. Each approach can offer a unique sensory experience.
FAQs About How to Make a Bouncy Ball
What if I don’t have liquid starch?
Using liquid starch can be swapped with other types of starch if you have them on hand. Cornstarch mixed with water can create a similar effect, though it may require some experimentation.
How long does it take to dry?
The bouncy ball may take a short time to firm up. Allow it to rest for about 10 to 15 minutes after shaping.
Can I add essential oils?
Yes, you can add a few drops of essential oils to create a soothing scent. Lavender or citrus can enhance the sensory experience, adding calmness to the joyful bounce.
Is it safe for small children?
While it’s a fun project, always supervise young ones, particularly during the mixing process. It’s essential to ensure they do not ingest any materials.
Can these be gift ideas?
Absolutely! Bouncy balls can become delightful gifts. You can create a small gift set with a few different colors and sizes for extra joy.
Conclusion
Let the simple joy of making a bouncy ball linger in your mind as you move through your day. Take time to reflect on the feelings you experienced during the creative process, and appreciate the gentle energy of the project. There is much to gain from slowing down and engaging with these simple pleasures.
If you’re ever curious about other fun projects, you might enjoy reading more about how to make a soothing suncatcher or exploring the colorful possibilities of colorful bouncy balls. For more instructions on creating these playful items, you can check out The 36th Avenue for further inspiration. Allow yourself the space to create as you embrace all the wonderful sensations that come with crafting.
Each bouncy ball you make can serve as a reminder to enjoy creation, encouraging you to be present with your hands, heart, and mind as they all unite in a gentle, playful harmony.
PrintHow to Make a Bouncy Ball
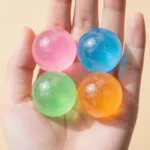
Create your own colorful bouncy ball with simple household materials for a delightful craft experience.
- Prep Time: 10 minutes
- Cook Time: 15 minutes
- Total Time: 25 minutes
- Yield: 1 bouncy ball
- Category: Craft
- Method: DIY
- Cuisine: N/A
- Diet: N/A
Ingredients
- 1/2 cup of white school glue
- 1/4 cup of liquid starch
- Food coloring (various colors)
- A bowl for mixing
- A wooden stick or spoon
- A squishy plastic bag
- Optional: Glitter
Instructions
- Start by pouring about 1/2 cup of white school glue into your mixing bowl.
- Add a few drops of food coloring to the glue.
- Pour in 1/4 cup of liquid starch slowly.
- Stir with your wooden stick until the mixture begins to come together.
- Once it seems combined, use your hands to knead the mixture for a few minutes.
- Roll the mixture into a ball shape.
- If you wish, toss in some glitter for a touch of sparkle.
- Allow your bouncy ball to sit for a moment so it can firm up.
Notes
Store your bouncy ball in a cool, dry place. Avoid heat to maintain its texture.