

A soft sensation dances between our fingers as we create something simple yet joyful. Perhaps it is the feeling of a warm, vibrant color slowly merging into a familiar shape. The anticipation of watching a glob of gooey material transform into a lively bouncy ball evokes a gentle smile. This moment of wonder and tactile pleasure invites us into a space of curiosity and playful exploration. As we embark on this journey of making DIY bouncy balls, we nurture not just our craft but also our ability to be present, to savor the textures, and to embrace the act of creation.
The Heart Behind This DIY

Creating DIY bouncy balls is more than following a series of steps. It is about grounding ourselves in the moment. The process invites us to pause, breathe, and experience each texture and sound as we work. As we mix and mold, the squishy material glides between our fingers, prompting a sense of connection to the art of making.
This project encourages us to slow down. In a world often filled with haste, making bouncy balls serves as a potent reminder to find joy in simplicity. When we focus on creating, we quiet the noise around us, drawing our attention inward. It allows for a gentle form of meditation. Each bounce can evoke feelings of nostalgia, reminiscent of carefree days spent playing and laughing.
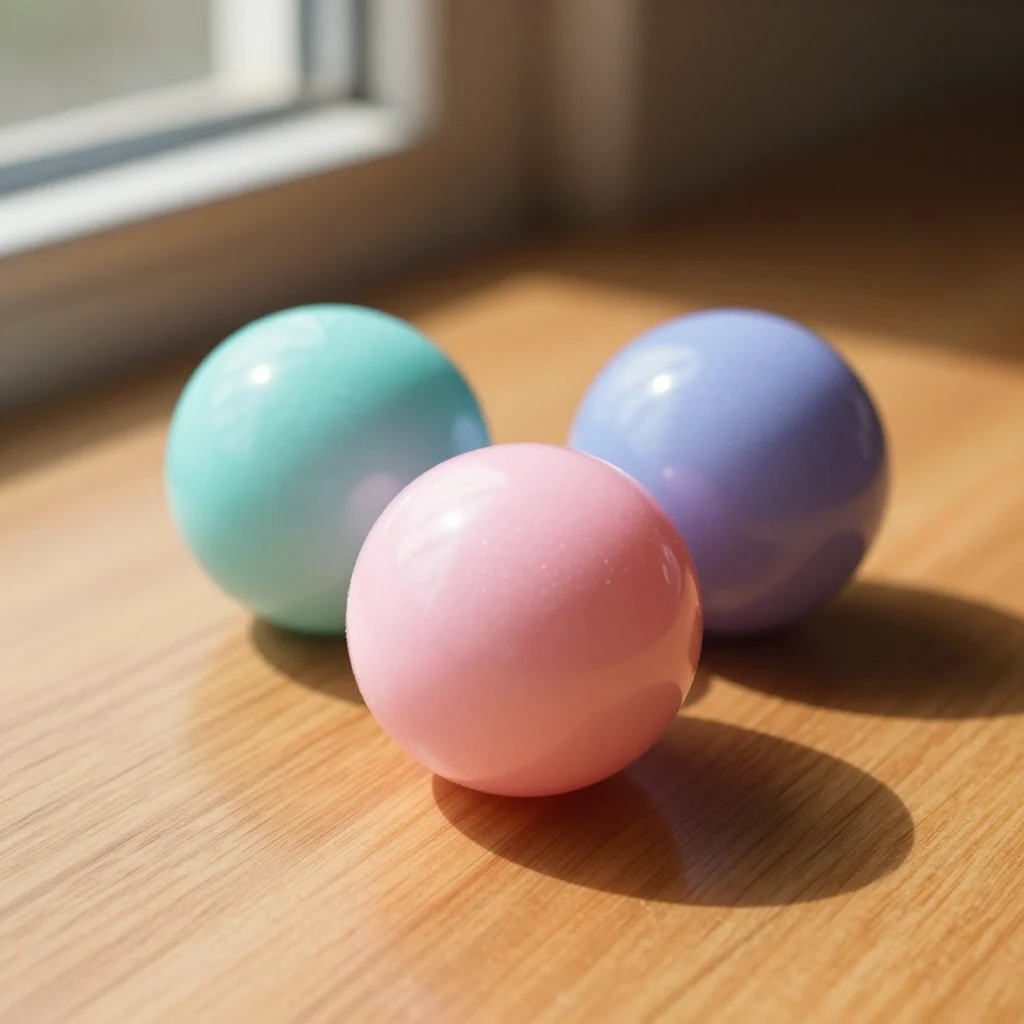
The colors we choose also play a crucial role in our emotional experience. Bright hues can uplift our spirits, while softer tones may provide comfort. Regardless of our choices, the beauty lies in the freedom to express ourselves and create something uniquely ours.
A Gentle Look at the Process

Before we dive into the crafting, let’s gently consider the rhythm of how this project unfolds. The experience is tactile, engaging multiple senses along the way. We will measure, mix, and knead, feeling the transformation with each movement. The sounds of the materials mixing, the gentle squish of the compound, and the delightful bounces of the finished product add layers to the overall experience.
As we prepare, the colorful ingredients promise a playful journey. Each step flows into the next, creating a sequence that is both satisfying and immersive. We take our time, enjoying the textures and allowing ourselves to be present in the moment.
Materials You’ll Need
Gathering our materials sets the stage for a cozy crafting experience. Here’s what you will need:
- 1 cup of warm water
- 1 tablespoon of borax (a common laundry booster, easy to find)
- 1 cup of white glue (Elmer’s glue or similar)
- 2 tablespoons of corn starch
- Food coloring (substitute-friendly with natural dyes if preferred)
- A mixing bowl
- A stirring stick or spoon
- Small containers for mixing colors
Each of these materials contributes to the comforting process of creation. Feel free to substitute any ingredient as needed. The practice of gathering materials can even become part of the calming experience.
Step-by-Step Directions

Start by pouring 1 cup of warm water into a mixing bowl. The warmth helps dissolve the other materials more easily, creating a cozy start.
Add 1 tablespoon of borax to the warm water. Stir gently until the borax completely dissolves, releasing a soft cloud of magic.
In another bowl, combine 1 cup of white glue with 2 tablespoons of corn starch. Feel the smooth texture as it coats the bottom of the bowl.
Gradually incorporate the borax mixture into the glue mixture. Stir gently. Watch as the two blend, transitioning from a watery state into a firmer consistency.
If you would like to add color, squirt a few drops of food coloring into the mixture now. Swirl it softly with your stirring stick until the color spreads and transforms the mixture into something bright and inviting.
Now comes the fun part. Knead the mixture with your hands. It may feel sticky at first, but with gentle pressure, it will start to change texture. Squeeze, roll, and form the ball. Feel the transformation beneath your fingertips.
Once you achieve the desired consistency, shape it into a smooth ball. Let your creation rest in a bowl for a few minutes, allowing it to firm up slightly.
After a short break, give it a bounce. Experience the lightness and joy of your very own DIY bouncy ball!
Enjoying the Finished Piece
Imagine the bounce of your newly crafted ball against the floor, the lively sound echoing in the air. These DIY bouncy balls can bring a playful energy to your home. Use them as colorful decor in a bowl or toss them around during a cozy afternoon with friends.
When shared with loved ones, they spark laughter and create engaging moments. Watching children play with their vibrant creations can ignite joy, reminding us of our own playful spirits. Each bounce carries with it a sense of freedom and fun, allowing us to embody the lightness we can so often forget in the rhythm of daily life.
Keeping It for Later
After all the joyful play, storing your DIY bouncy balls is simple. Keep them in a cool, dry place to maintain their bounciness. A small basket or container can make a delightful touch, adding to the coziness of your home.
If you find they lose some of their bounce over time, simply remold them gently in your hands. This way, their life extends, and your craft continues to bring you and your loved ones joy. Every squeeze can remind you of the peaceful moments you shared during creation.
Gentle Tips & Variations
Inviting small variations can deepen your crafting experience. Here are a few gentle suggestions to consider:
Try different color combinations. Mixing colors can yield unexpected and delightful results. Play around until you find colors that resonate with you.
Experiment with texture by adding glitter or small beads to the mixture. This can add a visual element and enhance the sensory experience when you play with the balls.
Use flavored extracts, such as vanilla or peppermint, in small amounts to introduce a soft scent. The calming aroma can enhance the overall feel of the project.
Create a series of bouncy balls with different sizes or shapes. Each one can hold a unique significance, representing different emotions or memories.
Each idea is an invitation, allowing you to personalize your journey as you craft.
FAQs About DIY Bouncy Balls
What if my bouncy ball isn’t bouncy enough?
It’s common. Sometimes, kneading a bit longer can help. If they start feeling sticky or deflated, try remolding them to reintroduce the bounce.
Can I use different materials instead of borax?
Yes, there are other recipes that may use different ingredients. Some can be found in various DIY resources online. Feel free to explore options that suit your needs!
Are these bouncy balls safe for kids?
While the materials used are generally safe, adult supervision is a good idea, especially for very young children. Keep an eye out for any small pieces if you use additives like beads.
Can I use natural dyes instead of food coloring?
Absolutely! Natural dyes can add a beautiful organic touch. Experiment with fruits or spices according to your preference.
How long do they last?
With proper care, these DIY bouncy balls can last for weeks, sometimes even longer. Remember to store them in a cool, dry place to best preserve their bounce.
Conclusion
Creating DIY bouncy balls invites us to slow down and engage with materials in a way that can be deeply fulfilling. Each step provides a sensory-rich opportunity to connect with our creative selves. As you enjoy the bouncy balls you have made, cherish the process as much as the final product. Allow the act of making to resonate within you, sparking joyful moments to share and remember.
For more insights into making bouncy balls, you can explore this detailed guide or visit this resource for variations. Happy crafting, and may your hands always feel the soothing rhythm of creativity.
PrintDIY Bouncy Balls

A fun and colorful DIY project to make your own bouncy balls, perfect for playful afternoons.
- Prep Time: 10 minutes
- Cook Time: 5 minutes
- Total Time: 15 minutes
- Yield: 2 bouncy balls
- Category: Craft
- Method: Mixing and Kneading
- Cuisine: N/A
- Diet: N/A
Ingredients
- 1 cup warm water
- 1 tablespoon borax
- 1 cup white glue (Elmer’s or similar)
- 2 tablespoons corn starch
- Food coloring (optional)
- A mixing bowl
- A stirring stick or spoon
- Small containers for mixing colors
Instructions
- Pour 1 cup of warm water into a mixing bowl.
- Add 1 tablespoon of borax to the warm water and stir gently until dissolved.
- In another bowl, combine 1 cup of white glue with 2 tablespoons of corn starch.
- Gradually incorporate the borax mixture into the glue mixture, stirring gently.
- If desired, add food coloring and swirl with a stirring stick.
- Knead the mixture with your hands until it forms a firm ball.
- Shape it into a smooth ball and let it rest for a few minutes.
- Give it a bounce once it’s set to enjoy your new DIY bouncy ball!
Notes
Knead longer if the ball isn’t bouncy enough. Feel free to experiment with natural dyes and different textures.