

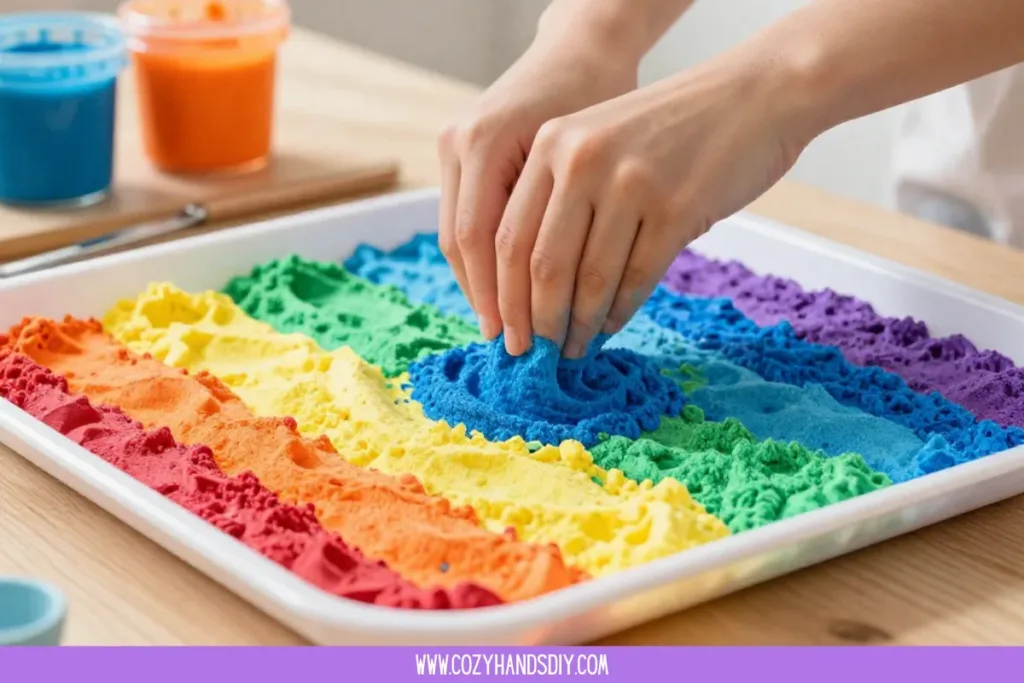
Creating a soft, inviting blend of colors that embodies the warmth of a gentle summer breeze, Rainbow Sand brings a sense of calm and delight. As you sift the fine grains between your fingers, you feel the unique textures shift and the vibrant hues dance in the light. This moment of sensory engagement invites you to slow down, breathe deeply, and appreciate the quiet joy of the creative process. Let this simple project envelop you in comfort, transforming your space while nurturing the soul.
The Heart Behind This DIY
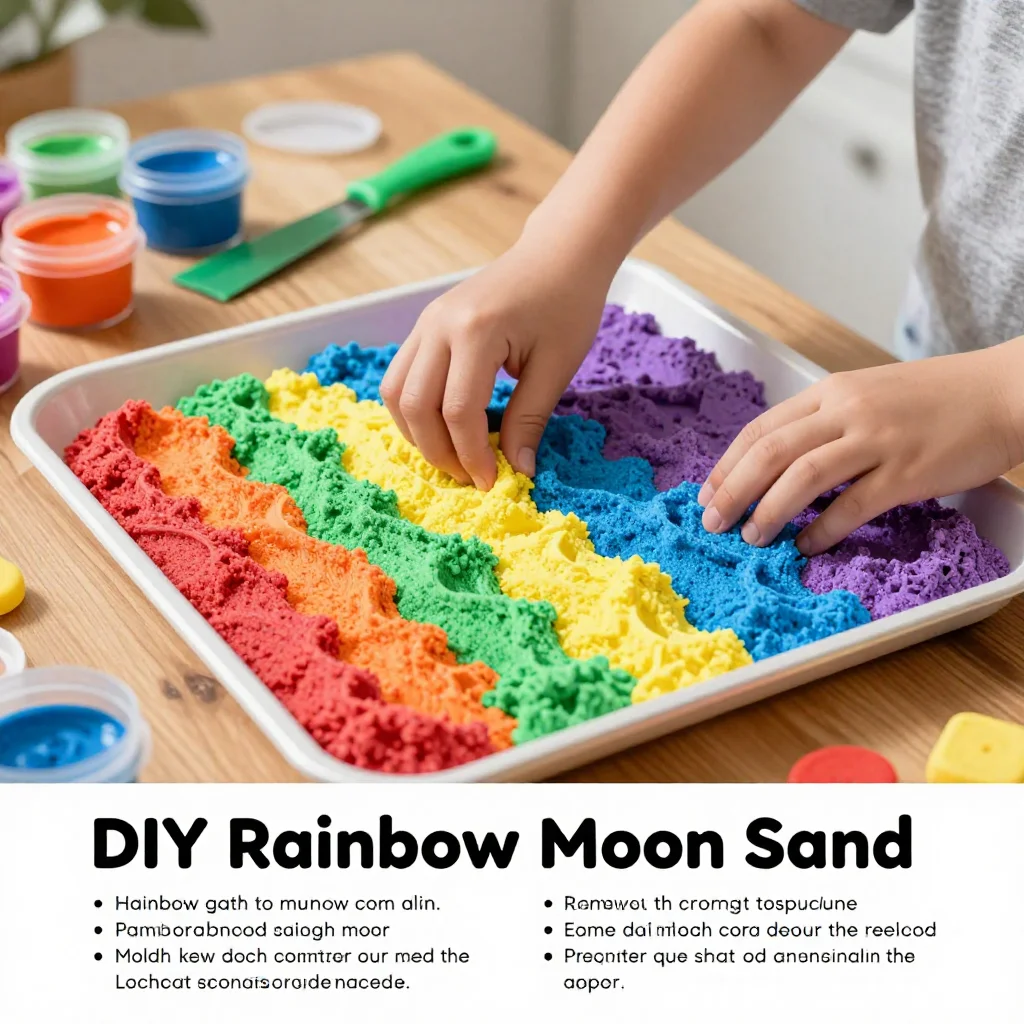
Rainbow Sand offers more than just beauty; it provides a haven for your senses. The act of making it encourages a mindful focus, allowing peace to wash over you. Each layer of color builds a visual rhythm, and as you pour, spill, and arrange the sand, you engage with not only the materials but also your thoughts and emotions.
This process acts as a gentle reminder to be present. The colors can evoke childhood memories of playing in the sun or seeing a rainbow arcing in the sky after a summer rain. The smoothness of the grains feels pleasant against your skin, making each touch a quiet affirmation that you are creating something special. Building layers invites a feeling of balance and calm. It requires no hurry; each grain falls slowly, settling into place as you embrace the satisfaction of mindful making.
The Flow of Making Rainbow Sand
Before you embark on this soft journey of creation, it’s important to visualize the process. Making Rainbow Sand flows through various sensory experiences. You’ll move gently, mixing and pouring the colored sands, listening to the delicate sounds of grains falling and settling. The colors will ignite your sight, revealing beautiful combinations as they blend and morph into something uniquely yours.
The smells of the materials might be subtle, yet they ground your crafting moment. Picture yourself in a cozy space, perhaps with a warm drink nearby, swaying slightly to the lulling rhythm of your movements. It’s an intentional act of being, one that invites you to step away from the rush of daily life.
Gathering Your Materials
To craft your Rainbow Sand, collect these simple supplies:
- Fine sand (natural or play)
- Non-toxic color powder (such as food coloring or powdered pigments)
- Empty containers or jars (for separating colors)
- A large bowl (for mixing)
- Gloves (optional, for protecting your hands)
- A spoon or stick (for mixing)
- A funnel or paper cone (to help pour sand)
These materials are easy to find, and you can adjust them based on what you have at home. Feel free to get creative with your colors or even try natural dyes for a softer palette.
Step-by-Step Directions
- Gather your materials in a clean space where you can spread out. Make sure you have ample room to enjoy the process.
- Begin with your fine sand and divide it into separate containers. The number of containers will depend on how many colors you’d like to create.
- Add your chosen color powder to each container, one at a time. A little goes a long way, so start with a small amount and add more as needed for vibrancy.
- Using a spoon or stick, gently mix the sand and color. Enjoy the soft sounds as the grains tumble and blend together, transforming before your eyes.
- Once you’re happy with a color, use the funnel or paper cone to carefully pour the colored sand into jars or larger containers. Feel the flow of the sand as it pours, creating beautiful layers.
- After filling your containers, take a moment to admire your work. Each jar holds a different energy. They can be used as decoration, gifts, or simply as a soothing reminder of your creation.
Bringing Rainbow Sand Into Your Space
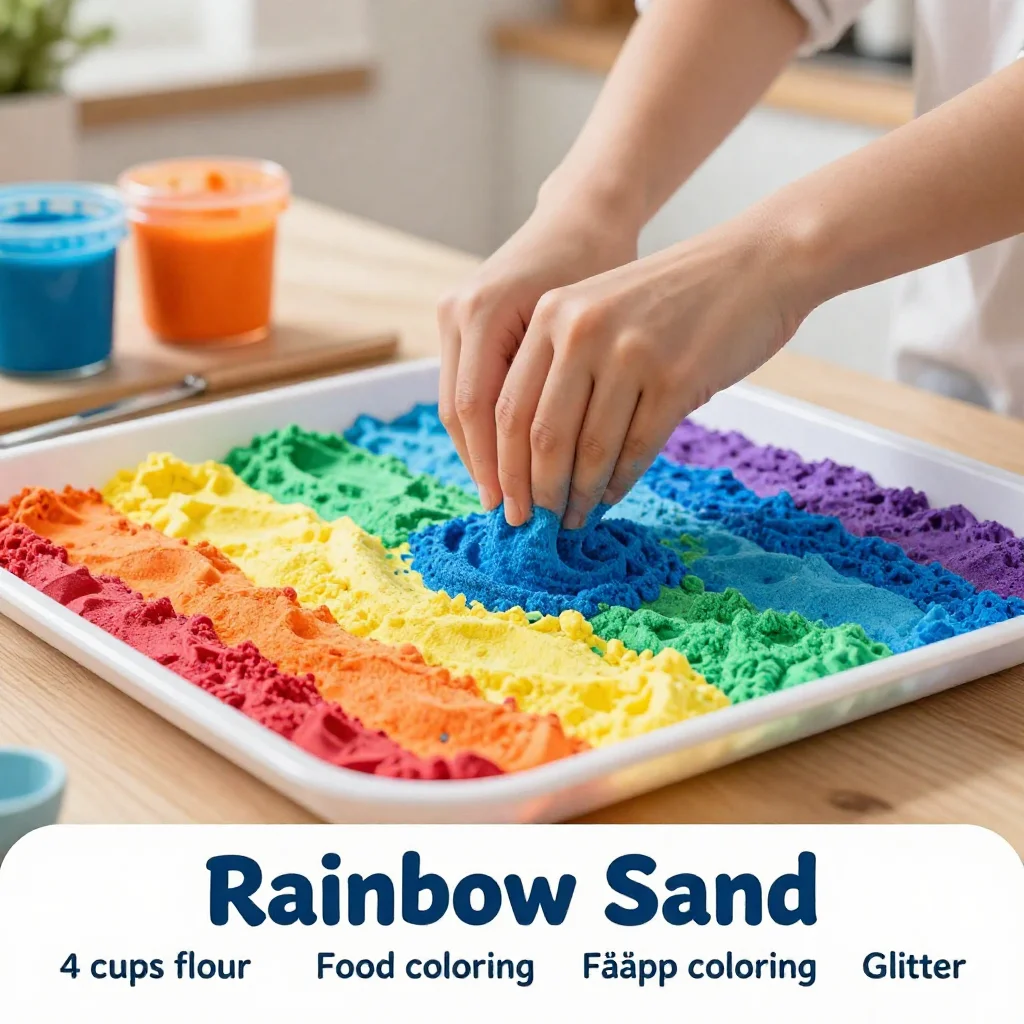
The finished Rainbow Sand brings charm and tranquility to any corner of your home. Use it to decorate a shelf, creating a serene tableau that invites calmness into the space. Arrange the sand in clear glass containers, allowing light to filter through and accentuate the dazzling colors.
You can also use the sand in sensory play for children, allowing them to explore shifting textures and colors with their hands. Incorporating Rainbow Sand into your routine can transform a mundane moment into something joyful. Whether you meditate with it as a focal point or simply admire its beauty, this DIY organically fits into moments where you seek calmness.
Making This DIY Last
Rainbow Sand is both beautiful and long-lasting with proper care. Store your finished creations in airtight containers to keep the colors vibrant. If you notice any fading over time, a gentle touch of fresh color can refresh and revive your creation.
When it comes to reuse, think about using Rainbow Sand in upcoming craft projects or as a natural decoration for special occasions. You can present them in thoughtful ways during events or simply enjoy the layers you’ve created throughout the year.
Discover More Sensory Play Ideas
If this activity sparked curiosity or calm, explore our full collection of sensory play ideas. These hands-on recipes are designed to engage the senses, encourage exploration, and create meaningful play moments with simple materials.
Small Ways to Make It Your Own
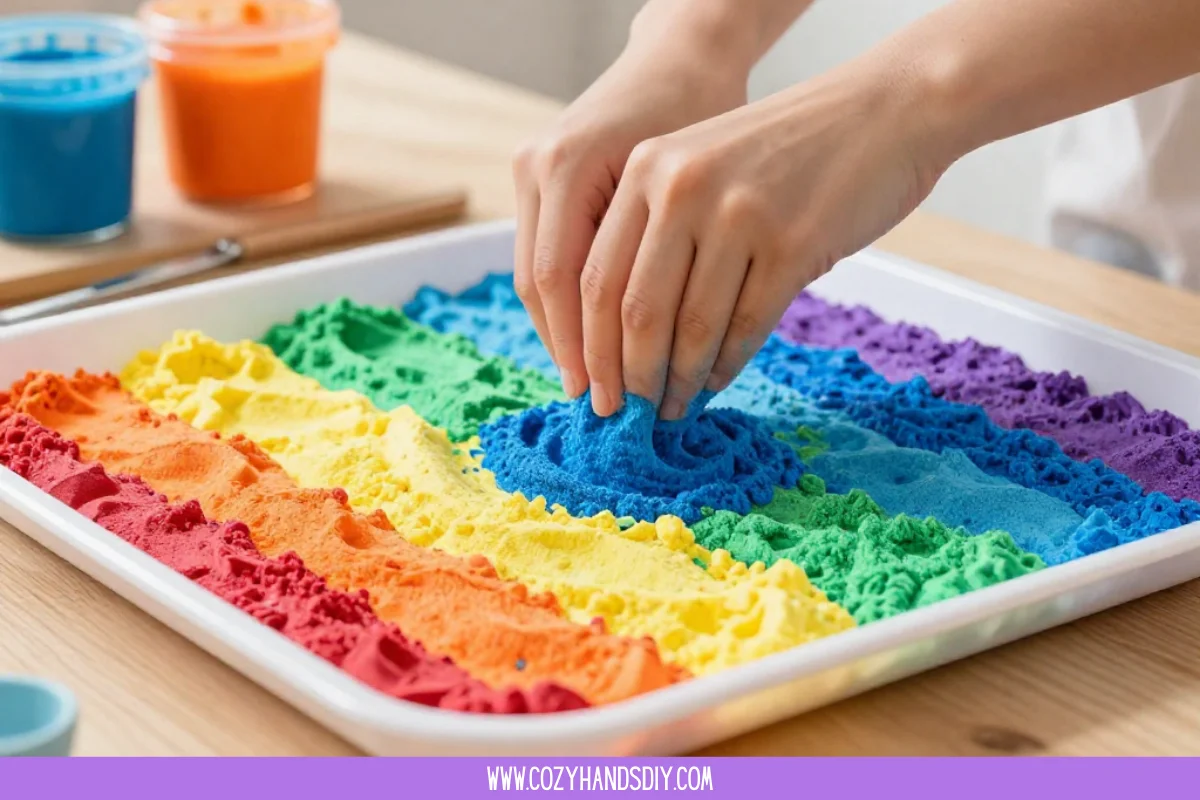
Your Rainbow Sand can evolve with your creativity. Here are a few gentle suggestions:
- Experiment with layering: Try layering different colors in specific patterns. Each layer tells a story.
- Natural dyes: Consider using different natural sources for color such as beet juice, turmeric, or spirulina. This offers a unique organic touch.
- Scent it: A drop of essential oil can add a lovely fragrance. Lavender or chamomile would enhance its calming effect.
- Encapsulation: Place small treasures, such as shells or pebbles, within the sand to create a visual narrative.
- Community creation: Invite friends or family to create different colors, and blend them for a joint memory.
Explore More Mindfulness Crafts
If you enjoyed this calming project, you’ll love our full collection of mindfulness crafts. These hands-on DIY recipes are designed to slow things down, encourage focus, and turn simple materials into peaceful, creative moments you can enjoy anytime.
FAQs About Rainbow Sand
Can I use regular sand for Rainbow Sand?
Yes, regular sand works well. Just ensure it’s clean and devoid of debris. Fine sand creates a smoother texture, but feel free to explore options that resonate with you.
How long does the Rainbow Sand last?
With proper storage, your Rainbow Sand can last for years. Keep it in a dry, airtight container to maintain its vibrant colors.
Is this project safe for kids?
Yes, it’s safe for kids under adult supervision. Choose non-toxic colors for their peace of mind, and ensure they understand the importance of gentle handling.
Can I make large quantities at once?
Absolutely! Mixing larger batches allows for a stunning display, perfect for larger projects or group collaboration.
What if the colors mix and become muddy?
While this might happen, remember that’s part of the journey. Embrace the beauty of unexpected outcomes; sometimes, they lead to new creations.
Conclusion
Creating Rainbow Sand serves as a calming, sensory experience that fosters creativity and mindfulness. As you work with the colors, their tactile sensations remind you to cherish each moment of the crafting process. This gentle project invites you to slow down, explore your imagination, and connect with the world around you.
If you’re interested in exploring more creative sand play, consider checking out the vibrant options available in the Classic Colored Play Sand. For a deeper dive into the beauty of sand art, explore the insightful guide from Rainbow Sand Art – Adventure in a Box. Embrace this calming practice and allow your creativity to flourish in soothing ways.
PrintRainbow Sand
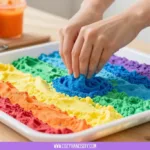
Create vibrant and soothing Rainbow Sand that enhances your space and nurtures your soul.
- Prep Time: 15 minutes
- Cook Time: 30 minutes
- Total Time: 45 minutes
- Yield: Varies (depends on the number of colors and containers)
- Category: DIY Craft
- Method: Crafting
- Cuisine: N/A
- Diet: N/A
Ingredients
- Fine sand (natural or play)
- Non-toxic color powder (such as food coloring or powdered pigments)
- Empty containers or jars
- A large bowl
- Gloves (optional)
- A spoon or stick
- A funnel or paper cone
Instructions
- Gather your materials in a clean space where you can spread out.
- Begin with your fine sand and divide it into separate containers.
- Add your chosen color powder to each container, one at a time.
- Using a spoon or stick, gently mix the sand and color.
- Once you’re happy with a color, use the funnel or paper cone to carefully pour the colored sand into jars.
- After filling your containers, take a moment to admire your work.
Notes
Consider using natural dyes for a softer palette and add essential oils for a pleasant fragrance.