

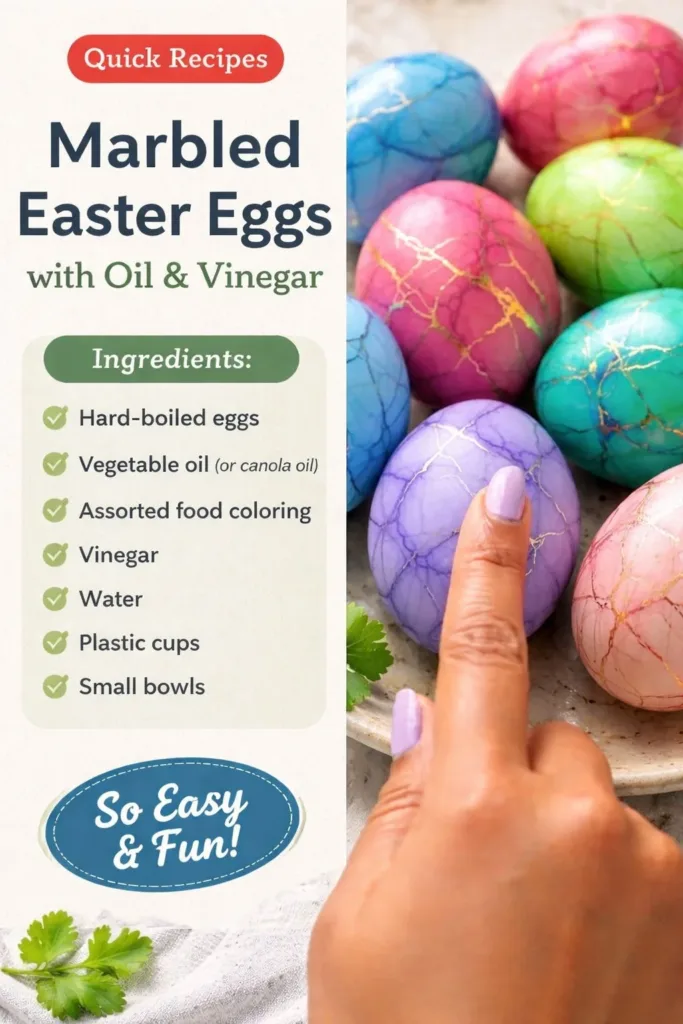
The bowl looks like a small calm storm. I hold a warm, soft egg in my palm and watch a ripple of color float across the surface as oil thins into bright veins. The vinegar scent hints at something old and kitchen wise. Hands move slowly. Fingers feel the smooth shell and damp paper towel. Marbled Easter Eggs with Oil & Vinegar asks for quiet attention and gentle motions, and that is exactly the kind of making I love to return to. If you have enjoyed simple dye experiments like our glowing Easter eggs, this one will feel familiar and wonderfully new.
Why Marbled Easter Eggs with Oil & Vinegar Feels Comforting to Create
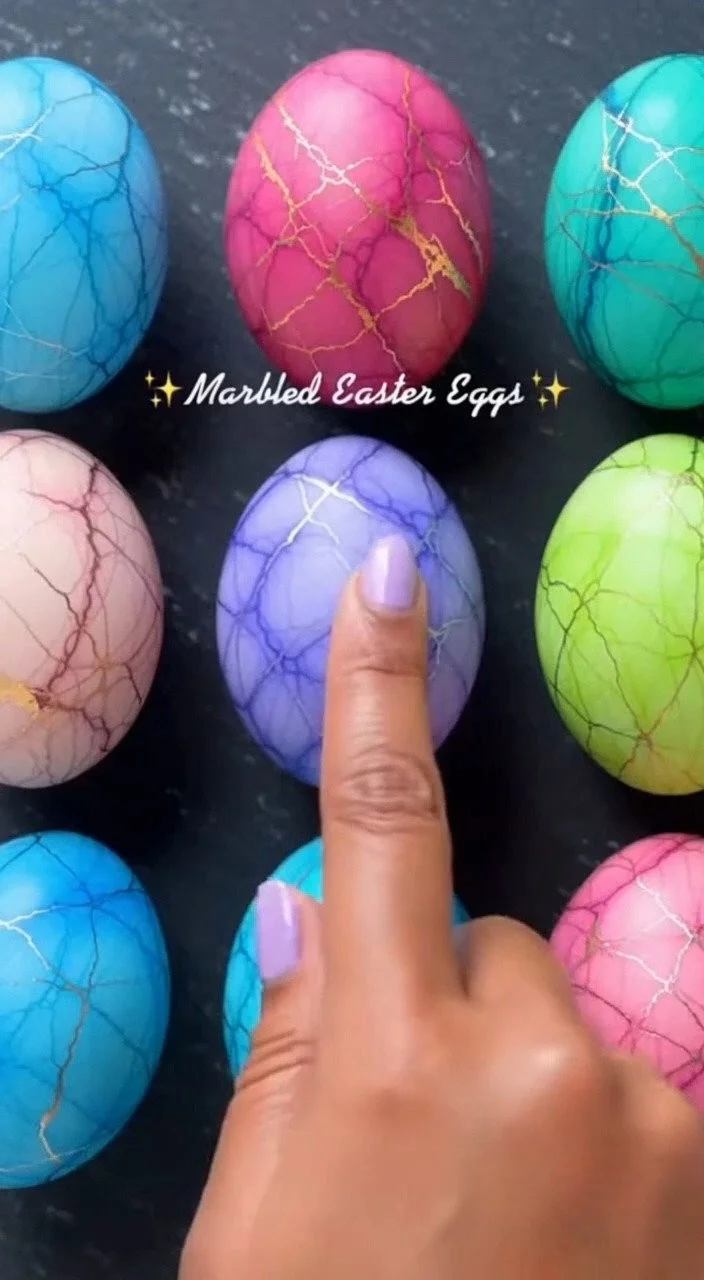
This project asks you to slow down. It invites you to watch small differences and to let time do its work. When you mix a drop of oil with dye and swirl it on the water, the colors separate and dance. You do not force a pattern. You guide it with soft movements.
The tactile rhythm soothes. You hold cool eggs, run a finger along a paper towel, listen to the gentle clink of spoons on bowls, and smell a faint tang of vinegar. Each sense anchors you in the present moment. This gentle focus can feel like a short meditation tied to texture and light.
The result carries a quiet charm. Each egg bears its own little world of lines and blooms. You can tuck them into a bowl of straw, nest them on a windowsill, or use them as a soft table accent. The act of making and the finished pieces both add a calm, handmade touch to a room. If you like combining craft and cozy displays, you might enjoy pairing these with a textured nest or the natural look of our rustic twine lace Easter Eggs, which offer a different, equally comforting finish.
Why you will return to this process often comes down to its gentle unpredictability. You plan, you prepare, and then you watch. The patterns surprise you. That small, pleasant surprise is a soft reward for being present.
How This DIY Comes Together
Before you pick up your tray, think about flow and rhythm. You will boil or empty eggs, set up shallow dishes of water, and work in short, calm sessions. The main idea involves three simple parts: water, oil, and a concentrated drop of food coloring combined with a splash of vinegar.
You will add oil to the dyed water or to the bowl, and the oil will float. Food coloring likes water and not oil. When you stir or tap the surface, the colors move in thin sheets and curves. When an egg meets the surface, it picks up those color paths and holds them in place.
Work in small batches and let each egg rest to dry. You will learn a quiet measure of how much oil, how fast to swirl, and how long to let colors sit. The process rewards a measured pace. There is a soft, satisfying music to setting up bowls, dipping eggs, and watching the design reveal itself as you lift each one out.
Materials You’ll Need
- Eggs (hard-boiled or blown; choose based on whether you plan to eat them)
- Food coloring (liquid works well; concentrated, easy to find)
- White vinegar (helps the dye bond to the eggshell)
- A light-tasting oil such as vegetable oil or olive oil (creates the marbled effect)
- Shallow bowls or containers (one per color)
- A spoon or small whisk (for gentle mixing)
- Tongs, a slotted spoon, or a fork for lifting eggs (optional)
- Paper towels (to blot excess oil and protect surfaces)
- Old towels or a tray to catch drips (protect your workspace)
- Disposable gloves (optional, helpful for hands that do not like stains)
- A drying rack or egg carton (to let eggs dry without rolling)
- Natural materials for display (straw, twine, small bowls, optional)
Note about vinegar and experiments: If you like small kitchen science with your crafts, you might enjoy exploring other safe reactions like those in our playful baking soda and vinegar fireworks fun projects. They share a similar curiosity and simple chemistry that feels right at home in a calm craft session.
SECTION 5 — STEP-BY-STEP DIRECTIONS:
- Gently prepare your eggs. If you will eat them, boil and cool them fully. If you prefer a long-lasting decoration, you can blow out the insides gently and let shells dry until completely empty and crisp.
- Fill shallow bowls with warm water, about one inch deep. Add a teaspoon or two of vinegar to each bowl and stir slowly until it feels evenly mixed.
- Add a few drops of food coloring to each bowl. Use more drops for richer colors. Let the dye settle for a moment.
- Add a thin film of oil to the surface of the dye water. You only need a light sheen. Watch how the oil beads and breaks the color into small islands.
- Using a spoon or the tip of a toothpick, tap and swirl the oil gently to create flowing lines and small pockets of color. Keep movements slow; quick stirring makes more chaotic patterns.
- Hold an egg by the wider end and lower it slowly into the colored surface. Let just the area you want to marbel touch first. You can roll the egg slightly for a striped effect.
- Lift the egg carefully and glance for oily spots. Blot the oil with a soft paper towel to reveal more defined color and to remove excess oil.
- Repeat the dip in other colors if you like layered or jewel-like patterns. Allow each layer to dry a little before moving to prevent color muddling.
- Set the egg on a rack or in an egg carton to dry. Touch it only after it feels cool and the oil no longer beads on the surface.
- If you want a soft sheen, buff the dried egg gently with a clean cloth. If you prefer a matte look, leave it as is or set it in a nest of dried grass or moss.
Work with quiet hands. Pause between steps to notice the textures: the slick skin of oil, the slight grit of paper towel, the glossy wet color that brightens before you blot. These moments matter as much as the finished egg.
Bringing Marbled Easter Eggs with Oil & Vinegar Into Your Space
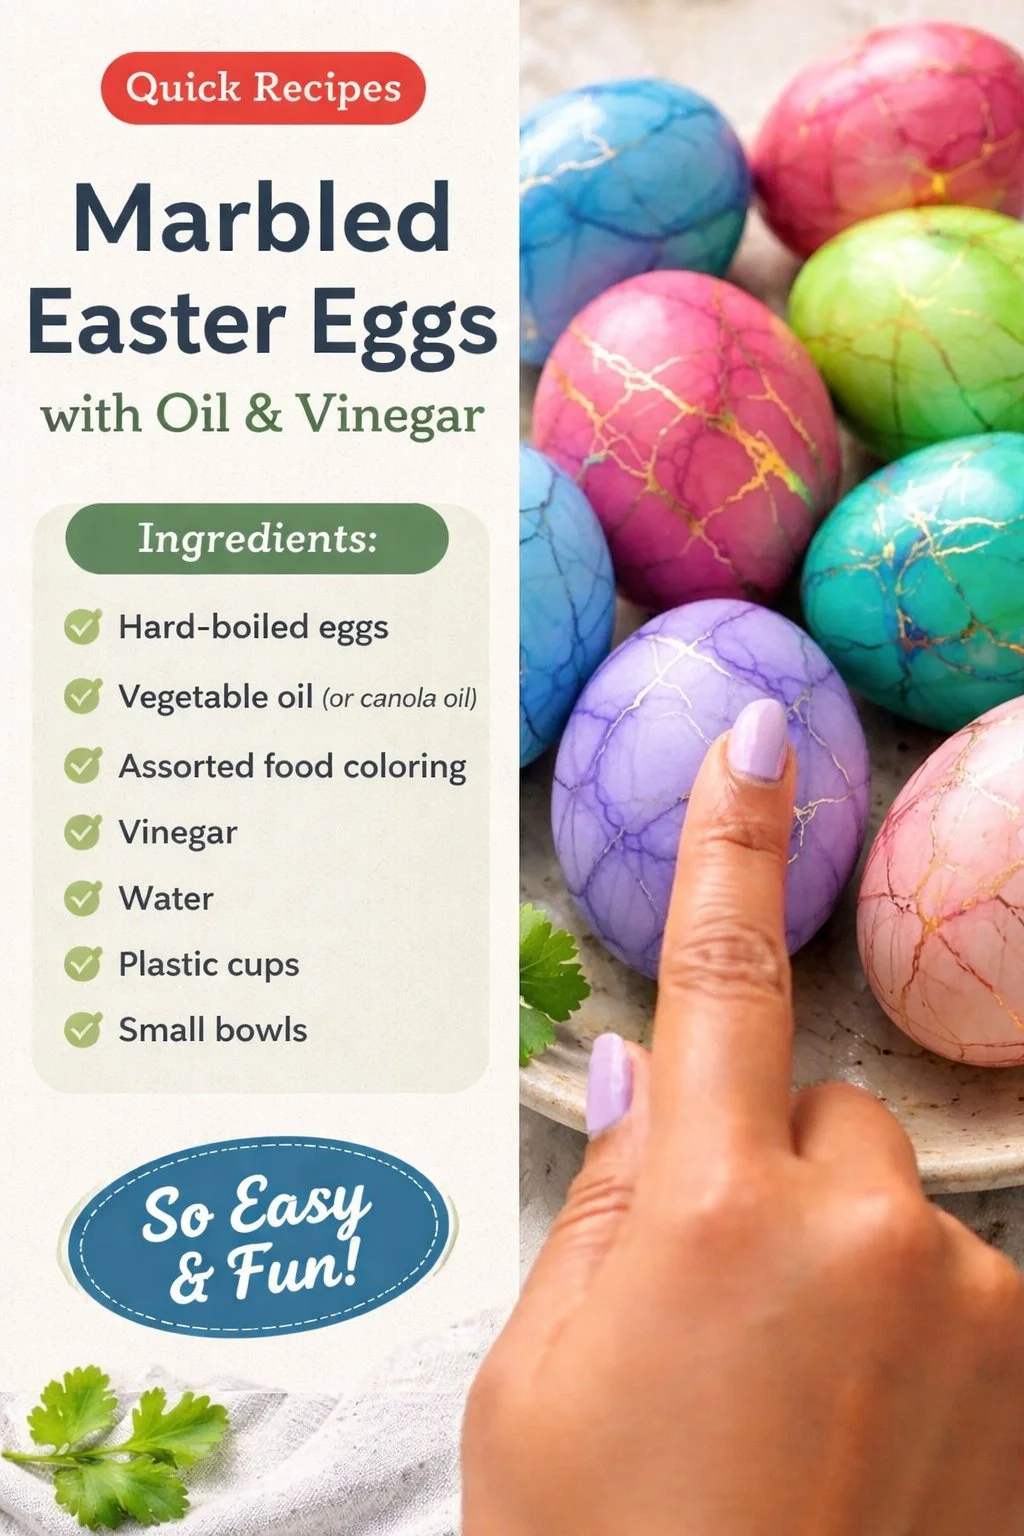
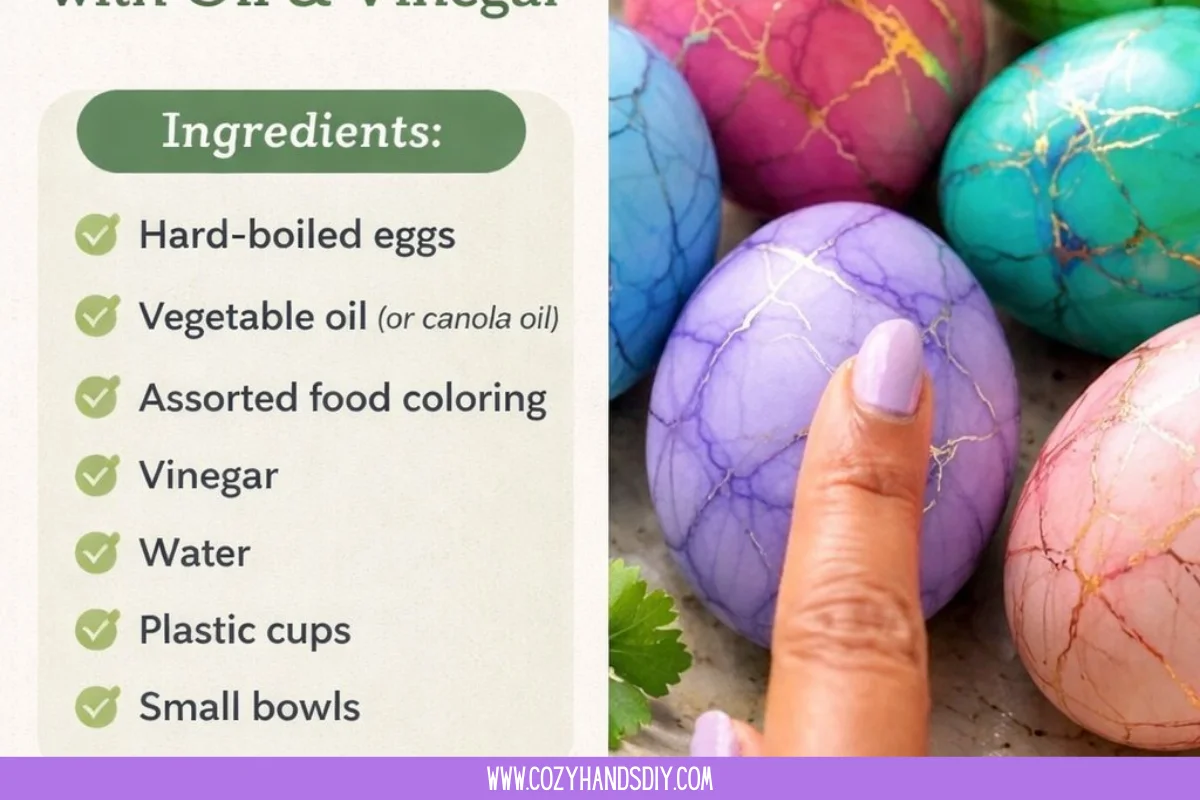
Once dry, these eggs bring a soft, handmade charm into everyday corners. Place a trio in a shallow ceramic bowl near a window and let morning light pick out the veins and glossy spots. Tuck one inside a linen napkin for a cozy place setting. Arrange several on a wooden tray with sprigs of dried flowers for a gentle centerpiece.
These eggs also fit into a slow morning routine. You can make a small ceremony of bringing out your bowl, turning on quiet music or keeping the kitchen silent, and arranging each finished egg with care. The simple act of arranging can feel healing and restorative.
If you keep them as a seasonal collection, change their spot slightly each week. They respond well to natural materials. A felted nest, a bed of eucalyptus, or a clutch of pinecones gives them a soft stage. For small gatherings, pair a marbled egg with a handwritten place card for a calm, personal touch.
You may notice guests stop and hold an egg between their hands. That is part of their quiet magic. They invite a slower pace, a few soft words, and a small smile.
Making This DIY Last
These eggs can be short-term displays or longer keepsakes, depending on how you prepare them. Hard-boiled eggs will last about a week in the fridge if you plan to eat them. Keep dyed, edible eggs chilled and use them within the usual time frame for boiled eggs.
If you want the eggs to last much longer, consider blowing out the contents before decorating. A blown shell will keep for years if you store it gently, dust it now and then, and avoid direct sunlight.
Store finished eggs in a cool, dry place away from moisture and strong heat. Wrap delicate shells in tissue and nest them in a box if you plan to put them away between seasons. If an egg catches a bit too much oil and looks glossy where you do not want shine, a light dusting of cornstarch pulled through a soft cloth can dull unwanted glints.
For edible projects, always use food-grade materials and avoid cross-contamination. Label any opened or consumed eggs clearly and keep them separate from decorative-only eggs to avoid confusion.
Gentle Tips & Variations
- Invite slow color layering. Let the first color dry a bit before adding another. This creates depth and small islands of color rather than a muddle.
- Try different oils. A lighter oil like vegetable oil offers subtler shine; olive oil gives a richer sheen and slightly different flow. Test on a scrap shell to see what you prefer.
- Use a soft sponge to blot. A gently pressed sponge soaks oil without removing too much pigment, preserving delicate veins.
- Experiment with natural dyes. Beet juice, turmeric, and red cabbage can give gentle, earthy tones. They respond differently to vinegar and oil, so take time to notice how each one behaves.
- Make it a quiet group activity. Set up stations with one color and encourage small, slow sessions rather than racing through many eggs.
Frame these ideas as invitations, not rules. The most satisfying results come when you follow your own pace and preferences.
What I’ve Learned While Making This
I learned that patience matters more than technique. When I moved too quickly, colors blurred and I felt rushed. When I worked slowly, each egg revealed surprises. I also found joy in imperfection. Little smudges or uneven streaks told a story about the moment they were made.
I learned to notice smell and touch. A few drops of vinegar in the water make colors cling better, and the faint tang of vinegar against sweet dye takes me back to quiet kitchen experiments from childhood. The way oil beads up and then parts like a tiny ocean gives a small thrill every time.
I learned safety habits too. If you plan to eat your eggs, I keep a dedicated set of bowls and utensils only for edible dyeing. If children come to the table, I place an apron and gloves as gentle boundaries so hands can explore without stain worries.
Above all, I learned that a slow craft can be a small ritual. Making marbled eggs invites a pause. It centers the hands and softens the mind.
FAQs About Marbled Easter Eggs with Oil & Vinegar:
Q: Can I eat eggs that I marble with oil and vinegar?
A: Yes, if you use food-safe dyes and work with hard-boiled eggs, you can eat them. Keep them refrigerated and use within the usual time for boiled eggs. Use separate utensils and bowls for edible eggs to avoid accidental contamination.
Q: Why add vinegar to the dye?
A: Vinegar helps the coloring bond with the eggshell surface. The acid can slightly alter the shell and improve color uptake, which makes each hue appear clearer and more lasting.
Q: Can I use any kind of oil?
A: You can use many light oils. Vegetable oil works well and feels neutral. Olive oil gives a warmer sheen. The oil does not mix with water and that helps it carry and separate dye on the surface. Try a small test if you want a specific look.
Q: How do I make the patterns more defined?
A: Work with small amounts of oil and blot gently with paper towel between dips. Let layers dry a little before adding new colors. Slower, deliberate movements create crisper veins and islands.
Q: Are there child-friendly ways to do this?
A: Yes. Let children wear gloves and aprons and work only with edible dyes. Guide them to slow stirring and supervised dipping. Use small cups and one color at a time to keep the rhythm calm and safe.
A Gentle Note Before You Go
Sit with your finished eggs for a moment. Hold one and notice the coolness of the shell and the way light runs across a thin line of color. Place them where you can see them in the soft hours of morning or evening. These small objects carry a memory of your time and care.
This craft teaches a patient way of looking at things: tilt the bowl, notice the swirl, let a color settle. Each step offers a soft reward, a tiny surprise. Keep a few spare shells for testing new colors on slow afternoons. The process will welcome you back.
Conclusion
If you want a recipe that outlines similar steps with clear photos, I find the detailed marbleized recipe with oil, vinegar, and food colouring helpful for visual guidance. For another clear step-by-step tutorial and alternative techniques, consider the step-by-step marbleized Easter eggs tutorial on Instructables which shows different ways of approaching the same calming idea.
Thank you for letting a few quiet minutes of making into your day. Keep your movements slow, your hands warm, and your workspace soft. The eggs will hold the memory of your gentle time.
PrintMarbled Easter Eggs with Oil & Vinegar

Create beautifully marbled Easter eggs using oil, vinegar, and food coloring for a charming decorative touch.
- Prep Time: 15 minutes
- Cook Time: 15 minutes
- Total Time: 30 minutes
- Yield: 12 eggs
- Category: Craft
- Method: Crafting
- Cuisine: American
- Diet: Vegetarian
Ingredients
- Eggs (hard-boiled or blown)
- Food coloring (liquid)
- White vinegar
- Vegetable oil or olive oil
- Shallow bowls or containers
- Spoon or small whisk
- Tongs or slotted spoon
- Paper towels
- Old towels or tray
- Disposable gloves (optional)
- Drying rack or egg carton
- Natural materials for display (optional)
Instructions
- Prepare your eggs by boiling or emptying them.
- Fill shallow bowls with warm water and add vinegar.
- Add food coloring drops to the bowls.
- Pour a thin film of oil on the surface of the dye.
- Tap and swirl the oil gently with a spoon.
- Lower an egg into the colored surface, starting with the wider end.
- Lift the egg and blot excess oil with paper towels.
- Repeat dipping in other colors if desired.
- Set the egg to dry on a rack or carton.
- Buff the dried egg with a cloth for sheen, if desired.
Notes
Experiment with different oils and natural dyes for unique colors.