


The sunlight slips through a window and warms the table where I work. I press a fingertip into a soft pool of color, feeling the cool, slightly tacky surface of Bold Color Bioplastic Suncatchers and the quiet of a small, focused moment. The colors glow when the light finds them, and the making slows my breath in the best way — steady, attentive, gently rooted in hands and sight. A colorful bioplastic suncatchers recipe sits bookmarked nearby when I need a little reminder of the simple chemistry and warm satisfaction of transforming food-grade ingredients into little panes of color.
The Quiet Joy of Making Bold Color Bioplastic Suncatchers
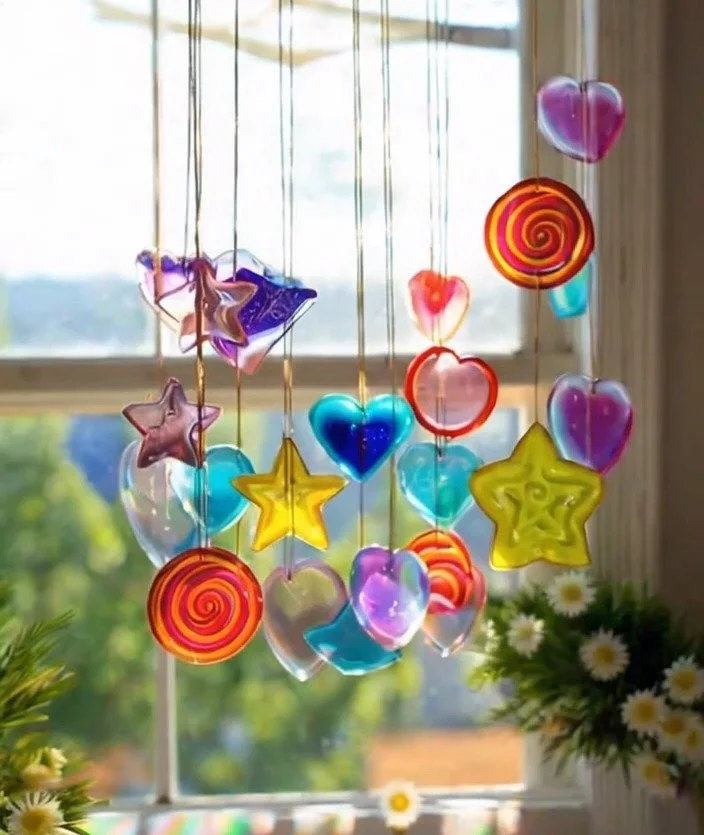
This craft invites slow attention. When you make Bold Color Bioplastic Suncatchers, you notice small textures and subtle changes: the way glycerin smooths the mixture, how a puddle of dye spreads and sings under a wooden skewer, how steam breathes scent into the room. Those sensory details help you arrive in the present moment.
The process lets you hold a little control and leave room for surprise. You decide on colors, shapes, and translucent layers. Then the materials do what they do naturally: thicken, set, and catch the light. People often tell me the ritual comforts them — stirring becomes rhythmic, the kitchen smells faintly sweet, and viewing the finished pieces feels like catching a private sunrise. For a deeper background on techniques and inspiration, I sometimes revisit our guide to the broader bioplastic suncatchers background and let it spark new ideas.
Making this is less about perfection and more about presence. The hands learn to listen: stop stirring when the mix clears, let a cooled sheet rest before lifting, tuck a loop through a softened corner. Each small choice shapes the outcome and keeps the rhythm calm.
A Gentle Look at the Process
Before you gather tools, imagine the flow. You combine a few simple ingredients into a warm, glossy liquid. You pour with care into molds or onto parchment and let cooling do much of the work. You might cut shapes once the sheets feel firm but still slightly springy.
The movement stays soft. Stir slowly, listen to the cloth of the spoon whisper through the mixture. Pour with a steady hand so the color pools without abrupt ripples. When you trim or punch holes, the sounds feel crisp and domestic: a soft snip, a tiny pop when a hole punch frees a round of material.
If you enjoy a deeper read on alternate approaches or ways to vary steps, this step variations guide offers gentle experiments to try later. The aim here remains steady: make with care, notice textures, and let the rhythm calm you.
Materials You’ll Need
- Gelatin or agar-agar (food-grade) — gelatin gives warm clarity; agar offers a vegan option.
- Warm water — easy to find; helps dissolve the gelatin smoothly.
- Glycerin — small amount adds flexibility and a glossy finish.
- Food coloring or liquid watercolor — pick bold, saturated tones for vivid suncatchers.
- Small saucepan — dedicated for crafting or thoroughly cleaned.
- Wooden spoon or silicone spatula — gentle on surfaces; sturdy for stirring.
- Baking sheet or rimmed tray — to pour cooled sheets on; flat and oven-safe.
- Parchment paper or silicone baking mat — prevents sticking and gives a soft texture to the underside.
- Measuring spoons and cups — basic accuracy helps the chemistry behave.
- Scissors or craft knife — for cutting shapes when sheets are set.
- Hole punch or straw — to make loops for hanging.
- Thread, twine, or ribbon — for hanging and gentle display.
- Optional small objects to press in (pressed flowers, thin leaves) — for delicate inclusions.
- Safety note: work in a well-ventilated area and keep children supervised around hot liquids.
If you want a bit more on sourcing or adaptations for different textures, our post on materials and mixing tips can help you explore alternatives and substitutions.
Gather your materials and set a calm workspace. Wipe the table clean, arrange your spoons, and unroll the parchment. Turn on gentle music or keep the room quiet. The ritual of preparation helps you settle.
Measure gelatin or agar-agar and warm water. Sprinkle the gelatin evenly over cool water and let it bloom for a few minutes so it hydrates before heating. If you use agar, whisk it into boiling water to dissolve.
Heat gently in a saucepan and stir. Warm the mixture over low heat. Stir slowly with a wooden spoon until the gelatin fully dissolves and the liquid looks clear and silky. Avoid boiling; a simmer keeps the mix smooth.
Add glycerin and color. Stir in a small amount of glycerin to make the sheet flexible and glossy. Mix in food coloring slowly, watching how the color spreads. Add more drop by drop for richer hues.
Pour into a lined tray. Place parchment paper or a silicone mat on a rimmed baking sheet. Pour the warm mixture evenly into the tray. Tilt slightly to help level the liquid and prevent thick edges.
Optionally sprinkle or place small inclusions. Lay pressed flowers or fine leaf bits on the surface with tweezers. Press them lightly so they sit flush with the gel, which will trap them as the sheet sets.
Let cool to room temperature. Allow the sheet to firm slowly. Cooling at room temperature gives a clearer, more even texture than rushing to the fridge.
Remove the set sheet and dry gently. Lift the sheet from the parchment when it feels firm but still slightly supple. Lay it flat on a dry towel to wick away remaining moisture for several hours.
Cut shapes with care. Use scissors or a craft knife to trim shapes slowly. The material cuts cleanly when the edge feels firm under your fingers.
Punch holes and add hangers. Use a small hole punch or a warmed straw to make holes near the top of each shape. Thread twine or ribbon through the hole and tie a small knot. Hang in a window and let light do the rest.
Enjoying the Finished Piece
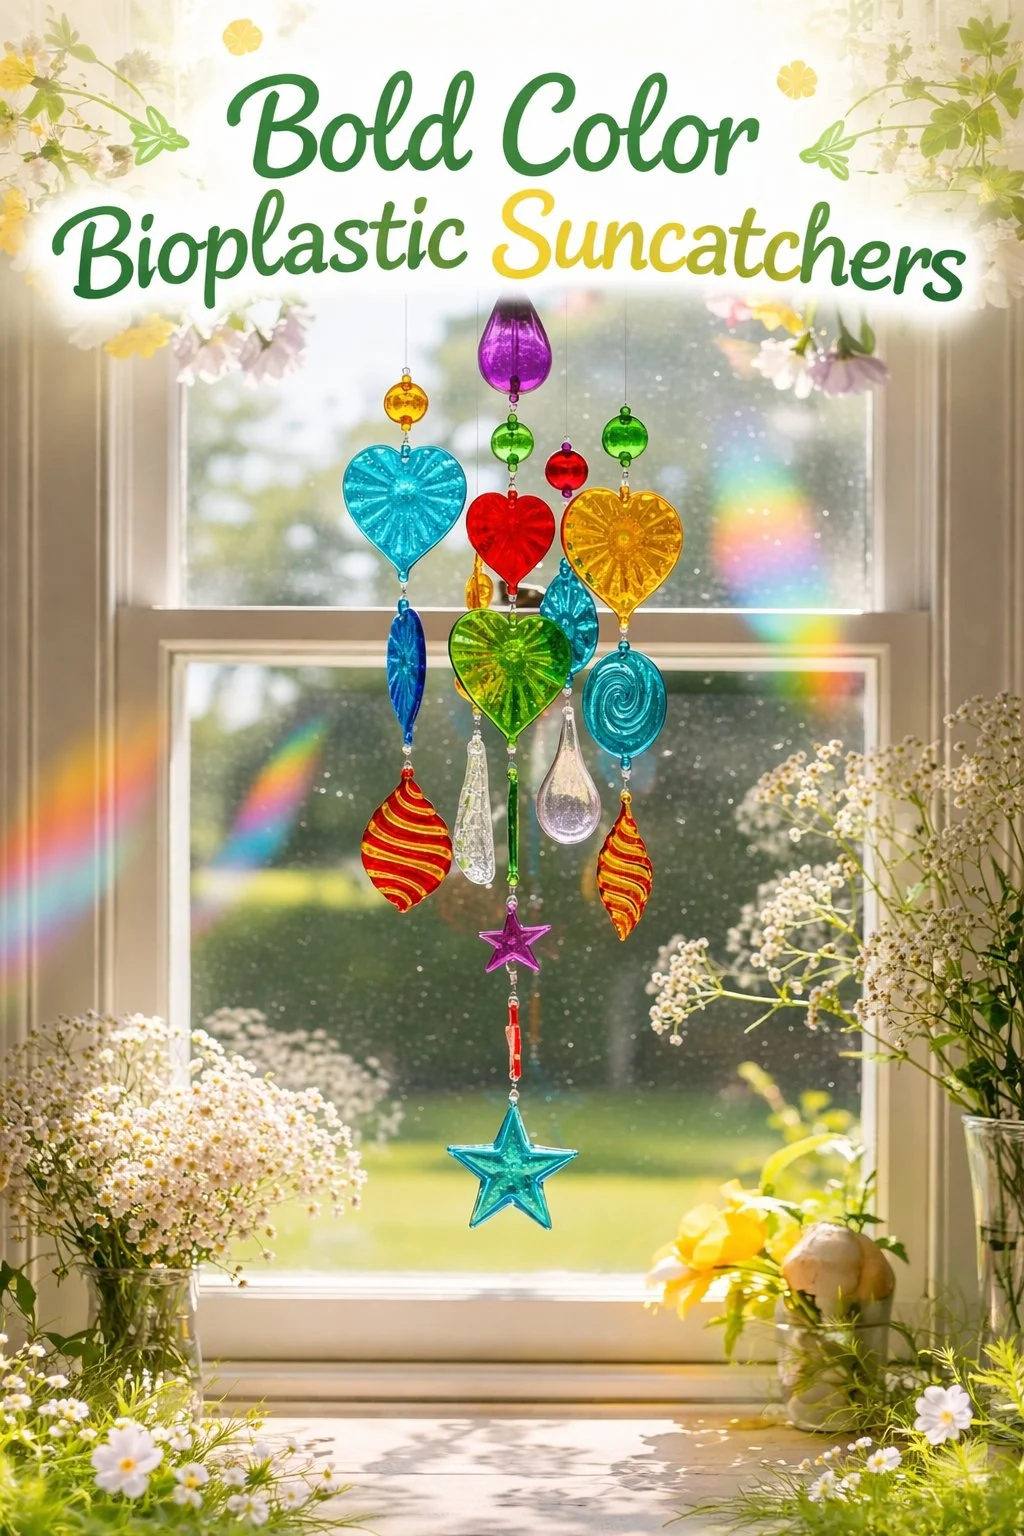

Hang these pieces where they catch a gentle arc of sun. A single suncatcher on a kitchen window sends color across a tabletop for an hour of quiet delight. Cluster several together for a mobile that moves in the slightest breeze and whispers color into the room.
Place suncatchers against white walls to let colors read cleanly. Layer a pale blue behind a vivid magenta and watch orange appear where the two overlap. You will notice how the pieces change throughout the day: a saturated band at noon, softer pastels at dusk.
Suncatchers make calm gifts too. Wrap them in a piece of cotton or tissue, tuck a hand-written note inside, and let the receiver unwrap a small, luminous object. The act of giving feels like passing along a moment you created slowly and with care.
How to Store or Reuse Bold Color Bioplastic Suncatchers
Store them flat and dry. Lay finished pieces between sheets of parchment or tissue paper and keep them in a shallow box. Avoid stacking heavy objects on top; the material can deform if compressed.
Keep them away from heat and direct sunlight when not on display. Prolonged heat can soften the sheets and invite warping. In warm months, choose shaded windows or hang further from glass.
Reuse in new projects. Cut older suncatchers into smaller shapes for garlands, or punch multiple holes to weave threads and make delicate curtains. If a piece grows dull with time, gently clean its surface with a soft, damp cloth and allow it to air dry.
Be mindful of moisture. These pieces resist water to a degree, but long exposure can change their texture. If you plan to hang them outdoors for a short time, consider sealing edges with a thin coat of diluted PVA glue to protect them from humidity.
Gentle Tips & Variations
Try layering colors intentionally. Pour a thin clear base, let it set slightly, then add a bold color on top. This produces depth and soft overlaps that look like stained glass. Think of it as painting with translucent sheets.
Explore texture with a silicone mat. Press a patterned silicone mat lightly onto the setting surface to leave a subtle texture on one side. This gives the suncatcher a tactile quality and softens reflected light.
Swap gelatin for agar if you want a plant-based option. Agar sets firmer and cools quicker, and it captures delicate inclusions well. Remember that agar behaves differently when reheated; keep temperatures gentle.
Keep a small notebook by your tray. Jot down ratios, color mixes, and times that produced the results you liked. Small notes help you repeat a favorite glow without chasing perfection.
Invite a child or friend to join in for a shared pause. Set one task to each pair of hands — one stirs, the other colors — and enjoy the soft rhythm of cooperative making. Always supervise when working with warm liquids.
FAQs About Bold Color Bioplastic Suncatchers
Q: Will the colors fade over time?
A: Colors will gently soften if exposed to constant, direct sunlight. Choose bold pigments for longer vibrancy and hang pieces where they receive filtered light. Storing flat and away from bright sun when not displayed helps preserve saturation.
Q: Are these safe for households with pets or small children?
A: The finished product uses food-grade ingredients, but it can pose a choking hazard if chewed. Hang suncatchers out of reach of pets and small children. Always supervise crafting with hot liquids and keep a separate set of child-safe tools for little helpers.
Q: How long do they last?
A: With careful display and storage, suncatchers can last months to years. Keep them dry, avoid stretching or bending repeatedly, and store flat when not in use. If a piece softens, you can often firm it again by laying it flat to dry fully.
Q: Can I add glitter or metallics?
A: You can, but use fine amounts. Large glitter pieces can create uneven surfaces and cast shadows that distract from color. Use ultra-fine metallic powders or mica sparingly for a delicate shimmer.
Q: What if the sheet sticks to the parchment?
A: Peel slowly and evenly. If it resists, warm the parchment slightly with low heat from a hair dryer or allow another hour to dry at room temperature. Avoid forcing removal, which can tear the edges.
A Gentle Note Before You Go
Sit with your finished suncatcher for a moment. Let the light and color become a small, moving focal point for your breath. Notice the soft sound of ribbon, the faint warmth where sunlight touches the surface, and the tiny private joy that comes from making something by hand.
If you keep a small ritual around this craft — a cup of tea, a playlist that calms, a dedicated bowl for tools — you build a scaffold for gentle creativity. The making becomes a place to return to after a busy day, and the objects you create carry that calm into your space.
Conclusion
If you want a fresh perspective on the basic method and kid-friendly variations, the piece titled Bioplastic Suncatchers: A Stunning Eco-Friendly Craft for Kids and … offers a clear, playful take that complements this slow approach. For inspiration on how colorful accents like suncatchers influence interiors, see Etsy’s Hottest 2023 Interior Design Trends for Your Home | HGTV, which highlights ways small handmade pieces can reshape the mood of a room.
Thank you for making with care. May your hands stay warm, your colors stay bright, and your days hold small, luminous moments.
PrintBold Color Bioplastic Suncatchers

Create beautiful, colorful bioplastic suncatchers using simple food-grade ingredients, perfect for adding charm to any window.
- Prep Time: 15 minutes
- Cook Time: 30 minutes
- Total Time: 45 minutes
- Yield: 4 suncatchers
- Category: Craft
- Method: Crafting
- Cuisine: N/A
- Diet: Vegan
Ingredients
- 1 tablespoon gelatin or agar-agar (food-grade)
- 1 cup warm water
- 1 tablespoon glycerin
- Food coloring or liquid watercolor (bold, saturated tones)
- Small saucepan
- Wooden spoon or silicone spatula
- Baking sheet or rimmed tray
- Parchment paper or silicone baking mat
- Measuring spoons and cups
- Scissors or craft knife
- Hole punch or straw
- Thread, twine, or ribbon
- Optional small objects (pressed flowers, thin leaves)
Instructions
- Gather your materials and set a calm workspace.
- Measure gelatin or agar-agar and warm water.
- Heat gently in a saucepan and stir.
- Add glycerin and color.
- Pour into a lined tray.
- Optionally sprinkle or place small inclusions.
- Let cool to room temperature.
- Remove the set sheet and dry gently.
- Cut shapes with care.
- Punch holes and add hangers.
Notes
Work in a well-ventilated area and keep children supervised around hot liquids. Store suncatchers flat and dry to avoid deformation.