

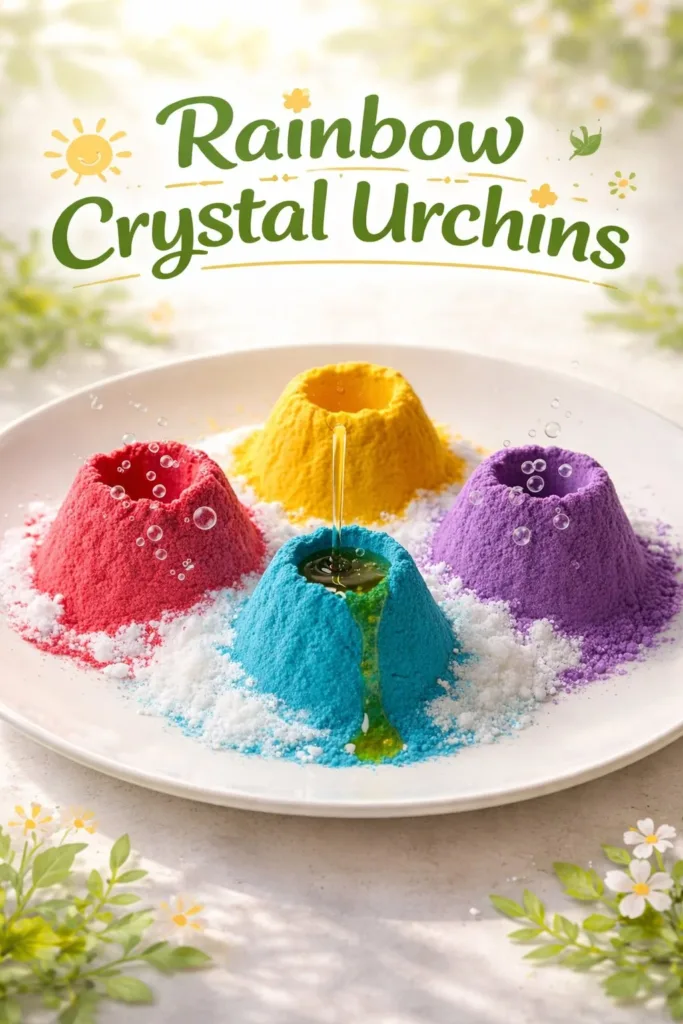
A single sunbeam lays across my work table, and the tiny spikes of a Rainbow Crystal Urchin catch it like a secret. My fingers move slowly, tracing the ridges, feeling the faint cool grain of dried clay and the faint rough of sugar crystals that grew there the night before. The light turns the colored crystals soft and warm, and the room feels like a small, hushed studio where careful making becomes a way to breathe.
Why Rainbow Crystal Urchins Feels Comforting to Create
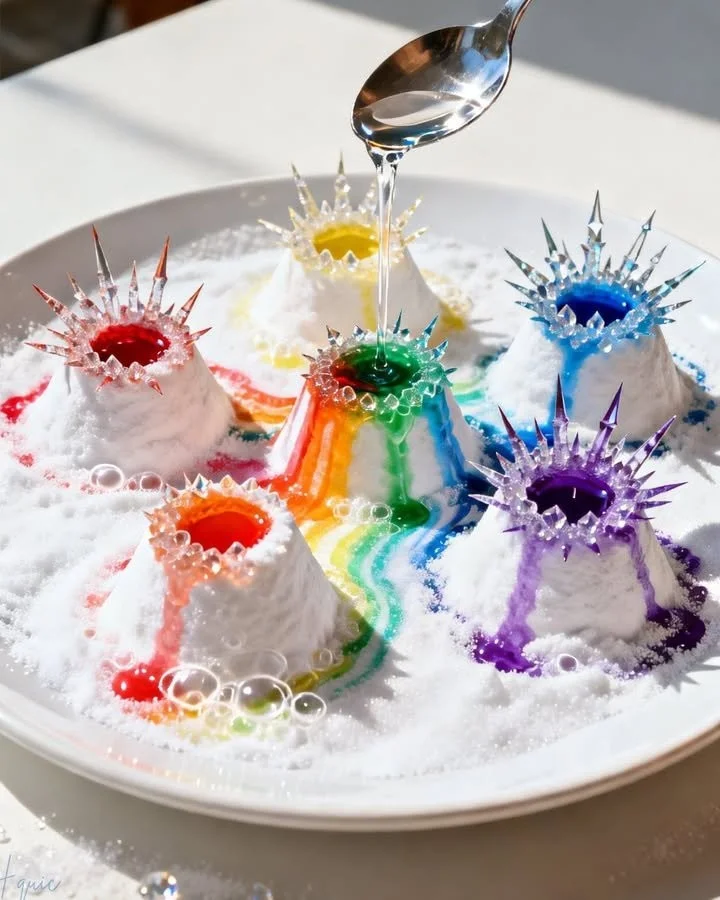
Making Rainbow Crystal Urchins invites me to slow down in a tactile, thoughtful way. The project asks for gentle repetition — rolling, pinching, attaching tiny spikes, and watching a clear solution crystallize into delicate facets. Each step rewards quiet attention with a soft, visible result.
When I press a thumb into dough or clay I notice the warmth of my hands, the way the material yields and holds. Later, when crystals form, they add a cool, glassy texture that contrasts with the dry base. The blend of warm and cool, rough and smooth, gives a small, pleasing surprise every time I reach for the piece.
If you enjoy other small, cozy crystal projects, you may like the calming guide I wrote about the Rainbow Crystal Forest project; it pairs well with this craft and offers similar sensory rhythms in a different shape: Rainbow Crystal Forest project.
How This DIY Comes Together
Before you begin, imagine motion and stillness together. You will shape a simple base, add many small spikes or holes, and then offer that surface to a crystal-hungry solution. The flow moves between active hands-on shaping and quiet waiting as crystals grow.
The shaping phase uses soft, slow hand movements. You will roll, press, and texture. The dipping or soaking phase is gentle too; you will lower the piece into a clear, warm solution and listen to the tiny, almost inaudible settling sound as it touches the surface. The waiting period teaches calm. You check back in steps, not all at once, and note tiny changes — a seed of crystal here, a glint there.
If you like to see exact measurements and temperatures for your crystal solution, the project pairs nicely with a more technical recipe I keep for growing crystals at home. It’s useful when you want more predictable growth: detailed crystal recipe.
Materials You’ll Need
- Air-dry clay or lightweight salt dough (easy to shape; air-dries without oven)
- Thin wooden skewers or toothpicks (for spikes; food-safe wooden skewers work well)
- Fine sand or a textured stamp (optional; adds natural pores for crystals to grip)
- Table salt, Epsom salts, or borax (choose one crystal method; see notes below)
- Warm water (for dissolving salts; use just-off-boil for borax methods)
- Food coloring or liquid watercolors (for soft rainbow hues; optional)
- Clear glue or PVA (for a stable crystal surface; optional)
- Small jars or shallow dishes (to hold crystal solution)
- Tweezers and small paintbrush (for gentle handling and cleaning)
- A fine sieve or coffee filter (to remove undissolved bits)
- Paper towels and a tray (to keep your workspace cozy and protected)
- Protective gloves and goggles (recommended if you use borax; safety first)
Notes: Baking soda methods are more child-friendly but grow slower and produce softer crystals. Borax or Epsom salt yields clearer crystals more quickly but needs careful handling. I keep a list of gentle crystal tips and materials in my rainbow crystal notes that you might find helpful: rainbow crystal materials and tips.
Step-by-Step Directions
Prepare your base gently. Roll a small ball of air-dry clay until smooth, then press one side flat so it will sit steady. The base should feel warm and slightly tacky.
Take a breath and sink into the rhythm of shaping.Mark where spikes will go. Use a skewer to make tiny guide holes or press in a pattern by hand. Aim for a balanced look, but allow small irregularities; they feel more natural.
The surface should feel textured but not crumbly.Insert spikes slowly. Push toothpicks or thin skewers into the holes just far enough to be secure. Keep them even in tilt but let lengths vary for charm.
Listen to the small push sound and notice the slight give under your fingers.Let the base dry until firm. Place it somewhere undisturbed, warm, and out of direct sunlight. Drying can take 12 to 48 hours depending on thickness and humidity.
The waiting helps you slow down and tune into small changes.Mix your crystal solution. For baking soda: dissolve 4 tablespoons in 1 cup of warm water, stirring until mostly clear. For Epsom salt: dissolve until no more will dissolve (saturated), using hot water. For borax: measure 3 tablespoons per cup of hot water and stir until dissolved — use gloves and avoid dust.
The solution will look clear and calm; that clarity helps crystals grow evenly.Color the solution if you like. Add a few drops of food coloring to different jars. Use soft, diluted colors for a pastel rainbow rather than bright streaks.
Color changes how light plays through the crystals, so test a small jar first.Dip the urchin. Place your dried base into the jar so spikes point up, or rest it on a support so only part sits in the solution. Let it sit very still.
You may hear a faint settling sound. That stillness invites growth.Wait and watch slowly. Check every few hours. Small sparkles will begin along the spikes or in pores first, then expand into tiny facets. Remove after a few hours or let them grow overnight for larger crystals.
Crystals feel cool and glassy to the touch when they first form.Rinse and finish. If you used borax or Epsom salt, gently rinse the urchin in cool water to remove residue, then let it dry completely. If you want extra shine, brush a thin layer of clear glue over the crystals and let it dry.
Use tweezers to clean any stray grains and a soft brush to uncover hidden glints.Mount and display. Trim spikes or paint their tips if desired. Arrange your Rainbow Crystal Urchins on a shelf with soft light so the crystals catch the sun or a warm lamp.
Sit with one for a while, running fingertips along the base and noticing the contrast of textures.
Using Rainbow Crystal Urchins in Everyday Life
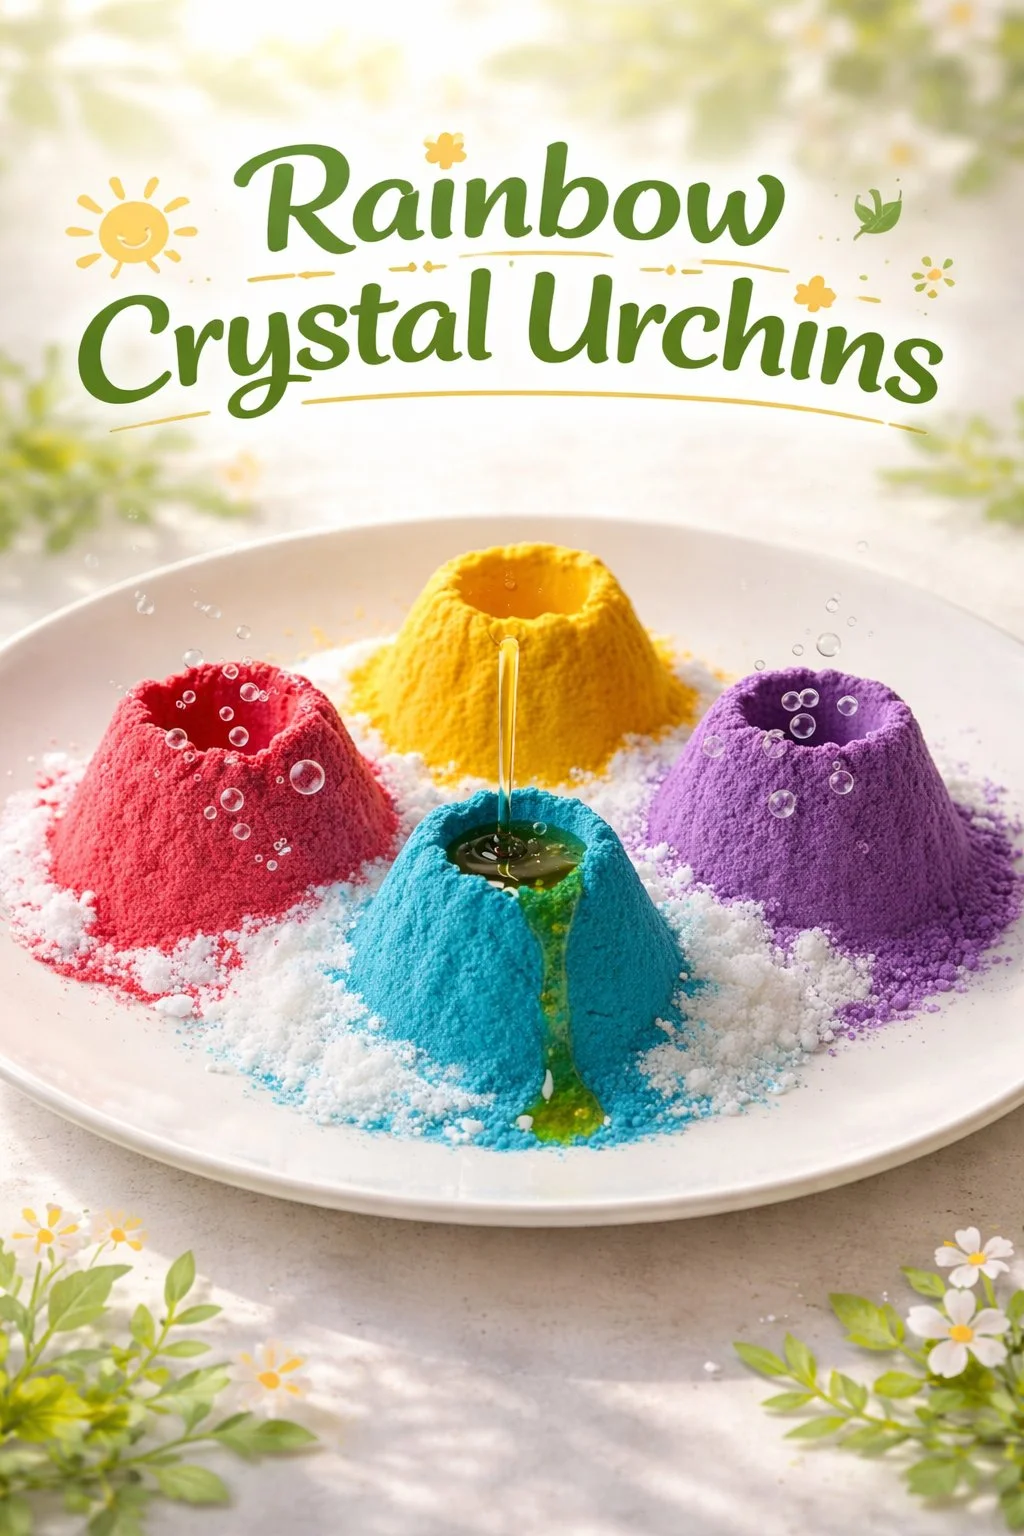
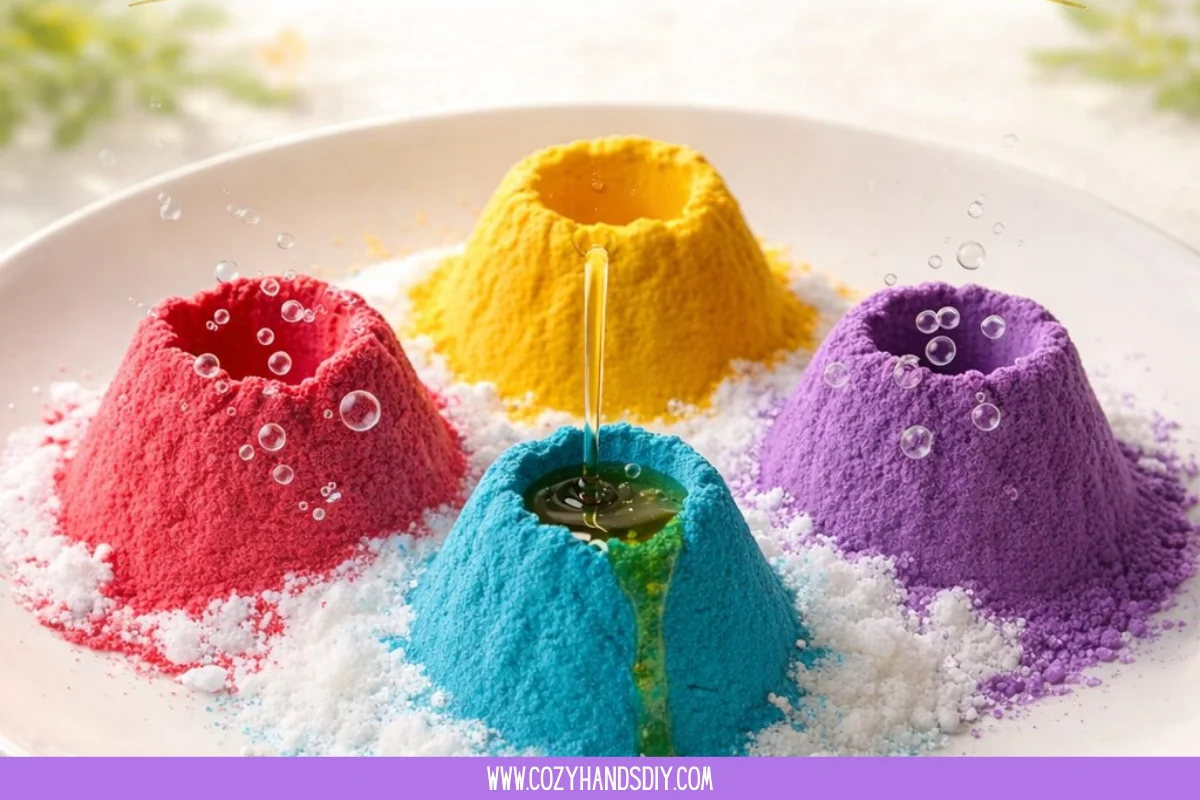
These small pieces make gentle companions in many spaces. I like to place one on a bedside nightstand where morning light nudges the crystals awake. The way the facets catch dawn creates a calm, daily ritual.
Try grouping a few on a shallow tray with smooth stones and a sprig of eucalyptus. Their rainbowed tips mingle with the green of the leaves and the matte of the stones. The ensemble becomes a small altar for quiet moments.
You can also hang a lightweight urchin near a sunny window as a sort of indoor suncatcher. If you choose to suspend one, secure a loop tightly and keep the piece close to the window but out of direct drafts. The crystals will turn light into tiny prisms that slowly move with the day.
For a hands-on pause, keep one on your desk. Touching the spikes and feeling the crystal edges can be a mindful break between tasks. If you prefer a more planted look, nest an urchin among air plants or dried flowers for a coastal, tactile vignette. If you enjoy different crystal shapes, this project pairs well with learning to grow sugar crystals as a playful companion piece: growing rainbow sugar crystals.
How to Store or Reuse Rainbow Crystal Urchins
Store your urchins where humidity stays low. A small cardboard box lined with tissue keeps them safe and dry. If you live in a damp climate, add a sachet of silica gel or a small packet of dry rice to reduce moisture.
When crystals lose some sparkle, you can encourage regrowth by placing the urchin back into a fresh, warm solution for a few hours. Use the same type of salts as before so the new growth matches. If the base breaks or a spike loosens, use a tiny dab of clear glue to reattach it, then let it dry before re-crystallizing.
If you want to reuse materials, dissolve old crystals gently in warm water and strain the clear liquid for later use. Clumps or dirt should not go back into a fresh solution. Label jars with the date so you know which solution is freshest.
What I’ve Learned While Making This
I learned that patience changes the feel of a project. When I rush, the crystals grow unevenly and the experience feels strained. When I slow, the small wins — a sprig of sparkle here, a soft hue there — become meaningful.
I found my hands soften with practice. At first I worried about symmetry and perfection. After a few urchins, I began to welcome imperfection. Slightly varied spikes and asymmetry look more alive and create pockets where crystals nestle in sweet clusters.
Safety matters. I once used borax without gloves and noticed a dry patch on my skin after a long session. Now I wear thin gloves and keep kids away from borax solutions. If you choose borax, use goggles, gloves, and a well-ventilated space. For a gentler child-friendly option, the baking soda or sugar routes work well and teach the same quiet rhythms.
Also, taste is not needed here. Never use the crystals in food or let children put them in mouths if they involve borax or Epsom salt. When you use food-safe materials like sugar for growing crystals, keep them separate from household food and label your jars.
A small habit that helps: keep a little notebook by your workspace and note the time, temperature, and type of solution. Over time you will see patterns — which colors bloom fastest, which spikes catch crystals most joyfully. That record becomes a cozy companion to your making.
Gentle Tips & Variations
Invite color slowly. If you want a soft rainbow, place colored jars side by side and gently tilt the urchin between them, allowing one color to touch a few spikes at a time. This creates a faded rainbow rather than harsh bands.
Try different spike materials. Wooden skewers give a warm, natural feel. Thin metal wire holds sturdier shapes and can create finer spikes; use gloves and mind the edges.
Make mini urchins. Use tiny clay balls and fewer spikes to create pocket-sized pieces that feel delicate and intimate. They work beautifully in little glass cloches.
Layer textures. Press coarse sand into the clay base before drying for extra tooth that crystals cling to. The contrast between grainy sand and glittering crystals feels very satisfying.
Alternate crystal methods. Grow an initial layer of baking soda crystals for a soft base, then dip the piece briefly into an Epsom or borax solution for sharper facets. Always rinse between steps to prevent residue mixing.
These ideas are invitations. Use what draws you in and let the making feel like a conversation, not a checklist.
FAQs About Rainbow Crystal Urchins:
Q: How long does it take for crystals to form?
A: It depends on the method. Baking soda and sugar methods can show sparkles within hours but take up to 24–48 hours for fuller coverage. Borax and Epsom salt often create noticeable crystals within a few hours. Gentle patience yields the best, most even growth.
Q: Are these safe to keep around children and pets?
A: Choose your method with safety in mind. Baking soda and sugar are more child-friendly. Borax and concentrated Epsom solutions require gloves and care and should be kept well out of reach. Always supervise children and label any jars clearly.
Q: My crystals look cloudy or powdery. What happened?
A: Cloudiness can come from undissolved particles or impurities. Strain your solution through a coffee filter and avoid stirring in bits of clay or dirt. Using clean jars and distilled water can help clarity.
Q: Can I use real sea urchin shells as bases?
A: Real shells have delicate, irregular surfaces that can be beautiful but fragile. If you choose them, handle gently and avoid forcing spikes into thin shells. Consider using a protective backing or reinforcing the shell with clear glue before crystallizing.
Q: How do I keep the colors from bleeding?
A: Dilute food coloring well so it stains less and dries into the crystal. Alternatively, color only the solution for specific jars and dip spikes selectively, allowing each color to dry before adding the next.
Final Reflections on Making Rainbow Crystal Urchins
Making these little figures can become a small ritual. The work folds together shaping, waiting, and watching, and each phase offers sensory quiet. I find the act of tending to a jar and returning to notice a new sparkle very soothing.
Trust your pace. Some days you may shape many bases; other days you may only have time to place one in solution and watch a single spike begin to gleam. Both paths lead to a moment of soft reward.
Sit near the light when you display your pieces. Notice how the crystals shift through the day. Let them remind you of slow, careful things you can return to again and again.
Conclusion
If you like the idea of adding a ready-made piece to your space, this charming Sea Urchin Suncatcher listing on Etsy offers a handmade interpretation that echoes the mood of these DIY pieces.
For outdoor-light-ready accessories that pair nicely with this coastal, crystalline look, the Costa Del Mar Costa Maya XL sunglasses page shows sunwear that complements bright, reflective accents in your home.
Thank you for making with me. Keep a small towel nearby, a warm drink on the table, and remember that the quiet parts of making often hold the most beauty.
PrintRainbow Crystal Urchins

Create beautiful rainbow crystal urchins using simple materials and gentle methods. A craft that merges tactile engagement with patience and observation.
- Prep Time: 30 minutes
- Cook Time: 0 minutes
- Total Time: 48 hours
- Yield: 2-4 rainbow crystal urchins
- Category: Craft
- Method: DIY Crafting
- Cuisine: N/A
- Diet: N/A
Ingredients
- Air-dry clay or lightweight salt dough
- Thin wooden skewers or toothpicks
- Fine sand or textured stamp (optional)
- Table salt, Epsom salts, or borax (your choice)
- Warm water
- Food coloring or liquid watercolors (optional)
- Clear glue or PVA (optional)
- Small jars or shallow dishes
- Tweezers and small paintbrush
- A fine sieve or coffee filter
- Paper towels and a tray
- Protective gloves and goggles (if using borax)
Instructions
- Prepare your base gently by rolling a ball of air-dry clay and pressing one side flat.
- Mark where spikes will go with a skewer to make guide holes.
- Insert spikes slowly into the holes with toothpicks or skewers.
- Let the base dry until firm, which can take 12 to 48 hours.
- Mix your crystal solution by dissolving chosen salts in warm water.
- Color the solution if desired with food coloring.
- Dip the urchin into the jar so spikes point up and let it sit still.
- Wait and watch as crystals form over a few hours or overnight.
- Rinse the urchin in cool water to remove residue, if needed.
- Mount and display the finished urchins in a favorable spot.
Notes
Baking soda methods are more child-friendly but slower. Borax produces clearer crystals quickly but requires careful handling.