

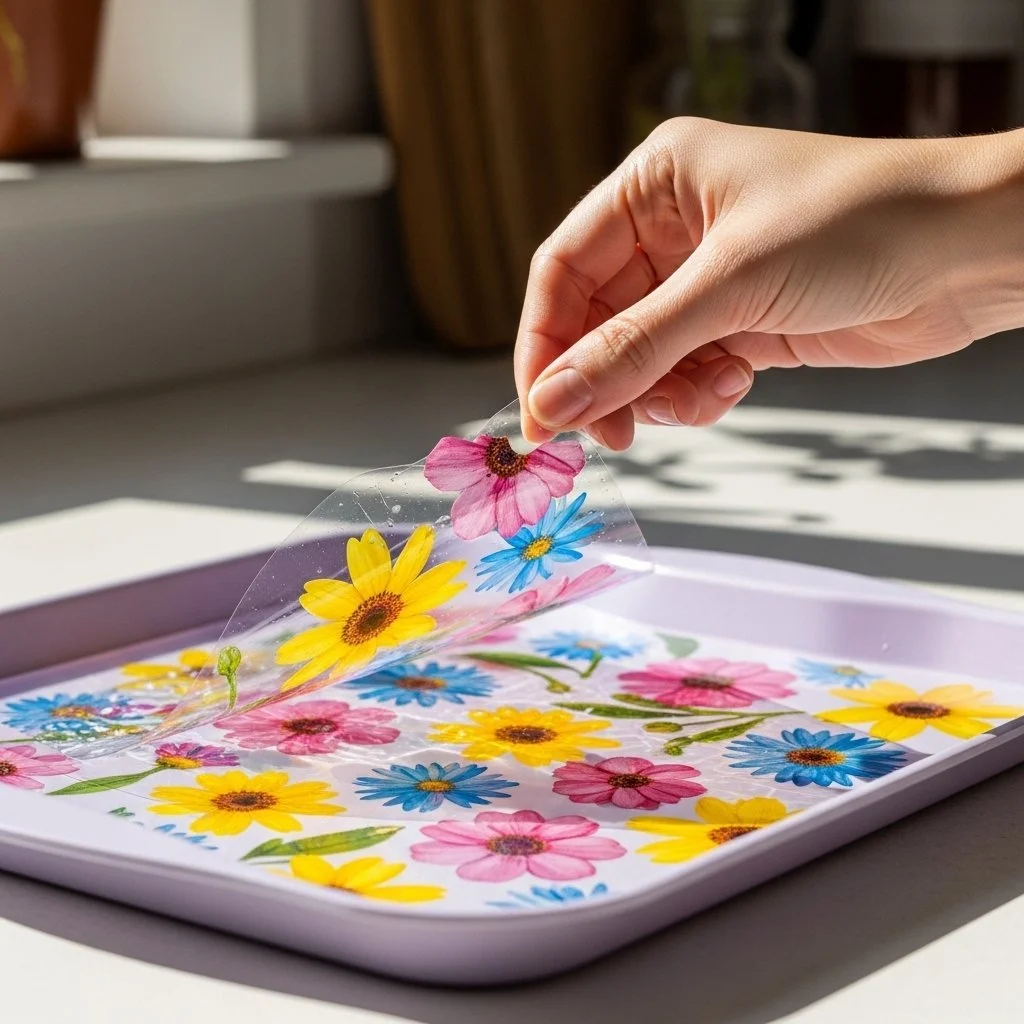
The afternoon light slips through my curtains and lays a thin gold strip across my work table. I hold a tiny, flattened bloom between my fingertips and feel its silk-soft texture, the faint papery rustle as I place it into a shallow dish of resin. The world quiets for a little while. Making Permanent Flower Charms invites that hush, a small, steady ritual where color and touch meet and the hands slow down. If you’d like a soft companion project, this is one you can sit beside, breathe with, and return to when you want a calm, tangible reminder of a moment.
The Heart Behind This DIY
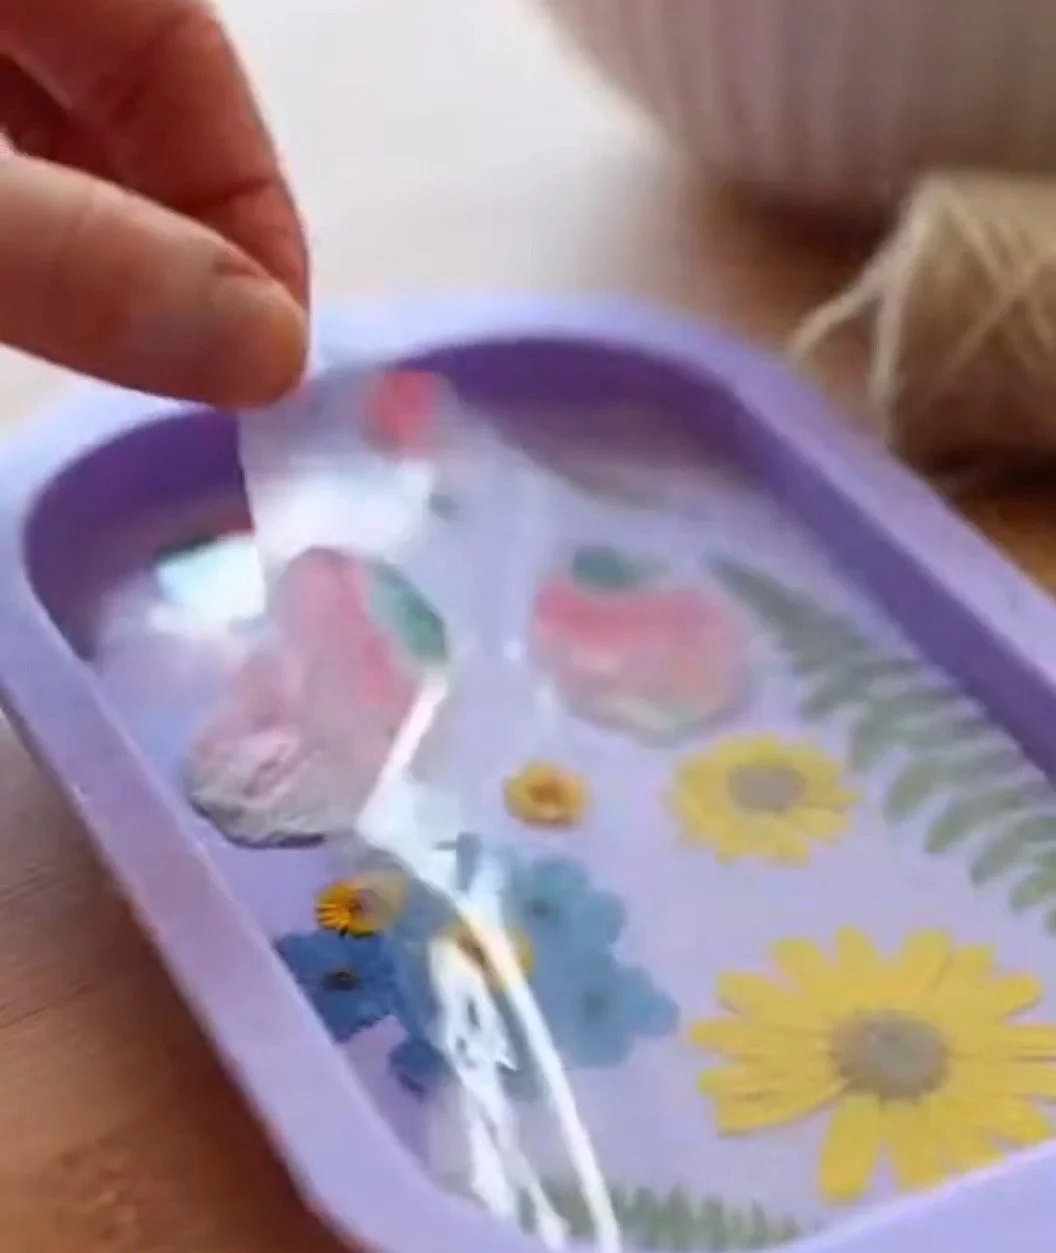
Making Permanent Flower Charms gives you a way to carry a small piece of a day with you. The charm holds the curve of a petal, the fleck of pollen, or the memory of a window ledge where you first saw the bloom. You move slowly as you choose and place each element, and those small choices pull your attention into the present.
This project supports a mindful rhythm. You press a flower, mix a tiny batch of resin, watch bubbles rise, then let time do the rest. The process rewards patience. It asks you to touch, look, and wait. For me, working with flowers often connects to other quiet projects I love, like the crystal flower pieces I wrote about before in a way that explores texture and light in the handmade object. If you like that gentle exploration, you might also enjoy a few related ideas I tried in the studio, such as experimenting with grown crystal forms or suncatcher petals in a simple craft moment like in my crystal growing notes or my bioplastic suncatcher experiments. Each of those projects taught me to be attentive to small changes and to trust slow steps, and those same lessons guide how I make Permanent Flower Charms.
crystal flower explorations
A Gentle Look at the Process
You will press or dry flowers, choose a small mold or bezel, mix a clear resin, and set each bloom carefully. The movement feels deliberate and soft. You lift petals with tweezers, tap bubbles with a toothpick, and tilt a tray until a bead of resin pools to the edge. These gestures have a quiet music: a soft click of tweezers, the whisper of petals, the smooth glide of resin.
I work in short sessions. I arrange blooms in daylight, then move to the lamp for curing. Each stage gives me time to notice color shifts and texture changes. The process suits a slow afternoon. It rewards patience and small moments of attention. If you want to see another way to let blossoms hold their shape and color, I explored a related approach where the flowers become part of clear suncatchers, and I found the same tenderness in watching light move through each small piece.
crystal growing flower reflections
Materials You’ll Need
- Dried or pressed small flowers and petals (easy to find or press yourself)
- Clear casting resin (or UV resin for small pieces) — choose a brand you trust
- Silicone molds or metal bezels with low edges (for charm-sized pieces)
- Mixing cups and wooden stir sticks (disposable or easy to clean)
- Fine-point tweezers (for gentle placement)
- Small gloves and a dust mask (safety first, optional but recommended)
- A toothpick or pin (to coax bubbles)
- Isopropyl alcohol in a small spray bottle (cleans dust and helps pop bubbles)
- Small jump rings and necklace chains or earring hooks (for finishing)
- Soft cloth or microfiber towel (to lay pieces while they cure)
- A UV lamp if you use UV resin (optional, speeds curing)
Notes: I recommend small batches of resin in clear cups to avoid waste. Substitutes can work; for example, use bezel trays if you cannot find molds.
STEP-BY-STEP DIRECTIONS:
Prepare your flowers by pressing or drying them until they feel crisp and thin.
Keep them flat and free of moisture. The papery texture helps them sit cleanly in resin.Clean your workspace and gather everything within reach.
Lay a soft towel on the table. Resin works best when you feel calm and steady.Mix the resin according to the maker’s instructions.
Stir slowly and evenly to reduce bubbles. Use a measured cup for accuracy and confidence.Pour a thin base layer into the mold or bezel.
Pour gently and let the resin settle for a minute so surface tension softens and dust does not sink in.Place your flower pieces with tweezers.
Set petals and tiny blooms face up. Notice how the light catches the edges. Adjust gently until it feels right.Spray the resin surface lightly with isopropyl alcohol if you see small bubbles.
The spray helps bubbles rise and pop. Use a toothpick to coax stubborn bubbles away from petals.Add a second thin resin layer to encapsulate the flowers.
Pour slowly to avoid shifting the petals. Watch the glow as the resin moves across the bloom.Cure the piece according to the resin type you use.
For casting resin, let it sit in a dust-free area for the prescribed time. For UV resin, use a lamp in short bursts and check for tackiness.Demold carefully once fully cured.
Lift edges slowly and flex the mold if needed. If you used a bezel, trim flash with a fine file or sandpaper in gentle strokes.Finish edges and add hardware.
Sand any rough spots with fine grit until smooth. Attach a jump ring and chain or earring hook. Hold the charm in your palm and feel its weight.
Enjoying the Finished Piece
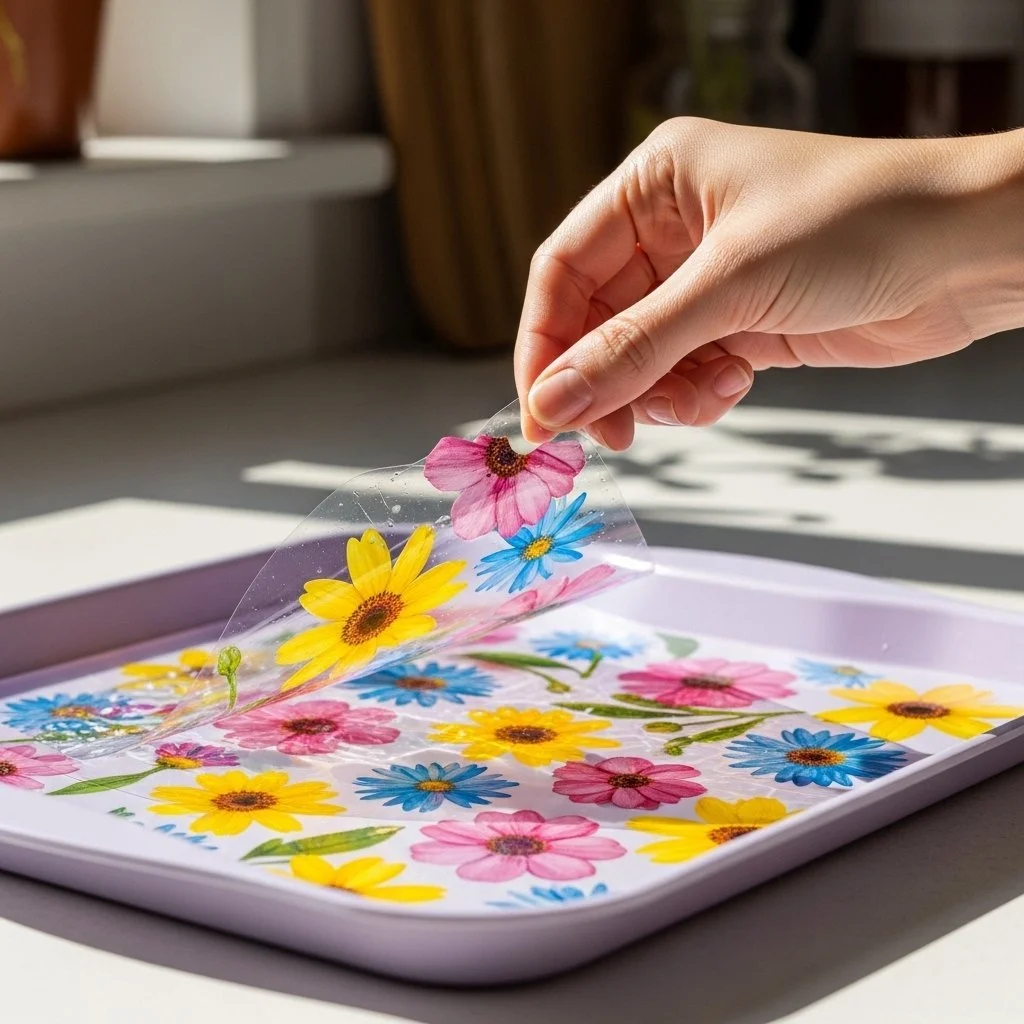
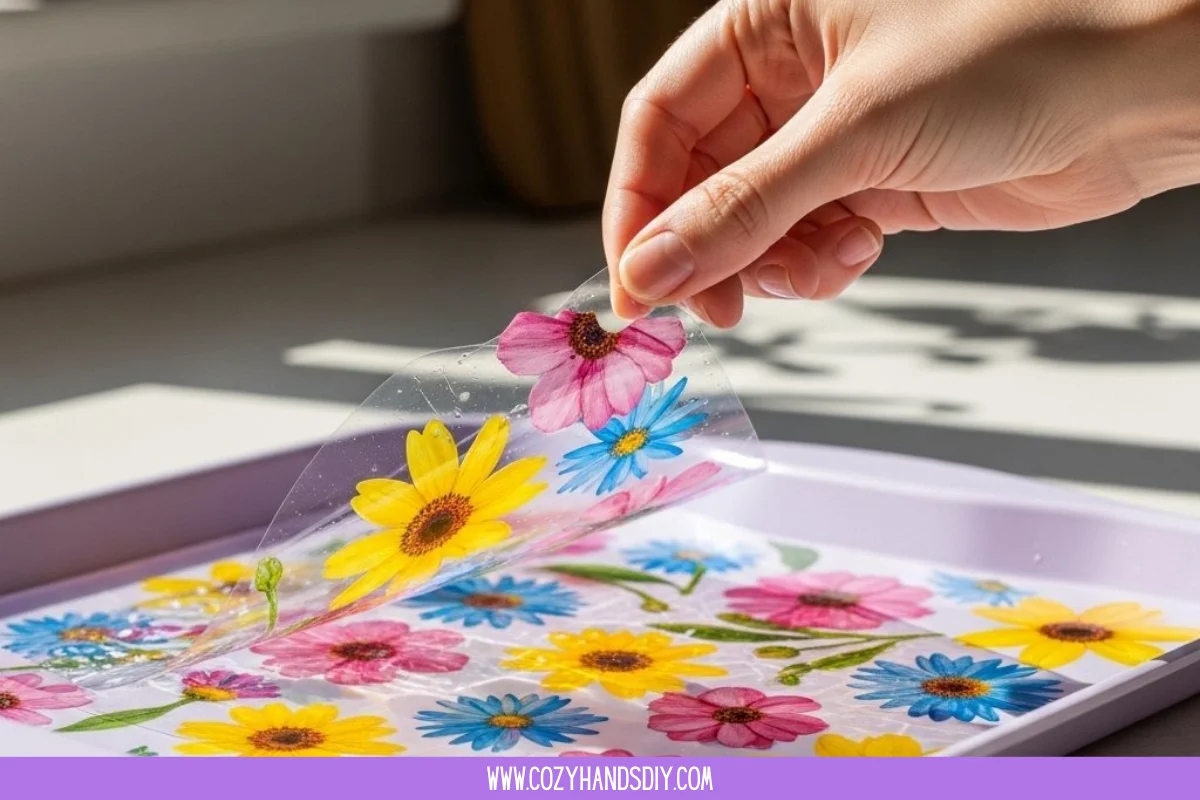
A Permanent Flower Charm feels small and warm in the hand. It catches light quietly and holds a moment of a season. Wear it near your collarbone where you can glance at it and remember a morning, a garden, or a friend’s bouquet.
You can nestle a charm in a jewelry dish by the bedside, or string a few together on a delicate chain. A single charm on a keyring gives you a tiny pocket of calm when you reach for your keys. I like to tuck one into a travel sewing kit as a quiet reminder that small things can carry meaning.
If you want to pair this charm with other tactile projects, consider letting it sit next to a crystal piece or a small suncatcher that plays in the same light. I often keep a few different handcrafted pieces near my workspace to rotate through my day and connect with the textures and tones I love.
bioplastic suncatcher notes
How to Store or Reuse Permanent Flower Charms
Store charms flat in a padded box away from direct sunlight.
Prolonged UV exposure can gradually fade delicate pigments over months or years.
Wrap each charm in soft tissue or a small pouch if you keep several together.
This prevents rubbing and keeps tiny edges from catching.
If a charm chips, you can often repair it with a small amount of resin.
Clean the area, apply a thin coat, and let it cure. This keeps the piece whole and familiar.
To reuse a charm’s hardware, cut the charm free of the ring and remount a new bezel or pendant.
Sometimes the smallest changes help the piece find a new place in your life.
Gentle Tips & Variations
Choose flowers with thin petals for best clarity.
They flatten easily and show color beautifully in clear resin.Consider mixing a tiny pinch of mica or a soft dye if you want a hint of color behind the bloom.
Use very small amounts and test on a spare mold to keep the look delicate.Make a set of charms from the same bouquet to tell a small story.
Wear them together or scatter them as thoughtful gifts that share a memory.Try different bezels: a round bezel feels soft and classic, while a square one gives a modern edge.
Play with shapes quietly to find what feels most like you.If you prefer less resin, sandwich a pressed petal between two clear cabochons.
This reduces casting time and still offers a protective, tactile surface.
FAQs About Permanent Flower Charms:
Q: Will the flowers change color inside the resin?
A: Some fading happens over very long periods, especially with bright pigments. If you press flowers well and avoid direct sun, they keep their color longer. Using UV-resistant resin helps protect pigments.
Q: Is resin safe to use at home?
A: Most modern resins require care. Work in a well-ventilated area. Wear gloves and a mask if you feel sensitive. Follow the manufacturer’s safety guidance. I keep a damp cloth and a small waste bin nearby and clean tools right after use.
Q: Can I use fresh flowers instead of dried ones?
A: Fresh flowers contain moisture that can create cloudiness or bubbles. Dry or press them thoroughly first. If you must use fresh petals, dehydrate them in a low oven or drying agent until they feel completely dry.
Q: How long does the charm take to cure?
A: Cure times vary by resin. Casting resin often needs 24 to 72 hours to fully harden. UV resin cures in minutes under a UV lamp, though you may want to let pieces sit for a few hours to be safe. Check the product label for exact times.
Q: How do I avoid bubbles near the flower?
A: Stir resin slowly to limit bubbles. Pour in thin layers. Use a small torch or heat gun briefly and at a safe distance, or lightly spray with isopropyl alcohol to pop smaller bubbles. Work patiently; the charm rewards a steady hand.
A Quiet Closing Thought
Making Permanent Flower Charms gives you a pocket of stillness you can carry. The work asks for small, careful choices and offers a quiet return: a charm that holds color, memory, and the gentle rhythm of your hands. Let each step become part of a calm habit. Keep one made from a moment you want to remember and wear it when you need to feel steady.
Work at a pace that feels comfortable. If a layer goes askew or a petal shifts, you can often correct it or turn it into a new design choice. Trust the material and trust your sense of touch. The charm you make will carry the care you gave it, and that care matters.
Conclusion
If you want a ready-made source for tiny floral pieces, explore the thoughtful range at Linked By Laur’s flower charms collection for inspiration and materials that pair well with handmade work. For a wider selection of small finishing pieces and charms that fit popular jewelry styles, the permanent jewellery charms collection offers many options to finish your charm with care.
PrintPermanent Flower Charms
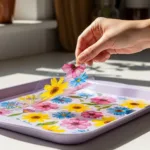
A mindful DIY project to create beautiful, long-lasting flower charms using resin. Perfect for those looking to cherish memories through handcrafted keepsakes.
- Prep Time: 20 minutes
- Cook Time: 60 minutes
- Total Time: 80 minutes
- Yield: 1 charm
- Category: Craft
- Method: Crafting
- Cuisine: N/A
- Diet: N/A
Ingredients
- Dried or pressed small flowers and petals
- Clear casting resin or UV resin
- Silicone molds or metal bezels
- Mixing cups and wooden stir sticks
- Fine-point tweezers
- Small gloves and a dust mask
- A toothpick or pin
- Isopropyl alcohol in a small spray bottle
- Small jump rings and necklace chains or earring hooks
- Soft cloth or microfiber towel
- A UV lamp (optional)
Instructions
- Prepare your flowers by pressing or drying them until they feel crisp and thin.
- Clean your workspace and gather everything within reach.
- Mix the resin according to the maker’s instructions.
- Pour a thin base layer into the mold or bezel.
- Place your flower pieces with tweezers.
- Spray the resin surface lightly with isopropyl alcohol if you see small bubbles.
- Add a second thin resin layer to encapsulate the flowers.
- Cure the piece according to the resin type you use.
- Demold carefully once fully cured.
- Finish edges and add hardware.
Notes
Store charms flat in a padded box away from direct sunlight. Use UV-resistant resin for better color retention.