

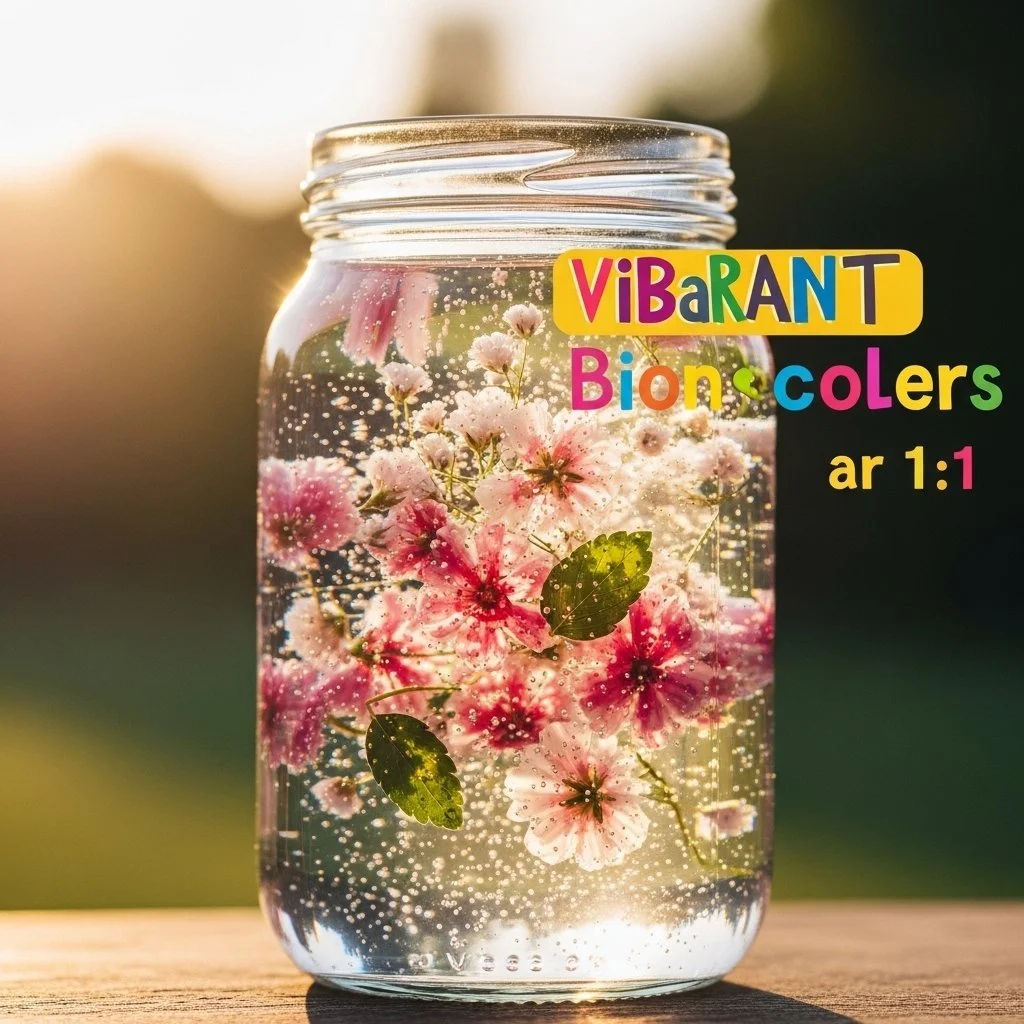
A warm afternoon light settles on my worktable as I press a small spoonful of warm, fragrant gelatin into a tiny silicone mold. The surface shivers with color as I tilt it toward the window and watch glassy rainbows bloom. This is DIY Vibrant Bioplastic Suncatchers, a soft, tactile project that meets gentle making with bright, serene light. If you want a calm, sensory craft to slow your hands and warm a room, this one sits well with the body and the mind. For an extra recipe note you can try later, see this colorful bioplastic recipe that inspired my first batch.
The Quiet Joy of Making DIY Vibrant Bioplastic Suncatchers
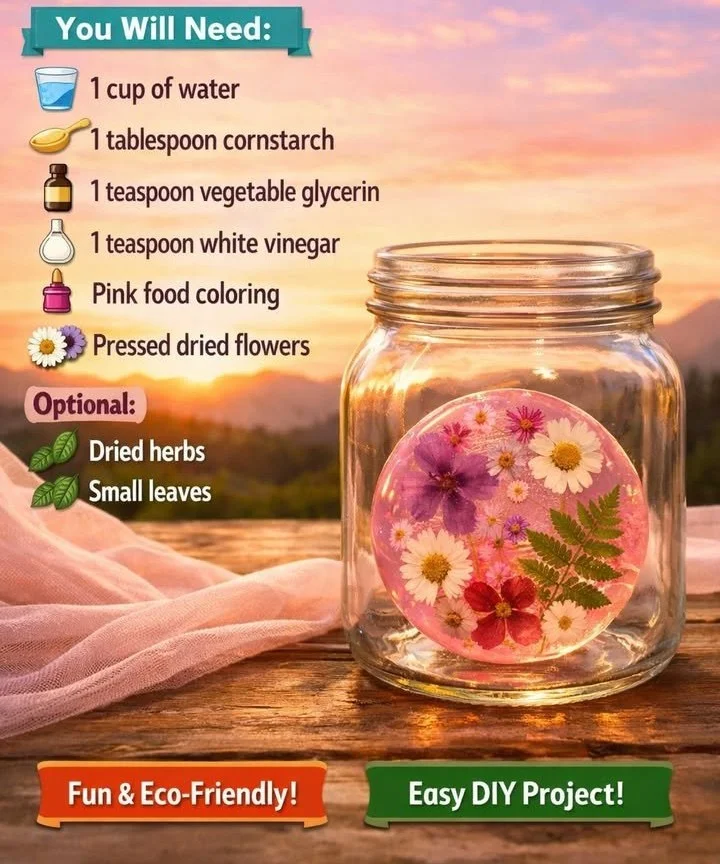
These suncatchers feel like a small ritual. They ask for a few steady breaths, careful stirring, and a patient watch while the gelatin cools and transforms. The textures matter. Warm mix feels almost silky on the spoon. The cooled sheets ring faintly when you lift them. Light passes through the thinner areas with a soft, stained-glass glow. You move slowly, noticing how stirring creates tiny streams, how each drop of color spreads.
Making these suncatchers helps you focus on one calm loop of action. You mix, you pour, you decorate, and you wait. Each part keeps your hands gently busy and your attention quietly present. The end result brings a little window of bright color into your home. I often hang one beside a bedside lamp to catch late afternoon sun. It shifts the mood of the whole corner, like a small, deliberate kindness.
This practice invites a simple mindfulness that does not require perfection. Each piece bears small imperfections that make it honest and alive. They do not need to be museum perfect to hold beauty. In my own afternoons of making, those gentle flaws translated into stories: a leaf imprint from a hurried walk, a bubble that landed just so, a color bleed that looked like weather on the horizon. These moments feel cozy and real. If you want more variations and ideas, this post about step-by-step variations can help you expand what you make.
A Gentle Look at the Process
Before you begin, know that this method relies on simple chemistry and patient movement. You heat gelatin with water to create a clear, flexible sheet. You add natural dyes, paint, or pigment to bring color. When the mixture cools, it firms into a thin, translucent film. You trim, hole-punch, and hang.
The process moves through a few calm stages: mixing, pouring, drying, and finishing. Each stage has a different sensory rhythm. Mixing offers the soft hiss of warmth meeting powder and the slightly sticky tug as gelatin dissolves. Pouring is a quiet flow, a visual promise of the shape to come. Drying requires a patient pause. Finishing gives tactile satisfaction as you trim edges and string beads. Over time you begin to recognize the cues of readiness. The surface becomes matte when it nears full dryness. A gentle lift shows flexibility without tearing.
This project suits short pockets of time spread over two days. You work in focused bursts and let waiting be part of the calm. If you want to see a different materials approach and how it affects drying time, this supplies list with notes offers handy comparisons and real making notes.
Materials You’ll Need
- Gelatin powder, unflavored, easy to find at grocery stores
- Distilled or filtered water, clean and neutral tasting
- White vinegar or lemon juice, a small acid helps set clarity
- Food coloring or liquid watercolor, optional and gentle
- Natural pigments like beet powder or turmeric, optional for soft hues
- Silicone molds or a flat tray lined with nonstick paper, substitute-friendly
- Measuring spoons and cups, accurate but simple
- Small saucepan and wooden spoon, for gentle heat
- Dropper or small spoon for detail work
- Scissors and hole punch, for finishing
- Thin ribbon, cotton thread, or fishing line, for hanging
- A well-ventilated area and parchment paper, safety first
These items stay simple and affordable. You can substitute small items with what you have at home. For example, an old baking sheet works for flat suncatchers, and a plastic lid serves as a mold for small discs. Use gentle colors and slow heat for the smoothest finish. If you like, keep a small bowl of water nearby to test the temperature with your finger before pouring. You can also read more about the environmental aspects of this choice with this piece on eco friendliness and how small swaps can make a difference.
Measure and hydrate the gelatin before heating.
Pour cold water into a small bowl and sprinkle gelatin over the surface. Let it sit for five to ten minutes until the grains swell. This rest creates a smooth, lump-free start and feels pleasantly like watching time slow.Warm gently and dissolve.
Place the bloomed gelatin and the measured water in a small saucepan on low heat. Stir slowly and steadily. You will feel the mixture change from grainy to silky. Keep the heat low so it does not boil.Add clarity with a touch of acid.
Stir in a teaspoon of white vinegar or lemon juice. This small addition helps the film dry clearer and reduces cloudiness. You will notice the mixture look a bit brighter after mixing.Bring in color carefully.
Add a few drops of food coloring or a pinch of natural pigment. Start with less than you expect; color deepens as it dries. Stir with a gentle circular motion and watch the hue spread like a watercolor.Pour into molds or onto parchment.
Work slowly and deliberately as you pour. If you use molds, fill them just to the brim for a smooth back. For flat sheets, tilt the tray to encourage even flow. The sound of warm liquid settling is quiet and calm.Remove bubbles and detail with tools.
Use a toothpick to coax bubbles to the edge, or gently tap the mold to release trapped air. If you want fine lines or leaf imprints, press them lightly into the surface now. The touch should be light and mindful.Let pieces set at room temperature.
Place your molds in a safe, dust-free spot and cover lightly with breathable cloth. Allow the sheets to cool and firm for several hours or overnight. Avoid rushing with heat as it can crack the surface.Peel and assess the texture.
Once firm, peel slowly from the mold. You will feel a slight elasticity. Thinner areas will flex more and glow when held to light. Trim edges with scissors for a neat frame.Punch holes and finish edges.
Use a small punch to make tidy holes for hanging. Smooth any rough spots by gently rubbing with a damp fingertip. Attach ribbon, thread, or small chains with care.Place and enjoy the light.
Hang your suncatcher where it can catch a gentle sunbeam. Notice how the color shifts with the angle and the hour. Take a moment to breathe and appreciate the quiet change in your room.
Enjoying the Finished Piece
These suncatchers invite simple moments of wonder. I place them where a single ray of sun can make them sing. They work well on a kitchen window that catches the morning, or near a reading nook where the light softens midday pages. Small groups create layered color effects, while one bold piece can anchor a tiny shelf.
The films offer a soft, tactile curiosity when held. They respond to a warm palm with a brief, gentle give, then return to their resting shape. Because they catch light so subtly, they never shout for attention. Instead, they prompt a slow double-take as sun and color pass. I like to rotate pieces with the seasons, choosing softer yellows in spring and deeper amber tones in autumn.
You can also use them as gentle gifts. A wrapped suncatcher feels like a small promise of light. I once left a trio on a friend’s windowsill after a long visit. She later told me she would wake up to them and feel them like a small, steady hello. These objects can hold that kind of quiet care.
How to Store or Reuse DIY Vibrant Bioplastic Suncatchers
Store these pieces flat where they will not bend or press against other objects. A shallow box lined with tissue paper works nicely. Keep them away from heat vents and direct, intense sunlight when not in use. Prolonged exposure to strong heat can soften them.
If a piece becomes dusty, wipe it with a barely damp cloth. Avoid harsh cleaners as they can dull the sheen and change the color. For small scratches, a gentle polish with a soft cloth restores some luster.
If you want to reuse the material, you can gently reheat thin pieces in a low oven to soften them, then press them flat in a mold to reshape. Work carefully and slowly. Reheating risks color change and some loss of clarity, so treat this method as a gentle experiment rather than a guarantee. Keep safety in mind when reheating; work with low temperatures and good ventilation.
If you plan to keep the suncatchers long term, frame them behind glass in a shallow box frame. The glass protects from dust and keeps the films flat. This also gives you the option to display them in dimmer spots while preserving the delicate material.
Gentle Tips & Variations
Invite texture with natural bits.
Place a pressed leaf, tiny petal, or a sprinkle of sand into the wet surface for a tactile memory. Press gently so the plant sits under the surface rather than sticking out.Try layered color.
Pour a pale base layer and let it set just until tacky. Add droplets of a stronger color and spread with a brush. The result looks like watercolor on glass and feels soft to the eye.Work with warm light.
Hang pieces near warm, indirect light to avoid too much direct heat. A south-facing window can be perfect if you angle the pieces away from the most intense mid-day rays.Use variations in thickness.
Pour thin edges and slightly thicker centers for a gem-like effect. Thicker centers hold more color and diffuse light differently, creating depth in each piece.Keep a calm pace.
If you work with children, prepare small stations and supervise heating and handling. Let kids decorate with dry textures or paint once the films cool. This helps keep the experience safe and savor-filled.
These suggestions come from many small afternoons of trial and quiet discovery. I learned to slow down when my first batch cracked from too-fast drying. I learned the joy of unexpected bubbles that, when left alone, looked like tiny planets. Each experiment taught me more about timing, touch, and light.
FAQs About DIY Vibrant Bioplastic Suncatchers
Q: Are bioplastic suncatchers safe for home use?
A: Yes, when you use food-grade gelatin and handle warm mixtures carefully, these suncatchers are safe to make at home. Keep them away from young children and pets while heating and drying. Once set, they serve as a decorative item rather than a toy.
Q: How long do they last before they fade or change?
A: Lifespan varies with exposure to heat and sunlight. Kept in gentle light and away from heat, they can last many months. Over time, colors may mellow, and films may become more brittle. Storing them out of direct sun when not displayed helps them last longer.
Q: Can I use vegan gelatin alternatives?
A: Some plant-based gelling agents behave differently. Agar-agar, for example, can create a more brittle sheet. I recommend testing small batches to compare texture and drying behavior. These tests help you learn how each material responds to your environment.
Q: How do I prevent cracking during drying?
A: Avoid direct heat and rapid changes in temperature. Dry pieces at room temperature and cover them lightly to slow evaporation. Thicker sections take longer to dry; consider making them thinner or supporting them in a flat position.
Q: Can I laminate these pieces for durability?
A: Laminating with plastic can add durability but changes the tactile and visual quality. If you choose lamination, use archival-grade materials and be aware that the natural, soft look will shift toward a glossier finish.
A Gentle Note Before You Go
Sit with the quiet of this craft for a moment before you pack away your tools. Notice the soft echoes of your movements. Remember that making these suncatchers asks you to slow and to attend. The act of stirring, of watching color bloom, and of waiting for a sheet to set all practice a kind of calm that lives beyond the object.
If you feel drawn to try a few more recipes or to compare techniques, a thoughtful guide like DIY Bioplastic Suncatchers: Eco-Friendly Art That Shines Bright! offers useful ideas and gentle photos. For another perspective on gelatin-based crafting and nature-inspired palettes, this resource DIY Bioplastic Suncatchers: Craft With Nature & Gelatin shares practical notes and inspiration. Both links helped me find small, steady refinements in my own process.
Conclusion
Take your time with each step and listen to how your hands prefer to move. These suncatchers shine best when you make them as a calm ritual and not a rush. You do not need many tools, and you do not need perfect lines. You need only a curious hand, a steady breath, and the patience to let color and light meet. Enjoy the slow work and the quiet light that follows.
PrintDIY Vibrant Bioplastic Suncatchers
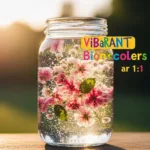
A serene craft project that invites mindfulness through the creation of colorful bioplastic suncatchers using gelatin and natural dyes.
- Prep Time: 15 minutes
- Cook Time: 30 minutes
- Total Time: 45 minutes
- Yield: 4 suncatchers
- Category: Craft
- Method: Crafting
- Cuisine: N/A
- Diet: N/A
Ingredients
- 1 tablespoon unflavored gelatin powder
- 1 cup distilled or filtered water
- 1 teaspoon white vinegar or lemon juice
- Food coloring or liquid watercolor (optional)
- Natural pigments like beet powder or turmeric (optional)
- Silicone molds or flat tray lined with nonstick paper
- Measuring spoons and cups
- Small saucepan
- Wooden spoon
- Dropper or small spoon
- Scissors
- Hole punch
- Thin ribbon, cotton thread, or fishing line
- Parchment paper (for safety)
Instructions
- Measure and hydrate the gelatin before heating.
- Warm gently and dissolve.
- Add clarity with a touch of acid.
- Bring in color carefully.
- Pour into molds or onto parchment.
- Remove bubbles and detail with tools.
- Let pieces set at room temperature.
- Peel and assess the texture.
- Punch holes and finish edges.
- Place and enjoy the light.
Notes
Store these suncatchers flat in a shallow box lined with tissue paper. Avoid exposure to intense sunlight and heat to prolong their lifespan.