

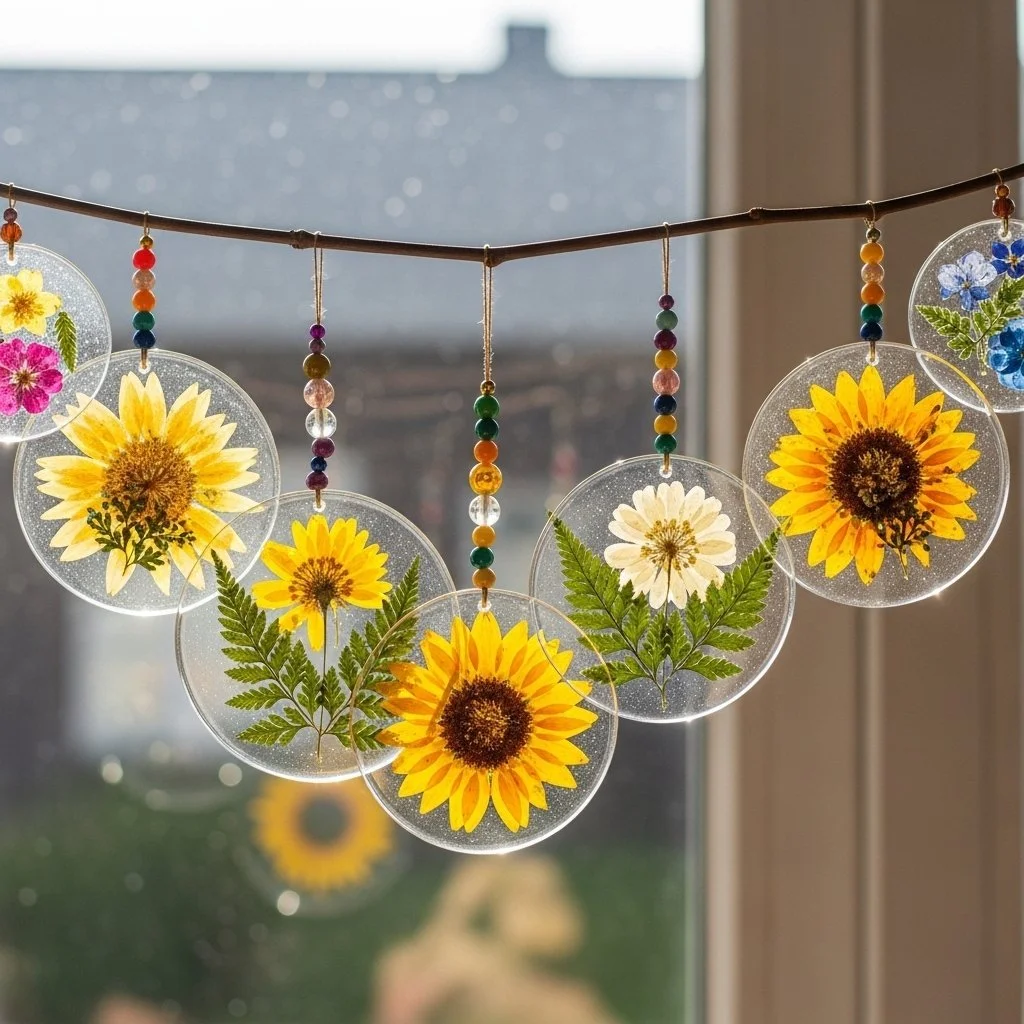
A warm cup rests at your elbow. Sunlight moves across a saucer while you press floury cornstarch between your fingers and feel a faint, damp coolness. The smell reminds you of soft dough and of an afternoon that slows to the rhythm of stirring. This Simple Cornstarch Bioplastic DIY asks nothing of you but gentle attention, and the quiet making feels like a small, comforting ritual.
The Quiet Joy of Making Simple Cornstarch Bioplastic DIY
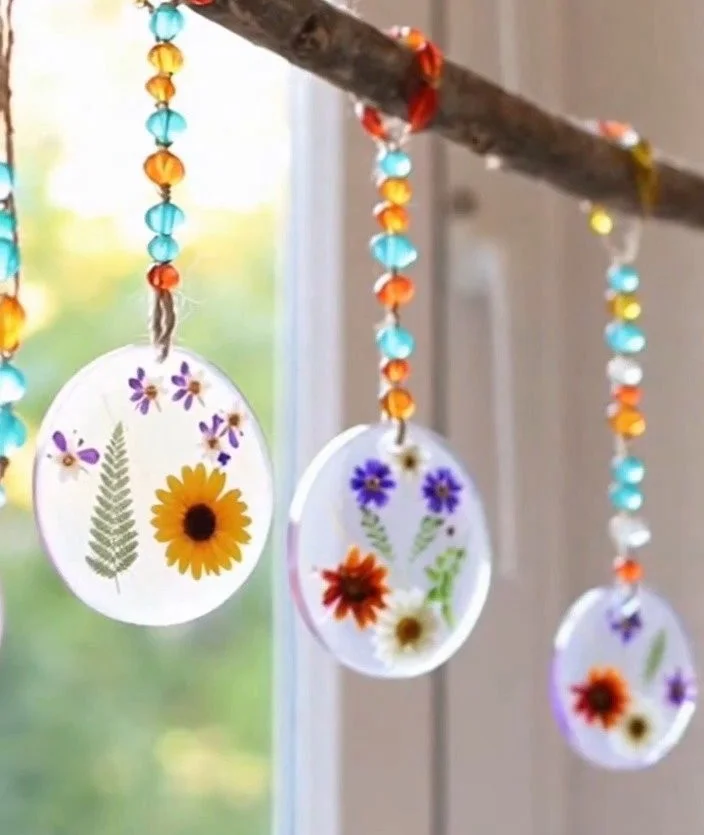
This project sits in that space between craft and kitchen, where the tools are simple and the results hold light. Making cornstarch bioplastic invites you to watch a clear mix thicken, to notice the change from grainy to glossy, and to shape something both fragile and surprising. The texture comforts. The small, slow changes draw your focus away from the rush outside and into the sensory moment at hand.
Children and adults both find calm in this work. The act of measuring by feel, of listening for the gentle simmer, and of smoothing a cooled surface with fingertips connects hand to mind. If you like projects that pair quiet making with a meaningful finish, this one offers both. For a version that plays with color, try the colorful bioplastic suncatchers linked in the projects I often return to for ideas. The simple materials keep the kitchen light and the focus on the process.
A Gentle Look at the Process
Before you begin, imagine movement and temperature. You will whisk, then stir slowly at the edge of a soft boil. The mixture will turn glossy and pull away from the pan like a shy cloud. It smooths as it cools and promises a thin, flexible sheet or a firmer form, depending on how long you let it set.
You will repeat small, soothing motions. Heat and time do the shaping. The feel of the cooled bioplastic under your palm will tell you when to press, when to trim, and when to store. If you have tried suncatcher variations before, this step-by-step method will feel familiar and friendly for adapting. For a few creative variations that change drying and thickness, I like to revisit notes about suncatcher step variations when I plan color or shape changes.
Materials You’ll Need
- Cornstarch, 2 tablespoons per small batch (easy to find)
- Water, about 3 tablespoons per batch (tap water works)
- Vinegar, 1 teaspoon per batch (keeps the mix flexible)
- Vegetable glycerin, 1 teaspoon per batch (optional but helpful for softness)
- Small saucepan (nonreactive; stainless or enamel)
- Wooden spoon or heat-safe spatula (smooth edges feel nice)
- Measuring spoons and a small cup
- Parchment paper or a silicone baking mat for drying
- Cookie cutters or a small rolling pin for shaping (optional)
- Small paintbrush and natural dyes or food coloring (optional for color)
- Fine sandpaper or a small file for finishing edges (optional)
- Airtight container for storage
Note: You will see small changes if you substitute different vinegars or skip glycerin. I include options so you can adjust softness and drying time. If you prefer not to add color, the bioplastic will dry into a warm, translucent beige that catches light.
Step-by-Step Directions
Gather your materials and clear a small workspace.
Keep a towel nearby and a shallow dish of cool water for your hands. The work feels calmer if you move slowly before you heat anything.Measure cornstarch into your saucepan.
For a trial batch, use 2 tablespoons of cornstarch and 3 tablespoons of water. Use gentle taps on the counter to level spoons instead of rushing.Add the water and whisk until the mix feels smooth and lukewarm.
You will see tiny powdery lumps at first. Whisk them out in slow circles until the mixture looks like milk with a slight sheen.Stir in vinegar and glycerin.
Add 1 teaspoon of vinegar and 1 teaspoon of glycerin. The vinegar helps stop the mix from becoming brittle. Glycerin gives the final piece a softer bend.Heat gently over low to medium heat.
Place the pan on the burner and stir steadily. The sound will change from quiet to a soft simmer. Keep the heat low so the mix thickens slowly and evenly.Watch as the mix thickens to a glossy paste.
It first turns translucent, then glues to your spoon in a pull. That is the moment to reduce heat and continue stirring to even the texture.Remove from heat when it forms a dough-like mass.
The mixture will come together and leave the sides of the pan in a smooth clump. Work calmly so you do not overcook, which can darken or stiffen the piece.Let the mass cool until you can handle it safely.
Place it on parchment or on a plate. Wait until it feels warm rather than hot. Keeping fingers close to the texture now helps you sense readiness.Shape or roll the dough as desired.
Sprinkle a little cornstarch on your surface to prevent sticking. Press into thin sheets for suncatchers or mold gently for small beads. If you plan to cut shapes, roll to an even thickness first.Place shaped pieces on parchment to dry.
Allow thin pieces to dry for at least 24 hours. Thicker items may need several days. Turn pieces once if they curl slightly to help even drying.Finish by sanding or trimming edges gently.
When fully dry, run fine sandpaper along edges to smooth rough bits. The surface will feel pleasantly matte and warm to the touch.Store in an airtight container once completely cool and dry.
Keep pieces away from humid areas. A small packet of dry rice or silica can help if you live in a moist climate.
Enjoying the Finished Piece
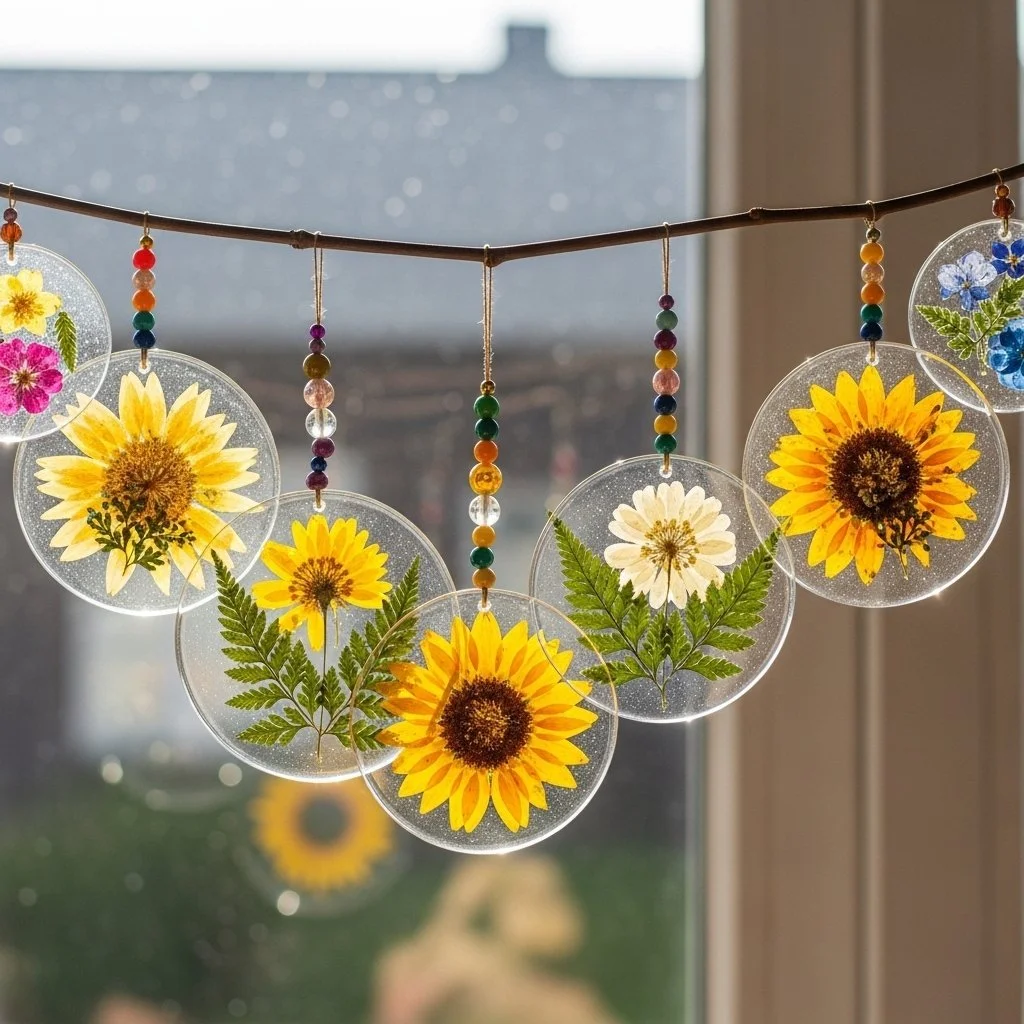
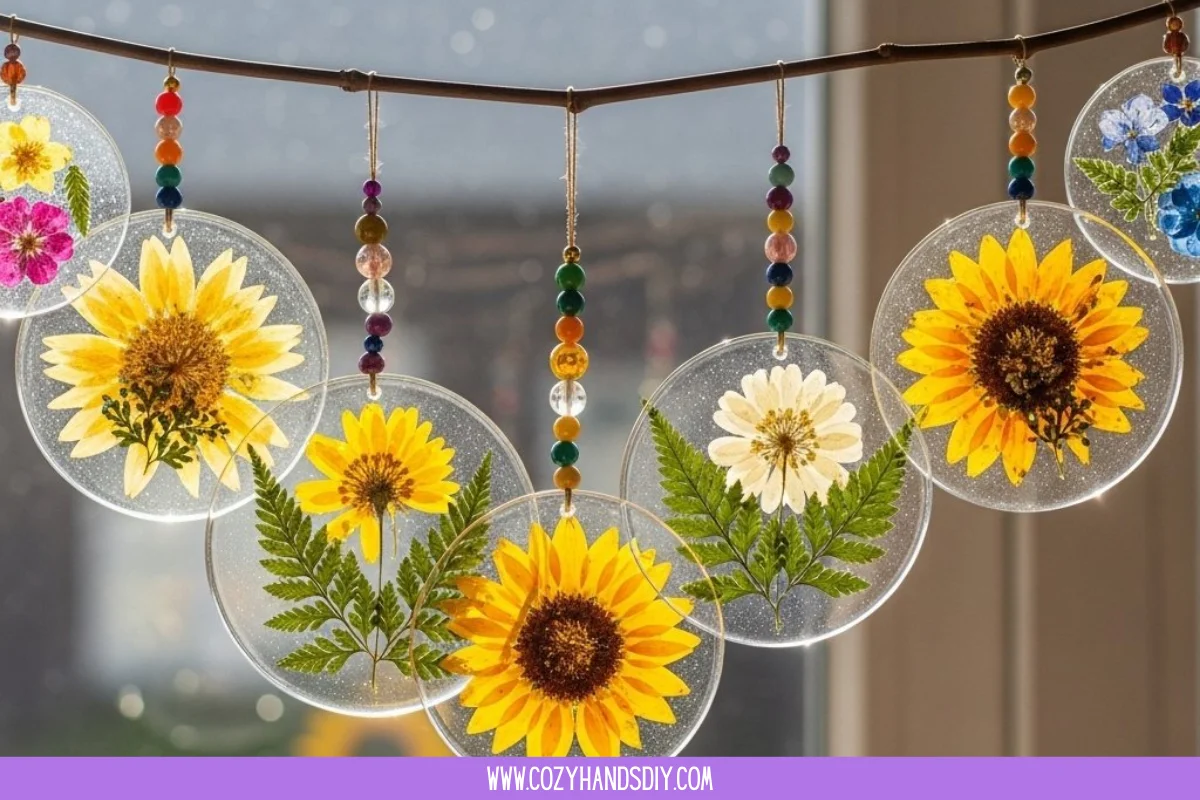
When a piece dries, hold it near the light. Thin sheets shimmer like a warm pane of glass. Small ornaments sing softly when moved. I often thread tiny holes to hang them on a window, where they catch a lazy afternoon and scatter color.
Use flat pieces as seasonal decorations, or let children press stamps into warm, semi-dry sheets for textured keepsakes. I keep a few small shapes on my desk; their smoothness invites a calm hand during short pauses. If you want to learn more about how these bioplastic pieces fit into low-impact crafting, I often read notes on eco-friendliness tips that help me choose the gentlest adaptations.
Making This DIY Last
Cornstarch bioplastic will not last forever like petroleum-based plastic. It will soften if exposed to heat or moisture and it will become brittle after a long time in dry air. Treating pieces gently extends their life.
Store finished items in a cool, dry place. Avoid leaving them in direct sunlight for hours. If a piece softens from humidity, let it air-dry on parchment until it firms. For small repairs, gently warm the edge and press it together, or moisten a dropped piece lightly and press to reattach before re-drying. Keep extra pieces in an airtight box with a small packet of desiccant if you want to preserve shape and snap.
If an item shows signs of decay or an unpleasant smell, it is best to compost it if your local rules allow. The simple ingredients return to the earth more kindly than many store-bought materials.
Gentle Tips & Variations
- Invite color slowly. Mix a few drops of natural dye or food color into the cool mass before shaping to avoid changing the drying time too much. Color feels like a soft surprise rather than a command.
- Make thin suncatchers for shimmering light, or press into shallow molds to create small beads and charms. Thinner pieces dry faster and bend more; thicker ones hold shape.
- Swap glycerin for a small amount of honey in a pinch. Honey adds warmth and a faint scent but can alter drying time and attract insects if not fully dried.
- Add texture with natural items. Press leaves, lace, or pressed flowers into the surface while it is still warm for a subtle imprint. Remove the items before drying or press them lightly so they dry with the piece.
- Try gentle embossing. Use a wooden dowel or rounded tool to trace lines that catch the light. Embossed textures help the piece read as handcrafted and bring a tactile calm when you touch it.
These ideas invite small experiments. I keep a notebook where I note proportions and drying times. That way I return to a successful batch without guesswork.
FAQs About Simple Cornstarch Bioplastic DIY:
Q: Will this bioplastic break down naturally?
A: Yes. Simple cornstarch bioplastic breaks down faster than conventional plastics because it contains natural starch and no petroleum. It will not dissolve overnight, but it composts more readily and is kinder to soil when disposed of properly.
Q: Is it safe for children to help?
A: Absolutely. Children enjoy the sensory feel of the dough and can help with stirring and shaping once the mix cools. Supervise near heat and remind little hands to wait until the mass is warm, not hot. Small parts can be a choking risk, so adapt shapes for age.
Q: Can I make durable kitchenware from this?
A: Keep expectations gentle. This bioplastic feels sturdy for small decorations and light, low-use items. It will not replace true, food-safe kitchenware or items that need to withstand heat or heavy wear. Use it for ornaments, tags, or temporary labels.
Q: How long does drying take?
A: Drying varies with thickness and humidity. Thin sheets dry within 24 to 48 hours. Thicker shapes may take several days to a week. Patience rewards you with a stable, consistent finish.
Q: What if my piece cracks while drying?
A: Small cracks often smooth with gentle sanding or light rehydration. If a crack runs deep, you can soften the edge with a damp fingertip and press gently to close it, then let it re-dry. For major cracks, consider remaking the piece and adjusting thickness or glycerin levels.
A Gentle Note Before You Go
You have just held a recipe that values process over perfection. Simple Cornstarch Bioplastic DIY asks you to slow, to notice the change in texture, and to choose small, deliberate touches. The feeling of smoothing a cooled surface or watching a tiny ornament catch sun can be its own quiet reward. Take your time with each step and allow the outcome to be a soft reflection of your care.
Conclusion
If you want a small, thoughtful collection of recipes and ideas to explore variations and design, the Bioplastic Cook Book offers inspiring options and gentle techniques that pair well with this practice. For a child-friendly activity guide that blends learning and making, the Bioplastic DIY | Generation Genius page provides clear, supportive steps and classroom-tested tips.
Thank you for letting your hands slow and your attention settle. I hope these small sheets and shapes bring warm light and calm moments into your days.
PrintSimple Cornstarch Bioplastic DIY
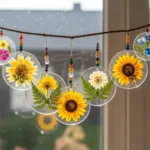
Create your own cornstarch bioplastic with this simple DIY project that blends crafting and kitchen skills.
- Prep Time: 15 minutes
- Cook Time: 10 minutes
- Total Time: 25 minutes
- Yield: 1 batch
- Category: Craft
- Method: Mixing & Heating
- Cuisine: Eco-Friendly
- Diet: Vegan
Ingredients
- Cornstarch, 2 tablespoons per small batch
- Water, about 3 tablespoons per batch
- Vinegar, 1 teaspoon per batch
- Vegetable glycerin, 1 teaspoon per batch (optional)
- Small saucepan (nonreactive; stainless or enamel)
- Wooden spoon or heat-safe spatula
- Measuring spoons and a small cup
- Parchment paper or a silicone baking mat
- Cookie cutters or a small rolling pin (optional)
- Small paintbrush and natural dyes or food coloring (optional)
- Fine sandpaper or a small file (optional)
- Airtight container for storage
Instructions
- Gather your materials and clear a small workspace.
- Measure cornstarch into your saucepan.
- Add the water and whisk until the mix feels smooth and lukewarm.
- Stir in vinegar and glycerin.
- Heat gently over low to medium heat.
- Watch as the mix thickens to a glossy paste.
- Remove from heat when it forms a dough-like mass.
- Let the mass cool until you can handle it safely.
- Shape or roll the dough as desired.
- Place shaped pieces on parchment to dry.
- Finish by sanding or trimming edges gently.
- Store in an airtight container once completely cool and dry.
Notes
Keep finished items away from direct sunlight and humid areas to extend their lifespan.