

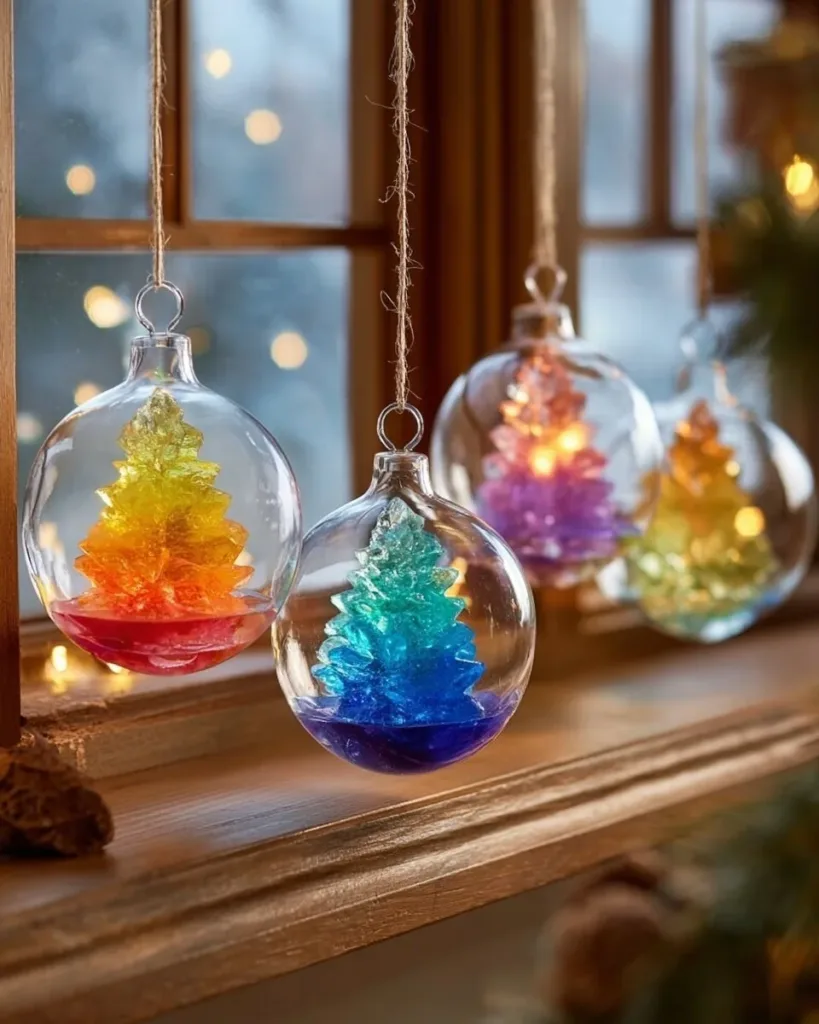
I hold a small blank tree between my palms, its paper edge cool and slightly rough, and I breathe in the quiet. Light from the window makes a soft band across my lap and the gentle promise of tiny crystals beginning to form feels like waiting for rain. This is the hush where I make Crystal Growing Tree Ornaments, slow and tactile, watching sugar-like crystals bloom along folded branches until each piece looks like a little winter cosmos. If you want a step-by-step that leans into calm and care, this baking soda crystal growing tree tutorial is a good place to start and gently guides you through the basics.
The Quiet Joy of Making Crystal Growing Tree Ornaments
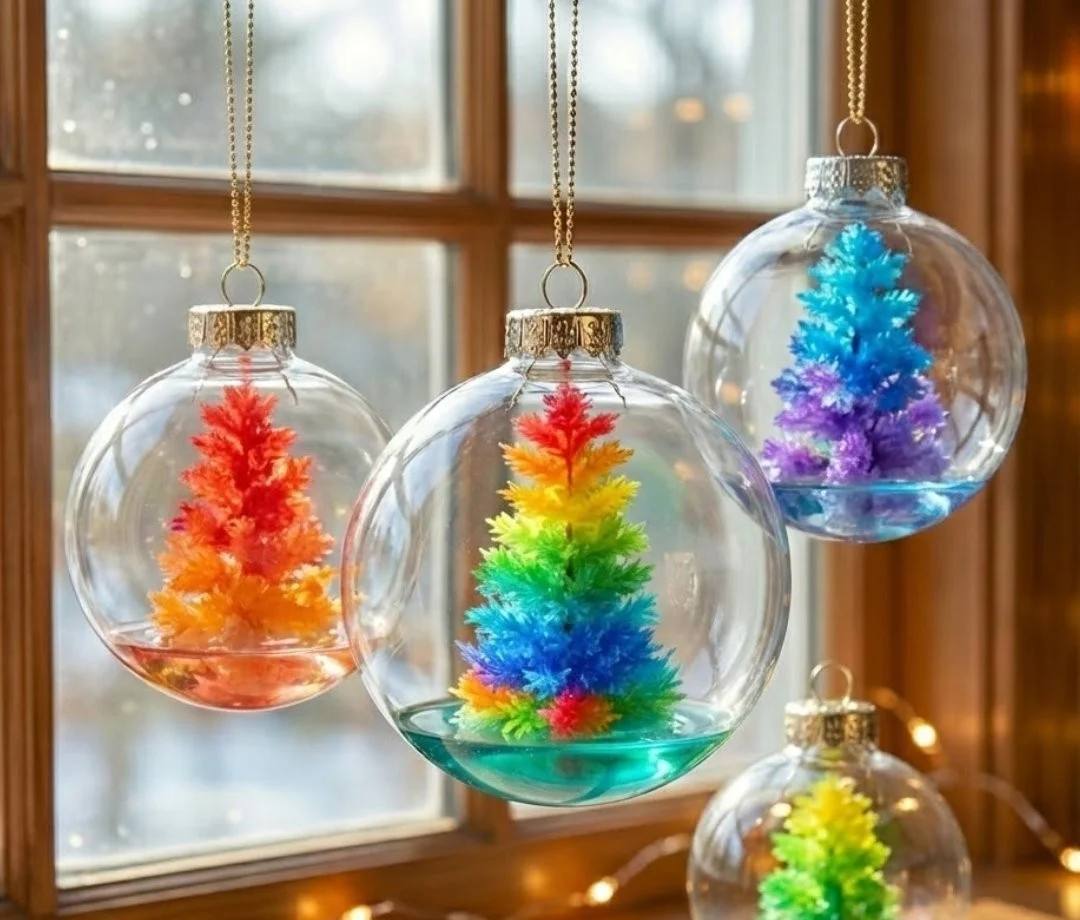
Making these ornaments asks for few tools and a patient hand. The process slows the mind because it asks you to pay attention to small, gradual changes. You pour a warm solution and then wait, noticing tiny shifts in texture and sparkle. Your fingers remember how the paper feels when you fold the tree and how the solution beads on the surface like morning dew.
The joy comes from small reveals. Crystals begin as faint dusting and then gather into ridges, catching light in unexpected ways. When I make these, I often sit with a cup of tea and listen to a quiet playlist, letting the time pass without hurry. The work fits into slow routines because each stage invites you to relax, observe, and return with soft curiosity.
This project also connects to the senses in a simple way. You feel the warmth of the jar, see the tiny points of growth, and notice how the air near the drying pieces cools as crystals set. It is both craft and small science and that balance makes the making feel like a mindful ritual.
A Gentle Look at the Process
Before you gather anything, imagine the rhythm. You will fold paper or cardboard into a tree shape, mix a warm solution, and suspend the shape so crystals can grow evenly. The movement is quiet and repetitive: folding, stirring, dipping, and waiting. Each action has a soft tactile note.
You will watch texture shift across a surface. First, the paper will look damp and glossy. Then, small nodes will appear and collect until they form a pattern. That pattern grows outward with a steady, patient geometry. If you want a more detailed how-to with tips on timing and proportions, this baking soda growing tree crystal guide shares practical notes that may help you tune the rhythm to your space.
The planning stage uses gentle choices. You consider color, paper weight, and display method. You think about the light where you will hang the ornaments and how the crystals will catch it. The process feels like arranging a quiet window display for winter light.
Materials You’ll Need
- White paper or thin cardboard tree templates – easy to find, choose uncoated paper for better crystal cling
- Baking soda – the main ingredient; simple and safe for home use
- Warm water – helps the baking soda dissolve and form a clear solution
- Glass jars or heat-safe cups – shallow mouth works well for suspending pieces
- String or thin thread – to hang the trees while they grow
- Clothespins or small clips – to steady and suspend the thread above jars
- Food coloring or liquid watercolor – optional, for soft washes of color
- Tweezers or a craft stick – to gently handle fragile, crystallized edges
- Measuring spoon and cup – for consistent mixtures
- Tray or absorbent paper towel – to catch drips and protect surfaces
- A quiet spot with indirect light – for steady growth and gentle display
If you prefer different recipes, this baking soda crystal growing trees materials list offers variations and substitutions to suit what you have at home. Use simple tools and let the materials feel familiar in your hands.
Step-by-Step Directions
Cut and fold the paper trees into a three-dimensional shape.
Fold slowly and press the creases with your thumb until the branches sit flat.
The paper should stand on its own but allow space for crystal growth.Measure a cup of warm water into a small saucepan or heat-safe bowl.
Warm water helps dissolve the baking soda more fully and creates a clearer solution.
Aim for comfortable warmth, not boiling.Stir in two to three tablespoons of baking soda, a little at a time.
Mix until the solution looks mostly clear with few grains left.
You will feel the slight resistance in the spoon as the last bits dissolve.Add a few drops of food coloring if you want a hint of color.
Stir gently and watch the color blend into the solution.
Soft pastel tones work well for a calm aesthetic.Place the jar on a stable surface and set a clip to hold the string above the jar.
Make sure the tree will hang in the center without touching the sides or bottom.
A slow, steady setup keeps growth even on all branches.Tie the string through the top of the paper tree and suspend it so the base stays above the liquid.
Dipping the bottom could attach the tree to the jar; keep the tree clear of the solution.
The air near the base will pull crystals upward as they grow.Pour the warm baking soda solution into the jar until it fills about half.
Leave room for evaporation and space around the hanging tree.
The solution surface should sit well below the tree base.Cover the jar loosely with a cloth or paper towel and let it sit undisturbed.
The quiet pause is part of the process; vibrations can disrupt crystal formation.
Check after 12 to 24 hours for the first signs of sparkle.Observe the growth over the next 24 to 48 hours and then very gently remove the tree.
Lift it slowly and feel how the crystals cling like frost.
Allow the tree to dry on an absorbent surface, turning gently if needed.Once dry, trim any rough edges with scissors and attach a neat ribbon for hanging.
Handle the crystal edges with tweezers if they feel fragile.
Find a place with soft light to display and enjoy the quiet texture.
These steps lean into sensory cues. Notice the sound of solution settling, the smoothness of paper folds, and the faint shimmer that appears as tiny points of crystal. The method works because warm water encourages more solute to dissolve and then slow evaporation lets crystals form in steady layers. Baking soda crystals prefer gradual change, so less disturbance equals better growth.
Enjoying the Finished Piece
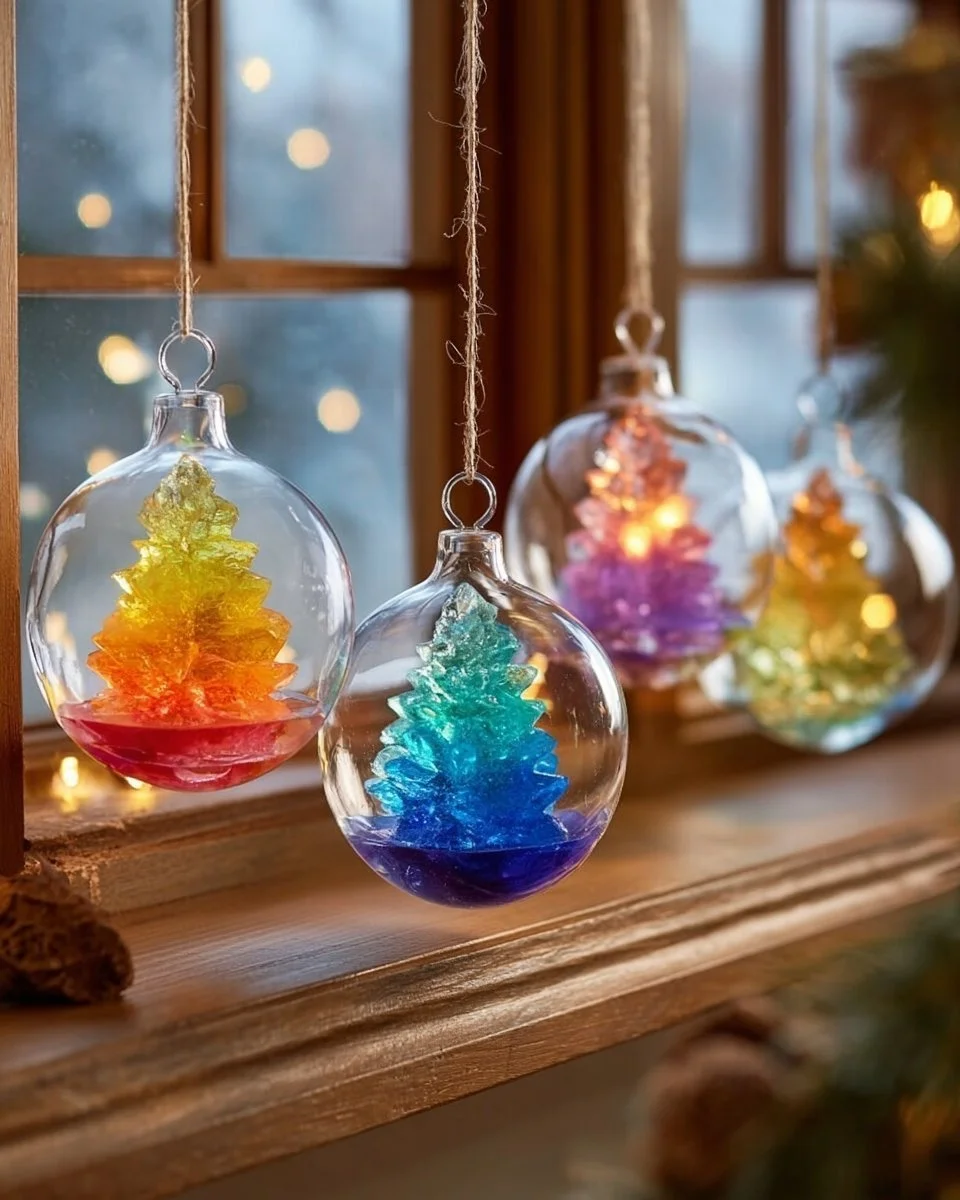
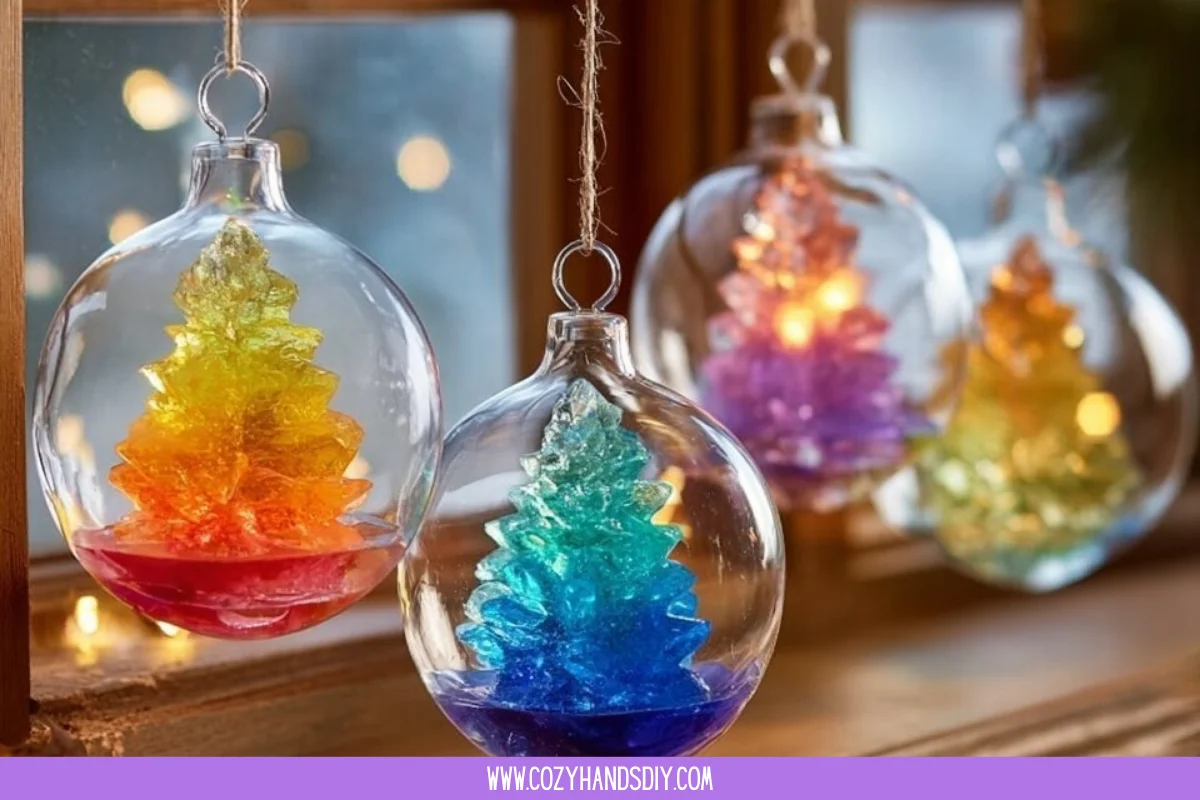
Hang a finished ornament where morning light meets the window. The crystals catch a soft beam and scatter tiny, gentle sparkles across a table. I like to place them near a plant or a knitted throw, where their cool geometry contrasts with warm, living textures.
You can string several on a simple branch to create a miniature winter garland. When you move slowly around these pieces, you notice small differences between trees. Some have clustered snowbanks at the tips, others show lacy veining across a branch. Each tells the story of its particular weathered growth.
These ornaments also work as small gifts. Wrap one in tissue paper so the new owner can feel the crisp texture and watch the crystals in the first light. The making and gifting become a shared quiet—an offering of time and care rather than something hurried or flashy.
Making This DIY Last
Store your ornaments in a shallow box lined with soft paper or cloth to protect the crystals. If you plan to reuse the paper trees for another round, handle them gently. Most paper will lose structure after one growth cycle, so expect to make fresh trees when you want a new batch.
Crystals do not dissolve easily once dry, but they can chip if knocked. Keep them away from damp basements or very humid spaces. A cool, dry cabinet keeps them crisp. If dust gathers, blow it away gently or use a soft brush to avoid damaging delicate points.
If you want to try a new color or stronger crystals next season, keep your measured spoon and a labeled jar for the recipe. Reuse glass jars for smaller experiments; they make the work feel familiar and safe. With a little care, the ritual of making can return year after year.
Gentle Tips & Variations
Invite subtle color: Try diluted liquid watercolor in pale blues or greens for soft hues.
These colors sit more gently on crystals than bright food dyes and keep the mood calm.Vary paper weight: Thinner paper gives fine, lace-like growth; a slightly thicker cardstock holds bolder clusters.
Test a scrap first to see the texture you prefer.Try a salt mix: For a different crystal look, some makers combine small amounts of salt with baking soda.
If you want to experiment, use tiny batches and observe differences closely.Keep a growth journal: Note the temperature and time for each jar.
This simple record helps you learn what the crystals prefer without pressure.Share little experiments: Make a set with a friend, each using one small change.
Compare results over tea and take comfort in small discoveries together.
If you enjoy recipes that walk through simple changes and playful variations, this easy growing crystal ornaments recipe can give you fresh ideas for subtle shifts and color choices.
FAQs About Crystal Growing Tree Ornaments
Q: How long do crystals take to form?
A: You will usually see the first signs within 12 to 24 hours.
Larger, more defined structures take 24 to 48 hours, sometimes longer.
Be patient and check in without moving the setup too much.
Q: Can I use glue to keep crystals in place?
A: I do not recommend glue before the crystals form, because it changes the surface chemistry.
If a point chips later, you can use a tiny dab of clear-drying glue to secure a fragile piece after drying.
Handle with a light touch.
Q: Are these safe to make with children?
A: Yes, with supervision.
Warm water and small pieces require a caregiver nearby.
Let kids fold and arrange while adults handle the hot or warm solution.
Q: What if my crystals look powdery and never form larger clusters?
A: Powdery results often happen when the solution cools too quickly or when the mix lacks enough solute.
Try a slightly warmer solution and a bit more baking soda next time.
Record your trials so you can repeat what worked.
Q: Can I preserve the look long term?
A: Yes, in a dry environment and with careful handling.
Window light will not harm the crystals quickly, but humidity can soften them over time.
Use a display box if you want long-term preservation.
A Gentle Note Before You Go
Sit with one ornament in hand and notice its weight and pattern. Take a slow breath and let the making sink in as a small act of care. These little trees reward patience more than speed, and their quiet growth is a reminder that beauty often arrives gradually.
Conclusion
If you want a ready-made kit to try a similar growing experience, the 3 in 1 Mini Christmas Tree Magic Growing set offers a gentle, child-friendly option that aligns with the same slow curiosity we value here.
For another perspective on making crystal tree ornaments and simple science explanations, you might enjoy the clear tutorial at Crystal Christmas Tree Ornaments – Go Science Kids.
PrintCrystal Growing Tree Ornaments
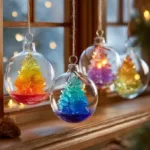
Create beautiful crystal growing tree ornaments using baking soda and warm water in a calming, mindful process.
- Prep Time: 15 minutes
- Cook Time: 48 hours
- Total Time: 48 hours 15 minutes
- Yield: 4 ornaments
- Category: Craft
- Method: Crystal Growing
- Cuisine: N/A
- Diet: N/A
Ingredients
- White paper or thin cardboard tree templates
- 2-3 tablespoons baking soda
- 1 cup warm water
- Glass jars or heat-safe cups
- String or thin thread
- Clothespins or small clips
- Food coloring or liquid watercolor (optional)
- Tweezers or a craft stick
- Measuring spoon and cup
- Tray or absorbent paper towel
- A quiet spot with indirect light
Instructions
- Cut and fold the paper trees into a three-dimensional shape.
- Measure a cup of warm water into a small saucepan or heat-safe bowl.
- Stir in two to three tablespoons of baking soda, a little at a time.
- Add a few drops of food coloring if desired.
- Place the jar on a stable surface and set a clip to hold the string above the jar.
- Tie the string through the top of the paper tree and suspend it above the solution.
- Pour the warm baking soda solution into the jar until it fills about half.
- Cover the jar loosely with a cloth or paper towel and let it sit undisturbed.
- Observe the growth over the next 24 to 48 hours and then gently remove the tree.
- Once dry, trim any rough edges and attach a ribbon for hanging.
Notes
Handle the ornaments gently to avoid chipping the crystals. Store in a cool, dry place to maintain quality.