

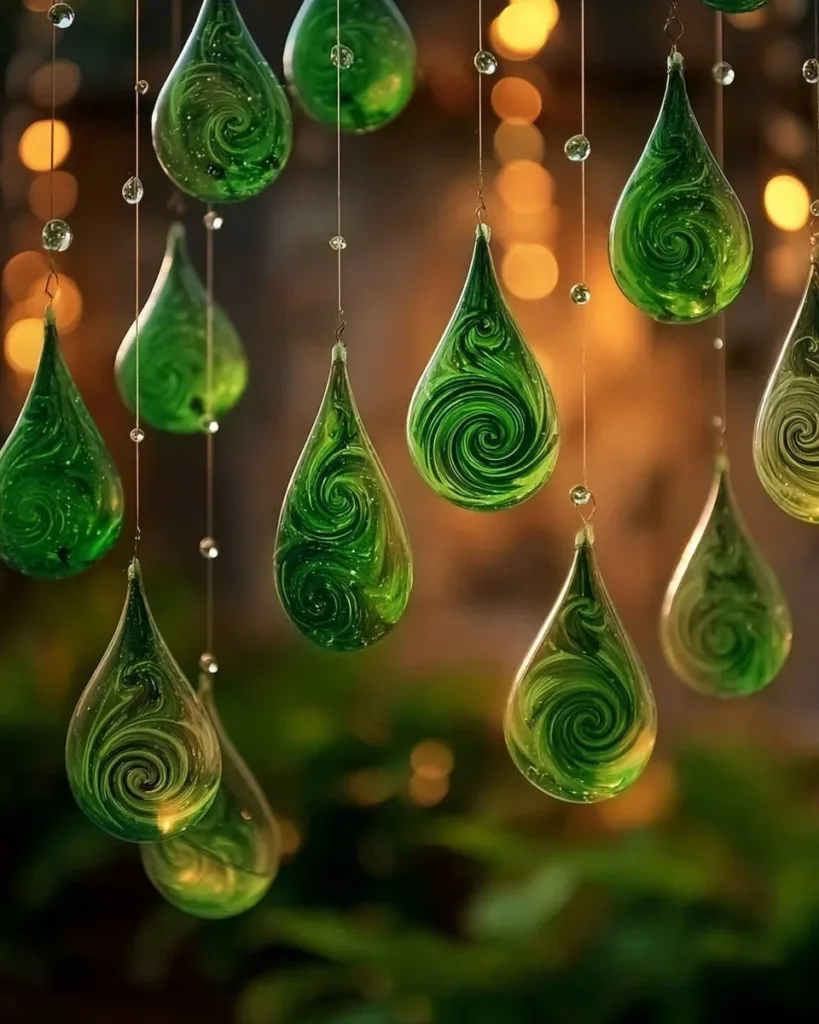
A thin, warm sheet of green catches the sun and pours a quiet, soft light across the windowsill. I sit with a mug that leaves a faint circle of steam on the table and trace the edge of the suncatcher with my thumb, feeling the smooth cool of cooled wax and the slight texture where crayon shavings met and melted together. Green Crayon Suncatchers have that slow, cozy hush — they ask for small, steady motions and offer back a little, glowing calm. For a gentle step-by-step that matches this pace, try the Green Crayon Suncatchers guide for ideas and variations that keep the making soft and satisfying.
Why Green Crayon Suncatchers Feels Comforting to Create
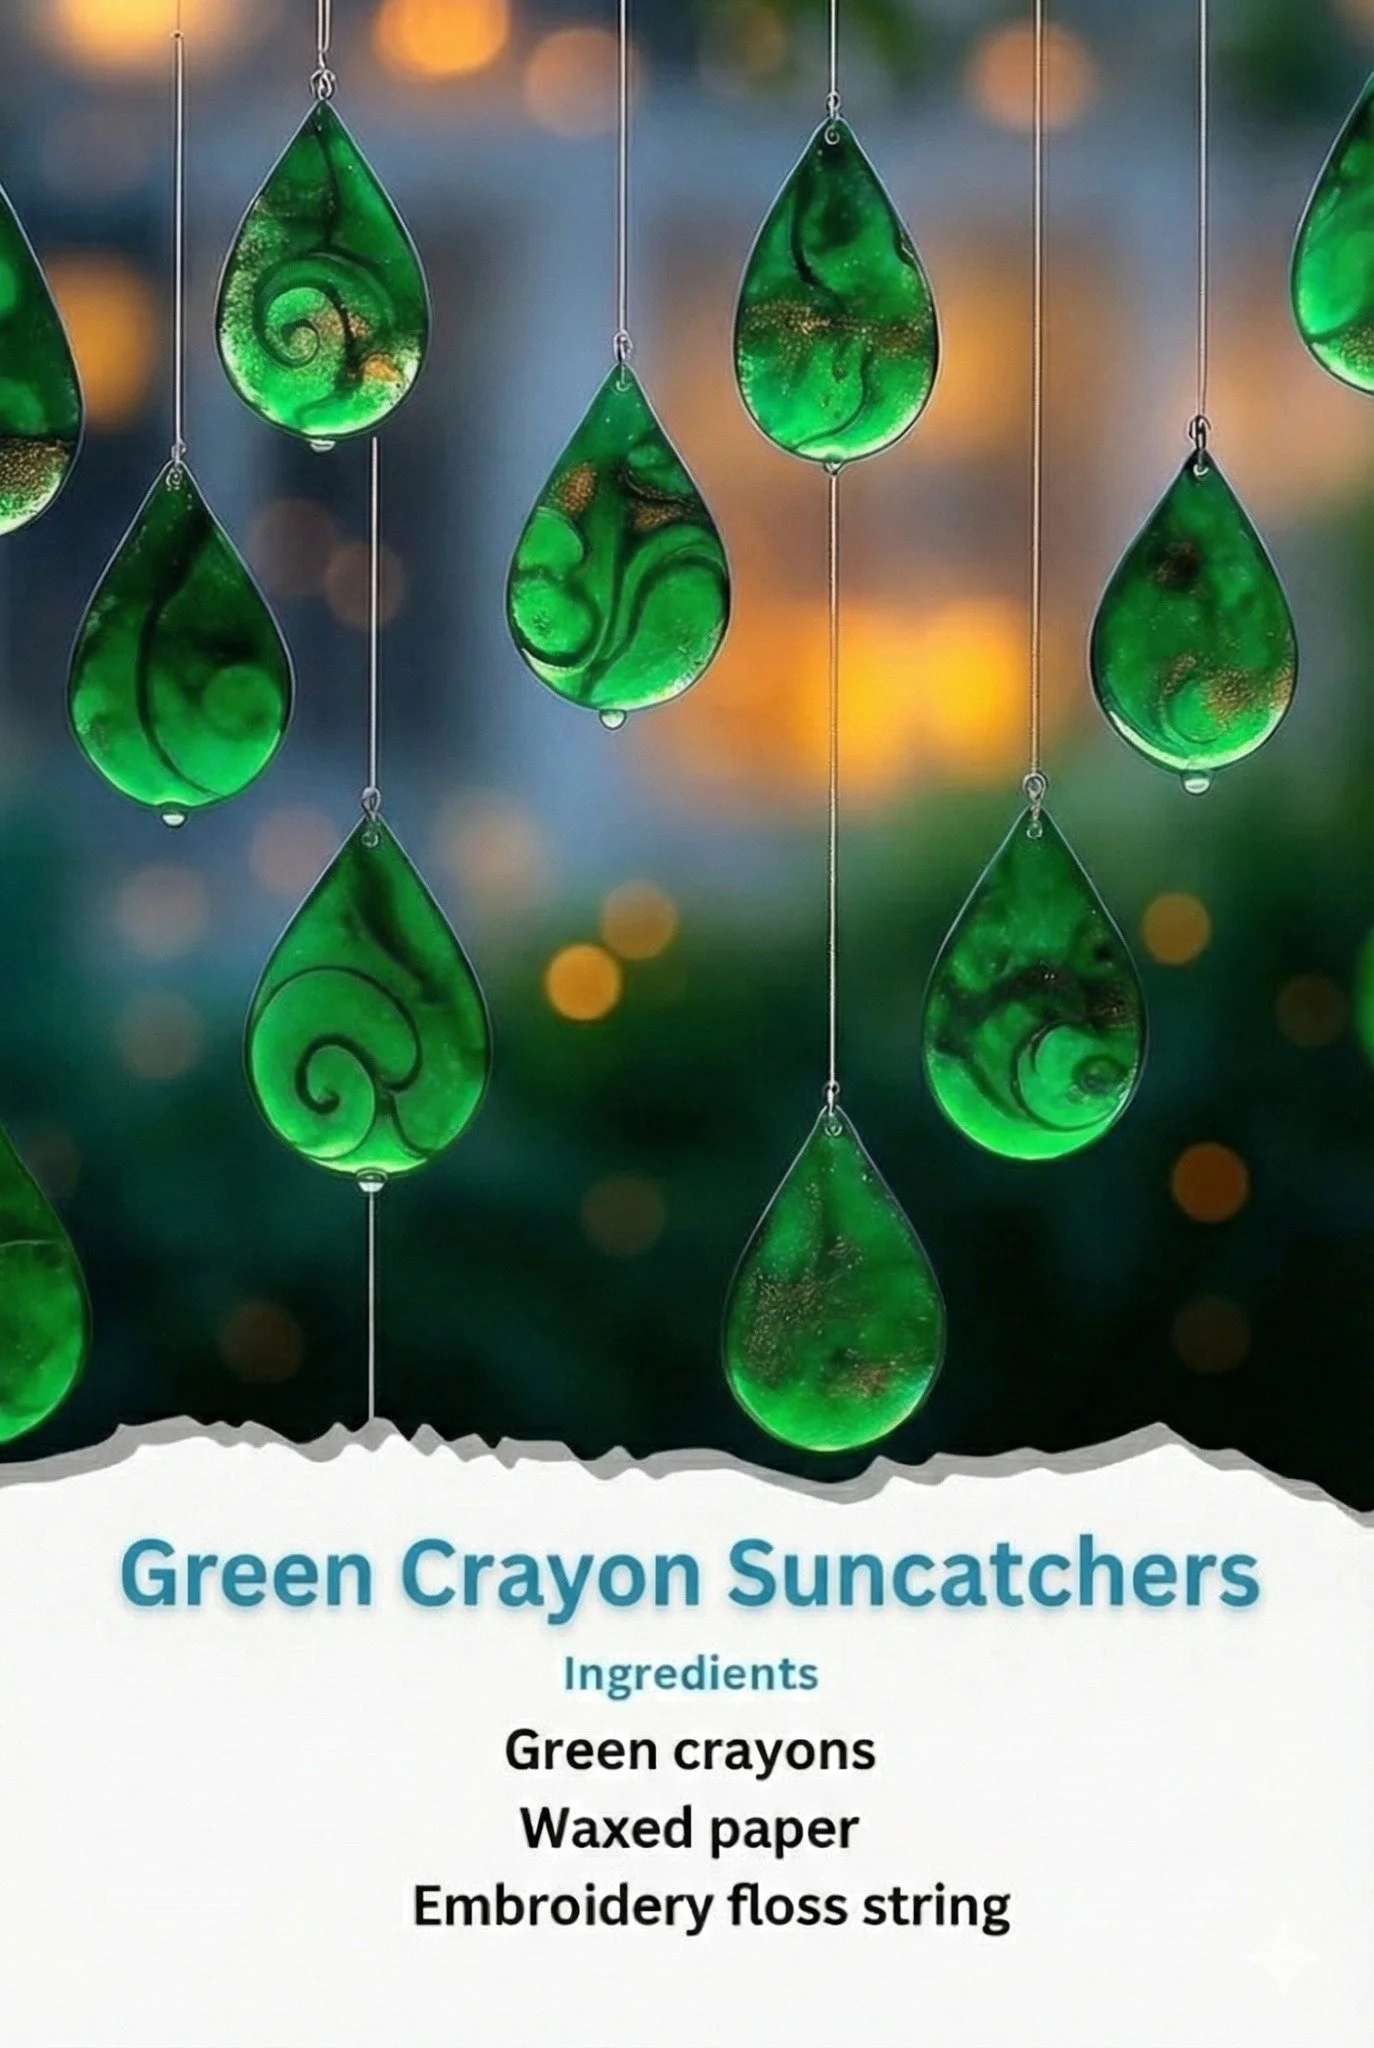
Making something with warm wax under your hands invites a kind of quiet attention. The green tones feel like a breath of forest or a small garden caught in light, and watching the colors bloom and settle pulls your attention into the present. You work slowly, listening to the faint crackle of paper and the whisper of crayon shavings as you move them into place.
This project uses simple tools and simple motions. That ease matters when you want to feel steady rather than rushed. You place wax, you press, you melt, you wait. Each step holds room for small sensory delights: the faint scent of warmed crayon, the smoothening of cool wax, the way sunlight fractures through a tiny fleck of darker green. In those moments, your hands do the telling and your mind follows. The result brings soft light into a room and a quiet, tactile keepsake that asks to be touched and looked at again.
A Gentle Look at the Process
Before you gather things, imagine the flow. You will create color by shaving crayons, arrange those shavings into a simple shape, and then melt them until they bond into a single translucent piece. The rhythm feels meditative: a little scraping, a little sifting, a patient warming. Each movement has a small, satisfying predictability.
You will notice textures: the dry curl of a shaving, the crushed powder when you press shavings together, the sudden gloss as heat smooths the surface. Sounds remain soft — a scraping, a rustle, an occasional tiny pop as air leaves the wax. If you enjoy slow, tactile projects like the raindrop shapes I sometimes make in other sessions, this rhythm will feel familiar and kind, like a shared breath. For a raindrop-shaped variation and a few pattern ideas, I often look back at my diy green crayon raindrop suncatchers notes to remind myself of shapes and placement.
Materials You’ll Need
- Green crayons, in a range of shades (easy to find; recycled crayons work well)
- Parchment paper or wax paper (nonstick, oven-safe)
- An old baking tray or shallow metal pan (sturdy and safe for the oven)
- A cookie cutter or simple cardboard template for shape (optional)
- A metal grater or craft knife for shaving crayons (use with care)
- Oven or low-heat source, such as an iron on a low setting (oven is gentler)
- A clean cloth or heat-resistant mat (for cooling)
- String, fishing line, or a suction cup hook for hanging (optional)
- A small paintbrush or tweezers for arranging shavings (optional)
I keep extra crayons and a small jar of shavings on the side when I work. This way I can add a speckle or two without interrupting the gentle flow. If you want a tutorial that shows a similar process in a different color palette, the post about blue crayon suncatchers gives a visual idea of how light plays through translucent wax.
Step-by-Step Directions
Prepare your workspace and heat source.
Place the baking tray for stability and preheat the oven to a low temperature, about 250°F (120°C).
Lay a sheet of parchment on the tray so it sits flat and quiet under your hands.Create your crayon shavings.
Use the metal grater or a craft knife to shave green crayons into small flakes.
Notice the soft scent as the wax curls and the fine powder that falls like tiny leaves.Arrange the shavings on your parchment.
Scatter the shavings inside a cookie cutter or freehand a simple shape on the parchment.
Work slowly, adding darker pieces for depth and lighter pieces for glow.Cover the shavings with another parchment sheet.
This keeps the wax clean and helps it spread evenly.
Smooth the top layer with your palm so it lies close to the shavings.Gently warm the wax until it melts.
Place the tray in the oven for a few minutes and watch through the door.
When you see the shavings soften and the surface gloss, remove the tray with an oven mitt.Press lightly to join the wax.
If needed, place a second baking tray on top for gentle, even pressing.
This step helps melt the layers together and evens the thickness.Cool and reveal your suncatcher.
Let the piece cool completely on a heat-resistant mat.
Peel away the parchment slowly; the surface feels smooth and slightly cool to the touch.Trim and add a hanging point.
If your edges feel rough, trim them with a sharp pair of scissors.
Punch a small hole near the top and thread a string, or affix a suction hook to display it.Sit with your piece for a moment.
Hold it up to the window and turn it slowly to watch color and light shift.
Notice how the air feels stiller with that small, steady glow in the sun.Reflect and tweak for next time.
Make a note of a color mix you liked or a new shape to try.
Keep your leftover shavings in a jar for the next gentle session.
Enjoying the Finished Piece
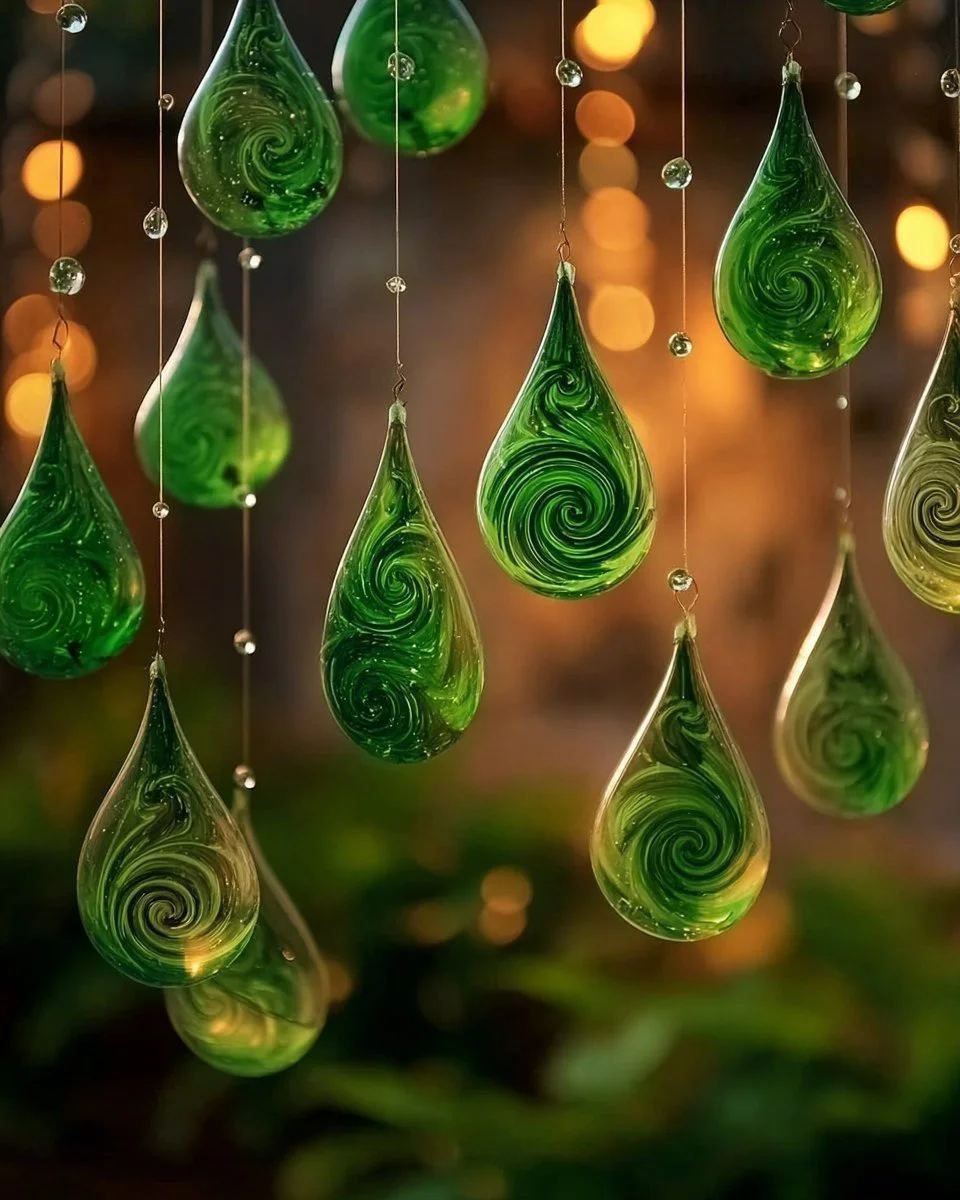
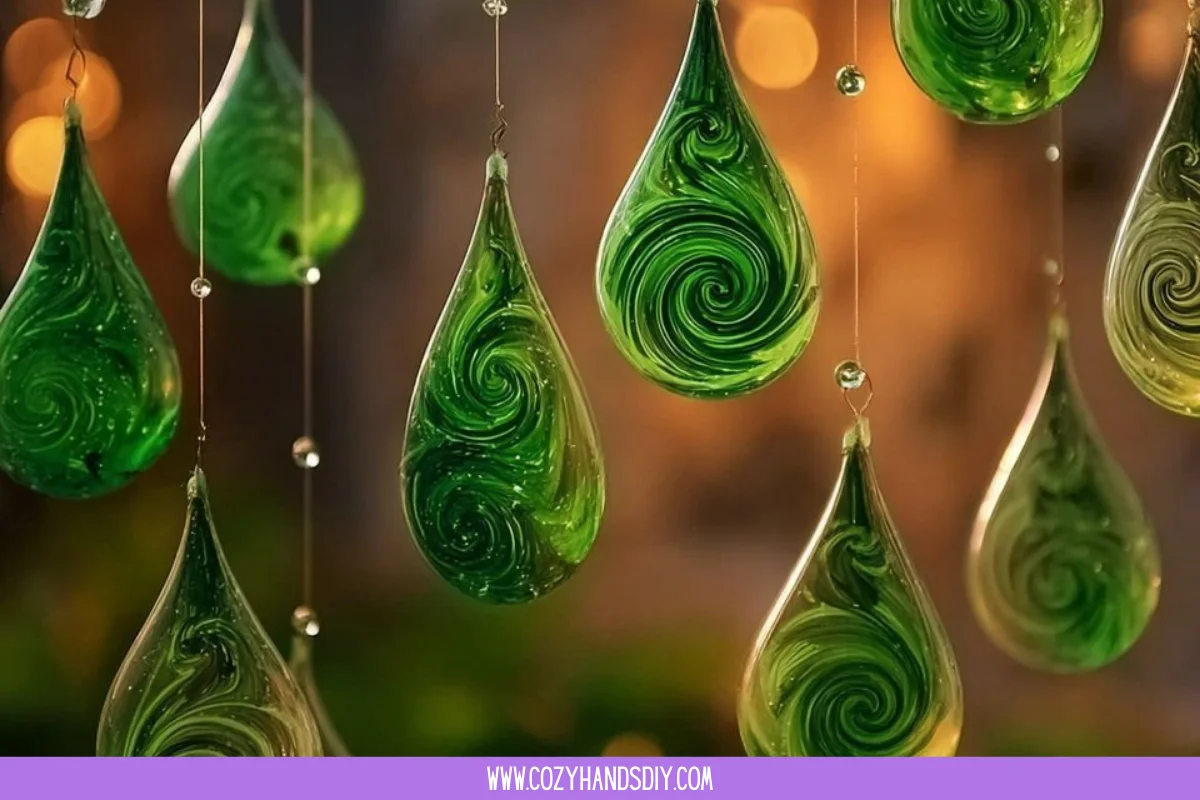
Hang a Green Crayon Suncatcher near a window where morning light can catch it and spread warmth across a table or curtain. The soft green tones change through the day, deepening in the afternoon and glowing subtly at dusk. I love to move them occasionally, so the light sketches new patterns on the wall and tabletop.
You can nest a small suncatcher with plants on a sunny shelf and feel the two greens talk to each other: one living and textured, the other smooth and translucent. I sometimes layer several in a cluster so they pass light between them. If you enjoy tutorials with different hanging ideas and placement, the diy blue crayon suncatchers guide shows playful ways to arrange multiple pieces that inspired my own display choices.
How to Store or Reuse Green Crayon Suncatchers
Store finished pieces flat in a cool, dry drawer if you plan to keep them for later. Lay them between sheets of parchment or tissue paper so they do not stick together. Keep them away from heat sources or direct midsummer sun for long-term storage, because extended high heat may soften the wax over time.
If a suncatcher cracks or you want to change it, you can gently remelt it to re-form a new shape. Place broken pieces into a small oven-safe dish, add a fresh crayon or two for color, and follow the same slow warming steps. This reuse feels calm and practical — nothing goes to waste, and the process gives you another quiet session with your hands.
For hanging hardware, remove string or suction cups before storing. If you plan to reuse shavings, label a small jar with the color and date. Those saved flakes feel soft in the fingers and carry the memory of the session where you made them.
Small Ways to Make It Your Own
- Invite a tiny texture: tuck a dried leaf or a scrap of thin thread into a corner before melting for a subtle embedded memory.
- Play with opacity: add a small amount of white crayon shavings to soften the light for a misty effect.
- Try layered shapes: cut two small shapes and overlap them slightly when arranging shavings so they melt into a gentle, layered glow.
- Use negative space: leave a small clear area inside the shape to let a different light quality shine through.
- Make them as gifts: write a short, handwritten note and tuck it in the package so the receiver knows you made it slowly and with care.
Each of these ideas remains an invitation. Choose one that sounds appealing rather than trying to do all at once. A single small change can make the whole piece feel more like yours.
FAQs About Green Crayon Suncatchers:
Q: Are melted crayon suncatchers safe to make at home?
A: Yes, they are safe when you work at low temperatures and supervise warming steps. Use an oven at low heat, keep a baking tray underneath, and never leave melting wax unattended. Keep children close but supervised, and use tools that protect your hands.
Q: What if my suncatcher comes out too thick or too thin?
A: If it is too thick, remelt and press gently with a second tray to spread the wax more evenly. If it is too thin, add more shavings and warm again briefly. The wax responds predictably to gentle heat, so small adjustments work well.
Q: I only have old crayons. Will they melt and look nice?
A: Old and recycled crayons melt the same way new ones do. They may blend in interesting ways and create muted, lived-in tones. I often keep a small jar of old crayon shavings for a softer, more subtle color palette.
Q: How long do these suncatchers last in sunlight?
A: They hold up well in indirect sunlight for years. Extended exposure to very high heat or direct midday sun in hot climates can soften them over time. Rotate displays seasonally for best longevity.
Q: Can I cut intricate shapes once the wax cools?
A: Yes, after the wax cools and firms, you can trim it with sharp scissors or a craft knife. Work slowly and keep your cuts simple for a clean edge.
A Quiet Closing Thought
When I make Green Crayon Suncatchers, I return to small motions and a patient pace. The project rewards softness: soft color, soft light, soft handling. It asks only that you slow your hands and follow a gentle rhythm. Each piece holds a tiny map of the session — the places you added more color, the shifts in warmth, the way sunlight found a seam. Those marks feel like fingerprints of a calm hour spent making.
Take your time with the next piece. Notice the sound of shavings on the paper, the scent of warmed wax, the way a small green crescent looks in the late afternoon. The making itself can be a resting place, and the finished work can be a quiet companion that keeps that rest nearby.
Conclusion
If you want a visual step-by-step that mirrors this gentle approach, the Recycled Crayon Suncatchers | DIY for Beginners – KiwiCo tutorial shows clear photos and simple techniques that pair well with this slower rhythm. For another warm, hands-on take and different melting methods, I often reference the Melted crayon sun catcher – kid’s art project – A girl and a glue gun post to see how small twists in process change texture and translucency.
PrintGreen Crayon Suncatchers
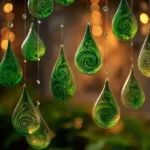
Create beautiful Green Crayon Suncatchers that capture sunlight and provide a calming presence in any room.
- Prep Time: 15 minutes
- Cook Time: 10 minutes
- Total Time: 25 minutes
- Yield: 1 suncatcher
- Category: Craft
- Method: Crafting
- Cuisine: N/A
- Diet: N/A
Ingredients
- Green crayons, in a range of shades
- Parchment paper or wax paper
- An old baking tray or shallow metal pan
- A cookie cutter or simple cardboard template (optional)
- A metal grater or craft knife for shaving crayons
- Oven or low-heat source (like an iron)
- A clean cloth or heat-resistant mat
- String, fishing line, or suction cup hook (optional)
- A small paintbrush or tweezers (optional)
Instructions
- Prepare your workspace and heat source.
- Place the baking tray for stability and preheat the oven to a low temperature, about 250°F (120°C).
- Lay a sheet of parchment on the tray.
- Create your crayon shavings using a metal grater or craft knife.
- Arrange the shavings inside a cookie cutter or freehand on the parchment.
- Cover the shavings with another parchment sheet.
- Gently warm the wax until it melts in the oven.
- Press lightly to join the wax.
- Cool and reveal your suncatcher on a heat-resistant mat.
- Trim rough edges if needed and add a hanging point.
- Sit with your piece and enjoy how it catches the light.
- Reflect on your color mix and shape for next time.
Notes
Store finished pieces flat between sheets of parchment or tissue paper to avoid sticking.