

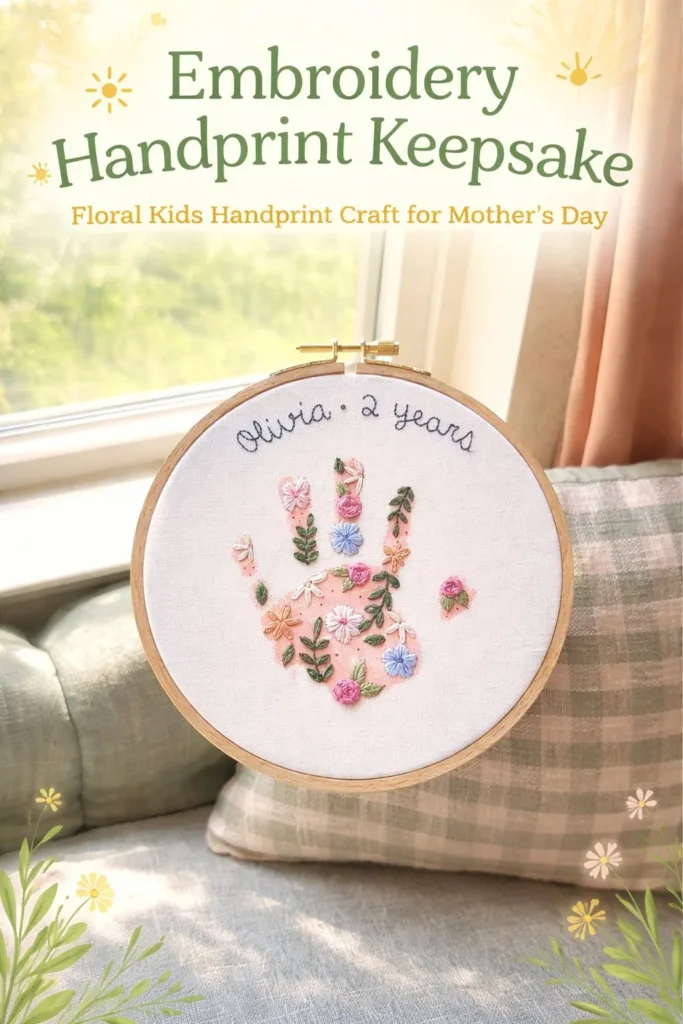
A small palm rests on soft cotton under the warm light of an afternoon lamp. I trace the little fingers with a washable pen and listen to the quiet scratch of needle and thread as I stitch around the outline. The slow rhythm of backstitch and the soft tug of floss under my fingertips turn a simple handprint into an embroidered memory that feels both calm and alive. Making an Embroidered Handprint Keepsake invites gentle attention and the kind of quiet presence that settles your hands and mind.
The Quiet Joy of Making Embroidered Handprint Keepsake
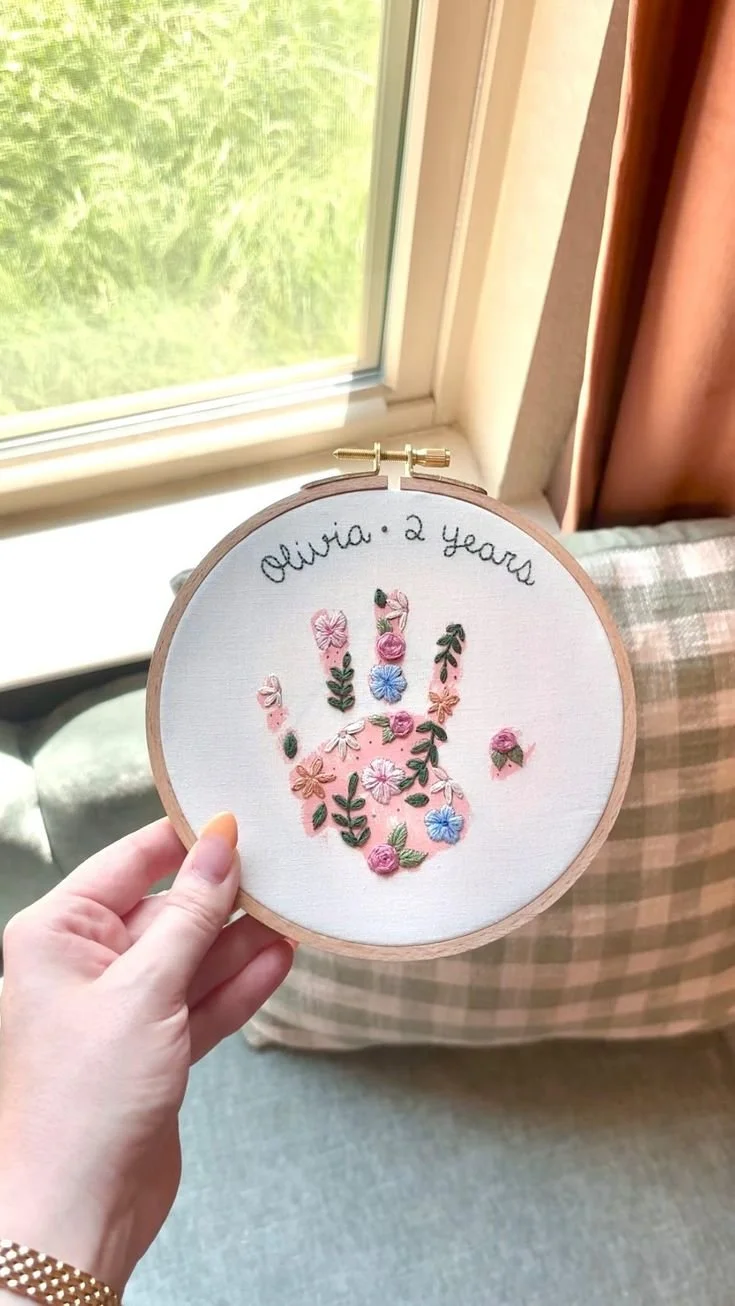
This project brings together memory and touch. It asks you to notice small details: the curve of a thumb, the tiny pads of fingers, the weight of the hoop in your hand. The act of making slows time. You move deliberately. Each stitch becomes a small vow to remember this moment.
You feel texture in layers. Cotton or linen feels cool and smooth. Embroidery floss slides through fabric with a soft sound. The hoop keeps fabric taut, offering just enough resistance to make each stitch satisfying. Those tactile cues help you stay present.
Emotion sits beside the craft. The handprint holds a child, a loved one, or a moment of your own hands. Turning that print into embroidery makes the memory durable and tender. It becomes something you can touch, hang, or tuck into a drawer. That steady tactile connection soothes in a way words cannot.
This keepsake fits into small rituals. You might stitch while the kettle whistles, while an open window brings in a faint smell of rain, or after a lullaby. The process grounds you. It gives you a slow, steady task that pairs well with gentle breathing and quiet music. The result feels personal, humble, and treasured.
A Gentle Look at the Process
This project follows a soft and steady flow. First, you capture the handprint on fabric. Then you use simple stitches to outline and fill the shape. You finish with a tidy backing and a choice of display.
Expect small, repetitive movements that build rhythm. Your needle moves in and out, fingers guide the thread, and your breath finds a steady pace. You might hum or listen to the slow tick of a clock. The repetition comforts. It also makes the stitches even and the image strong.
I keep the tools close and the workspace uncluttered. A small cup for needles, a pair of scissors, and a scrap of stabilizer help the flow. When I sit to stitch, I clear a little table, arrange warm tea nearby, and let the craft be the center of a calm hour.
Why these steps work: the hoop keeps fabric flat so stitches lie smooth. Backstitch gives clear edges while satin stitch or long-and-short fill offers soft, textured areas for pads and palms. Stabilizer supports the fabric during stitching and keeps the handprint shape true. Each choice supports clarity and longevity.
Materials You’ll Need
- Fabric: cotton or linen, plain and soft (easy to find)
- Embroidery hoop: 4 to 6 inches for a cozy scale
- Embroidery floss: 2–6 strands in colors you love (substitute-friendly)
- Embroidery needles: size 7 or 8 for general work
- Washable fabric marker or water-soluble pen: for tracing the handprint
- Tracing paper or transfer paper: optional for direct transfers
- Lightweight stabilizer: fusible or tearaway, optional for thin fabrics
- Small sharp scissors: for thread and fabric trimming
- Iron and ironing board: to flatten fabric and set stitches softly
- Needle threader: optional, helpful if threading feels fiddly
- Fabric glue or small piece of felt and a hot glue gun: for backing or ornaments
- Frame or decorative hoop: for display or gifting
STEP-BY-STEP DIRECTIONS:
Prepare your fabric.
Place fabric in the hoop and tighten until it feels drum-like.
Iron fabric first if it has folds; smooth surface helps tracing.Make the handprint.
Ask the person to press their hand gently on fabric with light fabric-safe paint or use a washable pen.
Be calm and steady; encourage stillness for a clear print.Trace the handprint outline.
Use a water-soluble pen to carefully trace around the dry print.
Keep your line simple; you will refine it with stitches.Add a light stabilizer if needed.
Fuse or place a tearaway behind fabric to give support while stitching.
This prevents puckering and keeps the design crisp.Choose your stitch for the outline.
I like a backstitch for clean lines; it gives definition and stays flat.
Thread two or three strands of floss for a gentle, visible line.Begin stitching the outline.
Start at one side and work slowly around the fingers and palm.
Keep stitches even and breathe slowly as you move.Fill the hand if you wish.
Use satin stitch or long-and-short stitch for soft, filled areas.
Work from one finger to the next to keep texture consistent.Add small details.
Stitch tiny pads, a heart, or initials with a contrasting color.
Small accents help personalize and draw the eye.Check tension frequently.
Keep thread neither too tight nor too loose so fabric stays smooth.
If a stitch pulls, gently ease it back, then continue.Secure and tidy the back.
Tie off thread with small, neat knots and trim ends close.
Use a small piece of felt glued to the back for a finished look.Finish for display.
Trim fabric leaving an even border if framing, or keep inside the hoop for a hoop display.
Iron lightly under a clean cloth to flatten without crushing stitches.Rest and reflect.
Hold the finished piece and notice its weight and texture.
Take a photo for a set of memories and tuck the keepsake into its place.
Enjoying the Finished Piece
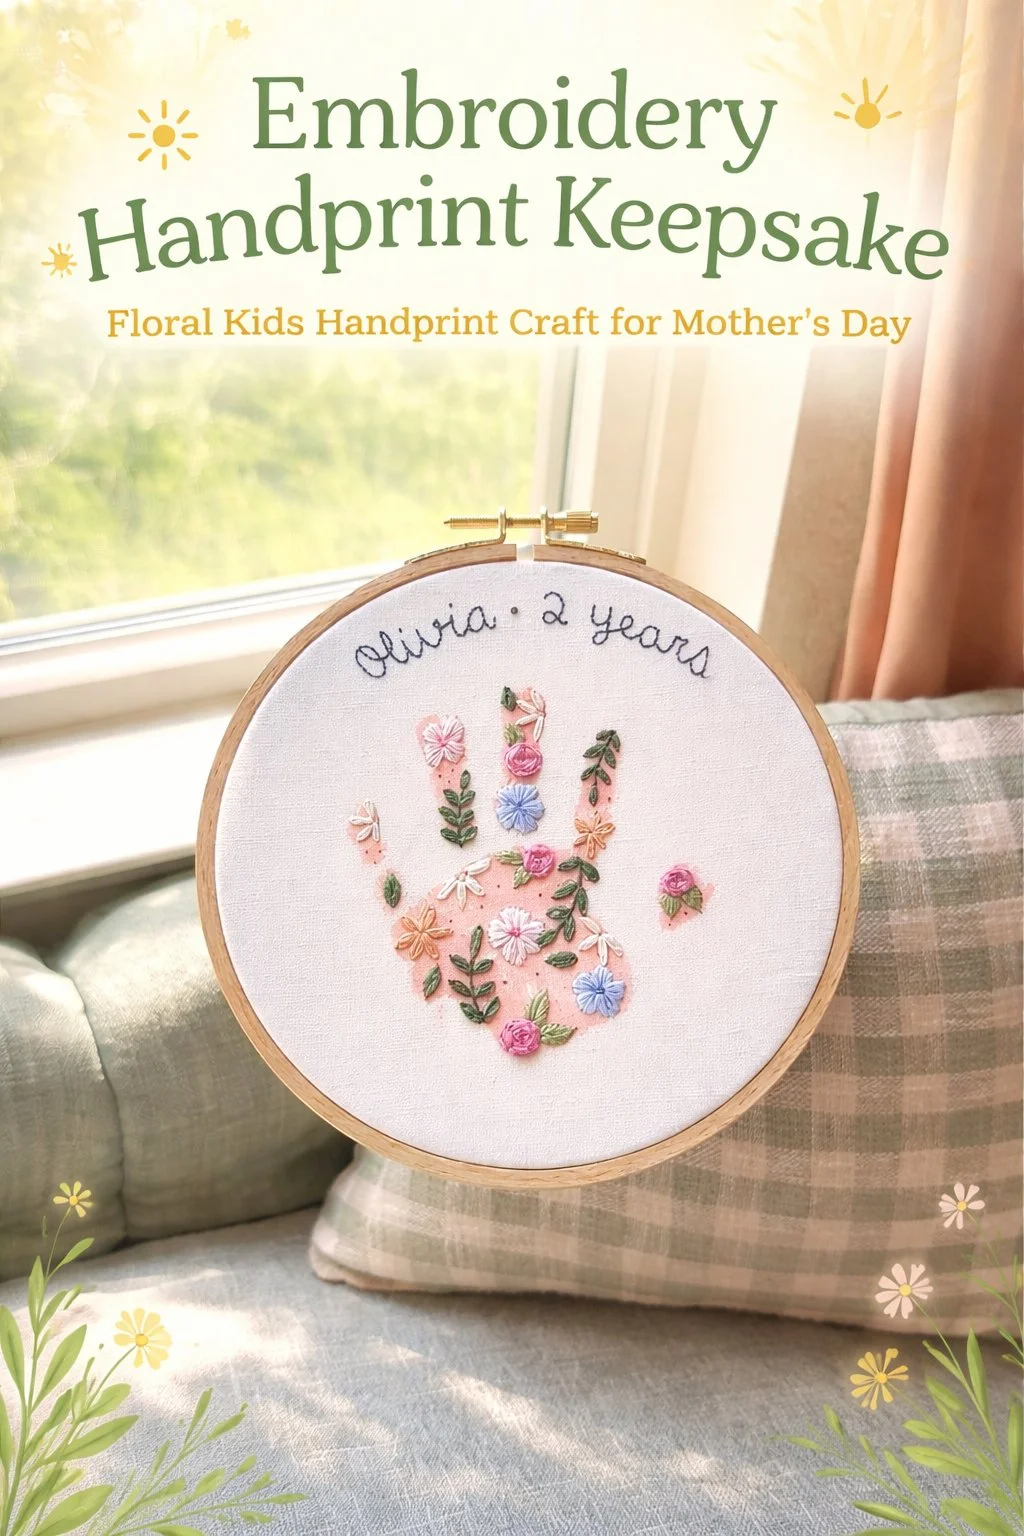
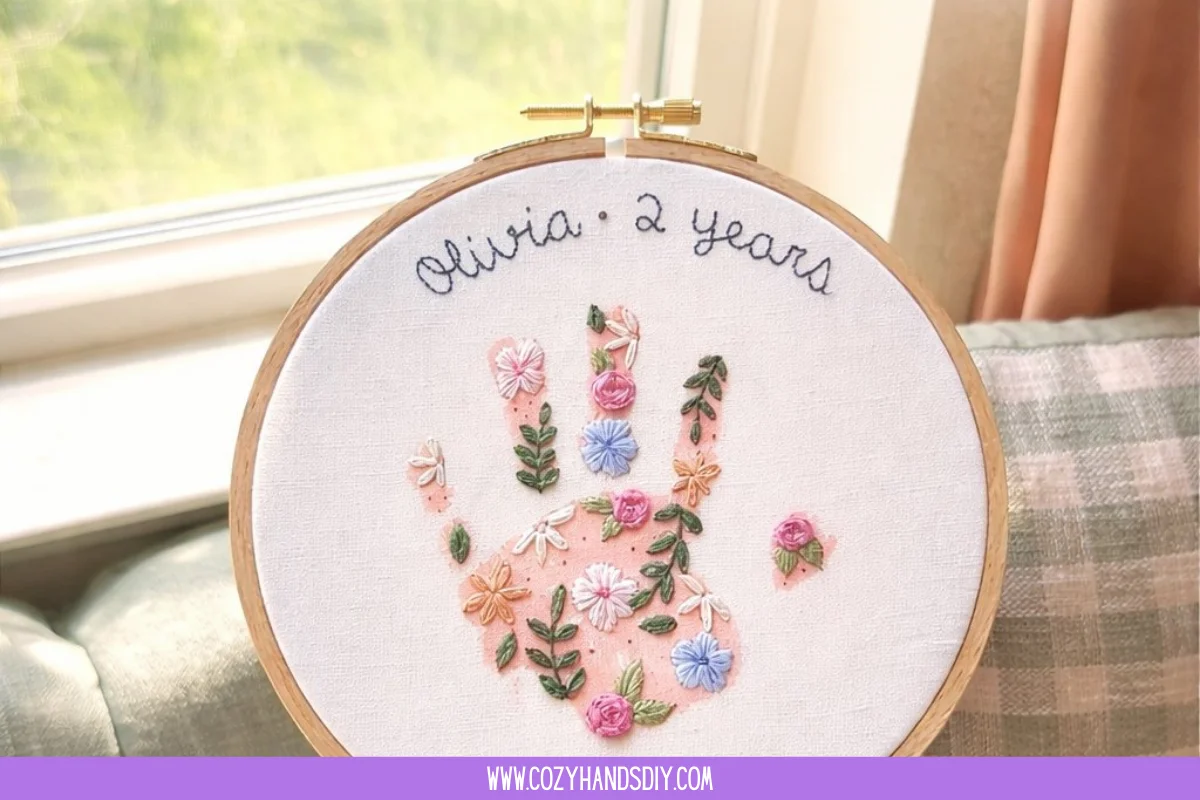
An Embroidered Handprint Keepsake becomes part of home rhythm. I hang mine where the light hits in the late afternoon. The stitches catch soft shadow. When the room stills, I bring it down and run my fingers across the embroidered lines. The memory of the hand presses back through the thread.
Use the piece as a small altar to a person or time. Place it on a shelf with a dried sprig of lavender. Slip it into a drawer with other keepsakes. Give it as a gentle gift for a parent, grandparent, or friend. The physicality of embroidery makes the memory tactile and immediate.
You can also make several for a series. One for each year, or one for every child in a family. Over time the set traces growth and change. The collection invites quiet visits: a moment to compare finger sizes, to remember a bedtime story, or to whisper a thanks.
If you choose a framed display, consider how the frame and mat colors work with the thread. A neutral mat keeps attention on the handprint. A wooden hoop adds warmth and a handmade feel. Wherever you place it, let the keepsake sit where you will see and touch it in slow, calm moments.
Caring for Your Finished DIY
Handle gently. Embroidery lasts when you avoid pulling and rough use. When you move the piece, support the hoop or frame so stitches do not strain.
To clean, spot-treat with a damp cloth and a mild soap. Test on a corner first if you used colored threads that may bleed. Avoid aggressive scrubbing. If the whole piece needs washing, use cool water and mild soap in a basin and let it soak briefly. Rinse carefully and lay flat to dry.
Keep the piece out of direct sunlight for long periods. UV light fades floss over years. If you display in a bright room, rotate the piece once in a while or use a UV-filtering glass in a frame.
If a stitch loosens, mend it soon. Small repairs prevent bigger wear. Keep a tiny sewing kit with matching thread so you can restore the work when needed. If the fabric puckers, remove the hoop and gently press from the back with a low iron under a cloth.
For storage, wrap the keepsake in acid-free tissue paper and place it in a flat box. Store in a cool, dry place. Avoid plastic bags that trap moisture and invite mildew. A drawer lined with soft fabric works well for small keepsakes you visit often.
Small Ways to Make It Your Own
Invite color slowly. Try a muted palette for a calm feel or a single bright thread for a small spark. You do not need many colors; one or two shades give a quiet, cohesive look.
Add small embroidered words. A name, a date, or a one-word sentiment like "close" or "gentle" can sit under the print. Use small, neat letters for a subtle effect.
Mix texture. Stitch the palm in satin stitch and the fingers in a looser long-and-short. The contrast feels soft under the fingertips and keeps the eye interested.
Include tiny motifs. A stitched tiny flower, star, or wave can sit near the wrist as a signature. Keep the motif small to preserve the handprint as the focal point.
Try different backgrounds. Use patterned fabric for a modern feel or natural linen for a timeless look. If you like, embroider on a piece of old clothing or fabric from a meaningful blanket to add memory to memory.
FAQs About Embroidered Handprint Keepsake:
Q: Can I take a handprint safely from a baby or toddler?
A: Yes. Use a fabric-safe, non-toxic, washable fabric paint or a water-soluble pen. Keep the session calm and quick. Support the child’s wrist gently and ask an adult to help steady the hand. If the infant resists, try again another day when they feel rested.
Q: What stitches work best for beginners?
A: Backstitch and satin stitch offer simple control and strong results. Backstitch gives a clear outline while satin stitch fills small areas smoothly. Start with one stitch at a time and practice on scrap fabric to build confidence.
Q: Will thread color fade in the wash?
A: High-quality embroidery floss resists fading, but prolonged exposure to sunlight and frequent washing can soften colors. Spot clean when possible and use cool water for full washes. Dry flat and keep away from direct sun.
Q: Can I digitize this for machine embroidery later?
A: You can. A clear, simple design translates best. If you might digitize the piece, keep lines bold and avoid tiny, highly textured fills. Scan or photograph at high resolution and consult a digitizer for technical guidance.
Q: Is it okay to use old fabric from clothing?
A: Yes. Reusing family fabric adds warmth and story. Check the fabric for stains and structural strength. Add stabilizer if the cloth feels thin. The sentimental value often outweighs a few knots or repairs.
A Gentle Note Before You Go
Thank you for sitting with this quiet project. The slow work of tracing and stitching asks you to notice and remember. It gives you a way to hold a small life in your hands, to witness growth, and to create a soft object that can travel through days.
When you finish, take a moment to pause with the piece. Notice how the thread sits, how light finds the stitches, and how your breathing changed while you worked. Keep the ritual small and steady. Let the keepsake be a gentle bridge between making and memory.
Conclusion
If you want a simple pattern or inspiration for delicate floral borders, this Custom Floral Baby Handprint Embroidery Pattern – Etsy offers charming ideas that pair well with a handprint center.
If you prefer a studio-style approach and small tools, explore projects and supplies at Sew Shelly Sew: Home for gentle patterns and cozy inspiration.
PrintEmbroidered Handprint Keepsake
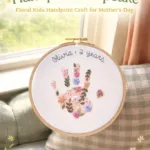
A heartfelt project that transforms a child’s handprint into a cherished embroidered keepsake using simple stitches.
- Prep Time: 20 minutes
- Cook Time: 60 minutes
- Total Time: 80 minutes
- Yield: 1 keepsake
- Category: Craft
- Method: Embroidery
- Cuisine: N/A
- Diet: N/A
Ingredients
- Fabric: cotton or linen, plain and soft
- Embroidery hoop: 4 to 6 inches
- Embroidery floss: 2–6 strands in colors
- Embroidery needles: size 7 or 8
- Washable fabric marker or water-soluble pen
- Tracing paper or transfer paper (optional)
- Lightweight stabilizer (optional)
- Small sharp scissors
- Iron and ironing board
- Needle threader (optional)
- Fabric glue or a small piece of felt and a hot glue gun
- Frame or decorative hoop for display
Instructions
- Prepare your fabric.
- Place fabric in the hoop and tighten until it feels drum-like.
- Iron fabric first if it has folds.
- Make the handprint with light fabric-safe paint or washable pen.
- Trace around the dry print with a water-soluble pen.
- Add a light stabilizer behind fabric if needed.
- Choose your stitch for the outline, preferably backstitch.
- Begin stitching the outline, keeping stitches even.
- Fill the hand with satin stitch or long-and-short stitch if desired.
- Add small details like pads or initials with contrasting colors.
- Check tension frequently while stitching.
- Secure the thread with neat knots and trim ends.
- Finish by trimming fabric or keeping inside hoop for display.
- Rest and reflect on your finished piece.
Notes
Handle gently, clean by spot-treating, and store in acid-free tissue paper.