

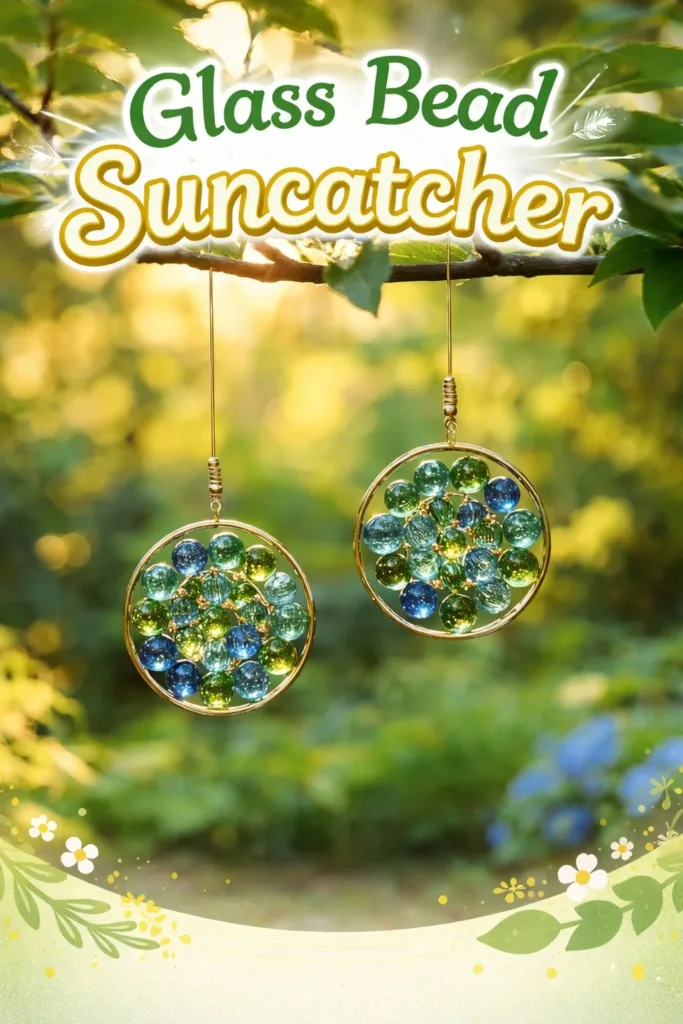
A thin ribbon of morning light slid through my kitchen window and caught on a tiny glass bead I had left on the sill. I watched the bead warm under the sun and toss a small, moving jewel of color across the wall. Making a Glass Bead Suncatcher gives me that quiet, focused pleasure — the gentle clink of beads, the cool smoothness of glass under my thumb, the slow dance of light that comes to life when I lift the finished piece. If you like projects with soft color and calm rhythm, you might also enjoy the gentle results in my blue crayon suncatchers tutorial.
The Heart Behind This DIY
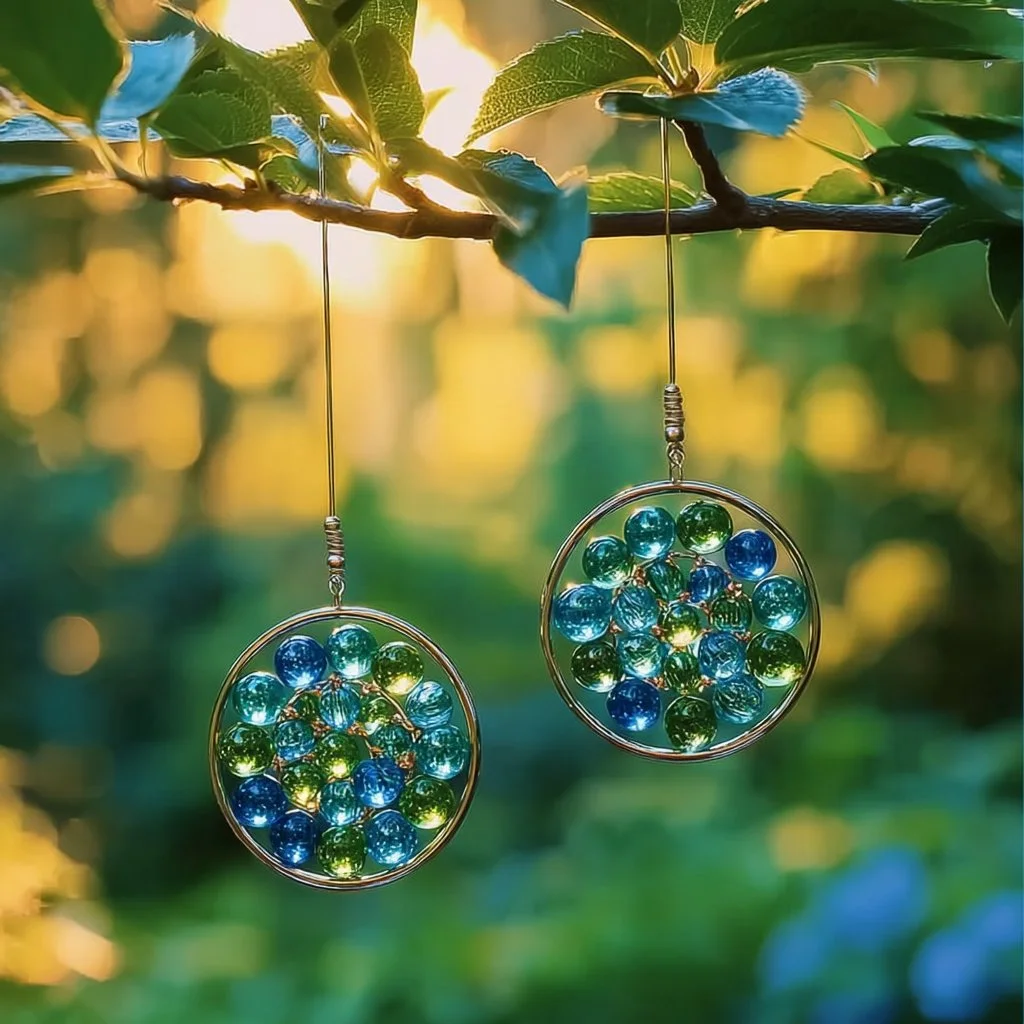
This Glass Bead Suncatcher helps you slow to a patient pace. Picking up one bead at a time turns making into a kind of small meditation. The materials feel simple and honest under your hands. Glass beads feel cool and smooth. Wire bends with a faint, reassuring resistance. When the sun hits the beads, the light fragments into tiny, moving color notes. That visual rhythm can return you to the present moment.
I make these suncatchers when I want something quiet to show for an afternoon. I have sat with a cup of tea and a tray of beads, letting my fingers choose the next color, and noticed how my breathing matched the pace of the work. This project ties making, listening, and looking into one calm practice. For another playful take on translucent color and texture, try the bright ideas in the colorful DIY bioplastic suncatchers recipe.
A Gentle Look at the Process
Before you gather tools, imagine the flow. You will thread beads in small strings, balance weight, and link pieces together. You will feel wire slip through your fingers and hear the faint clink when two glass beads meet. The work follows a quiet loop of choosing, placing, and adjusting.
This process emphasizes small decisions. You pick a palette, make a repeating rhythm, or choose a loose, random assortment. You will test how different bead sizes move in the breeze. The whole project works best when you go slowly and notice how the light changes as you work. If you prefer a similar method with different materials, I also explain gentle steps in my DIY bioplastic suncatchers series.
Materials You’ll Need
- Glass beads in mixed sizes and colors (easy to find; choose quality glass for bright refraction)
- Thin, flexible craft wire (20 to 26 gauge works well; easier to bend with pliers)
- Clear fishing line or nylon thread (optional for almost invisible hanging)
- Small jump rings or metal hoops for anchoring (optional; substitute-friendly)
- Round-nose pliers and wire cutters (safety and clean edges)
- Needle-nose pliers for gentle shaping (optional)
- A small suction cup with hook or a hanging ring (for window mounting)
- A soft cloth or bead mat (keeps beads from rolling)
- Ruler or small tape measure (for consistent lengths)
- A small dish or tray to contain beads (keeps the workspace calm)
- Clear-drying craft glue (optional; for securing beads that slide)
- A pair of safety glasses if you cut wire often (recommended for care and comfort)
If you already follow the slow craft path, you may have many of these items at home. I often use leftover beads from other suncatcher ideas like those in my DIY bioplastic suncatchers posts.
Step-by-Step Directions
Prepare a calm workspace with a bead mat or soft cloth.
Set out your beads by color or size so you can make gentle choices.
Take a breath and settle into the rhythm before you begin.Cut wire or line to your desired hanging length.
Leave a small extra tail to create a secure loop.
Short pieces work well in small windows; longer ones sway more.Form a small loop at one end of the wire with round-nose pliers.
This loop stops beads from sliding off and gives a finished look.
Make the loop tight but smooth to avoid sharp edges.Thread beads onto the wire in the order you choose.
Feel the smoothness of glass as each bead slips into place.
Pause when a sequence feels visually pleasing and balanced.Alternate bead sizes for light play and movement.
Smaller beads catch light while larger beads make gentle clinks.
You can let patterns repeat or let randomness guide you.Leave tiny gaps if you want the beads to move more.
A bead can slide along a short stretch to create soft sound.
Tighter spacing gives a more static, jewel-like effect.When you reach the top, form another loop to finish the strand.
Wrap the wire neatly and trim the tail with cutters.
Use pliers to tuck any sharp end inward for safety.Link several strands to a central ring or hoop.
Arrange lengths so shorter pieces sit inside longer ones.
This layering catches light at different angles.Attach a hanging line or suction cup hook to the top loop.
Test the balance by holding the piece up to bright light.
Adjust any strand lengths until the motion feels calm.Hang in a sunny window and notice small changes as light moves.
Check stability after a day or two to ensure nothing slips.
Enjoy the slow, shimmering presence you created.
Using Glass Bead Suncatcher in Everyday Life
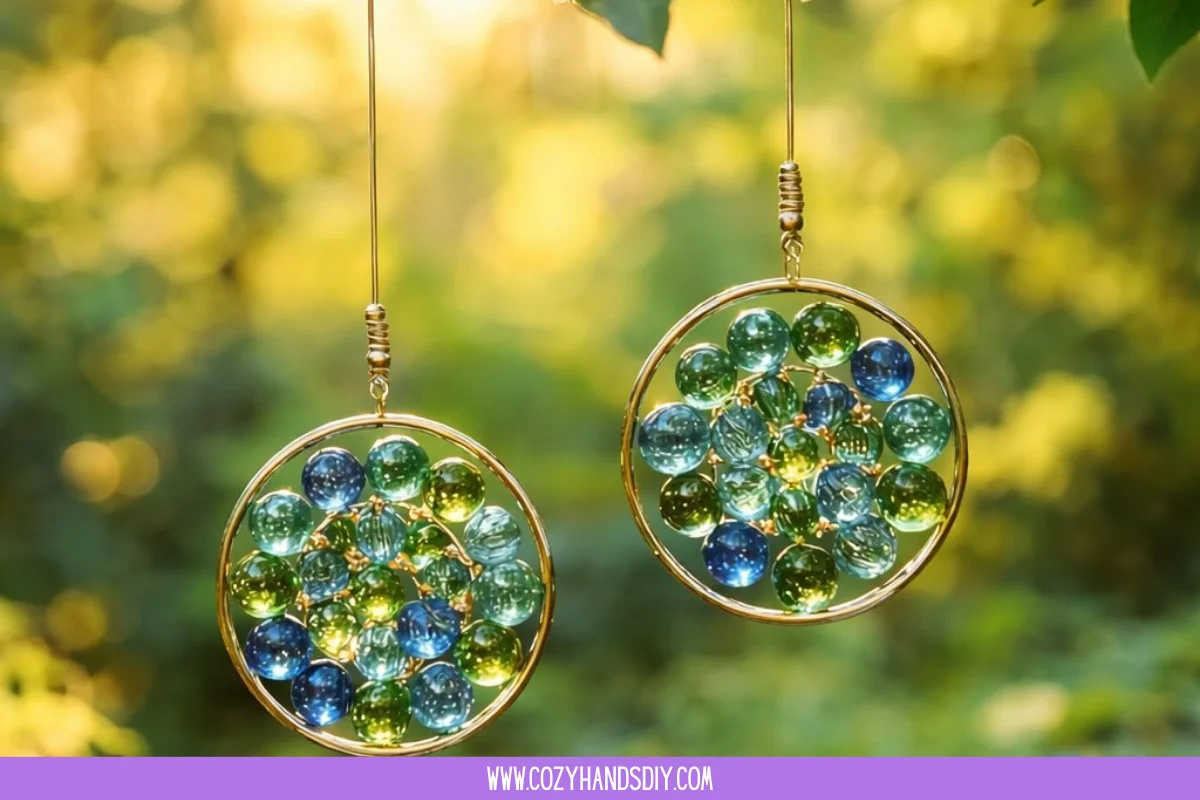
Place your suncatcher where light shifts through it through the day. South- or east-facing windows often provide warm morning rays that make beads glow. A kitchen window offers attentive warmth while you cook. A bedroom window gives gentle color in the morning as you wake. Hang near a plant to pair living green with tiny, moving jewels.
You can also use these pieces as a simple room divider on a small hook or as a soft mobile over a cozy chair. In low sun, the beads still suggest color and texture even if they do not cast strong reflections. Change placement with the seasons to keep the experience fresh and slow.
Making This DIY Last
Glass beads and wire last a long time if you treat them gently. Store extra strands flat or hanging to avoid kinks in the wire. Keep the suncatcher out of direct wind during storms or strong drafts to prevent tangles. If you use fishing line, check the knots after a few weeks since nylon will stretch slightly and settle.
If beads dull from dust, wipe them with a soft, damp cloth and dry them immediately. Avoid harsh chemicals that strip finishes from beads or metal components. If a strand weakens, gently open a loop, remove the delicate section, and replace it. The materials are forgiving, and small repairs keep the piece feeling loved.
Gentle Tips & Variations
Try a single-color gradient for a soft, ombre effect.
This creates a calming, slow shift of tone across the window.Combine glass with a few small natural elements like sea glass.
These items offer tactile contrast and subtle, earned texture.Use a mixed-length cluster on a small hoop for a mobile feel.
Short, medium, and long strands give visual layers that move independently.Add tiny mirrored beads sparingly to increase sparkle.
Mirrors amplify light without overwhelming the calm palette.Substitute metal spacers or tiny felt washers between beads to change spacing.
Small changes adjust movement and keep beads from rubbing too much.
Each suggestion invites gentle exploration rather than strict rules. Let your hands guide the adjustments until the piece feels right.
What I’ve Learned While Making This
I learned that a project does not need to finish in one sitting. Sometimes I make two or three strands and leave them on the table, returning to add more when I feel the quiet pull. Those pauses let me see the work differently each time. I learned to prefer beads with a smoother hole, because they thread more easily and cut less into fine wire.
I also learned to keep simple repair supplies near my window. A tiny pliers and a few extra jump rings make fixes quick and soothing. Most importantly, I found the act of rearranging beads calms me. When I lose focus, I sort beads by shade for a few quiet minutes and return with clearer attention.
FAQs About Glass Bead Suncatcher:
Q: What type of glass beads work best for light play?
A: I prefer clear and translucent beads with smooth surfaces because they refract light beautifully. Faceted beads add sparkle, and larger beads offer more pronounced color pools. Mix textures deliberately.
Q: Is this safe to hang around children or pets?
A: Place finished pieces out of reach of small children and curious pets. Use secure hooks and check connections often. Consider using larger beads and stronger wire if you plan to hang the piece lower in the room.
Q: How do I prevent wire ends from scratching surfaces?
A: Tuck cut ends inward and press them flat with pliers. You can also cap ends with a tiny bead or dab a small amount of clear glue to blunt the edge for extra safety.
Q: Can I use this technique outdoors?
A: You can hang a suncatcher outdoors in a sheltered spot, but choose weather-resistant materials and check them frequently. Glass beads handle weather well, but some wires and jump rings may corrode if left in wet conditions.
Q: What if my beads keep sliding down the wire?
A: Add a tiny crimp bead or knot between sections to anchor beads in place. A small dab of clear glue can also fix a bead if you want a stable composition.
A Quiet Closing Thought
When you finish a Glass Bead Suncatcher, take a moment to sit nearby and watch how it changes with the day. Notice the small movements and the way light warms a bead differently in the morning and late afternoon. Let the suncatcher remind you that making offers slow gifts: a soft rhythm, a little beauty, and a place to return your attention. Keep the practice gentle, make small choices, and enjoy each shimmering moment.
Conclusion
If you would like more patterns and a different assembly approach, the project guide DIY Suncatchers with Glass Beads – One Little Project offers clear visuals and fresh ideas. For a simple supply boost, you can find a wide selection of beads and accessories at Suncatcher Beads – Amazon.com.
PrintGlass Bead Suncatcher

Create a beautiful Glass Bead Suncatcher that reflects light and adds color to your space. This calm and meditative project allows for gentle creativity using glass beads and wire.
- Prep Time: 15 minutes
- Cook Time: 60 minutes
- Total Time: 75 minutes
- Yield: 1 suncatcher
- Category: Craft
- Method: DIY
- Cuisine: N/A
- Diet: N/A
Ingredients
- Glass beads in mixed sizes and colors
- Thin craft wire (20 to 26 gauge)
- Clear fishing line or nylon thread (optional)
- Small jump rings or metal hoops (optional)
- Round-nose pliers
- Wire cutters
- Needle-nose pliers (optional)
- Suction cup with hook or hanging ring
- Soft cloth or bead mat
- Ruler or tape measure
- Small dish or tray for beads
- Clear-drying craft glue (optional)
- Safety glasses (recommended)
Instructions
- Prepare a calm workspace with a bead mat or soft cloth.
- Set out your beads by color or size.
- Cut wire or line to your desired hanging length.
- Form a small loop at one end of the wire with round-nose pliers.
- Thread beads onto the wire in the order you choose.
- Alternate bead sizes for light play and movement.
- Leave tiny gaps between beads if desired.
- When you reach the top, form another loop to finish the strand.
- Link several strands to a central ring or hoop.
- Attach a hanging line or suction cup hook to the top loop.
- Hang in a sunny window and enjoy your creation.
Notes
Try different colors, textures, and variations to personalize your suncatcher. Store beads gently to preserve their quality.