

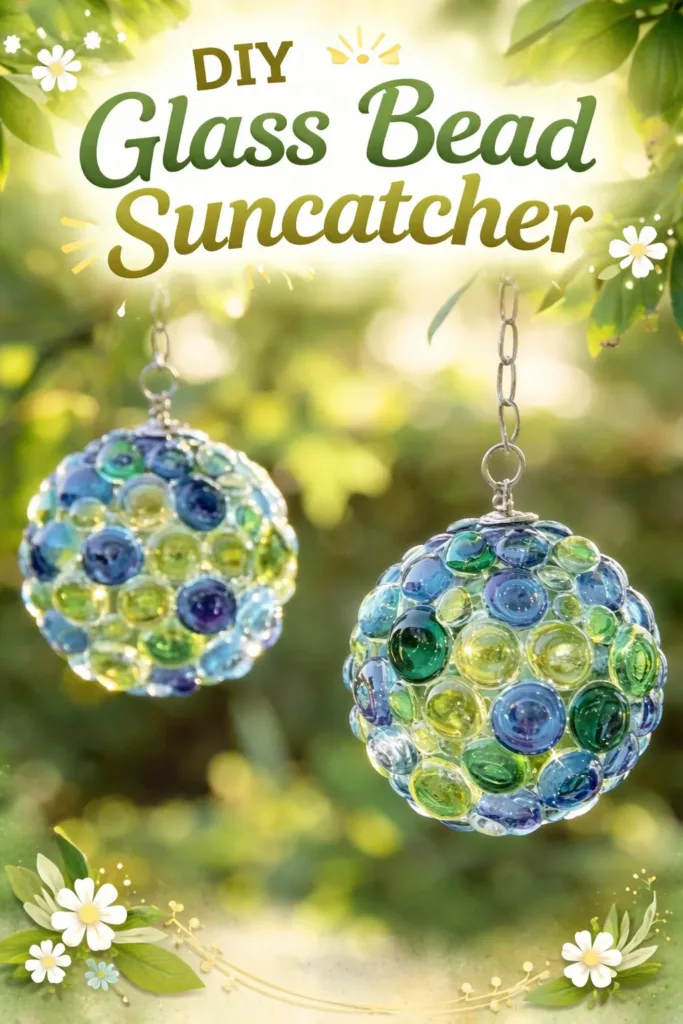
I press the beads into my palm and feel their coolness, like small, bright stones pulled from a quiet shoreline. Light pools through their glass and scatters onto the table in jewel-colored fragments. Making a DIY Glass Bead Suncatcher invites a slow, sensory conversation with light, texture, and rhythm. It asks for gentle hands, a patient breath, and the quiet pleasure of watching color move when a window opens to the sun. If you would like a playful companion project, you might enjoy the colorful bioplastic suncatchers recipe I tried last spring.
Why DIY Glass Bead Suncatcher Feels Comforting to Create
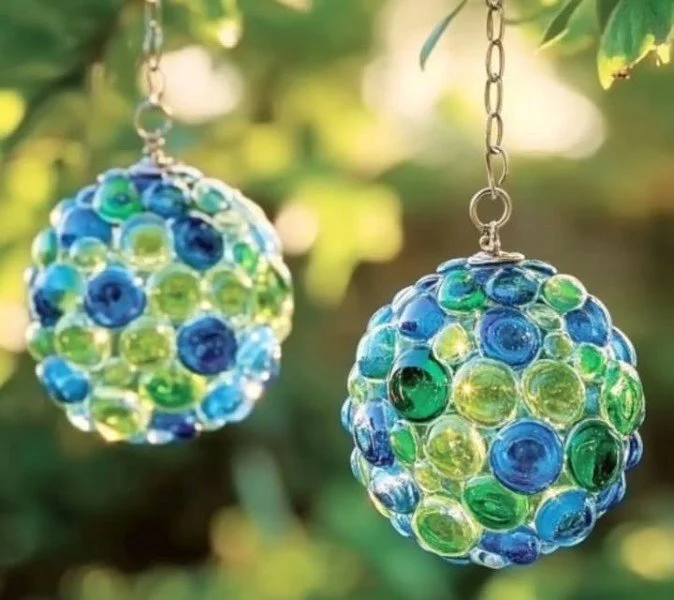
Working with glass beads soothes in a particular way. Each bead asks you to slow down as you thread it, to notice its weight and finish, its tiny variations. The rhythm of beads sliding along wire or line becomes a gentle metronome for the hands and the mind. You steady your breathing to match a repetitive, tactile task and feel present in a way that small, deliberate movements encourage.
Glass catches light differently than plastic or paper. It holds a cool clarity that refracts, making soft rainbows on white walls. That shift from solid bead to flicker of color invites quiet wonder. The project blends craft, small design choices, and a little science. You choose beads for their optical qualities and watch physics reward you when sunlight bends through them.
This craft fits into days when you want to slow down rather than rush. You can make it in an hour or savor it over several afternoons. It calms by offering predictable actions and a beautiful, immediate result. Many of us find that making an object we can hang by a window gives daily, gentle delight every time light finds it.
A Gentle Look at the Process
Before you gather supplies, imagine the flow. You will pick beads, choose a shape, and slowly build upward or outward. The motion feels like composing—one small decision at a time. Thread, space, and balance matter more than speed.
You will hear tiny clicks as beads meet. You will feel the beads slide, pause, and nestle into place. These sensory notes make the process quietly satisfying. If you listen, the project also guides your pace. It keeps asking for patience and rewards you with subtle visual music.
For more ideas about making suncatchers with other materials and playful approaches, try a different method I enjoyed in this DIY bioplastic suncatchers collection. That practice helped me think about translucence and texture in new ways.
Materials You’ll Need
- Glass beads in assorted sizes and shapes (easy to find; choose a mix of transparent and faceted beads)
- Beading wire, thin stainless steel or coated jewelry wire (sturdy and holds shape)
- Clear nylon fishing line or monofilament (optional; nearly invisible and great for floating effects)
- Jump rings and small eye screws for hanging (simple hardware for hanging securely)
- Round-nose pliers and wire cutters (basic jewelry tools; small and comfortable in hand)
- A small metal or wooden hoop, driftwood, or a shaped frame (optional base; use something you love)
- Bead stoppers or a small piece of tape (keeps beads from sliding off while you work)
- Ruler or measuring tape (helps with symmetry and balance)
- Fine permanent marker or wax pencil (optional; mark placement or sequence)
- A soft cloth and a small bowl for beads (sensory and tidy work area)
- Safety items: magnifying lamp if needed, and a small container to keep beads away from children and pets
If you prefer a softer look, substitute wooden beads or translucent acrylic beads. If you want a more durable hanging, choose stainless steel wire over nylon. I like to keep a few spare beads and extra wire in a labeled jar so I can return to the project later.
Step-by-Step Directions
Prepare your workspace and tools. Lay a soft cloth on the table to prevent beads from rolling away and set a small bowl for sorting. Feeling the smooth surface of the beads against the cloth helps center your attention.
Decide on the shape and length. Measure the window area where you plan to hang the suncatcher and choose a frame or hoop size. Mark the center and plan symmetry with your ruler.
Cut your wire or line with a little extra length. Allow room for knots and attaching hardware. The extra length keeps your hands from feeling rushed when you make final adjustments.
Secure one end with a bead stopper or a small piece of tape. This will keep beads from slipping off while you assemble. The tape gives a tactile anchor point for threading.
Thread beads in your chosen pattern. Pause between each bead to notice its color, texture, and how it moves. If a sequence feels off, slide beads back gently and reorder them until the visual rhythm feels right.
Add focal beads at intervals. Place faceted or larger beads where sunlight will hit them. These become small prisms that scatter light and create points of brightness on your wall.
Create balanced strands. If you make multiple strands, test balance by lifting them together before final fastening. Adjust bead positions so each strand hangs with a gentle, even weight.
Finish ends with small loops and attach jump rings. Use round-nose pliers to make neat loops, then clip excess wire. Smooth any sharp edges with a file if needed for safety.
Attach strands to your hoop or frame. Space them with a calm eye for rhythm and leave slight breathing room between each. The space allows light to pass freely and the beads to sing individually.
Add a hanging loop and secure hardware. Screw in an eye screw or tie a strong loop to hang the piece. Test the weight on your chosen hook to ensure safety and comfort.
Hang your suncatcher and observe. Stand back and listen to the tiny clinks, watch the light move, and enjoy how the piece changes with the time of day.
Enjoying the Finished Piece
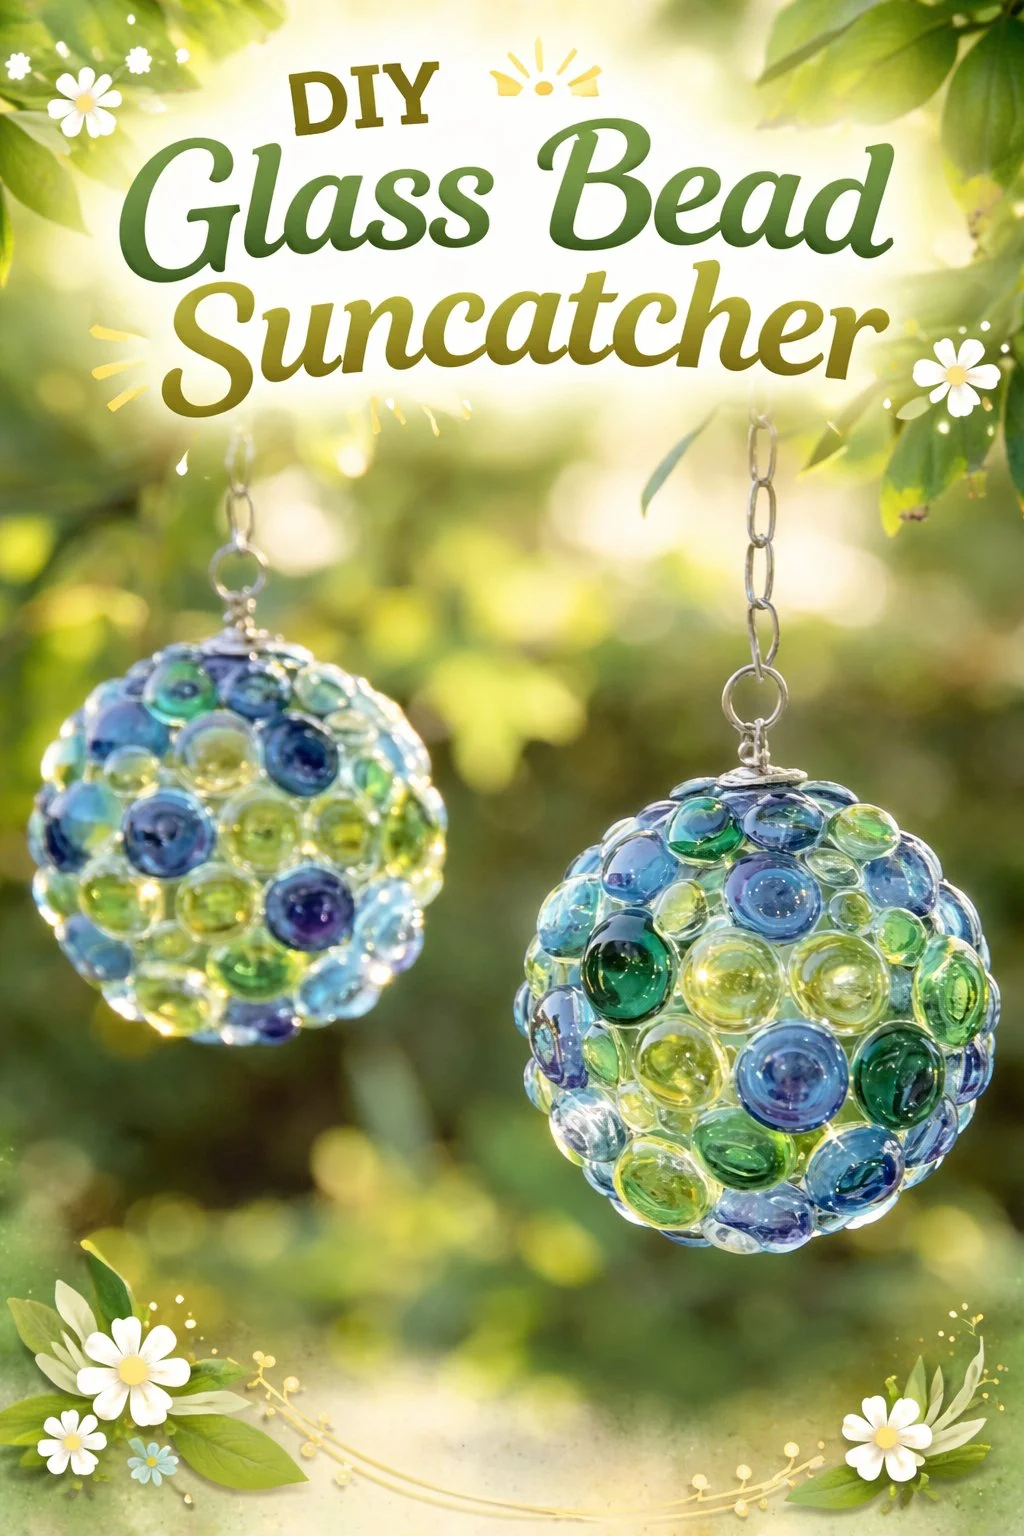
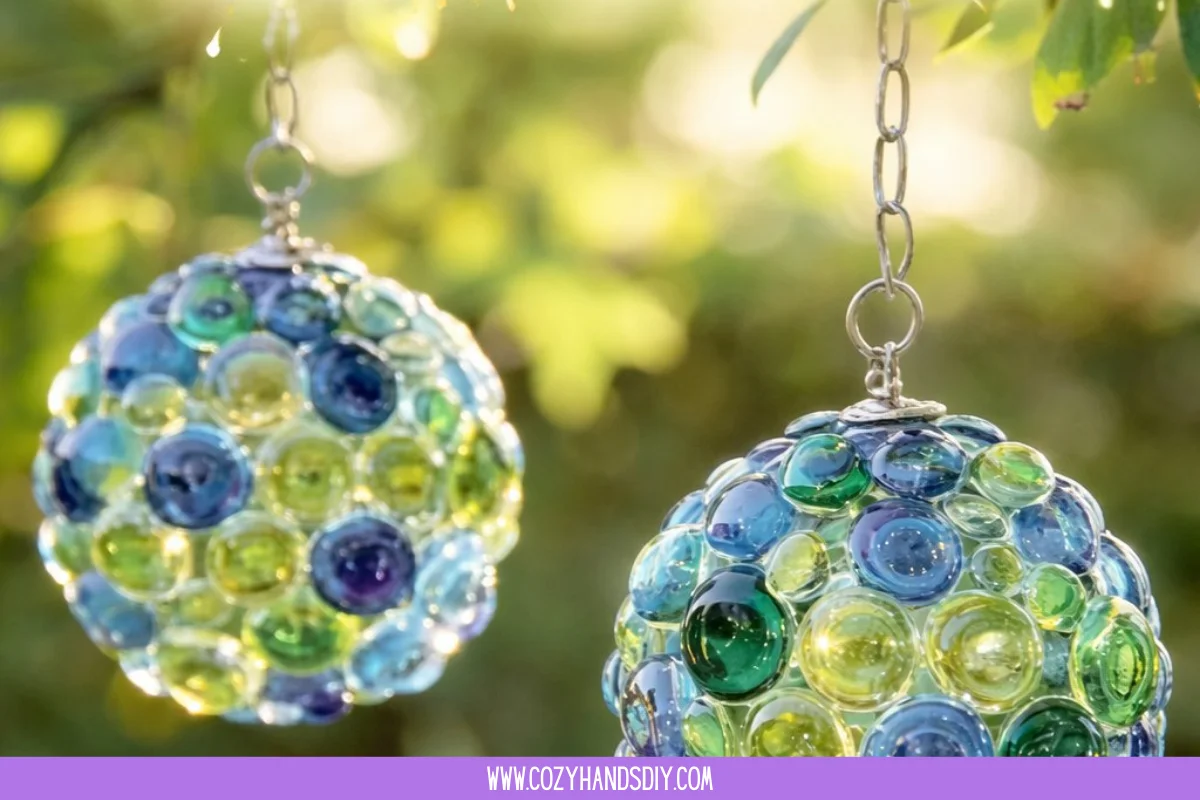
When you bring your suncatcher into space, notice how it shifts the room. Light becomes softer in places and more lively in others. The piece acts like a small weather of color, responding to wind, closed windows, and the angle of the sun.
I like to hang mine where morning light meets the kitchen counter. The first rays pass through the beads and scatter motes across the wall while I make tea. That simple pattern of color gives me pause and creates a slow, private ritual.
You can also place the suncatcher near a bedside window. The diffused prismatic light becomes a gentle morning greeting. If you have a narrow hall with a skylight, the beads add warmth to otherwise hard surfaces.
For communal spaces, consider making several small suncatchers and grouping them. They create a chorus of color that feels lively without becoming loud. If you want a mobile effect, allow a few strands to move freely so they tinkle softly when the air shifts.
I experimented with grouping three small hoops in a staggered arrangement. The light played differently across each piece and brought a layered, calm complexity to the room. You can find ideas that inspired my arrangement in this collection of suncatcher experiments.
Making This DIY Last
Glass beads hold their clarity for a long time, but the structural materials around them need a little care. Keep the suncatcher away from damp, very hot, or harshly salty environments to preserve metal parts.
If you hang your piece outdoors, check connections periodically. Wire can corrode over years, and nylon can degrade under constant UV exposure. Choose stainless hardware if you plan to place it on a porch or balcony.
Clean beads gently with a soft cloth. Use a damp cloth with a little mild soap for stubborn smudges and dry them completely before rehanging. Avoid harsh chemicals that might dull finishes or harm softer components.
Store extra beads and spare wire in small, labeled containers. If you ever want to rework part of the suncatcher, those extras give you freedom without frantic scavenging. I recommend a shallow box with compartments so beads do not mingle and you can see colors at a glance.
For safety, label the project if you live with small children or pets and hang it out of reach. I keep a small safety note with every glass project I make so anyone visiting the home understands the material care.
Gentle Tips & Variations
Invite nature in. Add a few small, sealed shells, sea glass, or polished stones to some strands for an organic look. These items add irregularity and quiet memory.
Play with negative space. Leave gaps between beads to let more light through. Empty spaces become part of the design and let the beads breathe.
Use color gradation. Arrange beads from light to dark or warm to cool to create a subtle flow. Gradients calm the eye and feel intentional without fuss.
Try mirrored or metallic beads sparingly. A single mirrored bead can reflect a surprising patch of light. Use it as a tiny highlight instead of covering the whole piece.
Make a tiny set to give. Small suncatchers make thoughtful, personal gifts. Wrap them in soft tissue and include a brief note about the care and placement. Gifting becomes another calming ritual.
These ideas invite gentle experimentation rather than strict rules. Choose one variation and see what you learn. Often one small change brings new joy.
FAQs About DIY Glass Bead Suncatcher
Q: What kinds of beads work best?
A: Transparent and faceted glass beads refract light beautifully. Smooth, opaque glass gives a softer glow. Mix textures for interest. I combine transparent and slightly frosted beads to balance clear sparkles with muted warmth.
Q: Can children help make one of these?
A: Yes, with supervision and appropriate materials. Small beads pose a choking risk. Give children larger beads and soft cording, and guide them with slow, shared movements. Sit beside them and make a small piece together to keep the experience calm and safe.
Q: How do I hang the suncatcher without marking the window frame?
A: Use suction cup hooks designed for weight-bearing decoration or a removable adhesive hook. Test the hook with the suncatcher before depending on it. For heavier pieces, find a ceiling hook or wall anchor that spreads weight safely.
Q: Will the colors fade over time?
A: Glass itself does not fade from sunlight. Threads and cords may show wear under constant UV exposure. Choose UV-resistant nylon or stainless steel wire for long-lasting color clarity and durability.
Q: Can I mix beads from different sources?
A: Yes, mixing beads gives character. Keep an eye on hole sizes and wire compatibility so beads slide easily. I often match hole diameter to my wire gauge to avoid snagging and to maintain a smooth rhythm while threading.
A Quiet Closing Thought
Sit with the finished suncatcher for a moment. Watch how light travels through it and notice the small changes in color and shadow. Making this piece connects simple, thoughtful actions to daily ease. Every time light finds the beads, you get a small, steady reminder to slow down and breathe.
Take care of the materials and they will keep giving. Let your work live by the window and let it shift as sunlight moves. If you return to the project later, you will find that small adjustments bring new delight, and that the act of making itself continues to soothe.
Conclusion
If you are looking for more step-by-step inspiration, the article DIY Suncatchers with Glass Beads offers a variety of bead combinations and assembly ideas that pair well with this method. For additional layouts and simple hanging techniques, I also like the practical examples in DIY Suncatchers with Glass Beads – One Little Project.
PrintDIY Glass Bead Suncatcher

Create a beautiful and soothing DIY glass bead suncatcher that refracts light and adds color to your space.
- Prep Time: 15 minutes
- Cook Time: 45 minutes
- Total Time: 60 minutes
- Yield: 1 suncatcher
- Category: Craft
- Method: Crafting
- Cuisine: N/A
- Diet: N/A
Ingredients
- Glass beads in assorted sizes and shapes
- Beading wire (thin stainless steel or coated jewelry wire)
- Clear nylon fishing line or monofilament (optional)
- Jump rings and small eye screws for hanging
- Round-nose pliers and wire cutters
- A small metal or wooden hoop, driftwood, or a shaped frame (optional)
- Bead stoppers or a small piece of tape
- Ruler or measuring tape
- Fine permanent marker or wax pencil (optional)
- A soft cloth and a small bowl for beads
- Safety items: magnifying lamp and a small container to keep beads away from children and pets
Instructions
- Prepare your workspace and tools.
- Decide on the shape and length.
- Cut your wire or line with a little extra length.
- Secure one end with a bead stopper or small piece of tape.
- Thread beads in your chosen pattern.
- Add focal beads at intervals.
- Create balanced strands.
- Finish ends with small loops and attach jump rings.
- Attach strands to your hoop or frame.
- Add a hanging loop and secure hardware.
- Hang your suncatcher and observe.
Notes
Consider experimenting with wooden beads or translucent acrylic beads for a softer look.