

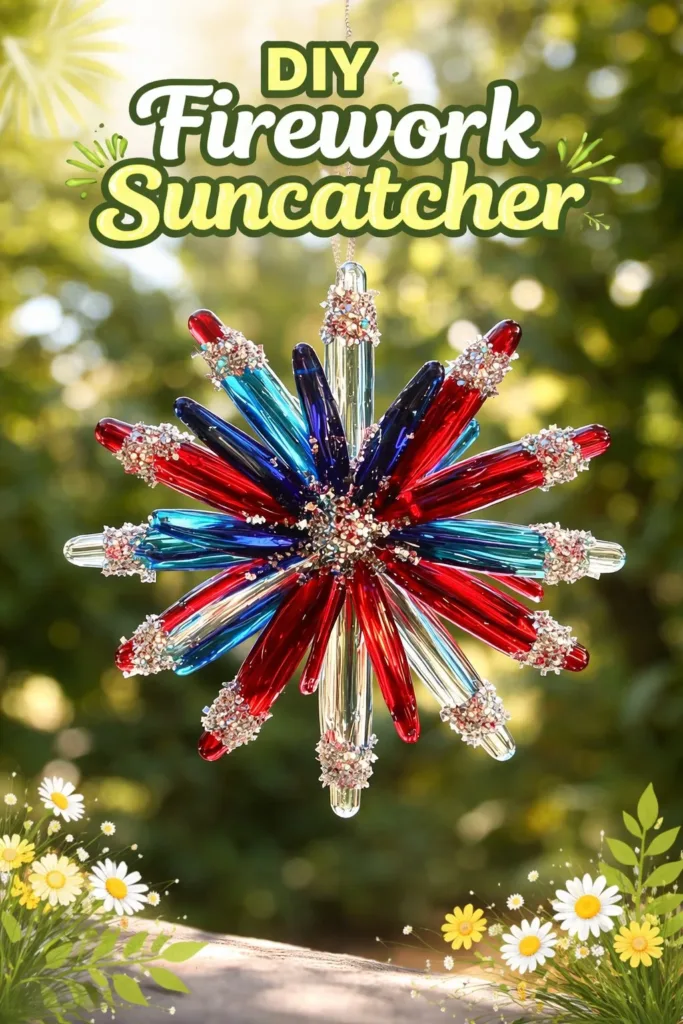
A cool beam of afternoon light slips through the kitchen window and warms my fingertips as I pick up a tiny, translucent shard of melted bioplastic. It feels smooth and just a bit springy under my thumb. I breathe out and watch the colors bloom in the bright strip of glass like little fireworks frozen in time. This simple slow-making of a DIY Firework Suncatcher invites attention to touch, the hush of the oven, and the quiet glitter of sunlight.
The Quiet Joy of Making DIY Firework Suncatcher

There is a gentle comfort in watching color and light meet. Making a DIY Firework Suncatcher asks you to slow down and listen to small sounds, like the soft crackle when a powdered pigment touches warm plastic, or the sigh of cooling material as it settles.
You will notice how the material moves when you press it. You will feel the difference between a smooth edge and a scalloped one. These sensory moments anchor you. They make a simple craft feel like a short, restorative ritual.
If you have tried our colorful bioplastic suncatchers recipe, you will recognize the same warm translucence and the same ease in handling the softened sheet. The process focuses on presence. It centers the hands and calms the mind.
A Gentle Look at the Process
The making unfolds in soft stages. First you gather colors and shapes. Then you melt small pieces into a thin, pliable sheet. Finally you press, cut, and layer.
Movement stays simple and intentional. You use small gestures. You measure by feel more than by exact numbers. You listen to the oven and watch light through the material as it cools.
This calm rhythm feels familiar if you have followed our second tutorial on bioplastic suncatchers. The careful pace helps keep mistakes gentle and easy to fix. It also keeps the making sensory-rich and slow.
Materials You’ll Need
- Bioplastic sheet or recycled clear plastic such as a transparency sheet (easy to find online or from packaging)
- Powdered pigments or mica powder (small amounts go a long way; optional)
- Small cookie cutters or paper stencils for firework shapes (substitute with freehand cutting)
- Sharp scissors that cut smoothly through plastic
- Parchment paper or silicone baking mat (nonstick surface)
- A baking tray and oven or a heat gun for controlled softening
- Thin wire or thread for hanging (choose natural fiber or clear thread)
- A small hole punch or awl for making hanging holes
- Tweezers and a flat tool for pressing layers (helpful for gentle shaping)
- A metal spatula or flat-edge tool for lifting warm pieces
- A clean, dry cloth for gentle wiping
For more on mixing pigments and how they behave in melted bioplastic, see our notes on mixing pigments in the third suncatcher post. Those tips help when you want soft gradients or speckled sparks.
Step-by-Step Directions
-
Preheat your oven to a low temperature, about 275 to 300 degrees Fahrenheit.
Let the sheet warm slowly. The gradual heat keeps it from bubbling quickly and gives you a calm window to work. -
Place the plastic sheet on parchment or a silicone mat.
Work on a flat baking tray. This creates a stable surface and makes lifting the sheet easier. -
Sprinkle small amounts of powdered pigment where you want color.
Think of fireworks as bursts. Use the tip of a spoon to place tiny dots or short lines. Less pigment keeps the piece light and translucent. -
Warm the tray in the oven for a few minutes until the plastic softens.
Watch closely through the oven window. You will see the surface become glossy and move a little. Open the oven slowly to avoid sudden temperature shifts. -
Remove the tray and press gently with a flat tool to spread color.
Use a soft, steady motion. Press from the center of each color spot outwards to create a burst. The motion feels like coaxing the pigment to bloom. -
While still warm, use small cutters or scissors to shape the suncatcher.
Work with care. The material will be warm and pliable. Cut with confident, gentle motions to create crisp shapes. -
Layer additional thin pieces if you want depth.
Place a tiny clear bridge piece or a translucent shard on top and warm briefly. Each layer adds distance and subtle shadow to the light. -
Punch a small hole near the top while the piece remains slightly warm.
A warmed hole stays neat and rounded. If the plastic cools fully, use an awl and a little patience. -
Let the suncatcher cool completely on a flat surface.
Cooling anchors the shape. The piece will firm up into a pleasantly tactile object that feels slightly springy when tapped. -
Attach thread or wire and hang where morning or late afternoon sun can catch it.
Move it slowly to test how it shifts and reflects light. Small rotations reveal hidden sparkles and color mixes.
Enjoying the Finished Piece
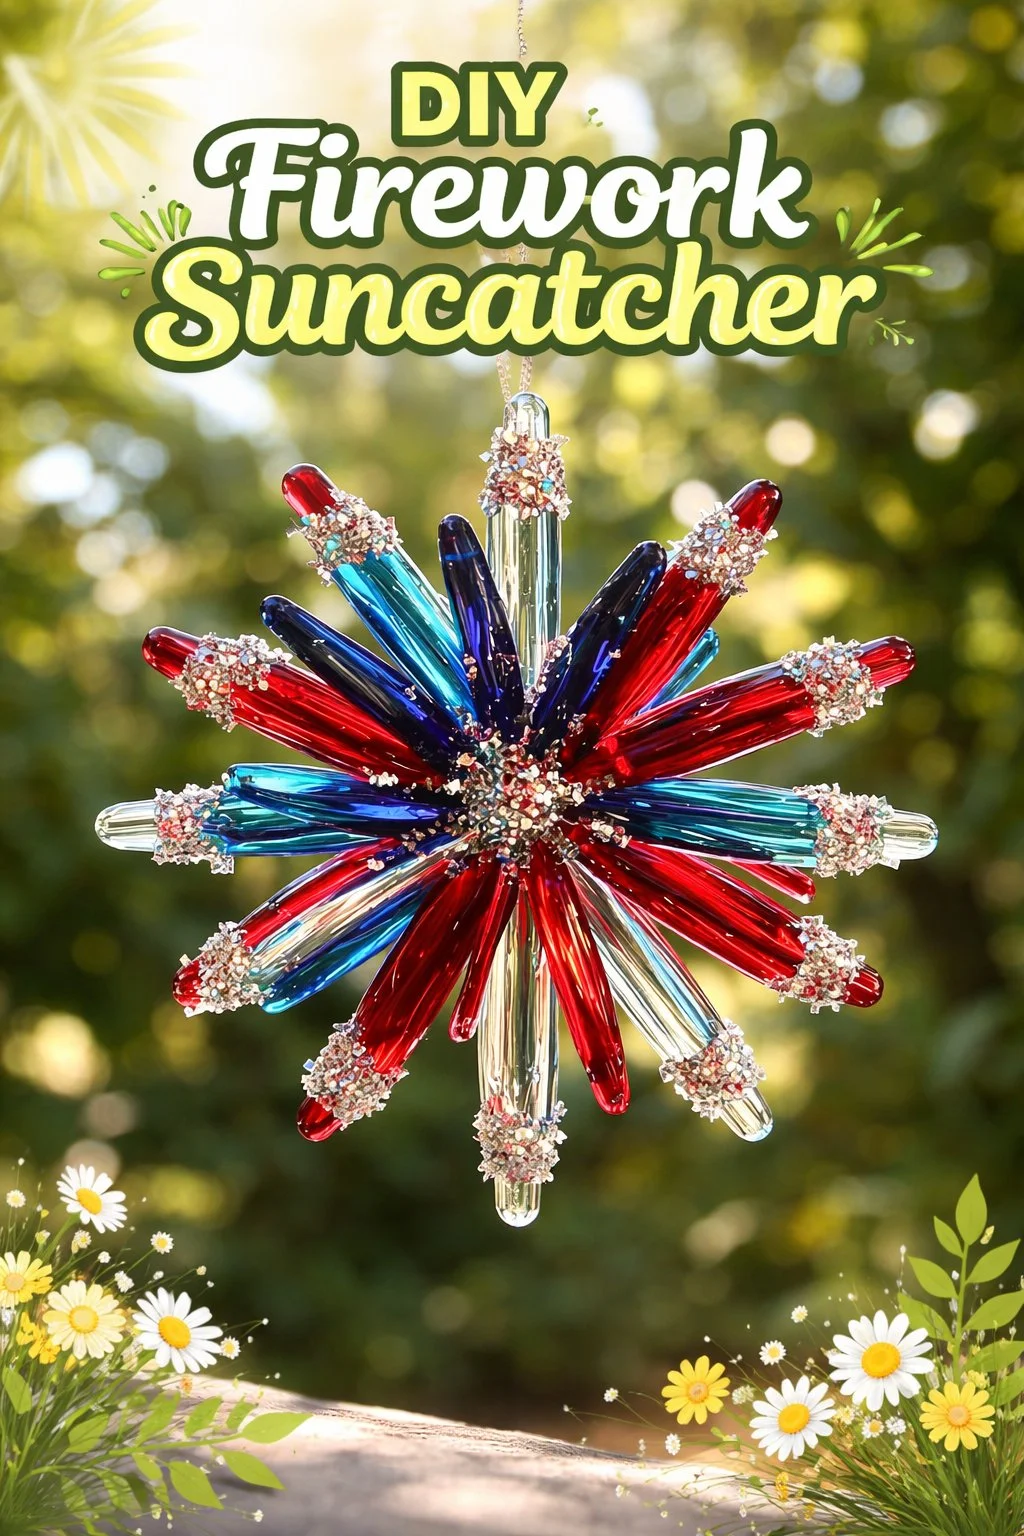

Hang your DIY Firework Suncatcher where light changes across the day. A south-facing window welcomes stronger morning glow. An east or west window gives soft, slanted light that hits the suncatcher at gentle angles.
Observe how the colors look different when the sky changes. A pane that reads bright and sharp at noon can feel warm and honeyed in the golden hour. The suncatcher becomes a miniature weather chart for light and mood.
You can group several small suncatchers together and let them overlap. The layered translucence plays like watercolor, each overlapping segment creating a new tone. For ideas on caring for your suncatcher and its place in a cozy space, our piece on bioplastic eco-friendliness notes may inspire gentle choices.
Keeping It for Later
Treat your suncatcher like a small, delicate companion. Store flat in a shallow box lined with soft paper when not in use. Avoid stacking heavy objects on top to keep edges crisp.
If you plan to reuse pieces for another project, keep them out of direct sunlight for long-term storage. Prolonged heat can soften some plastics over time. Label boxes with the date and a short note about pigment choices to help you recreate a favorite effect.
If a piece becomes slightly curled, you can place it between two layers of parchment and warm gently in the oven for a few moments to smooth it. Test a tiny corner first. This gentle reconditioning keeps the piece lively without risking damage.
Gentle Tips & Variations
-
Invite texture by pressing a lace scrap or a soft leaf onto the warm surface.
Do this lightly. The impression will be subtle and add a quiet pattern to the burst. -
Try translucent paper overlays between layers.
Thin rice paper or tracing paper creates soft diffusion and an almost fabric-like warmth. -
Use metallic mica sparingly for a distant shimmer.
A little gold or silver can read like distant sparks. Too much will reduce translucence. -
Make a mobile of small suncatchers with varying sizes.
The tiny motion of a mobile catches passing air and small rays of sun. It creates a slow, moving light show. -
Keep a small journal of color mixes you like.
Write down proportions and a brief sensory note, like how crisp the edge felt or how warm the yellow read at noon. These notes become a comforting map of your making.
FAQs About DIY Firework Suncatcher:
Q: Is this safe to do with children?
A: Yes, with supervision. Children can join by placing pigments and choosing shapes. Let an adult handle the oven and hot materials. Keep small tools out of reach when not in use.
Q: What if I do not have bioplastic sheets?
A: Thin, clear plastic like transparency film works well. Avoid thick rigid plastics that do not soften. Always test a small piece first to see how your chosen material behaves.
Q: How do I clean a suncatcher without scratching it?
A: Wipe gently with a soft cloth dampened with water. Avoid abrasive cleaners. For stubborn specks, a gentle hand wash in warm water keeps the surface clear.
Q: Can I repair a cracked piece?
A: Small hairline cracks sometimes respond to gentle warming and re-pressing. Work slowly and test on an extra scrap first to avoid making the crack worse.
Q: How long will colors last?
A: Many pigments remain vivid for years if you keep the piece out of intense direct heat and prolonged, intense sunlight. Natural light shifts can soften the perception of color, which often feels more gentle and cozy.
A Quiet Closing Thought
Sit with your finished suncatcher for a few quiet minutes. Turn it slowly in your hands and notice the way light travels through the layers. Let each tiny spark of color remind you that making can be a gentle rhythm rather than a rush.
Keep your workspace warm and inviting for the next time you choose to make. Small acts of creating teach us how to be patient with materials and with ourselves. The tactile memory of pressing melted color into shape stays with you. It becomes a calm, portable memento of the present.
Conclusion
If you enjoy adding small custom details to your creations, this custom decals tutorial at Rainbow Symphony shows ways to make decals that pair beautifully with translucent suncatchers.
For seasonal inspiration and playful color palettes, browse the cheerful collection in the Flipflops & Fireworks collection at The Rustic Rhode.
PrintDIY Firework Suncatcher

Create a beautiful DIY Firework Suncatcher using bioplastic or recycled clear plastic that captures and refracts light, bringing joy and color to your space.
- Prep Time: 15 minutes
- Cook Time: 10 minutes
- Total Time: 25 minutes
- Yield: 1 suncatcher
- Category: Craft
- Method: Baking
- Cuisine: N/A
- Diet: N/A
Ingredients
- Bioplastic sheet or recycled clear plastic (transparency sheet)
- Powdered pigments or mica powder (optional)
- Small cookie cutters or paper stencils
- Sharp scissors
- Parchment paper or silicone baking mat
- Baking tray and oven or heat gun
- Thin wire or thread
- Small hole punch or awl
- Tweezers and flat tool
- Metal spatula or flat-edge tool
- Clean, dry cloth
Instructions
- Preheat your oven to a low temperature, about 275-300°F.
- Let the sheet warm slowly on a flat baking tray.
- Sprinkle powdered pigment where you want color.
- Warm the tray in the oven until the plastic softens.
- Press gently with a flat tool to spread color.
- While warm, shape the suncatcher using cutters or scissors.
- Layer additional pieces for depth.
- Punch a small hole near the top while still warm.
- Let the suncatcher cool completely on a flat surface.
- Attach thread or wire for hanging and display it in sunlight.
Notes
Store suncatchers flat in a shallow box lined with soft paper to avoid damage. Keep pigments and notes to replicate effects in future projects.