

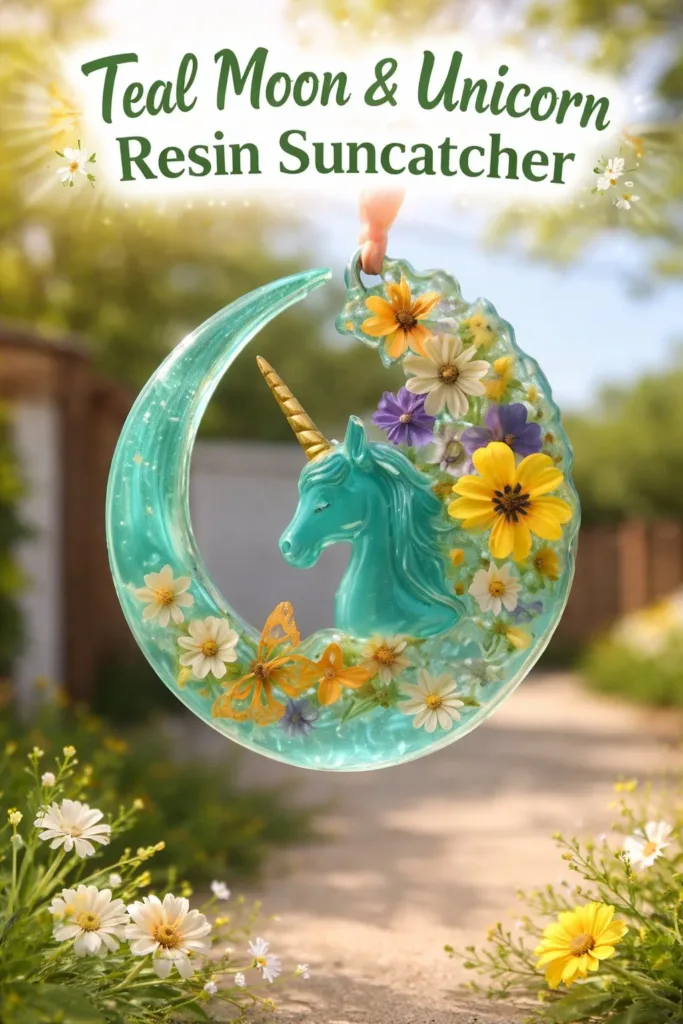
I cradle the small teal crescent in my hand and watch light shift across a tiny embedded unicorn. The resin feels cool and smooth, like sea glass that remembers the tide. Making the Teal Moon & Unicorn Resin Suncatcher invites a slow focus, the kind of quiet attention that settles the shoulders and frees the breath. If you have made simple sun catchers before, you might find this a comfortable next step, and if you want a gentle reminder of color and light, this project will sit kindly by your window like a small, bright friend; I often think back to making soft blue pieces when I first learned how colors change with the hours soft blue crayon suncatchers taught me that lesson.
Why Teal Moon & Unicorn Resin Suncatcher Feels Comforting to Create
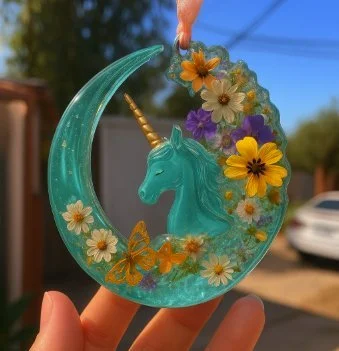
There is a gentle rhythm to mixing resin, placing tiny items, and watching layers settle. The teal color settles like a slow tide and the unicorn figure brings a small, whimsical heartbeat to the piece. Creating this suncatcher slows the mind because it asks for small, intentional acts. You stir slowly. You breathe evenly. You listen for the faint hum of your work space.
The sensory parts matter. The resin smells faintly sweet at first and then softens as it cures. The silicone mold gives under your fingers and snaps back with a satisfying memory when you lift the piece out. Light passes differently through a thin crescent edge than through a thicker body. Those differences feel like small discoveries you can make, again and again.
This project supports a calm routine. You can make one slowly over an evening, or you can layer color over two afternoons and feel a gentle return to your hands. It also connects to a wider practice of mindful making on the site; if you enjoy experimenting with transparent textures, a short reference to a playful recipe might inspire color play, and a recipe like the colorful bioplastic suncatchers recipe offers ideas that pair well with resin exploration.
A Gentle Look at the Process
Before you set up your tools, imagine the flow. You will mix two parts resin and hardener until the streaks disappear. You will add a touch of teal pigment, stir in a measured, reassuring way, and pour with a slow, steady hand. The sound of resin pouring into a mold is faint and calming, like rain hitting a roof at a distance.
You will place a tiny unicorn charm or a paper silhouette where you want it. You may hold it with a toothpick and feel the small, precise movement of your fingers. As the resin cures, bubbles will rise and pop at their own small pace. You will sweep a toothpick, torch briefly, or wait patiently until the surface lays smooth. The process asks you to be both careful and relaxed.
My hands learned a few quiet habits while making these. I work on a low table with natural light in the afternoon. I keep a timer and a small cup of warm tea nearby. These small routines help me stay present and gentle with the steps. If you prefer a different rhythm, you can space the work across pauses and listen to the way the project teaches you to slow down.
Materials You’ll Need
- Clear epoxy resin and hardener, 1:1 or the ratio recommended by the brand (choose a low-odour, slow-cure formula for a calmer workspace)
- Teal resin pigment or mica powder (a little goes a long way; powder disperses smoothly)
- Silicone crescent moon mold (easy to release, flexible)
- Tiny unicorn charm, or a small unicorn sticker sealed in thin clear tape (optional, delicate and sweet)
- Mixing cups and stir sticks (disposable or dedicated to craft use)
- Disposable gloves (nitrile recommended for sensitivity)
- Small kitchen torch or lighter for popping bubbles (use with care)
- Toothpicks or tweezers for positioning elements
- Fine sandpaper or sanding block (for smoothing edges later)
- Thin cord or jewelry chain and a small jump ring for hanging
- Wax paper or a silicone mat to protect your surface
- A small fan for gentle air circulation during curing (optional)
- A respirator rated for organic vapors if you work in a small, unventilated space (safety note: always prioritize ventilation)
I like to keep a soft cloth and a small tray for pieces as they cure. These items feel simple and familiar, and you can substitute similar items from your craft cupboard. For example, a thin clear sticker can stand in for a charm in a pinch.
Step-by-Step Directions
- Prepare your workspace with wax paper and set out all materials within reach. Put on gloves and, if needed, a respirator, then open windows for gentle airflow.
- Measure resin and hardener into a clear mixing cup using the ratio on your product. Stir slowly for three full minutes, reaching the sides and bottom, until the mix looks clear and even.
- Add a tiny pinch of teal pigment or a drop of liquid dye. Stir in a steady motion until the color blends smoothly and the swirl becomes calm.
- Pour a thin base layer into the crescent mold. Watch the resin settle; it will level out like a quiet pond. Let this sit for a few minutes to release initial bubbles.
- Using tweezers or a toothpick, place the unicorn charm where you want it. Press gently so it nests just into the resin, not floating on top.
- Pour a second, slightly thicker layer to cover the charm. Pour slowly from a low height to reduce bubbles. If a bubble appears, nudge it with a toothpick or pass the torch quickly above the surface.
- If you want depth, add a whisper of mica or a few tiny metallic flakes between layers. Allow each layer to sit for the recommended tack time before adding more.
- Let the piece cure flat, undisturbed, for the time suggested by your resin brand. I often cover with a clean box to keep dust away and listen to the quiet of the curing room.
- Remove the cured crescent from the mold. If the edges feel sharp or uneven, sand with a light touch using fine sandpaper, moving with the curve.
- Drill or use a small hand tool to make a hole for the jump ring, or use a mold that leaves a small built-in hole. Attach the jump ring and cord, and polish the surface with a soft cloth to bring out the shine.
Each of these steps invites slow and steady attention. I keep a gentle timer and make tea between layers. The small pauses help the work and give the mind a chance to rest.
Bringing Teal Moon & Unicorn Resin Suncatcher Into Your Space
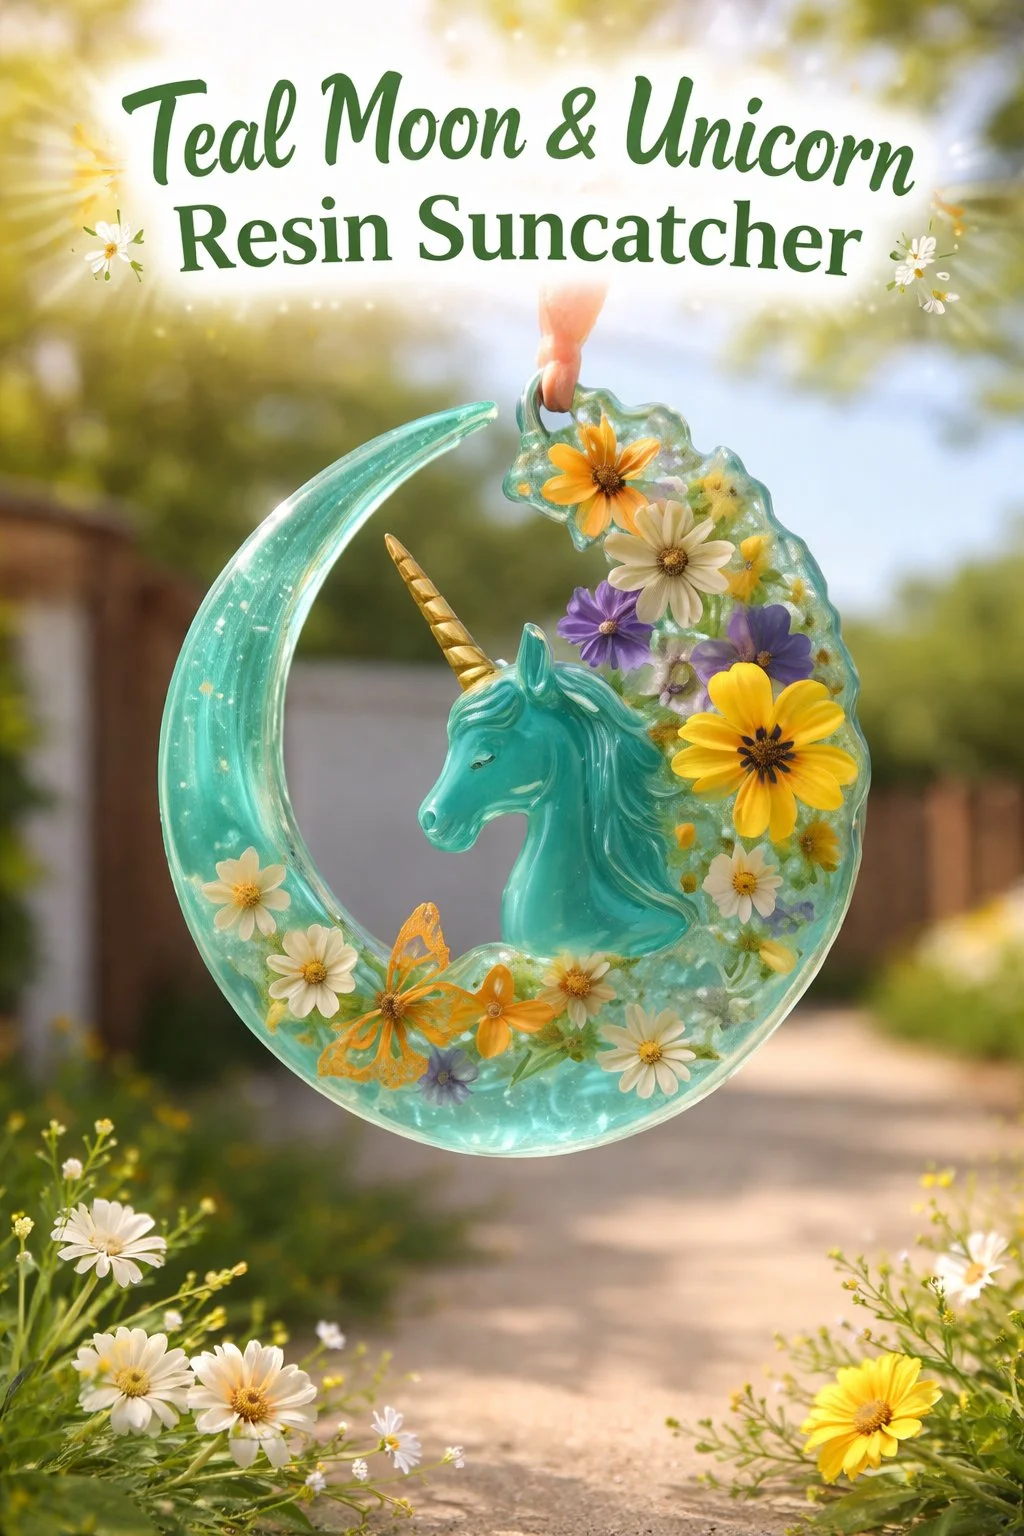
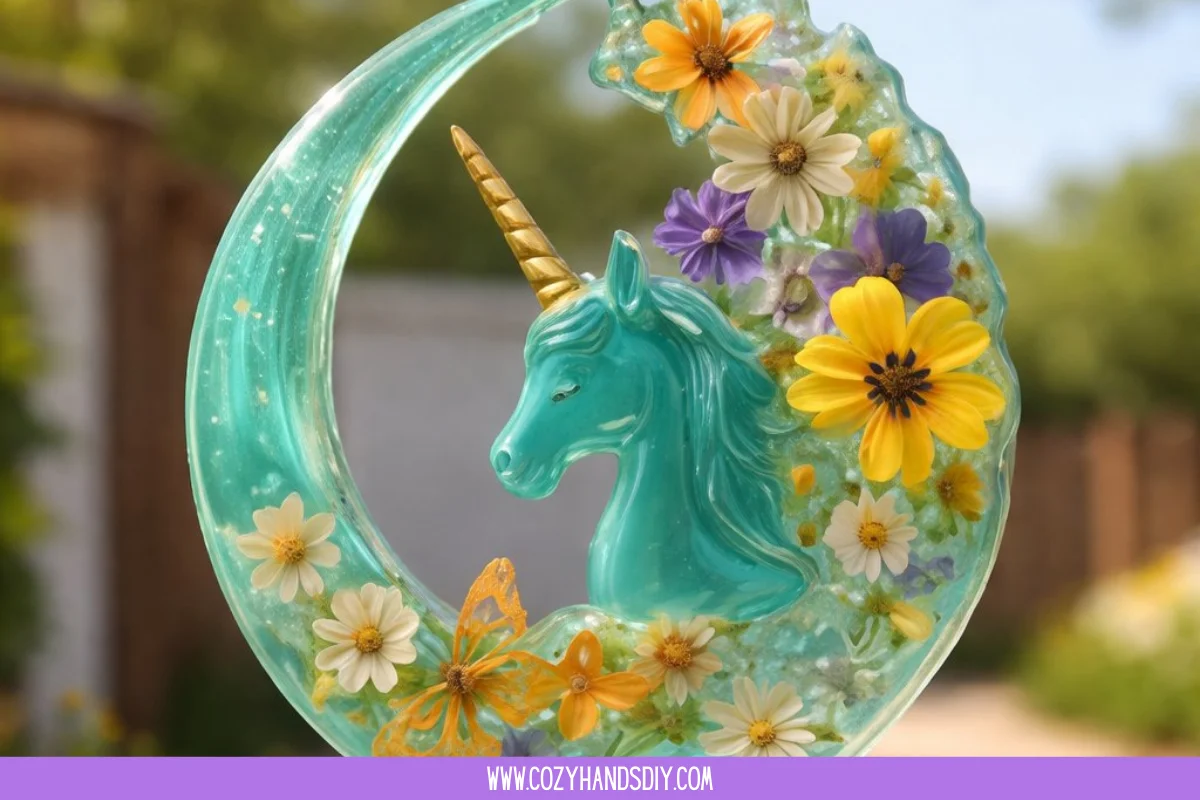
Hang your suncatcher in a window that receives morning light. Teal light casts a cool, soothing glow that feels especially kind in a calm reading nook or above a small indoor plant. The unicorn will catch glints and occasionally throw a tiny, playful spot of reflection across a wall.
You can group several pieces at different heights for a slow mobile effect. The movement will be light and almost meditative as the sun moves. If you prefer a tabletop display, rest the crescent on a small easel or lean it against a stack of books with a soft cloth beneath.
I like to place one near plants because the teal hue looks lovely against green leaves. The suncatcher becomes part of a daily pause. When I pass by, I take a moment to notice the color shift and feel a soft, small pleasure.
If you keep multiple suncatchers, rotate them by season. Teal feels cool in summer and calm in winter. Small swaps help refresh your space without needing anything large or loud. For more ideas about caring for delicate transparent pieces and pairing them with other handmade work, consider gentle guides like bioplastic suncatchers care ideas which share related, low-stress practices.
Making This DIY Last
Store unfinished pieces flat and out of direct sunlight to prevent uneven curing or heat stress. Once cured, avoid prolonged exposure to strong sunlight behind glass since intense heat can soften some resins over time.
If dust settles on a finished suncatcher, wipe it with a soft, slightly damp cloth and dry immediately. Avoid harsh cleaners and abrasive pads; they can dull the gloss. For tiny scratches, you can use a fine polishing compound suited for resin, applied gently.
Keep extra charms and cords in a small box or a mason jar so you can easily replace parts. If your jump ring opens, use small pliers to reclose it and smooth any rough edges with a nail file. These small repairs keep your piece feeling cared for and prolong its life.
I store spare suncatchers wrapped in tissue paper within a shallow tray. The quiet ritual of wrapping and unwrapping slows the pace and helps me appreciate each piece again when I bring it back into light.
Gentle Tips & Variations
- Invite color play by layering thin washes of teal with a whisper of silver mica between them. The layers create a subtle depth and a soft shimmer.
- Swap the unicorn for a pressed tiny flower or a gold foil star for a different mood. Thin, flat items sit best and reduce bubble formation.
- Make a matching set in varying sizes and hang them together at different lengths to create a calm cluster of moving color.
- Try a translucent white base under the teal to soften saturation if the color feels too bold for your space.
- Use a slow-cure resin if you need more working time. It allows you to refine placement and catch bubbles without hurrying.
Treat each suggestion as an invitation. I experimented with a gold leaf once and loved the way it seemed to float inside the teal. Other times, I kept things very simple and found the plain crescent just as satisfying.
FAQs About Teal Moon & Unicorn Resin Suncatcher
Q: Is resin safe to use at home?
A: Resin can be safe when you follow simple precautions. Use gloves, work in a well-ventilated space, and consider a respirator if you have sensitivities. Choose low-odour, slow-cure formulas for a gentler experience. I keep a window open and a small fan to move air quietly while I work.
Q: How do I avoid bubbles in my piece?
A: Mix slowly and scrape the cup sides and bottom. Pour close to the mold to reduce air entrainment. If bubbles appear, nudge them gently with a toothpick or use a quick pass with a small torch. I learned to resist the urge to stir faster, because that makes more bubbles.
Q: Can I hang this outdoors?
A: Resin can handle short-term outdoor display, but long-term exposure to direct sun and weather may fade pigments or soften some resins. If you plan to place it outside, choose UV-resistant resin and check the piece regularly.
Q: What if the unicorn floats or shifts while curing?
A: Place the charm gently and press it into a tacky layer, or wait for the first layer to become slightly tacky before adding the charm. Using a tiny dab of clear-curing adhesive on the charm can keep it put during the second pour.
Q: Can I make this without a charm?
A: Yes. A simple teal crescent holds its own. You can also embed mica swirls, glitter, or tiny pressed flowers for a delicate, charm-free piece.
A Gentle Note Before You Go
I hope this project invites a slow, easy rhythm into your hands and your home. If you would like to see other handmade resin interpretations, a beautiful example of a crescent moon and unicorn piece is offered by an artist whose work might inspire a different color or scale; consider the Handmade Resin Crescent Moon & Unicorn Sun Catcher for a glimpse of alternative finishes.
If you enjoy browsing stained glass and colorful suncatchers for ideas about how color and shape change a room, the softly layered work of other makers can broaden your sense of possibility, such as the lovely stained glass evil eye rainbow pieces on Etsy which show how small objects can carry light and calm. Take your time with this piece. Let each small action be an act of care. When you hang your teal moon and unicorn, pause and watch the light move through it. The handmade glow will remind you the world contains quiet, bright things you made with your own hands.
PrintTeal Moon & Unicorn Resin Suncatcher

Create a calming teal moon suncatcher featuring a whimsical unicorn charm, perfect for adding gentle light to your space.
- Prep Time: 15 minutes
- Cook Time: 120 minutes
- Total Time: 135 minutes
- Yield: 1 suncatcher
- Category: Craft
- Method: Casting
- Cuisine: N/A
- Diet: N/A
Ingredients
- Clear epoxy resin and hardener (1:1 or recommended ratio)
- Teal resin pigment or mica powder
- Silicone crescent moon mold
- Tiny unicorn charm or small unicorn sticker
- Mixing cups and stir sticks
- Disposable gloves
- Small kitchen torch or lighter
- Toothpicks or tweezers
- Fine sandpaper
- Thin cord or jewelry chain and jump ring for hanging
- Wax paper or silicone mat
- A small fan for air circulation
- Respirator rated for organic vapors (optional)
Instructions
- Prepare your workspace with wax paper and set out all materials. Put on gloves and open windows for airflow.
- Measure resin and hardener into a mixing cup. Stir for 3 minutes until clear and even.
- Add teal pigment and stir until smooth.
- Pour a thin base layer into the mold and let it settle for a few minutes.
- Place the unicorn charm in the desired position.
- Pour a thicker layer to cover the charm, nudging any bubbles as needed.
- Allow layers to cure as per resin brand instructions.
- Remove from the mold and sand edges if necessary.
- Drill a hole for the jump ring and attach it with the cord.
- Hang in a sunny spot to enjoy the light play.
Notes
Use low-odour, slow-cure resin for a more pleasant crafting experience. Replace charm with other small items or create a charm-free piece using glitter or flowers.