

I love simple projects that bring light into a room. Bioplastic Suncatchers are one of those small, joyful things. They are easy to make. They remind me of slow afternoons and hands-on traditions. If you want a clear, colorful window charm, this recipe is for you. For a bright recipe idea with photos, see this colorful DIY bioplastic suncatchers recipe.
Why Make This Bioplastic Suncatchers
These suncatchers are gentle on the senses and sweet to share. They use pantry ingredients and simple steps. They are a good project with kids, neighbors, or on a quiet afternoon. If you care about how these crafts affect the earth, read more about bioplastic suncatchers and their eco friendliness for a quick look at materials and choices.
How to Make Bioplastic Suncatchers
This method is low-fuss and forgiving. Work at a calm pace. Use a non-stick surface so the pieces peel away easily. For another clear, step-by-step reference, you can compare with this step-by-step suncatcher method.
Ingredients
1/2 cup water
2 tbsp cornstarch
1 tbsp white vinegar
1 tbsp unflavored gelatin
Natural or food-safe coloring
Optional: fine glitter, flower petals, or tissue paper
Directions
- Grab a pot and mix together the water, cornstarch, white vinegar, and gelatin.
- Put it on the stove over medium heat. Stir until it thickens and becomes clear.
- Take it off the heat and let it cool.
- Divide the mixture into separate bowls and add your chosen colors.
- Pour the colorful mixture onto a non-stick surface in desired shapes.
- Sprinkle on glitter, flower petals, or tissue paper while wet if desired.
- Use a hole punch to create a hang hole at the top.
- Let them dry completely.
- Once dry, attach string or suction hook.
How to Serve Bioplastic Suncatchers
Hang them in a sunny window. Let them catch morning or afternoon light. They make warm, handmade gifts. Tie a ribbon and tuck one into a card for someone you love.
How to Store Bioplastic Suncatchers
Store finished pieces flat and separated by tissue paper. Keep them in a cool, dry place. If you need to stack them, place a sheet of wax paper between each piece to avoid sticking.
Tips to Make Bioplastic Suncatchers
Work on a clean, level surface. Use small bowls to mix colors so you can layer gently. If the mix thickens too fast, lower the heat and stir steadily. For safer glitter, choose craft glitters that are labeled non-toxic. For eco-friendly variations and tips, see this eco-friendly variations and tips.
Variations
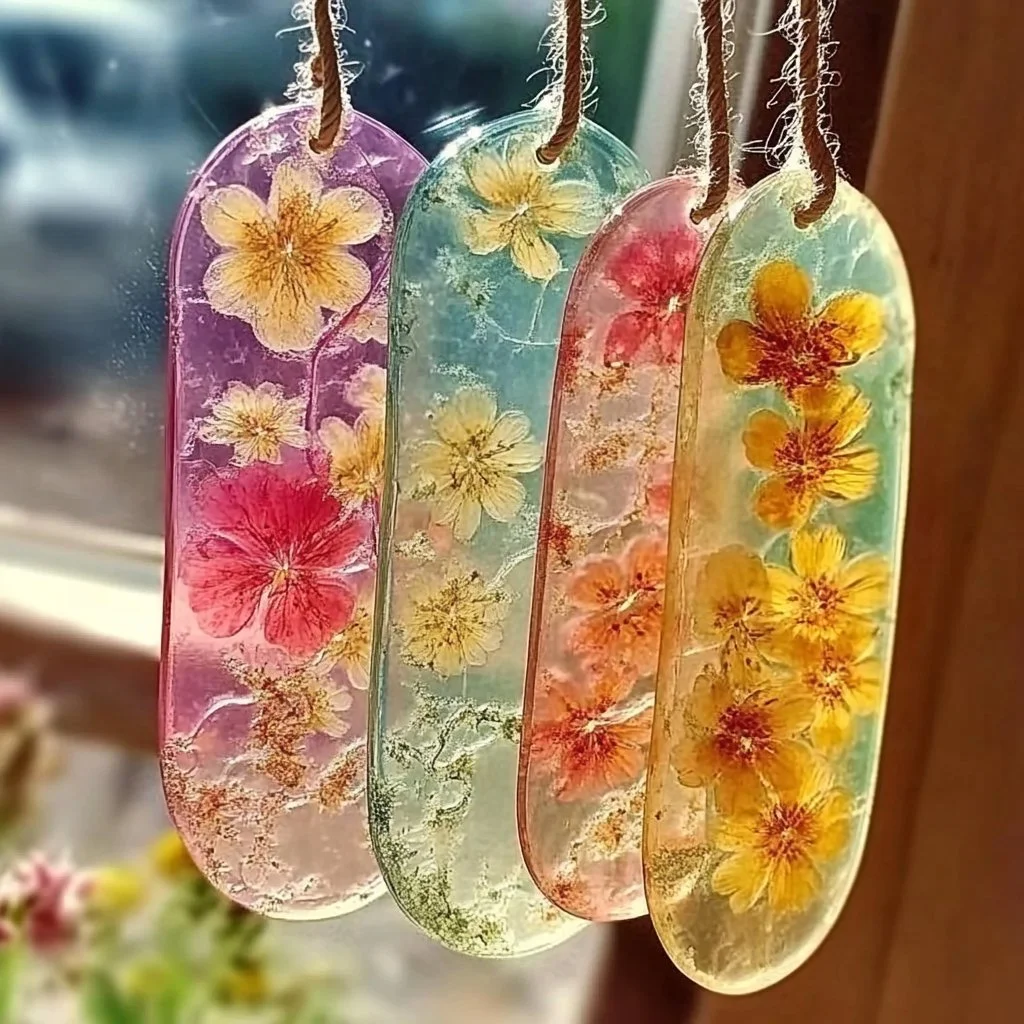
- Botanical: press small dried flowers into the wet mix.
- Stained-glass style: pour thin lines of one color, then fill with another.
- Opaque accents: add tiny bits of tissue paper for a frosted look.
- No-glitter version: use layered colors and petals for sparkle without glitter.
FAQs
Q: How long do they take to dry?
A: Drying can take 24–48 hours depending on thickness and humidity. Thinner pieces dry faster.
Q: Will they melt in heat?
A: They are fairly stable at room temperature, but avoid leaving them in a very hot car or direct, intense heat for long periods.
Q: Are they safe for kids?
A: With supervision, yes. Keep hot pans out of reach and use child-safe decorations. The final pieces are crafty objects, not toys for very small children.
Q: Can I make them without gelatin?
A: Gelatin helps set the mix. Some recipes use alternatives, but results may differ in texture and clarity.
Conclusion
If you want a simple tutorial with photos and a kid-friendly walk-through, try this How To Make A Bioplastic Suncatcher – Chemistry for Kids. For a botanical take and inspiration using pressed flowers, see this Botanical Bioplastic Sun Catchers – Wineberry Woods.
PrintBioplastic Suncatchers

Create beautiful and colorful bioplastic suncatchers with simple ingredients and steps, perfect for brightening up any room.
- Prep Time: 15 minutes
- Cook Time: 15 minutes
- Total Time: 30 minutes
- Yield: 8 suncatchers
- Category: Craft
- Method: Crafting
- Cuisine: N/A
- Diet: N/A
Ingredients
- 1/2 cup water
- 2 tbsp cornstarch
- 1 tbsp white vinegar
- 1 tbsp unflavored gelatin
- Natural or food-safe coloring
- Optional: fine glitter, flower petals, or tissue paper
Instructions
- Grab a pot and mix together the water, cornstarch, white vinegar, and gelatin.
- Put it on the stove over medium heat. Stir until it thickens and becomes clear.
- Take it off the heat and let it cool.
- Divide the mixture into separate bowls and add your chosen colors.
- Pour the colorful mixture onto a non-stick surface in desired shapes.
- Sprinkle on glitter, flower petals, or tissue paper while wet if desired.
- Use a hole punch to create a hang hole at the top.
- Let them dry completely.
- Once dry, attach string or suction hook.
Notes
Store finished pieces flat and separated by tissue paper in a cool, dry place. Avoid direct heat exposure.