

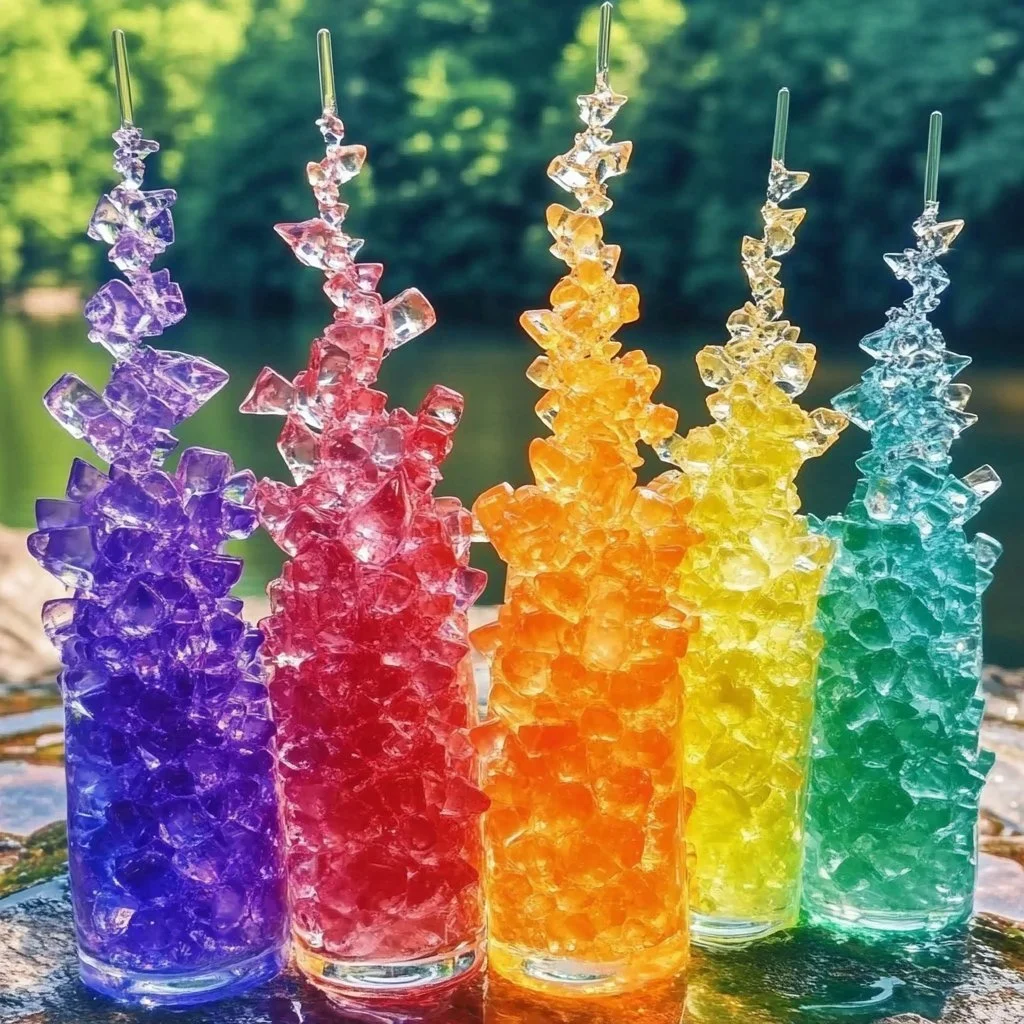
I sit with a small tray on my lap, the afternoon light soft through the curtains. Tiny crystals glint like sun on pond water as I tilt the tray, and the faint fizz of a fresh mixture hangs in the air. Making a Baking Soda Rainbow Crystal Forest feels like listening closely to slow change, one delicate growth at a time. The surface is grainy and cool under my fingers, and the colors — careful drops of diluted dye — spread like quiet music across a miniature landscape.
Why Baking Soda Rainbow Crystal Forest Feels Comforting to Create

This project invites a gentle focus that soothes the mind. Watching crystals bloom from a baking soda base slows my breathing and sharpens small, pleasant details. The textures matter: the soft grit of the baking soda, the smooth flow of colored solutions, the crisp edges of tiny crystal branches. Each moment asks for a calm hand and a patient gaze.
I find the ritual comforting. Measuring, stirring, and waiting provide a quiet rhythm. You can make this in a single afternoon or let it unfold over several days. The process supports mindful attention without pressure. If you want a reference for the overall project idea, you can visit the Baking Soda Rainbow Crystal Forest project page for a visual nudge before you begin.
A Gentle Look at the Process
The project moves in gentle stages: prepare a base, arrange forms that guide growth, add color and solution, and then wait. The making feels almost musical when you listen: a quiet scrape as you shape the baking soda, a soft pour as the colored liquid meets the surface, and an occasional crisp pop as a crystal sharpens.
You will mix simple household ingredients, so the tactile side of the work grounds you. I like to keep my hands nearby to feel the temperature of the tray and to breathe in the faint mineral scent. If you have made other small crystal experiments, you may notice familiar motions. For a related method that explores tree-like growth, consider the crystal growing tree technique I often return to for quick, quiet afternoons.
What You’ll Use to Make Baking Soda Rainbow Crystal Forest
- Baking soda, plain and dry (easy to find)
- White vinegar (common and safe when used with care)
- Table salt (optional for texture)
- Food coloring or liquid watercolors, several colors (small drops make big difference)
- Small shallow tray or plate (ceramic, glass, or plastic)
- Small cups or droppers for colors (pipettes or syringes work well)
- A stirring stick or spoon
- Measuring spoons and a teaspoon (simple, no need for exact precision)
- Toothpicks or small wooden skewers for shaping (optional)
- A damp cloth for quick cleanups (handy)
- Clear workspace and a towel beneath the tray (to catch drips)
You can swap liquid watercolors for diluted acrylic ink if you prefer stronger pigments. Table salt is optional; I add a pinch when I want coarser texture under the crystals. For another playful variation, see the growing trees variations that use similar materials with small form changes.
Step-by-Step Directions
- Prepare your workspace and tray.
Keep a towel under the tray. Arrange cups of color, a stirring stick, and a small cloth nearby. - Make a shallow baking soda bed.
Spoon baking soda into the tray to form a layer about one quarter to half an inch thick. Press lightly so it holds shape. - Create small mounds or forms.
Use a spoon or toothpick to shape tiny hills and valleys. These offer places for crystals to start and grow. - Add optional texture.
Sprinkle a pinch of table salt in areas where you want coarser crystal shapes. The salt alters how the solution moves. - Mix simple colored solutions.
In small cups, combine one teaspoon of white vinegar with three to four drops of food coloring. Stir gently. - Test one drop first.
Use a dropper to add a single drop of colored solution to a mound. Watch how it spreads slowly into the baking soda. - Apply color thoughtfully.
Drop color near the edges or on peaks. You might see faint fizzing. The movement feels alive and quiet. - Repeat with different colors.
Layer drops of different colors across the tray. Let them sit and mingle without mixing aggressively. - Wait and observe closely.
Crystals will begin forming where the solution concentrates. Check every 10 to 30 minutes and notice small shifts. - Encourage vertical growth gently.
If you want taller, branch-like crystals, add very small additional drops at the base of new formations. - Let the scene dry slowly.
Move your tray to a spot with stable temperature and low drafts. Slow evaporation supports clearer crystal structures. - Enjoy or preserve your forest.
When growth slows and the surface feels dry, you can leave the display as is. If you wish, you may carefully lift small sections to examine them.
Using Baking Soda Rainbow Crystal Forest in Everyday Life


The finished forest makes a gentle table centerpiece that invites slow inspection. Set it near a window where the light moves across textures and colors. I like to pair it with a warm cup and a notebook; the tiny crystals reward soft, lingering attention.
Use the forest as a mindfulness prompt. Spend five minutes tracing the branches of a single crystal with your eyes. Notice how light and shadow play across edges. The scene also works well as a sensory station for children under close supervision. It opens conversations about change, patience, and the small wonders of chemistry when handled calmly.
How to Store or Reuse Baking Soda Rainbow Crystal Forest
Crystals from baking soda and vinegar tend to be delicate and hygroscopic, meaning they absorb moisture from the air. Store them somewhere dry and cool if you want to preserve the shapes for a short time. A shallow box with a loose lid works well for overnight keeping.
If humidity returns the crystals to a softer state, you can gently dry them on a windowsill for a few hours. For long-term keepsakes, consider taking careful photographs instead of storing the physical pieces. The images keep the memory of the textures without risking breakage. If you hope to reuse the tray, scrape the baking soda remains into compost or a sealed bin, clean the tray with warm soapy water, and let it dry fully before the next project.
Gentle Tips & Variations
- Invite slow color blending.
Drop colors near one another and allow them to meet gradually. The soft gradients that form feel like watercolor clouds. - Try different liquid strengths.
Use a slightly stronger vinegar mix if you want faster, more dramatic fizzing. Use lighter mixes for patient, delicate growth. - Add tiny supports.
Place thin paper strips or small matchsticks in the baking soda to guide crystals into more tree-like shapes. Remove them gently after drying. - Experiment with temperature.
Warmer spaces speed evaporation and growth. Cooler, stable rooms favor delicate formations and finer textures. - Make it social at a low volume.
Invite a friend to sit quietly and add one drop each. The shared, unhurried rhythm builds cozy presence.
What I’ve Learned While Making This
I learned to appreciate small surprises. Some drops produce only faint growth, and others bloom into intricate patterns without warning. That unpredictability quiets any urge to control every detail. I also learned that patience yields rewards. If you resist the urge to tap or stir, crystals often reveal more refined edges.
I practiced safe, calm handling. Vinegar reacts with baking soda gently when proportioned. I always keep the workspace ventilated and hands dry between touches. I trust the slow process rather than pushing with stronger acids or heat. This keeps the experience cozy and safe for quiet afternoons.
FAQs About Baking Soda Rainbow Crystal Forest
Q: Is this activity safe for children?
A: With gentle supervision, yes. The main materials are baking soda and vinegar, which are low hazard. Keep small cups and droppers out of very young children’s mouths, and guide them in calm, purposeful handling. Make sure to rinse hands after playing.
Q: Can I use food coloring alternatives?
A: Yes. Liquid watercolors and diluted acrylic inks offer longer-lasting hues. Food coloring gives soft, familiar tones. Test a small amount first to see how the color interacts with the mixture.
Q: How long do the crystals take to form?
A: You may see the first hints within 10 to 30 minutes. Fully developed patterns often take a few hours and sometimes continue changing overnight if left undisturbed.
Q: Can I recycle the baking soda after?
A: Baking soda that reacts with vinegar becomes sodium acetate and other compounds. It will not work the same way again for fresh crystal growth. You can compost small amounts or discard responsibly. Clean your tray with water before using it for food.
Q: What if nothing grows?
A: Try slightly adjusting solution strength, adding a pinch of salt, or moving the tray to a slightly warmer, less drafty spot. Sometimes tiny changes in moisture and evaporation make a big difference.
A Quiet Closing Thought
Sit with whatever your project becomes. Whether your forest grows tall, stays low, or surprises you with a single bright spire, the making itself carries a gentle benefit. The textures, the scents, the slow color meetings ask you to notice small things. That noticing is the quiet heart of this project.
Take a deep breath. Move slowly as you shape and drop colors. Keep a small notebook nearby to jot a sensory detail or two. In time, you will recognize patterns in your own making—the places you like to place color, how your hands prefer to shape mounds, and how patience changes the outcome. Those discoveries feel as soft and meaningful as the crystals themselves.
Conclusion
For more on the science behind crystal growth and a different guided experiment, see this detailed Growing Crystals Experiment | ARM & HAMMER Baking Soda Project which explains why baking soda interacts easily with acidic solutions. If you want another colorful tutorial and visual inspiration, the Baking Soda Rainbow Crystal Forest | Easy Colorful STEM Science … page offers a cheerful companion project you might enjoy.
PrintBaking Soda Rainbow Crystal Forest

Create a colorful and soothing crystal forest using simple household ingredients like baking soda and vinegar.
- Prep Time: 15 minutes
- Cook Time: 240 minutes
- Total Time: 255 minutes
- Yield: 1 crystal forest
- Category: Craft
- Method: Crafting
- Cuisine: N/A
- Diet: N/A
Ingredients
- Baking soda, plain and dry
- White vinegar
- Table salt (optional for texture)
- Food coloring or liquid watercolors, several colors
- Small shallow tray or plate (ceramic, glass, or plastic)
- Small cups or droppers for colors
- A stirring stick or spoon
- Measuring spoons
- Toothpicks or small wooden skewers (optional)
- A damp cloth for quick cleanups
- Clear workspace and a towel beneath the tray
Instructions
- Prepare your workspace and tray with a towel underneath and arrange necessary materials nearby.
- Spoon baking soda into the tray to form a layer about 1/4 to 1/2 inch thick.
- Create small mounds or forms using a spoon or toothpick.
- Optional: Sprinkle a pinch of table salt in desired areas.
- In small cups, combine one teaspoon of white vinegar with three to four drops of food coloring and stir gently.
- Test one drop first by adding a single drop of colored solution to a mound and observe.
- Carefully apply color to edges or peaks, observing fizzing.
- Repeat with different colors and allow them to mingle.
- Check for crystal growth every 10 to 30 minutes.
- Add small drops at the bases of new formations for vertical growth.
- Let the scene dry slowly in a stable temperature area.
- Enjoy or preserve your crystal forest as desired.
Notes
The speed of crystal growth can be influenced by temperature and salt addition. Handle materials safely, especially with children.