

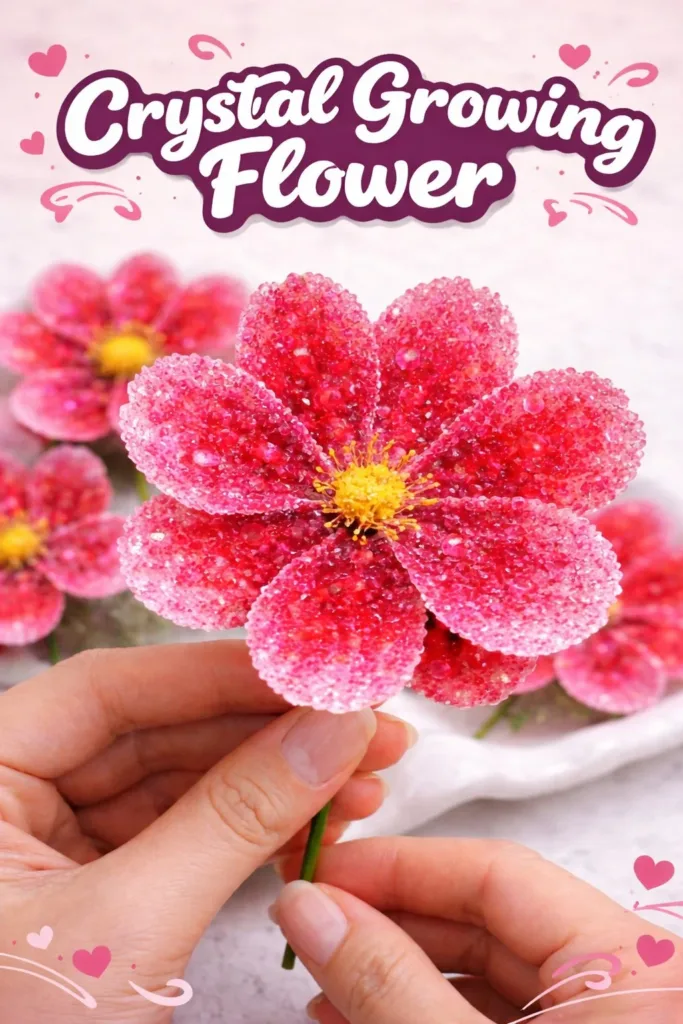
A quiet bowl of clear solution catches a band of afternoon light, tiny sparkling facets arrange themselves like a secret garden on a paper petal, and I sit very still. The paper feels slightly rough under my fingertips, warm from my hands, and the scent of gentle vinegar and sugar floats softly from the mixture. This Crystal Growing Flower asks for patience and curiosity, and it rewards both with a small, shimmering bloom you can hold and admire.
Why Crystal Growing Flower Feels Comforting to Create

There is something tender about watching slow growth happen right in front of you. Each crystal arrives in its own time, and the process asks you to slow your breath and notice texture, light, and small changes.
Making a Crystal Growing Flower grounds you through touch. You fold paper petals, you steep them in a shimmering solution, and you feel the quiet scratch of crystals forming. The method gives room for pause. It helps you return to the present with gentle, sensory moments.
This project also works well alongside other cozy crafts. If you have tried a baking soda crystal growing tree, you will recognize the patient rhythm. Those earlier experiments teach you how crystals prefer steady conditions and careful handling.
A Gentle Look at the Process
Before you gather your materials, imagine small movements and soft sounds. You fold, you stir, you wait. You will watch clear solution settle into paper fibers, and you will hear the subtle hush of drying petals as crystals cling.
The flow feels slow and deliberate. You heat gently, dissolve carefully, and arrange petals with steady fingertips. You will make choices about color and texture, and you will take breaks to breathe and observe. These pauses become part of the craft.
You do not hurry. Crystals like calm. When you place a petal into the solution, the first minute brings tiny, almost invisible seeds. Over hours, they grow. Over days, they accumulate like frost on a window. If you have enjoyed projects such as growing crystal heart ornaments, you will carry that patience and those sensory memories into this work.
Materials You’ll Need
- White or light-colored absorbent paper (coffee filters or paper towels work well)
- Clear glass jar or small clear vase (easy to watch growth)
- Alum powder or a crystal-growing packet (alum dissolves to make clear crystals)
- Hot water (nearly boiling; handle with care)
- Spoon for stirring (heat-safe)
- Small scissors (to cut petal shapes)
- Measuring spoons or a kitchen scale (for consistent solution)
- Food coloring or watercolor (optional; use a drop or two for soft hues)
- Tweezers or chopsticks (for gentle placement)
- Paper towel or tray to protect your work surface
- Small clip or clothespin (optional, to hold pieces above jar)
- Safety items: oven mitts or heat-resistant gloves, and a well-ventilated area
Notes: Most materials feel familiar and easy to find. You can substitute coffee filters for paper towels when you want softer petals. If you prefer a ready-made option, a simple crystal-growing packet also works safely for small experiments.
Step-by-Step Directions
- Prepare your petals.
Cut paper into petal shapes that feel nice between your fingers.
Keep them slightly larger than you think you need so the crystals can decorate edges. - Make the crystal solution.
Measure about two parts hot water to one part alum and stir until mostly dissolved.
Listen for the tiny soft gurgle of stirring and breathe slowly while the powder melts into the water.
If you add color, use a single drop and stir gently so the hue stays delicate. - Pour and cool.
Carefully pour the hot solution into the clear jar until it fills about two thirds.
Set the jar on a stable surface and let it cool until the water reaches warm, comfortable temperature. - Attach petals for dipping.
Hold a petal with tweezers or clip it to a small stick so you keep your fingers away from hot liquid.
This feels calm and careful, like placing a leaf onto a pond without ripples. - Dip and suspend.
Lower the petal into the solution so the bottom half touches the liquid.
Suspend the petal so its tip sits just above the liquid if you like gradient growth.
Watch the surface tension pull at the petal and notice how the fibers soak up the solution. - Find a steady spot.
Place the jar somewhere free from drafts, direct sunlight, and vibration.
Crystals grow best when they rest undisturbed; that slow stillness encourages even formation. - Observe the first hours.
Check after one to three hours to see tiny crystalline seeds forming along edges.
Keep your checks gentle and infrequent; moving the jar too much disrupts growth. - Adjust and rest.
If one petal grows faster, you can reposition another gently to balance the display.
When you finish observing for the day, cover the jar loosely to prevent dust and keep steady humidity. - Let crystals mature.
Allow the crystals to grow for two to five days, depending on how large and dense you want them.
The longer you wait, the more intricate the formations will feel and look. - Remove and dry.
When you see the bloom you like, lift the petal to air-dry on a protected tray.
Be patient while drying; the crystal structure tightens as it loses moisture and becomes more fragile in that moment. - Seal or display.
If you plan to keep the piece long term, spray very lightly with a clear craft sealer or place it in a shadow box.
Handle the finished flower softly; crystals can chip if you squeeze them. - Clean up and reflect.
Dispose of leftover solution responsibly by diluting and pouring down a drain with plenty of water unless your local guidance advises otherwise.
Wipe the jar and store tools in a dry place for your next calm making moment.
Using Crystal Growing Flower in Everyday Life

A finished Crystal Growing Flower adds a quiet shimmer to a small shelf, a windowsill, or a tray beside your favorite reading chair. You can place it in a shallow dish to admire how light catches the facets.
Use it as a thoughtful accent during a mindful tea ritual, sitting the bloom beside your cup as you breathe slowly. The crystal flower also makes a gentle gift. Tuck it into tissue and a small box, and add a note about the care you gave while making it.
If you like to create seasonal vignettes, combine several small flowers in a shallow bowl and change their arrangement with the light. Keep them away from high-traffic areas and curious pets. Their delicate edges invite close viewing but not rough handling.
Keeping It for Later
Store your bloom in a cool, dry place away from humidity and direct sunlight. A small shadow box or an open-fronted display keeps dust off while allowing light to play across the crystals.
If you plan to keep several pieces, wrap each in soft tissue and place them in a shallow box with dividers. The tissue cushions the crystals and prevents accidental chipping.
Avoid storing in airtight containers with high humidity. Crystals can absorb moisture and change over time. Check your display periodically. If you notice any softening, allow the piece to dry fully again on a protected tray.
Be honest with yourself about lifespan. These flowers celebrate the present moment. They can last for many months with care, and they may age in beautiful, unexpected ways. Let their quiet impermanence become part of the charm.
Gentle Tips & Variations
- Invite color gently: Add a single drop of dye or watercolor to the solution for soft, pastel petals. Too much color can mask the crystalline texture.
- Try different papers: Coffee filters create billowy petals while paper towel gives a more textured base. Each paper offers a distinct final feel.
- Layer petals: Make a small bouquet by arranging multiple petals on a wire stem or gently layering them in a shallow dish as they dry.
- Play with suspension height: Suspending petals slightly above the solution creates gradient growth that feels like frost melting upward.
- Use scent sparingly: A tiny dab of essential oil on a cloth nearby can add a calm aroma without sitting on the crystal itself.
These ideas invite gentle experimentation rather than rigid rules. Try one small change at a time and keep notes about how each choice affects texture and growth.
What I’ve Learned While Making This

I learned to treat the solution like a quiet listener. If I move the jar or check too often, crystals become scattered rather than forming in graceful clusters. When I set the jar down and gave it a full day of stillness, the blooms looked more cohesive and delicate.
I found that the paper texture matters most. A slightly rough paper holds more solution and gives crystals more surface to cling to. Thinner papers let the solution soak through and produce lacy, translucent formations.
I also learned to trust small failures. A petal that breaks apart may reveal tiny, unexpected structures that feel like miniature landscapes. I keep a small tray for these fragments now and treat them as tiny studies rather than discardables.
Above all, I learned that this project rewards slow attention. You do not rush crystals into being. You give them calm, and they return a quiet kind of beauty.
FAQs About Crystal Growing Flower
Will this process work for young children?
Yes, with supervision. Children enjoy the sensory parts like cutting petals and watching crystals form. Always handle hot water, alum, and tweezers for them, and explain each step slowly. The project encourages observation and patience.
Are the crystals safe to touch?
They feel safe to touch but stay gentle. Crystals can be sharp at edges and may flake. Wash hands after handling and avoid touching your face or mouth. If you use a commercial kit, follow the safety notes included.
How long do crystals take to stop growing?
Growth slows considerably after a few days but may continue subtly over a week. Once crystals dry, they stabilize. Keep them in a stable environment to avoid changes.
Can I reuse the solution?
You can sometimes reuse the solution for a softer bloom, but its concentration diminishes with each use. For predictable, strong crystals, mix a fresh solution each time.
What goes wrong most often?
The most common issue comes from movement and drafts. Vibrations cause irregular growth. Also, too much colorant or impurities in the jar can cloud the solution. Keep things simple for the calmest results.
Final Reflections on Making Crystal Growing Flower
Sit with the finished bloom in soft light and breathe. Notice how the crystals catch the sun, how shadows trace small patterns on your table, and how your hands remember the folds and gentle dips you made.
Making this flower teaches a kind of careful listening. You listen with your eyes as crystals settle, with your hands as you steady petals, and with your rhythm as you choose when to look and when to let go. This practice helps you return to the present in an unhurried way.
Let the project be less about perfection and more about attentive presence. Each bloom tells a story of small, steady care. Keep a journal of what you observe if you like. Over time, those notes become a personal map of moments that felt calm and meaningful.
Conclusion
If you want to explore other gentle crystal projects for inspiration, I recommend looking at the classic Growing Flower Crystals on Neopets to see playful variations and ideas. For a ready-made option to try at home, consider a thoughtfully curated Crystal Growing Kit on Amazon that can help you practice the basics before trying paper petals.
Thank you for sharing this slow moment. May your hands stay soft, your work stay calm, and your practice grow in small, beautiful ways.
PrintCrystal Growing Flower

A meditative project that allows you to create delicate crystal flowers using simple materials.
- Prep Time: 15 minutes
- Cook Time: 120 hours
- Total Time: 120 hours 15 minutes
- Yield: 1 flower
- Category: Crafts
- Method: Crafting
- Cuisine: N/A
- Diet: N/A
Ingredients
- White or light-colored absorbent paper (coffee filters or paper towels)
- Clear glass jar or small clear vase
- Alum powder or a crystal-growing packet
- Hot water (nearly boiling)
- Spoon for stirring
- Small scissors
- Measuring spoons or kitchen scale
- Food coloring or watercolor (optional)
- Tweezers or chopsticks
- Paper towel or tray to protect surfaces
- Small clip or clothespin (optional)
- Safety items: oven mitts or heat-resistant gloves
Instructions
- Prepare your petals by cutting them into petal shapes.
- Make the crystal solution by measuring two parts hot water to one part alum and stirring.
- Pour the hot solution into the clear jar until it’s two-thirds full and let it cool.
- Attach petals for dipping using tweezers or a clip to avoid hot liquid.
- Dip the petal into the solution, suspending it above the liquid if desired.
- Find a steady spot for the jar, free from drafts and direct sunlight.
- Observe the first hours for tiny crystalline seeds forming.
- Adjust and rest if necessary to balance the growth of petals.
- Let the crystals mature for two to five days.
- Remove and air-dry the petal on a protected tray.
- Seal or display the finished flower as desired.
- Clean up responsibly and reflect on the process.
Notes
Substitute coffee filters for paper towels for softer petals. Optional to use a crystal-growing packet for ease.